This is not something I planned to do, but I know several people who have been hesitant to get a pressure cooker. This deal on QVC looks quite nice, so check it out if you’re interested. Quite a few recipes that I’ll be posting are made using a pressure cooker.
Month: August 2015
Chicken Enchiladas

I don’t know about you, but the hotter days of Summer feed my cravings for Mexican-style food. One of my favorite and super easy meals to make after work is chicken enchiladas. This recipe takes about 10 minutes to put together and 25-30 minutes to cook. I’ve been making these for about 2 years now. Brought some of the enchilidas you see here in to the office and received fabulous feedback. Give them a try and let me know what you think. Happy eating.
Ingredients
- 3 cups shredded cooked chicken
- 3 cups (12 oz) of shredded cheese (Sharp or Mexican)
- A large can of green enchilada sauce
- 1 can (4 oz) chopped green chiles
- 1/2 cup minced fresh cilantro or (a little less than) 1/4 cup of dried
- Salt
- Pepper
- 1 package of soft corn or flour tortillas (your preference)
- Lime wedges
Instructions
- Heat the oven to 400 degrees.
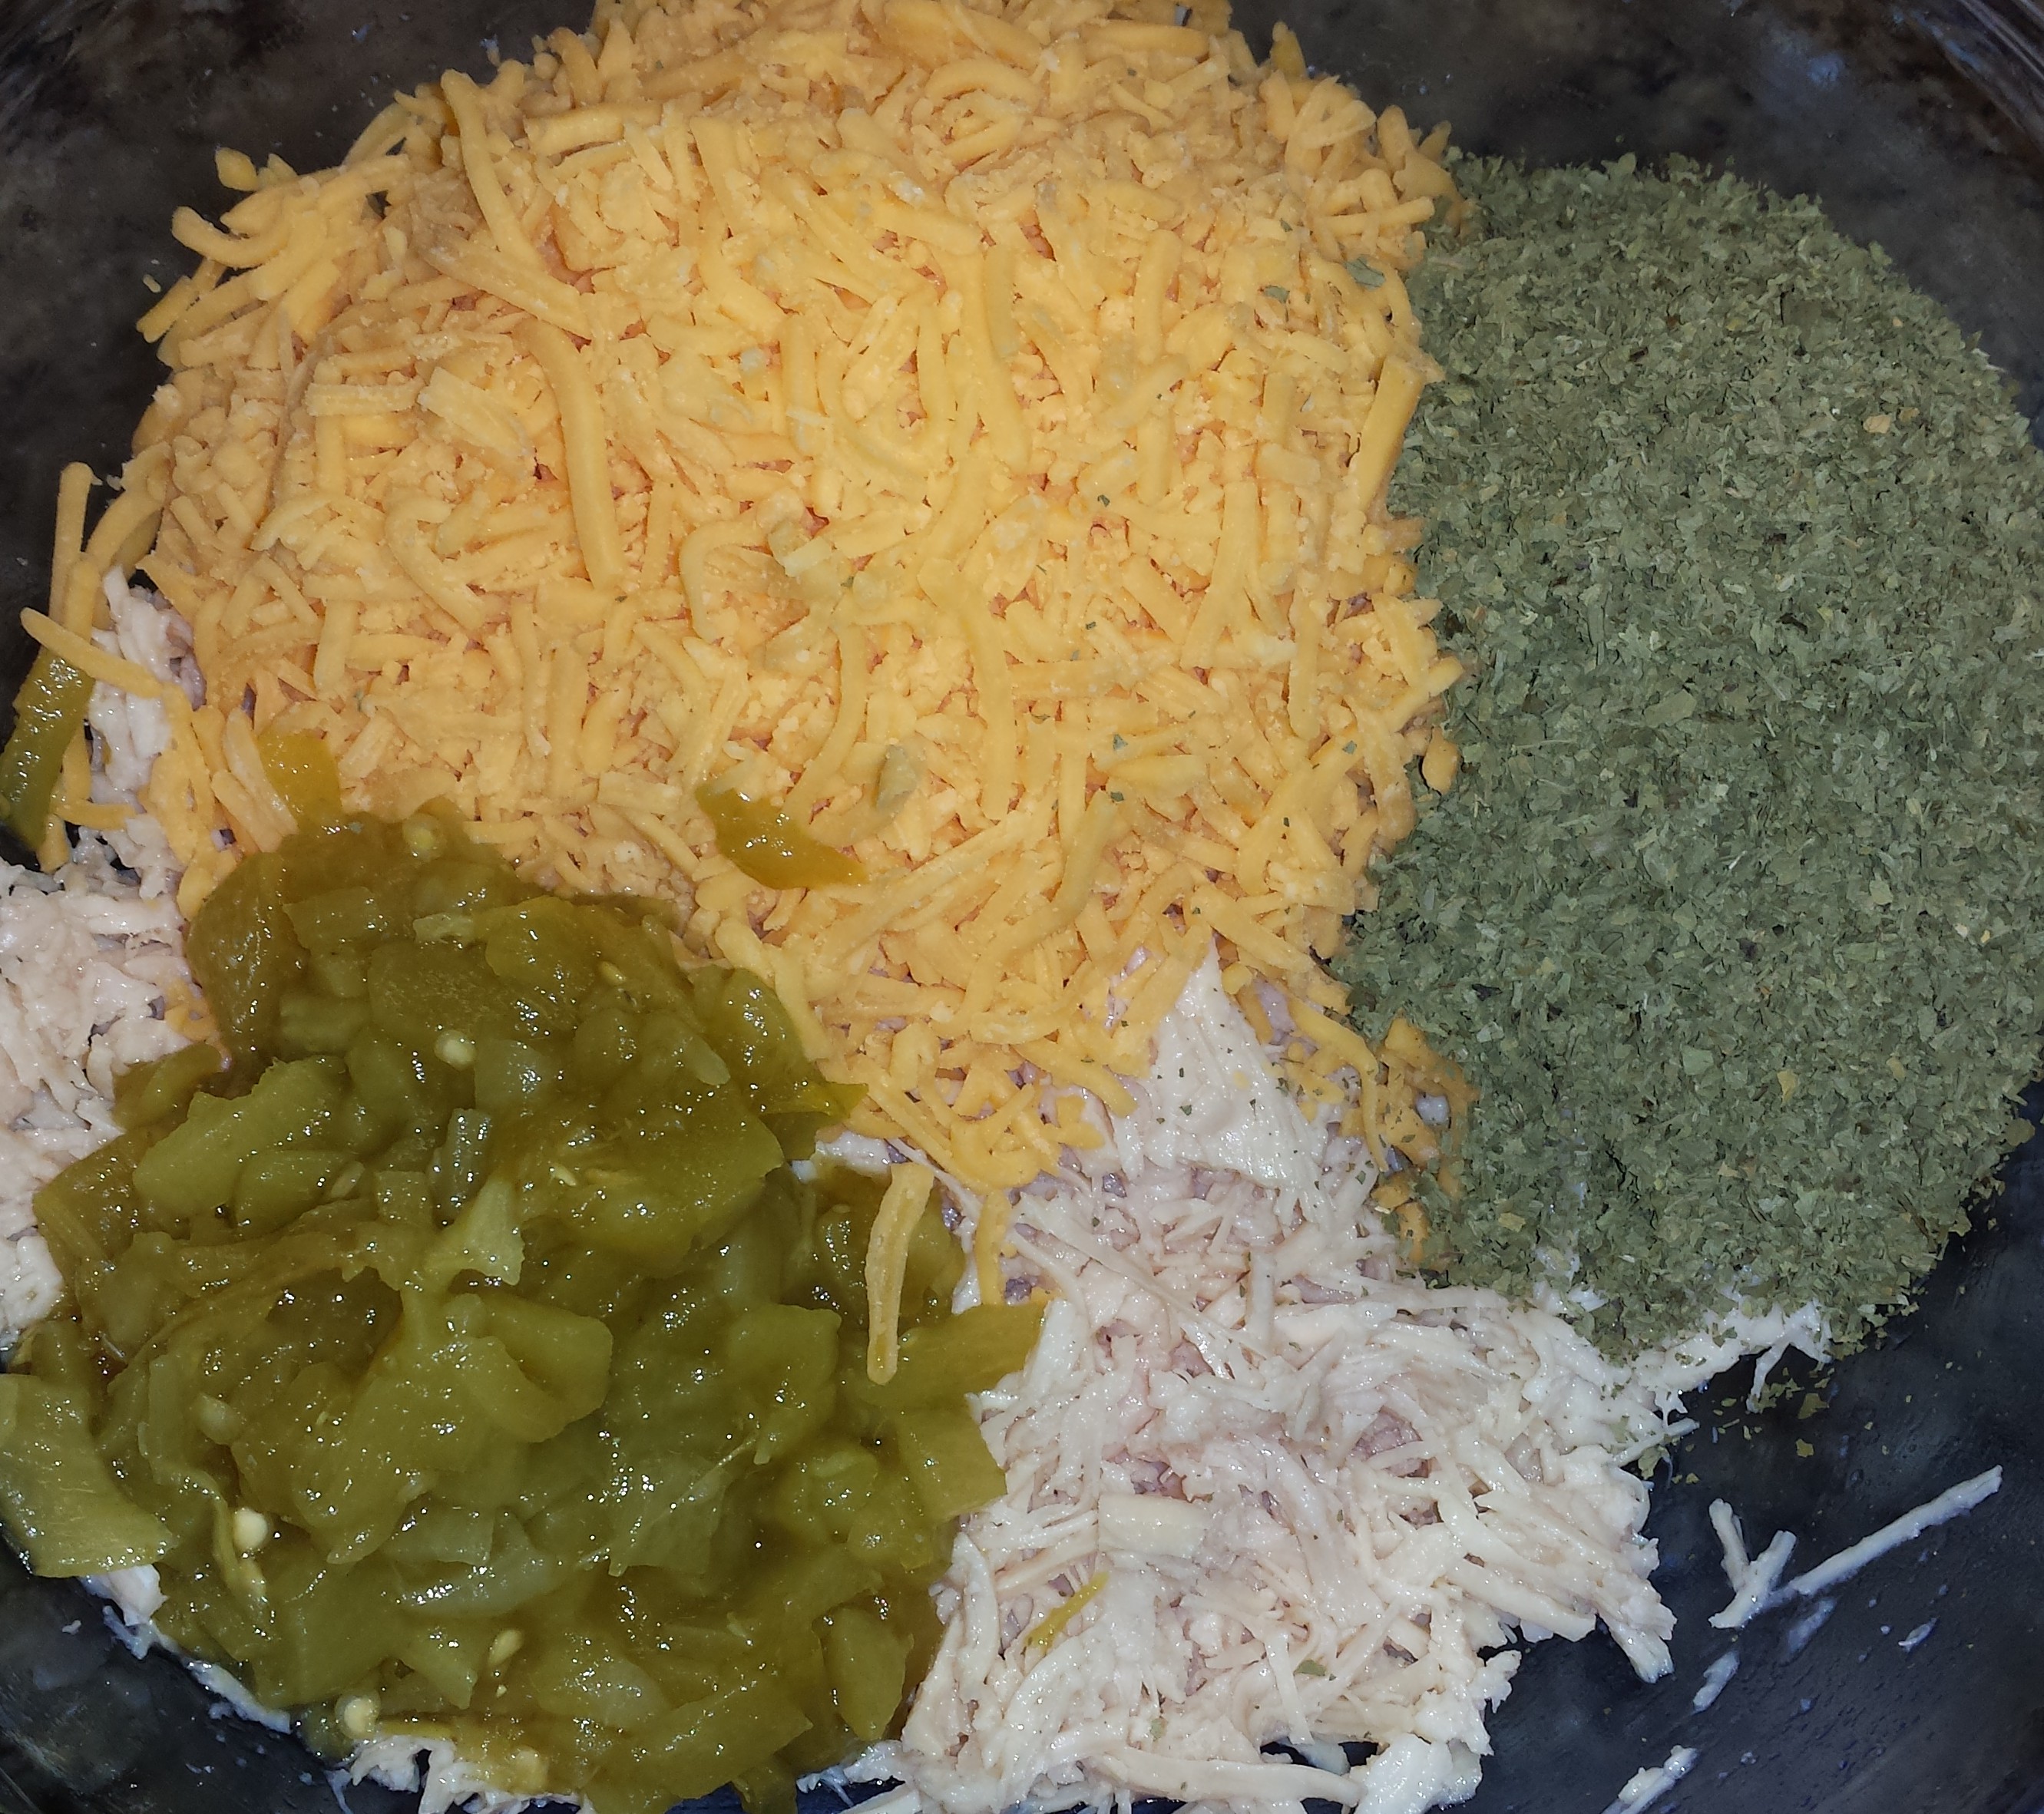
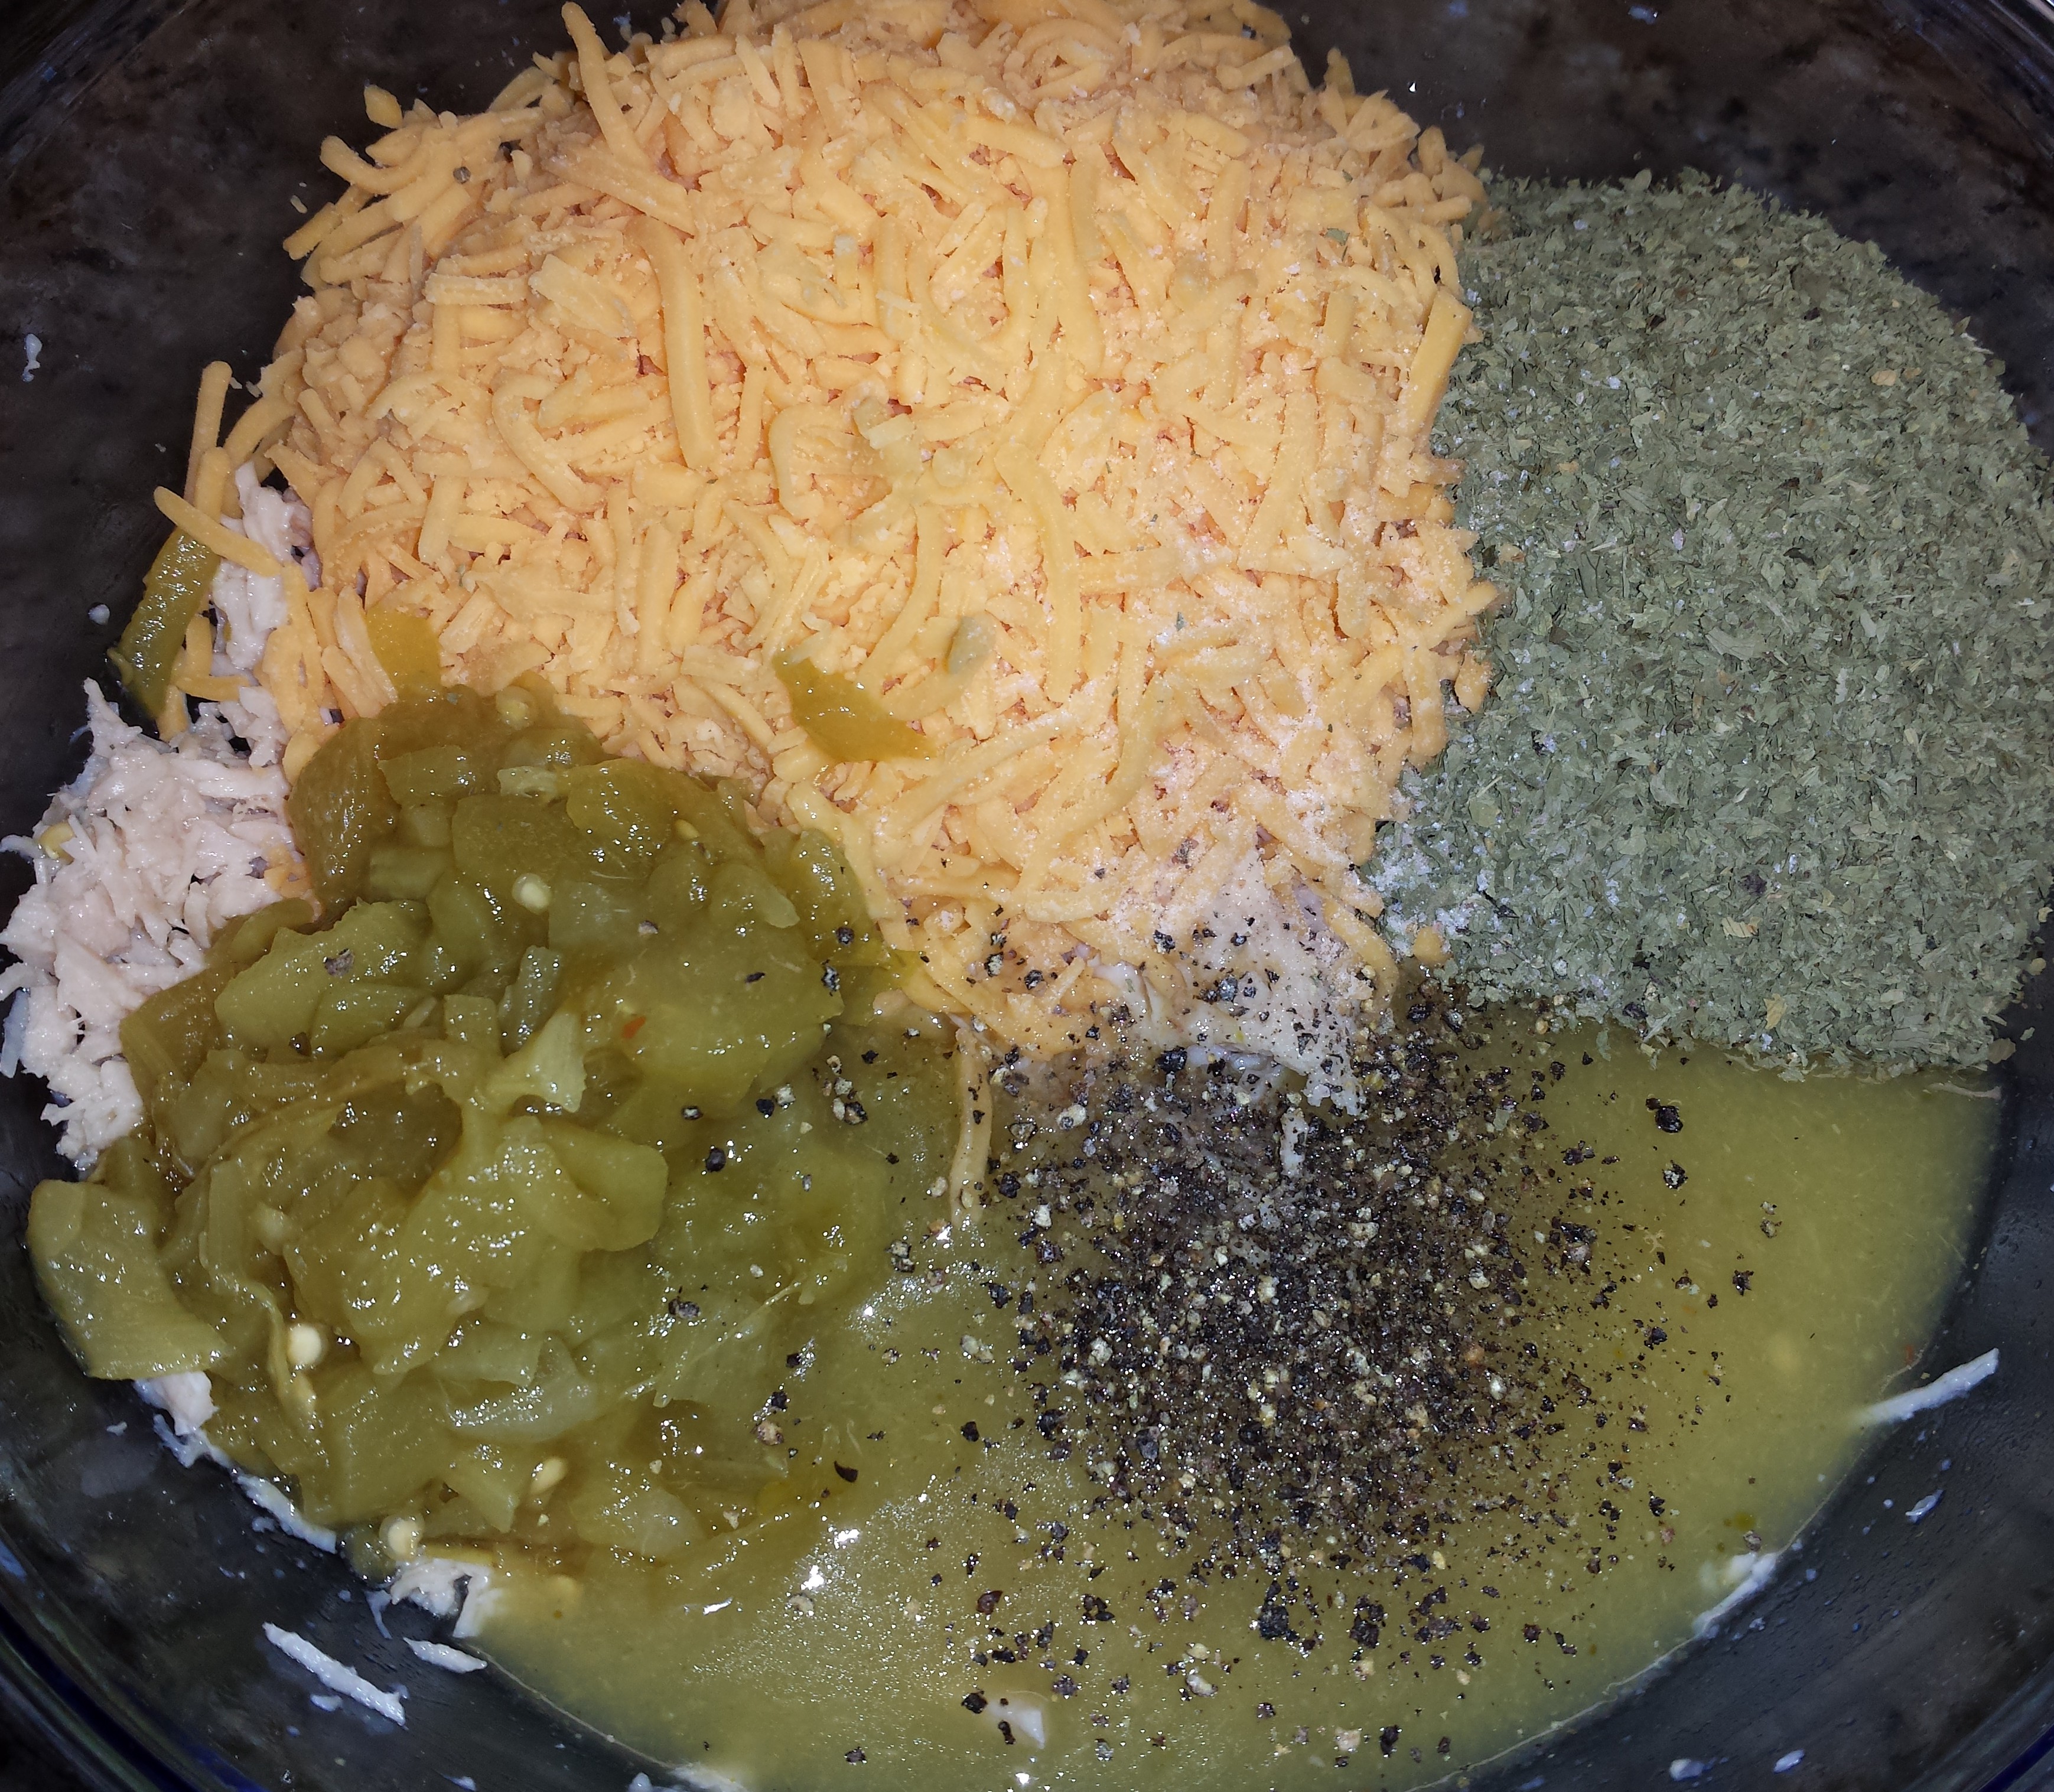
- In a large bowl, add the chicken and shred it.
- Then add 2 cups of the shredded cheese, 1/2 cup of enchilada sauce, the green chiles, and cilantro.
- Season with salt and pepper to taste (about 6-10 cranks). Mix well.


- Prepare the tortillas: (1) use them right out of the bag or (2) stack them on a microwave-safe plate, cover with plastic wrap and microwave on high about 40-60 seconds. Heating them makes them more pliable. I did not heat them when I made them this time, and they’re fine, but I used flour tortillas.
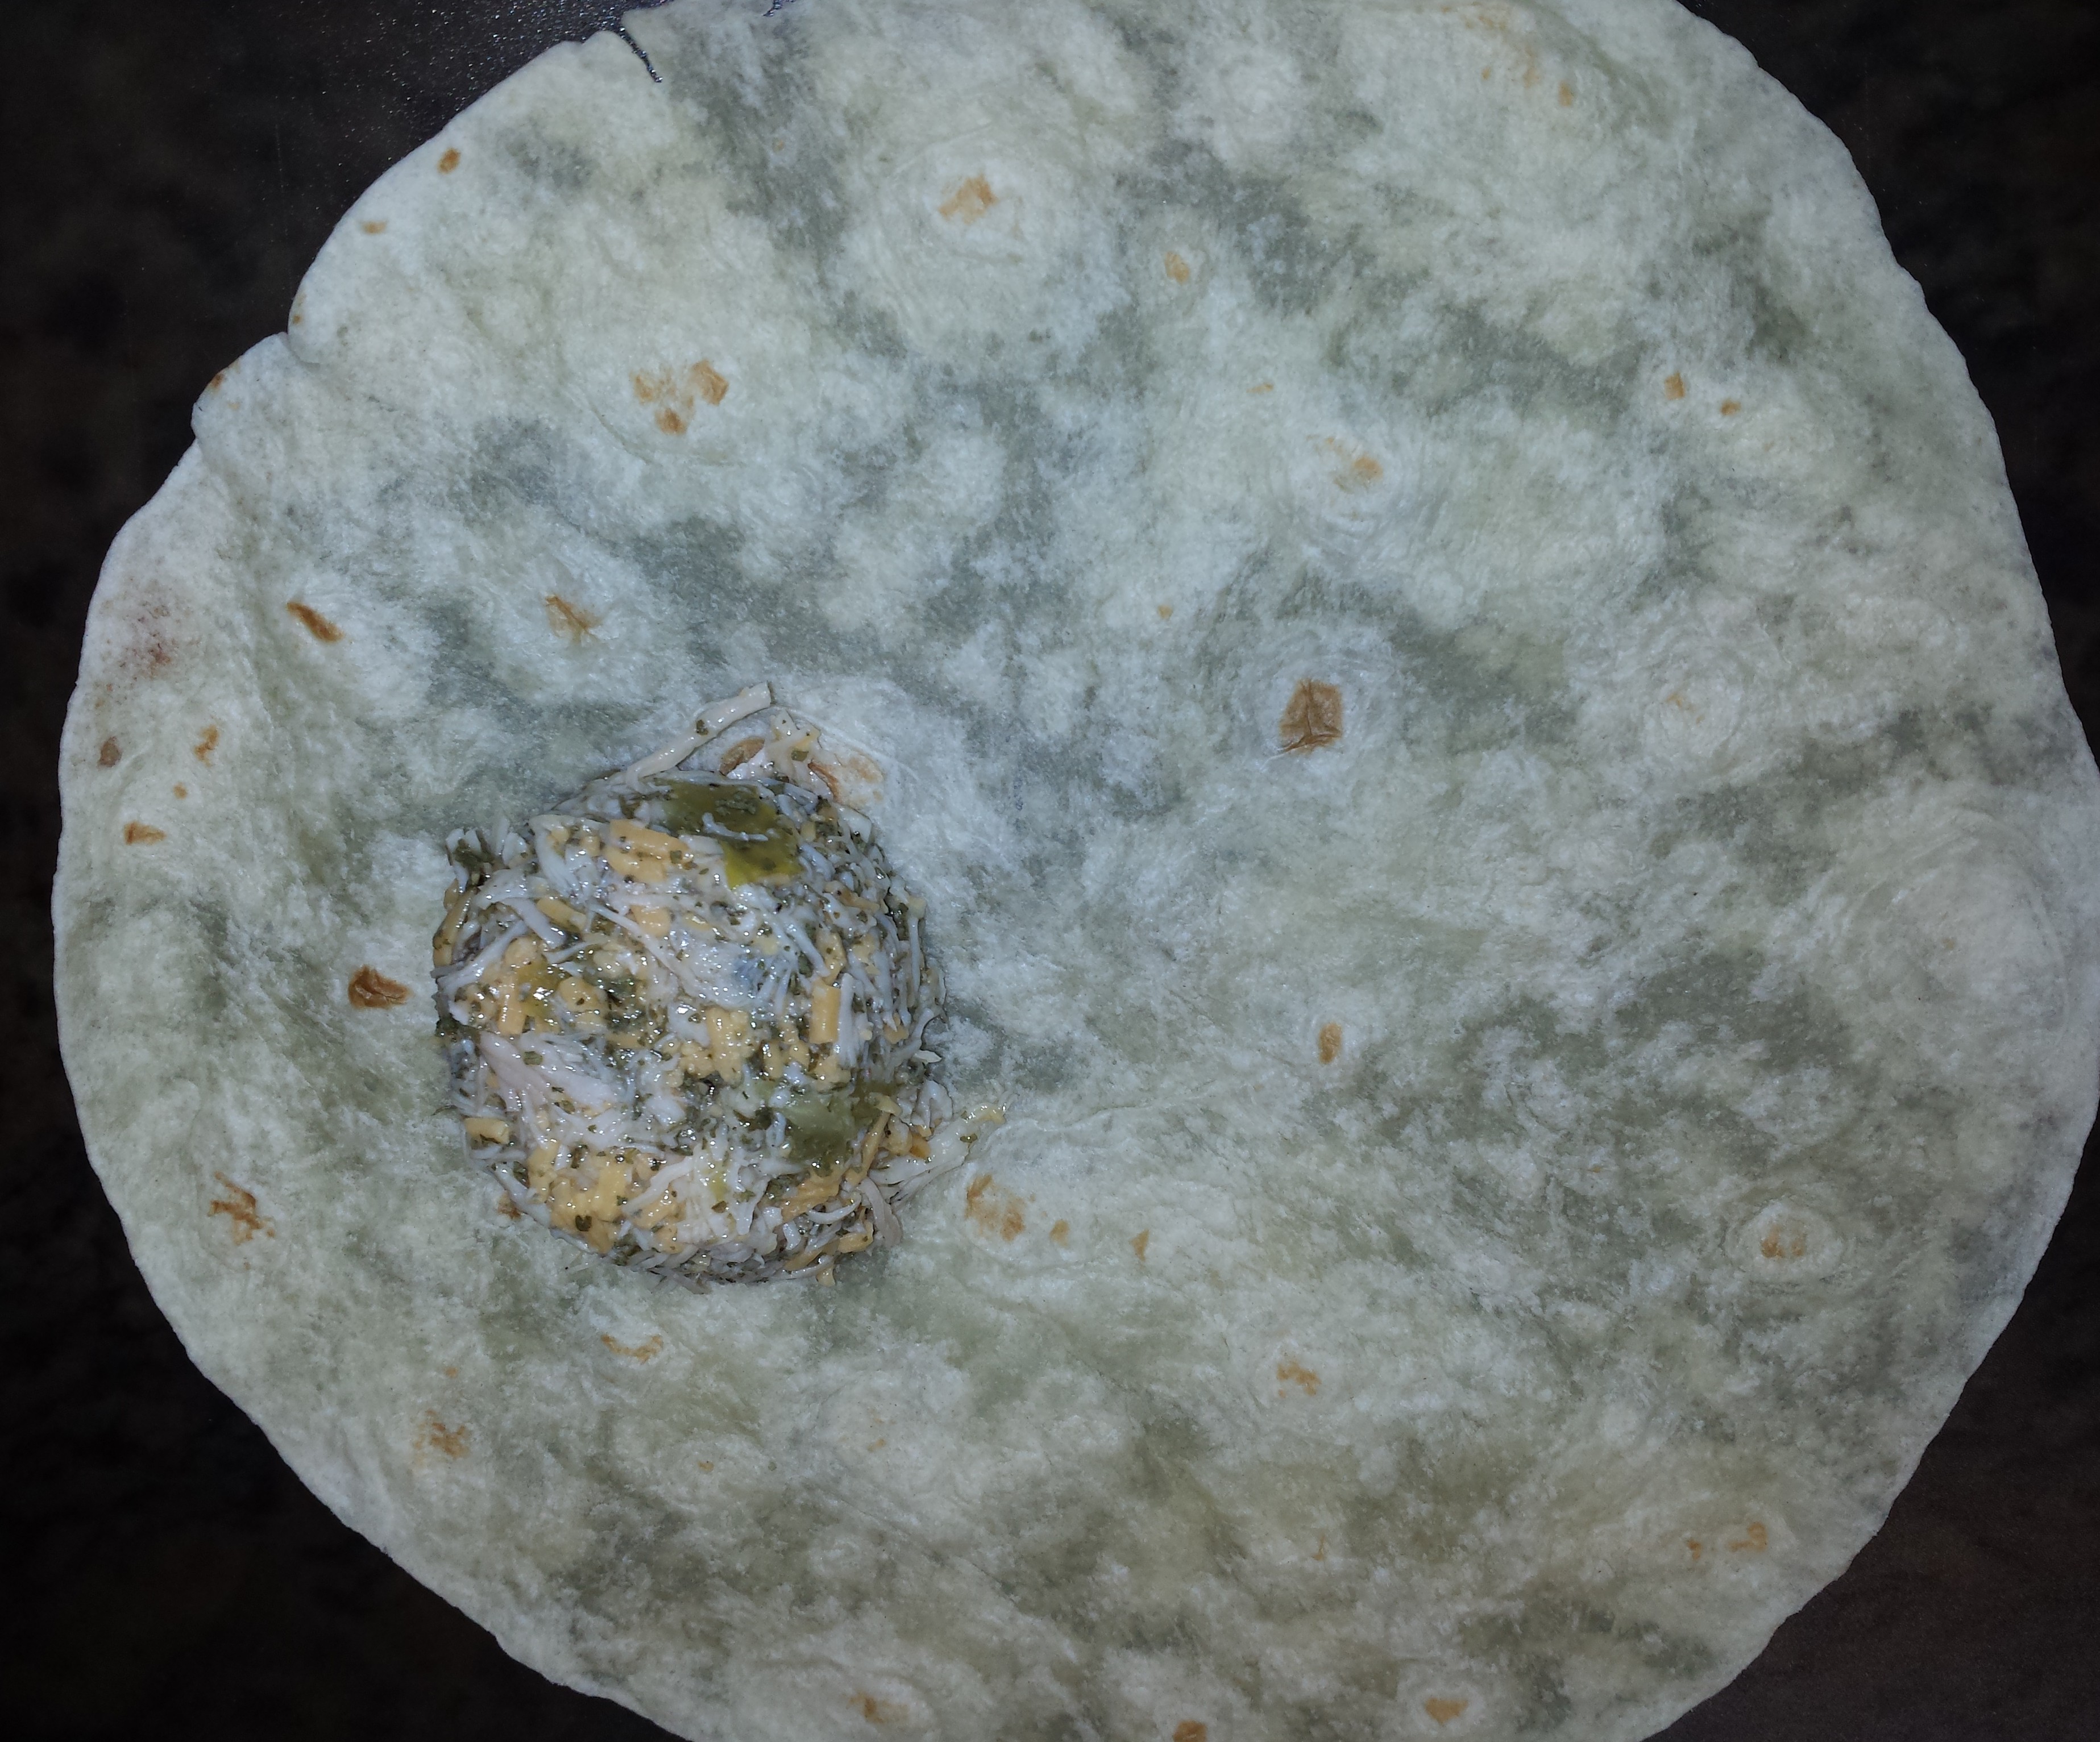
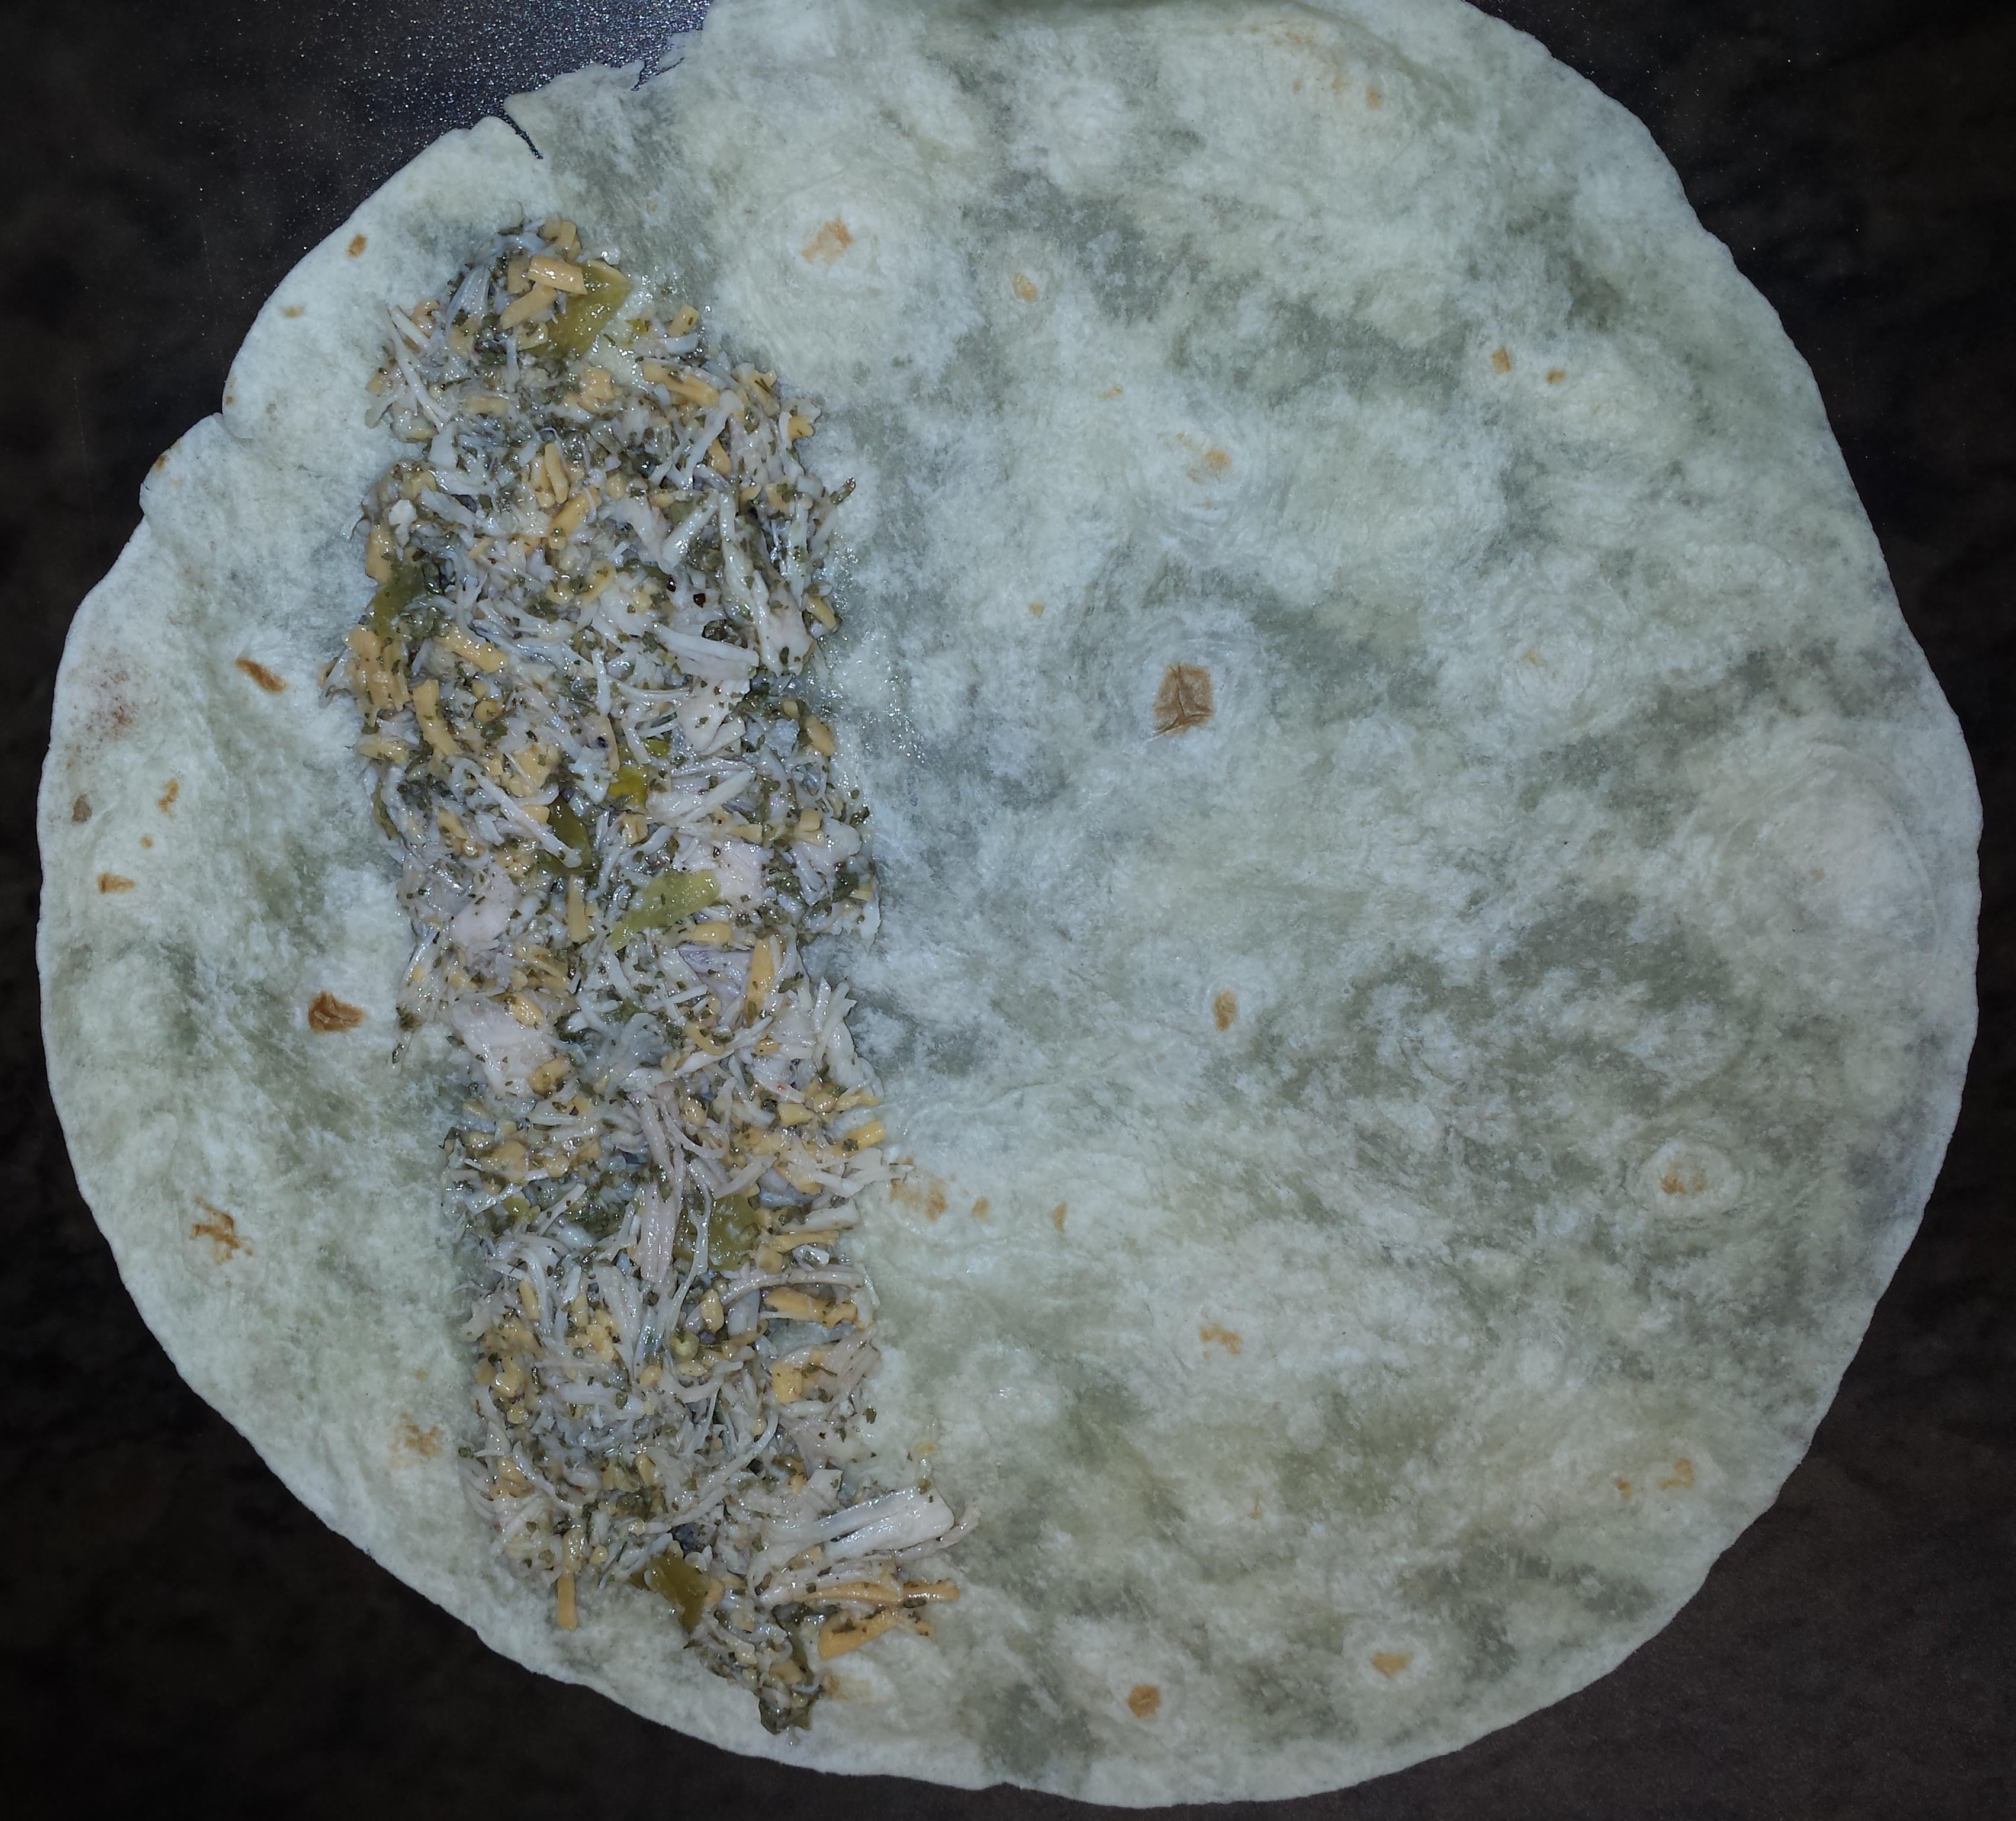
- Put a tortilla on the counter, cutting board, or plate. Place 1/3 cup of the chicken mix onto the tortilla. Then spread it down the tortilla as evenly as possible.
- Tightly roll the tortilla around the filling.
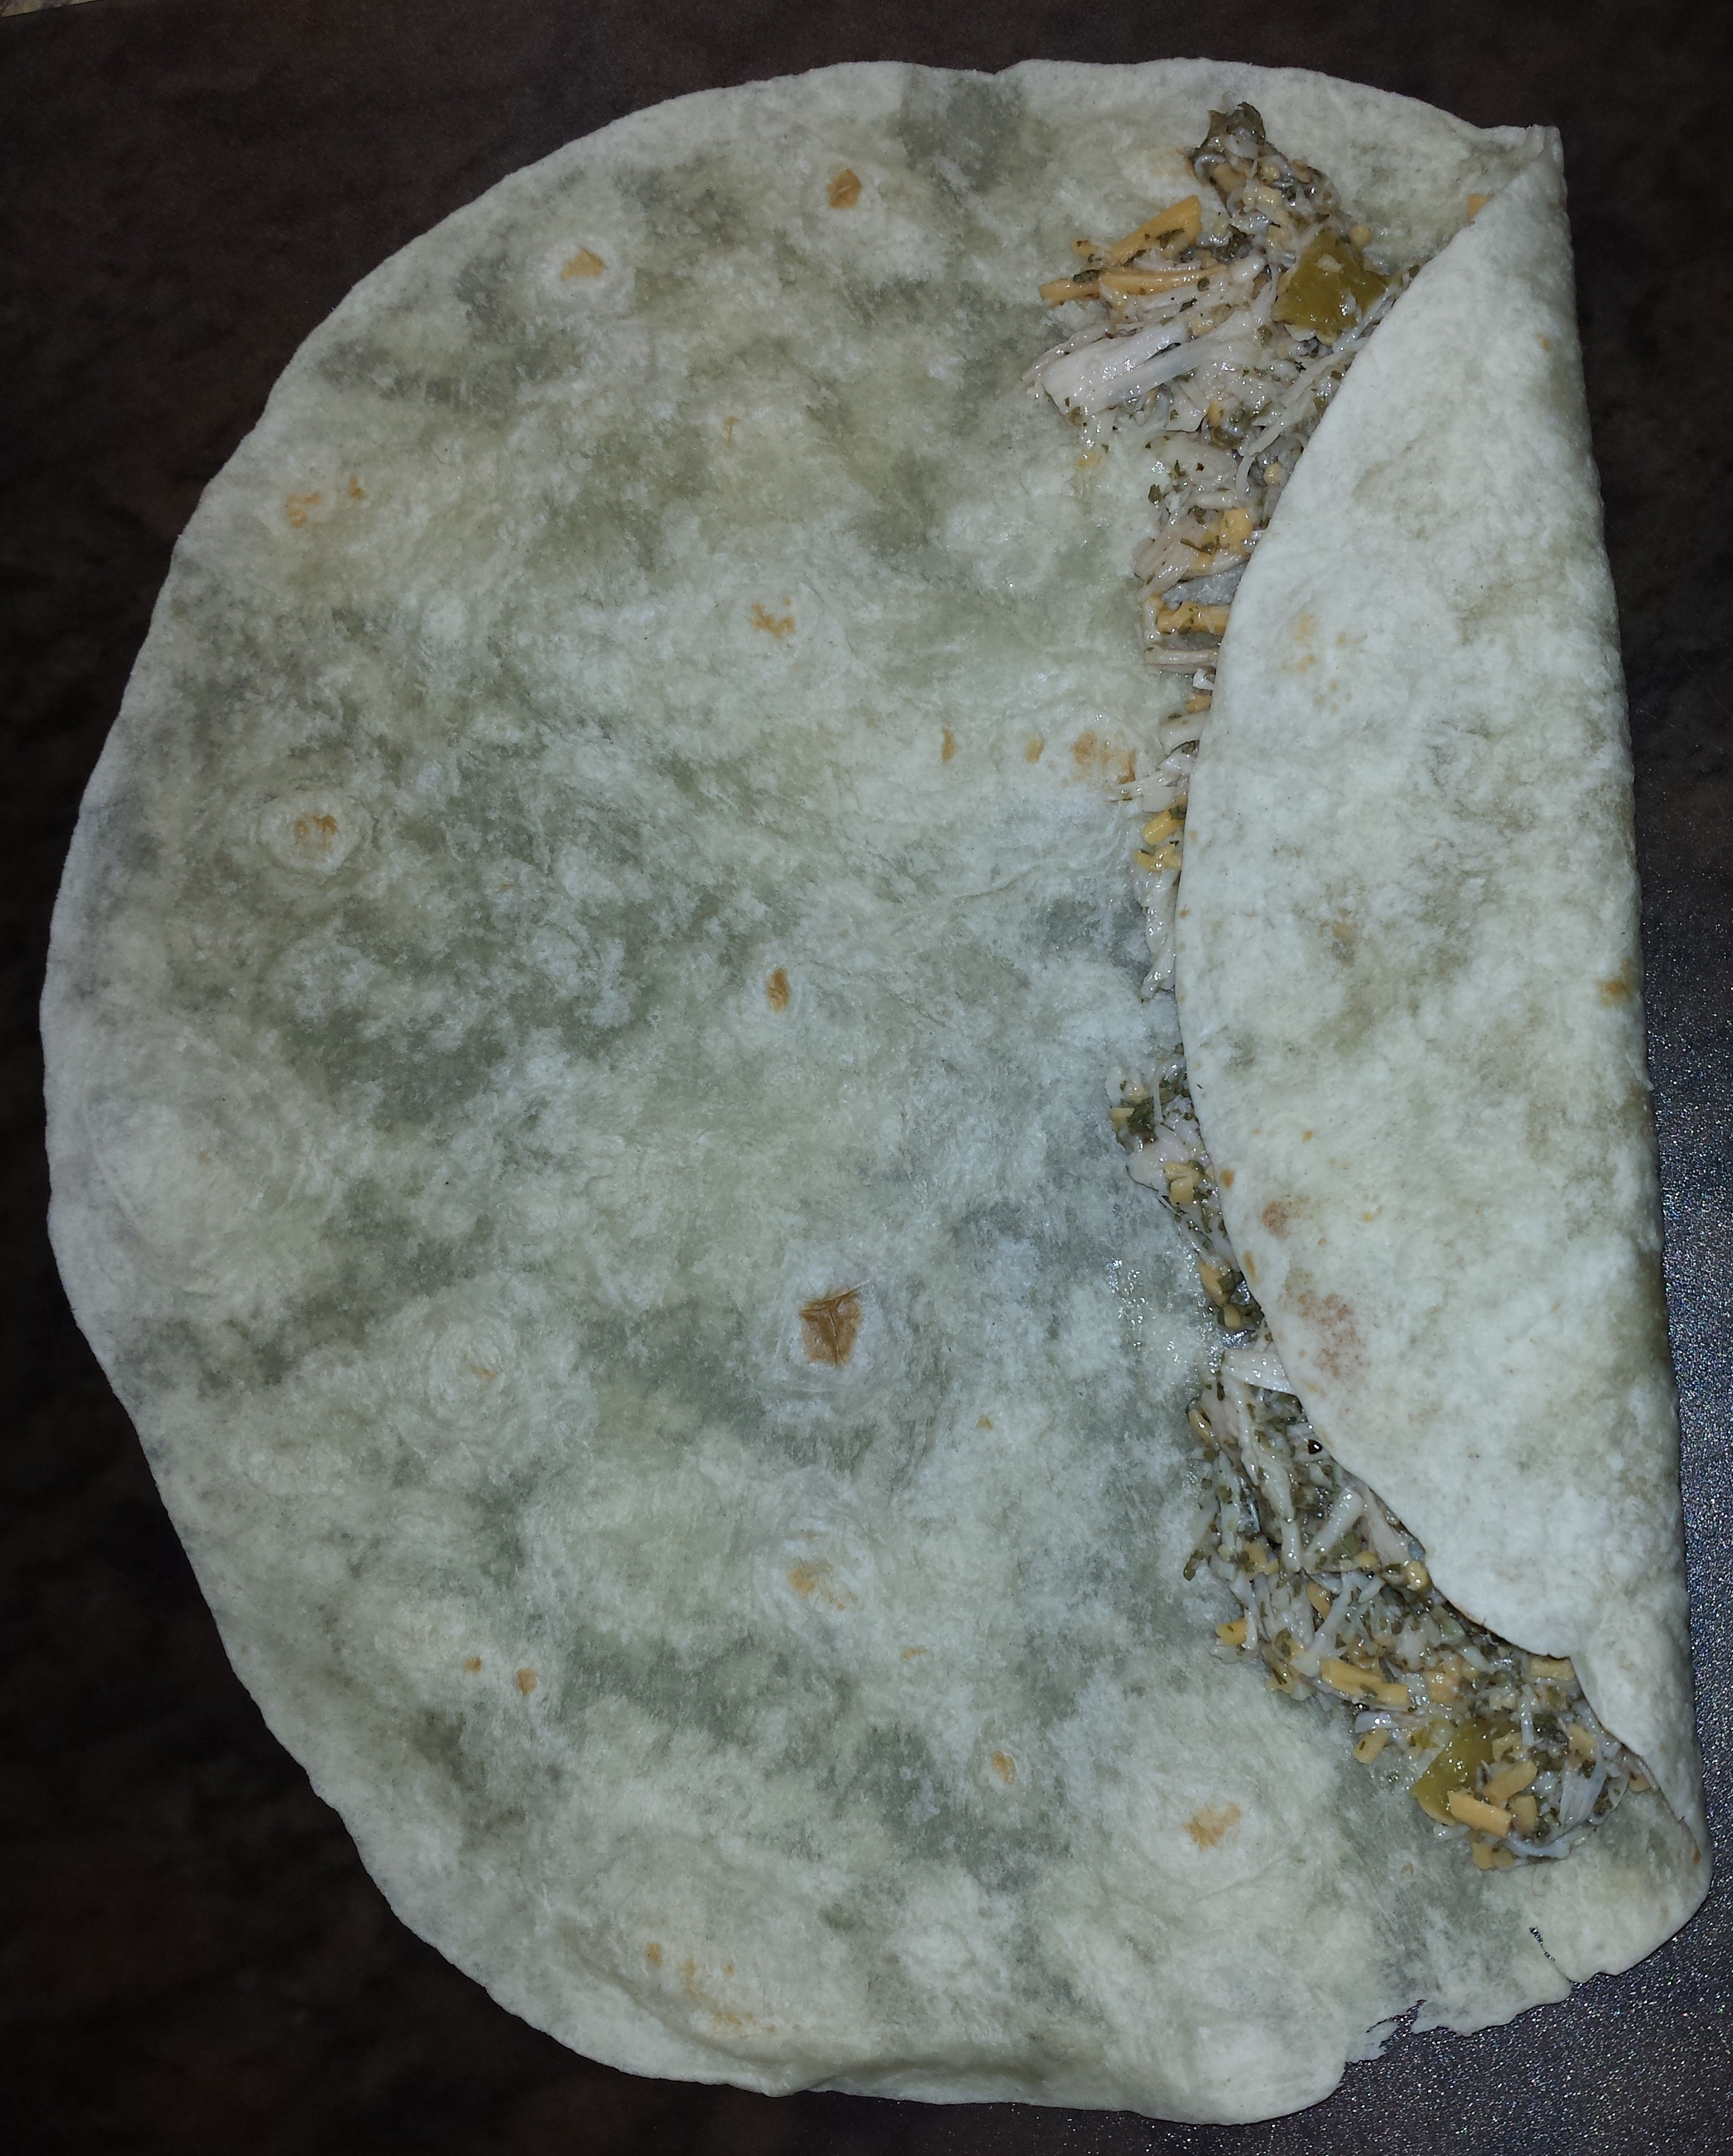
![]()
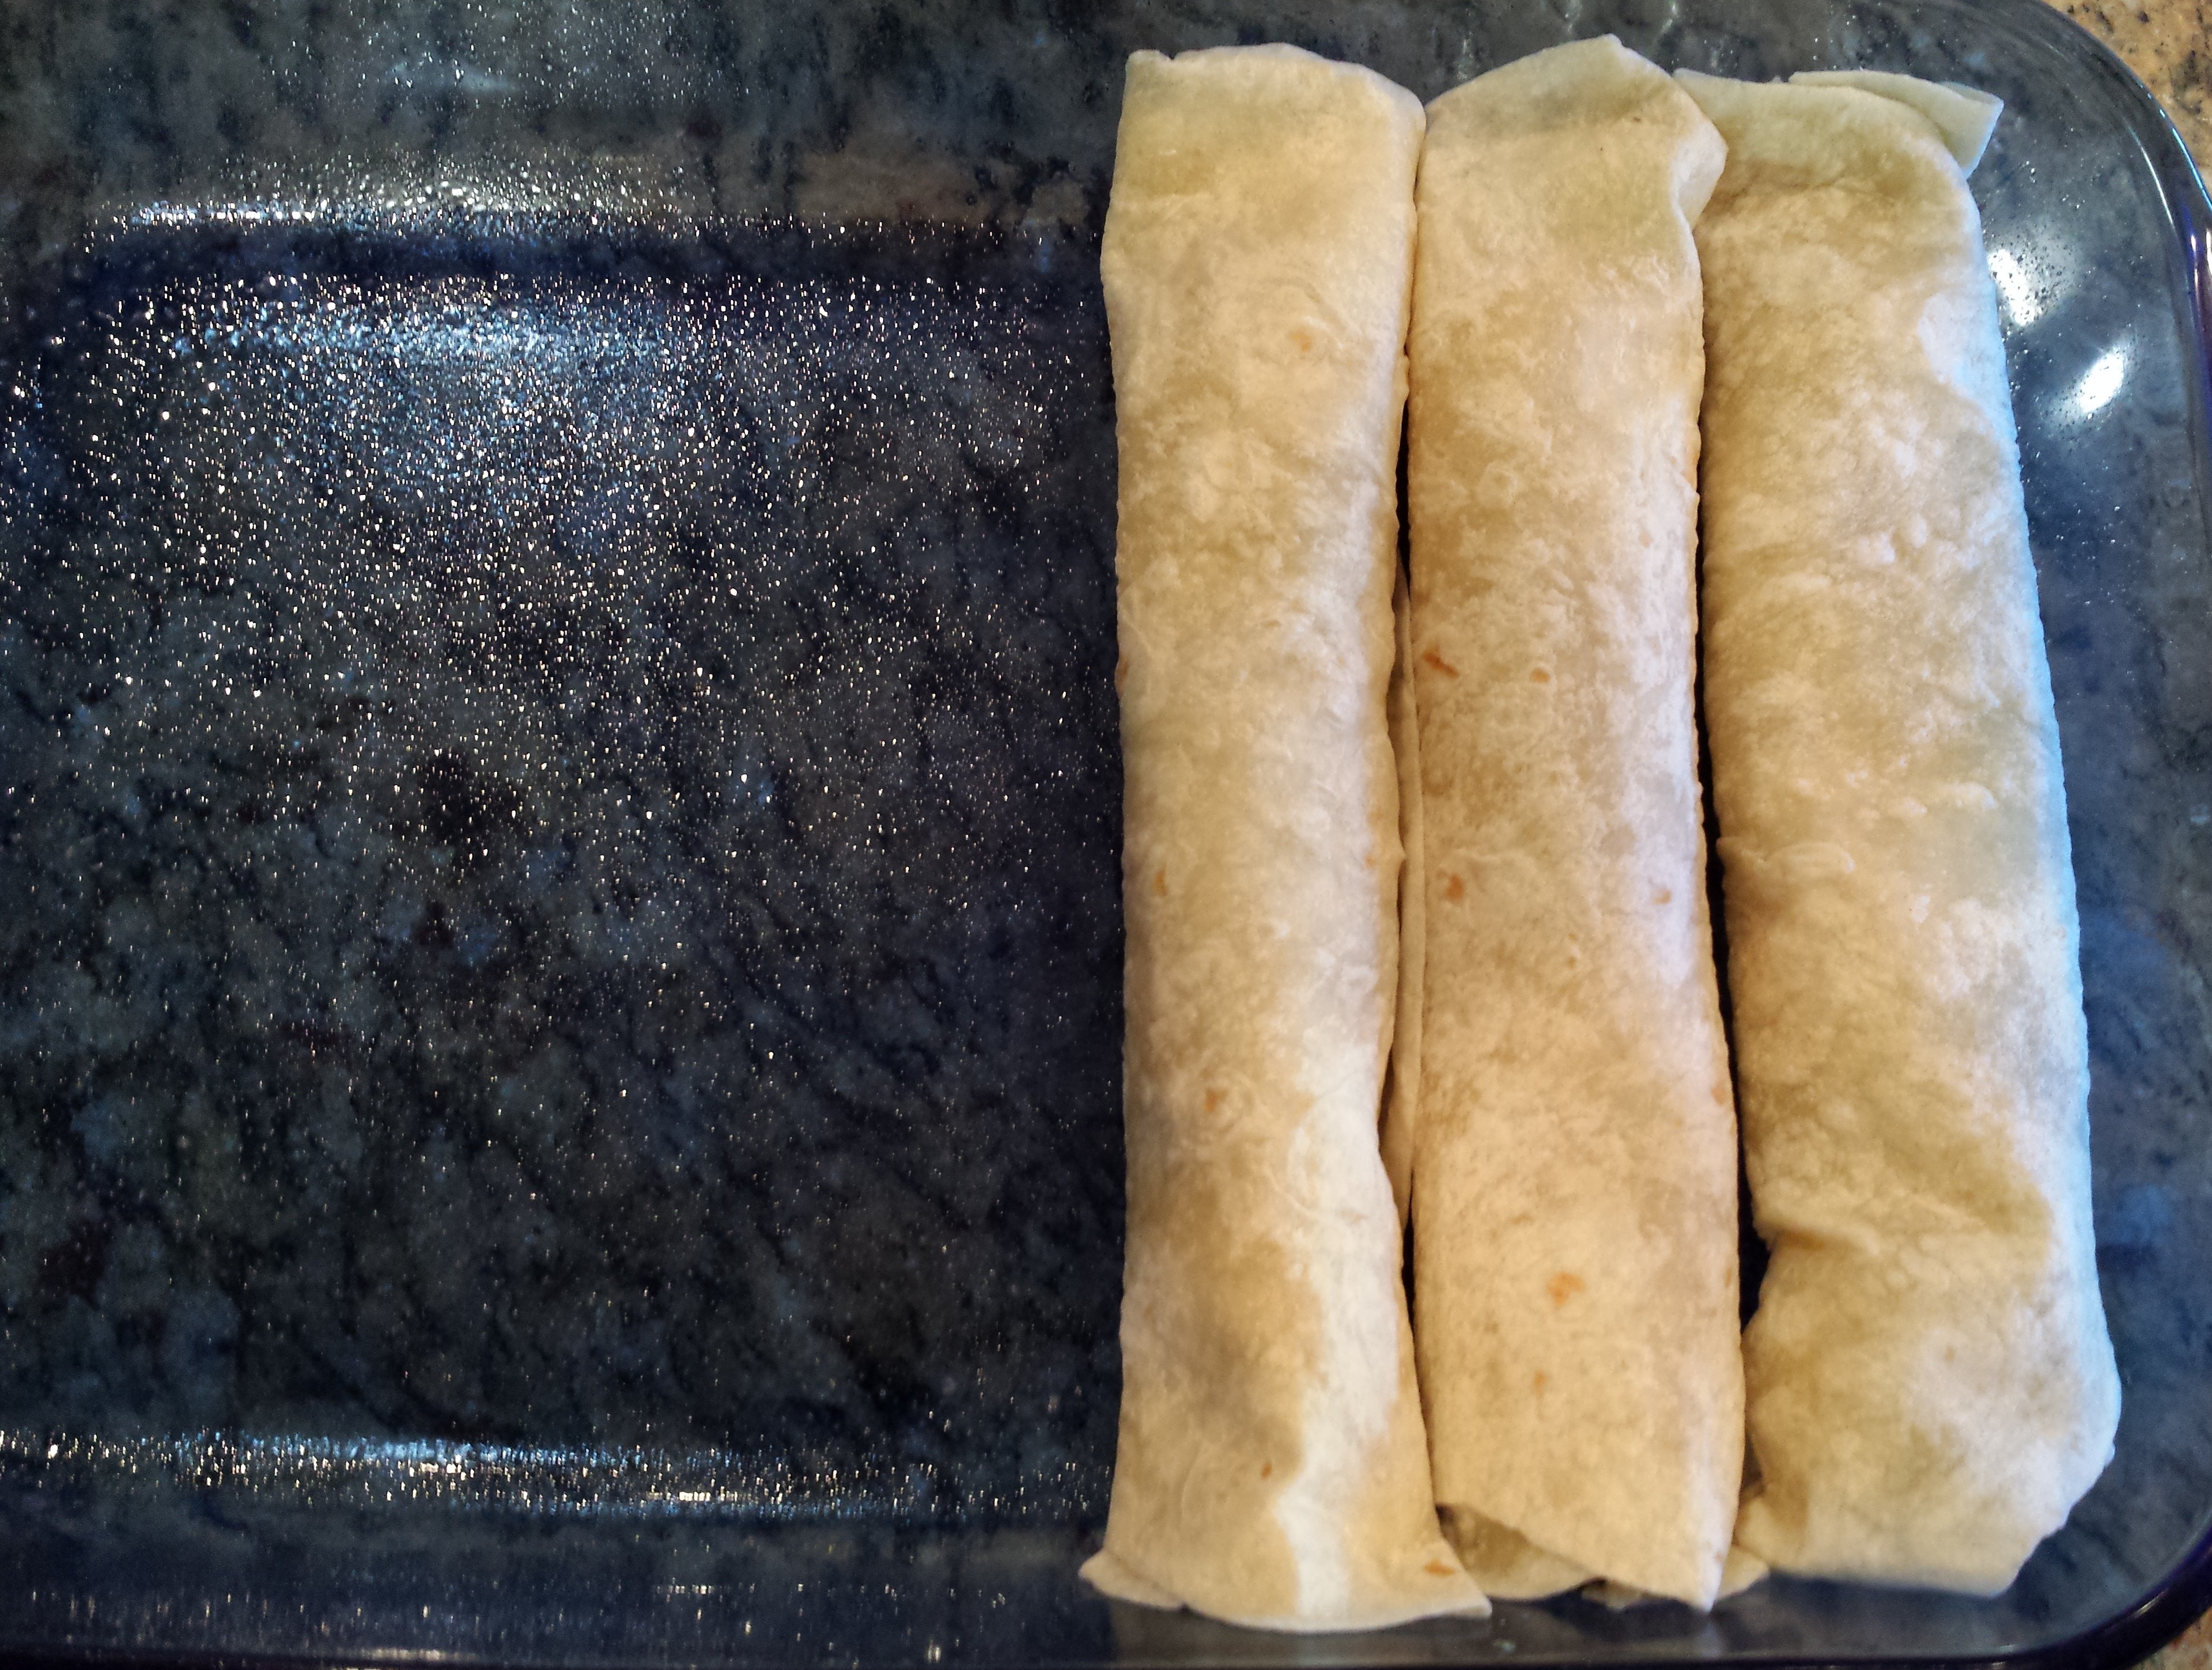
- Lay the tortilla seam-side down in a 9″x13″ backing dish that you have lightly coated with vegetable oil spray.
- Continue until all the filling is used.
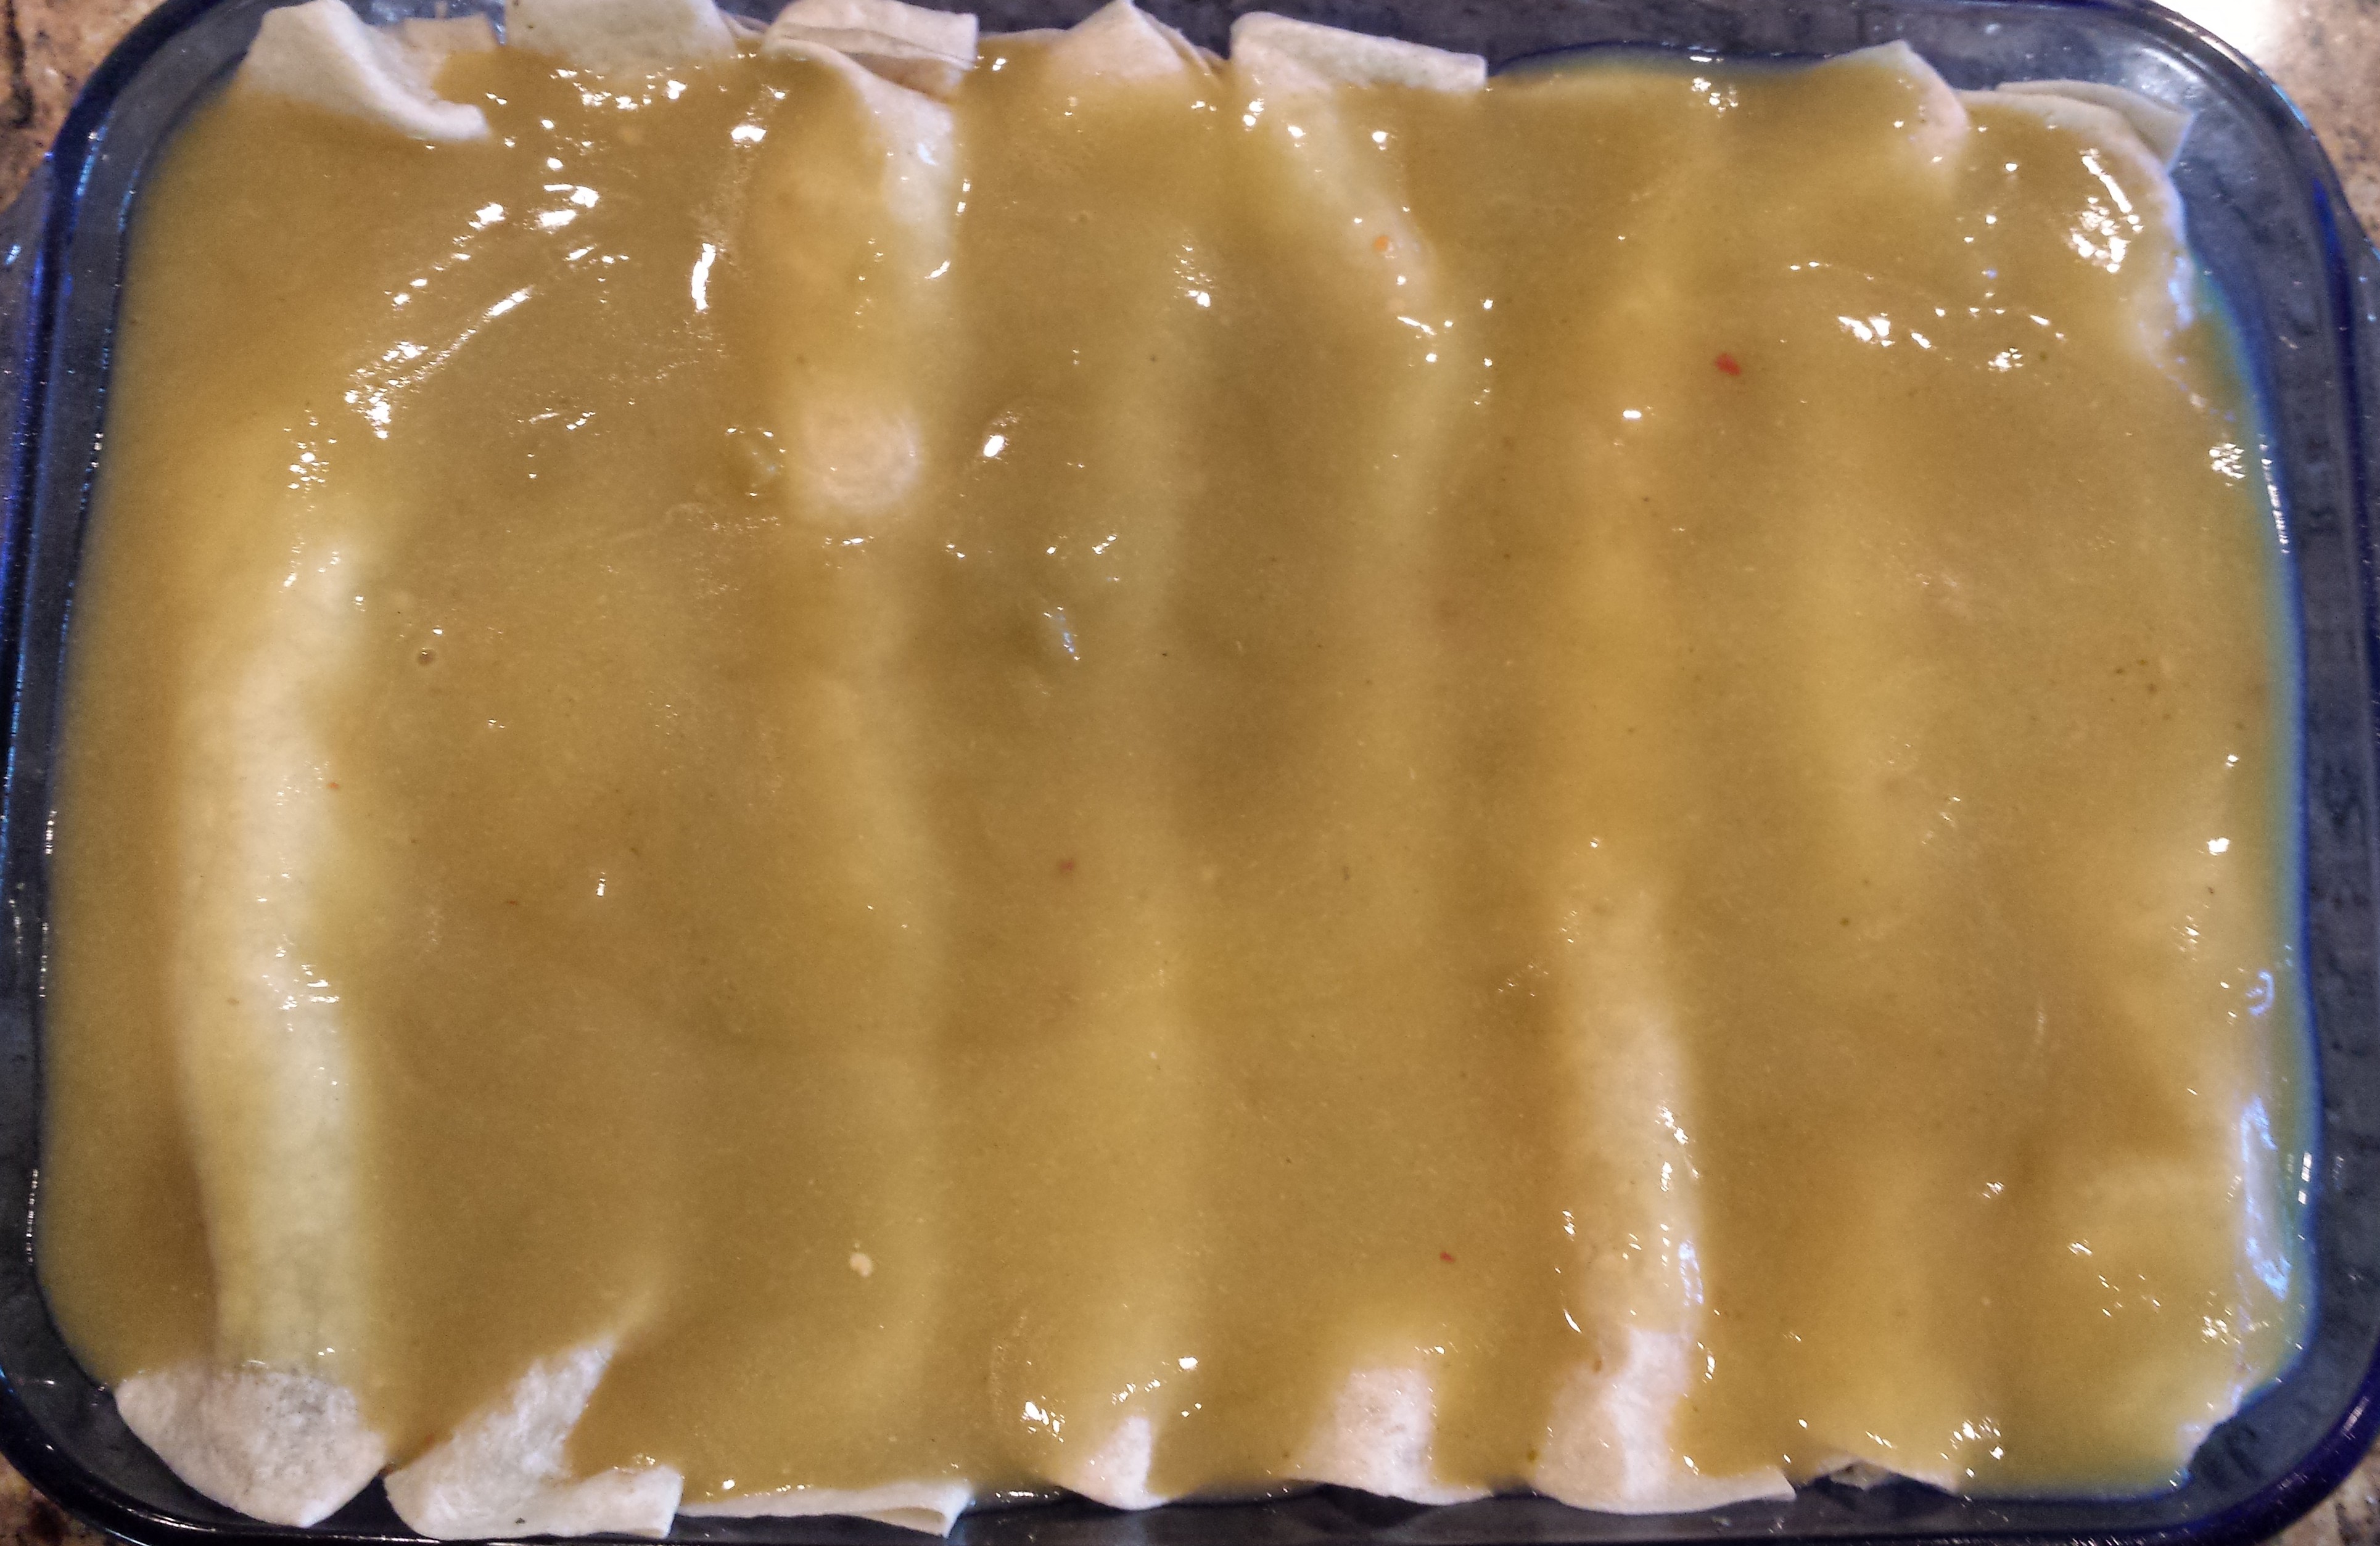
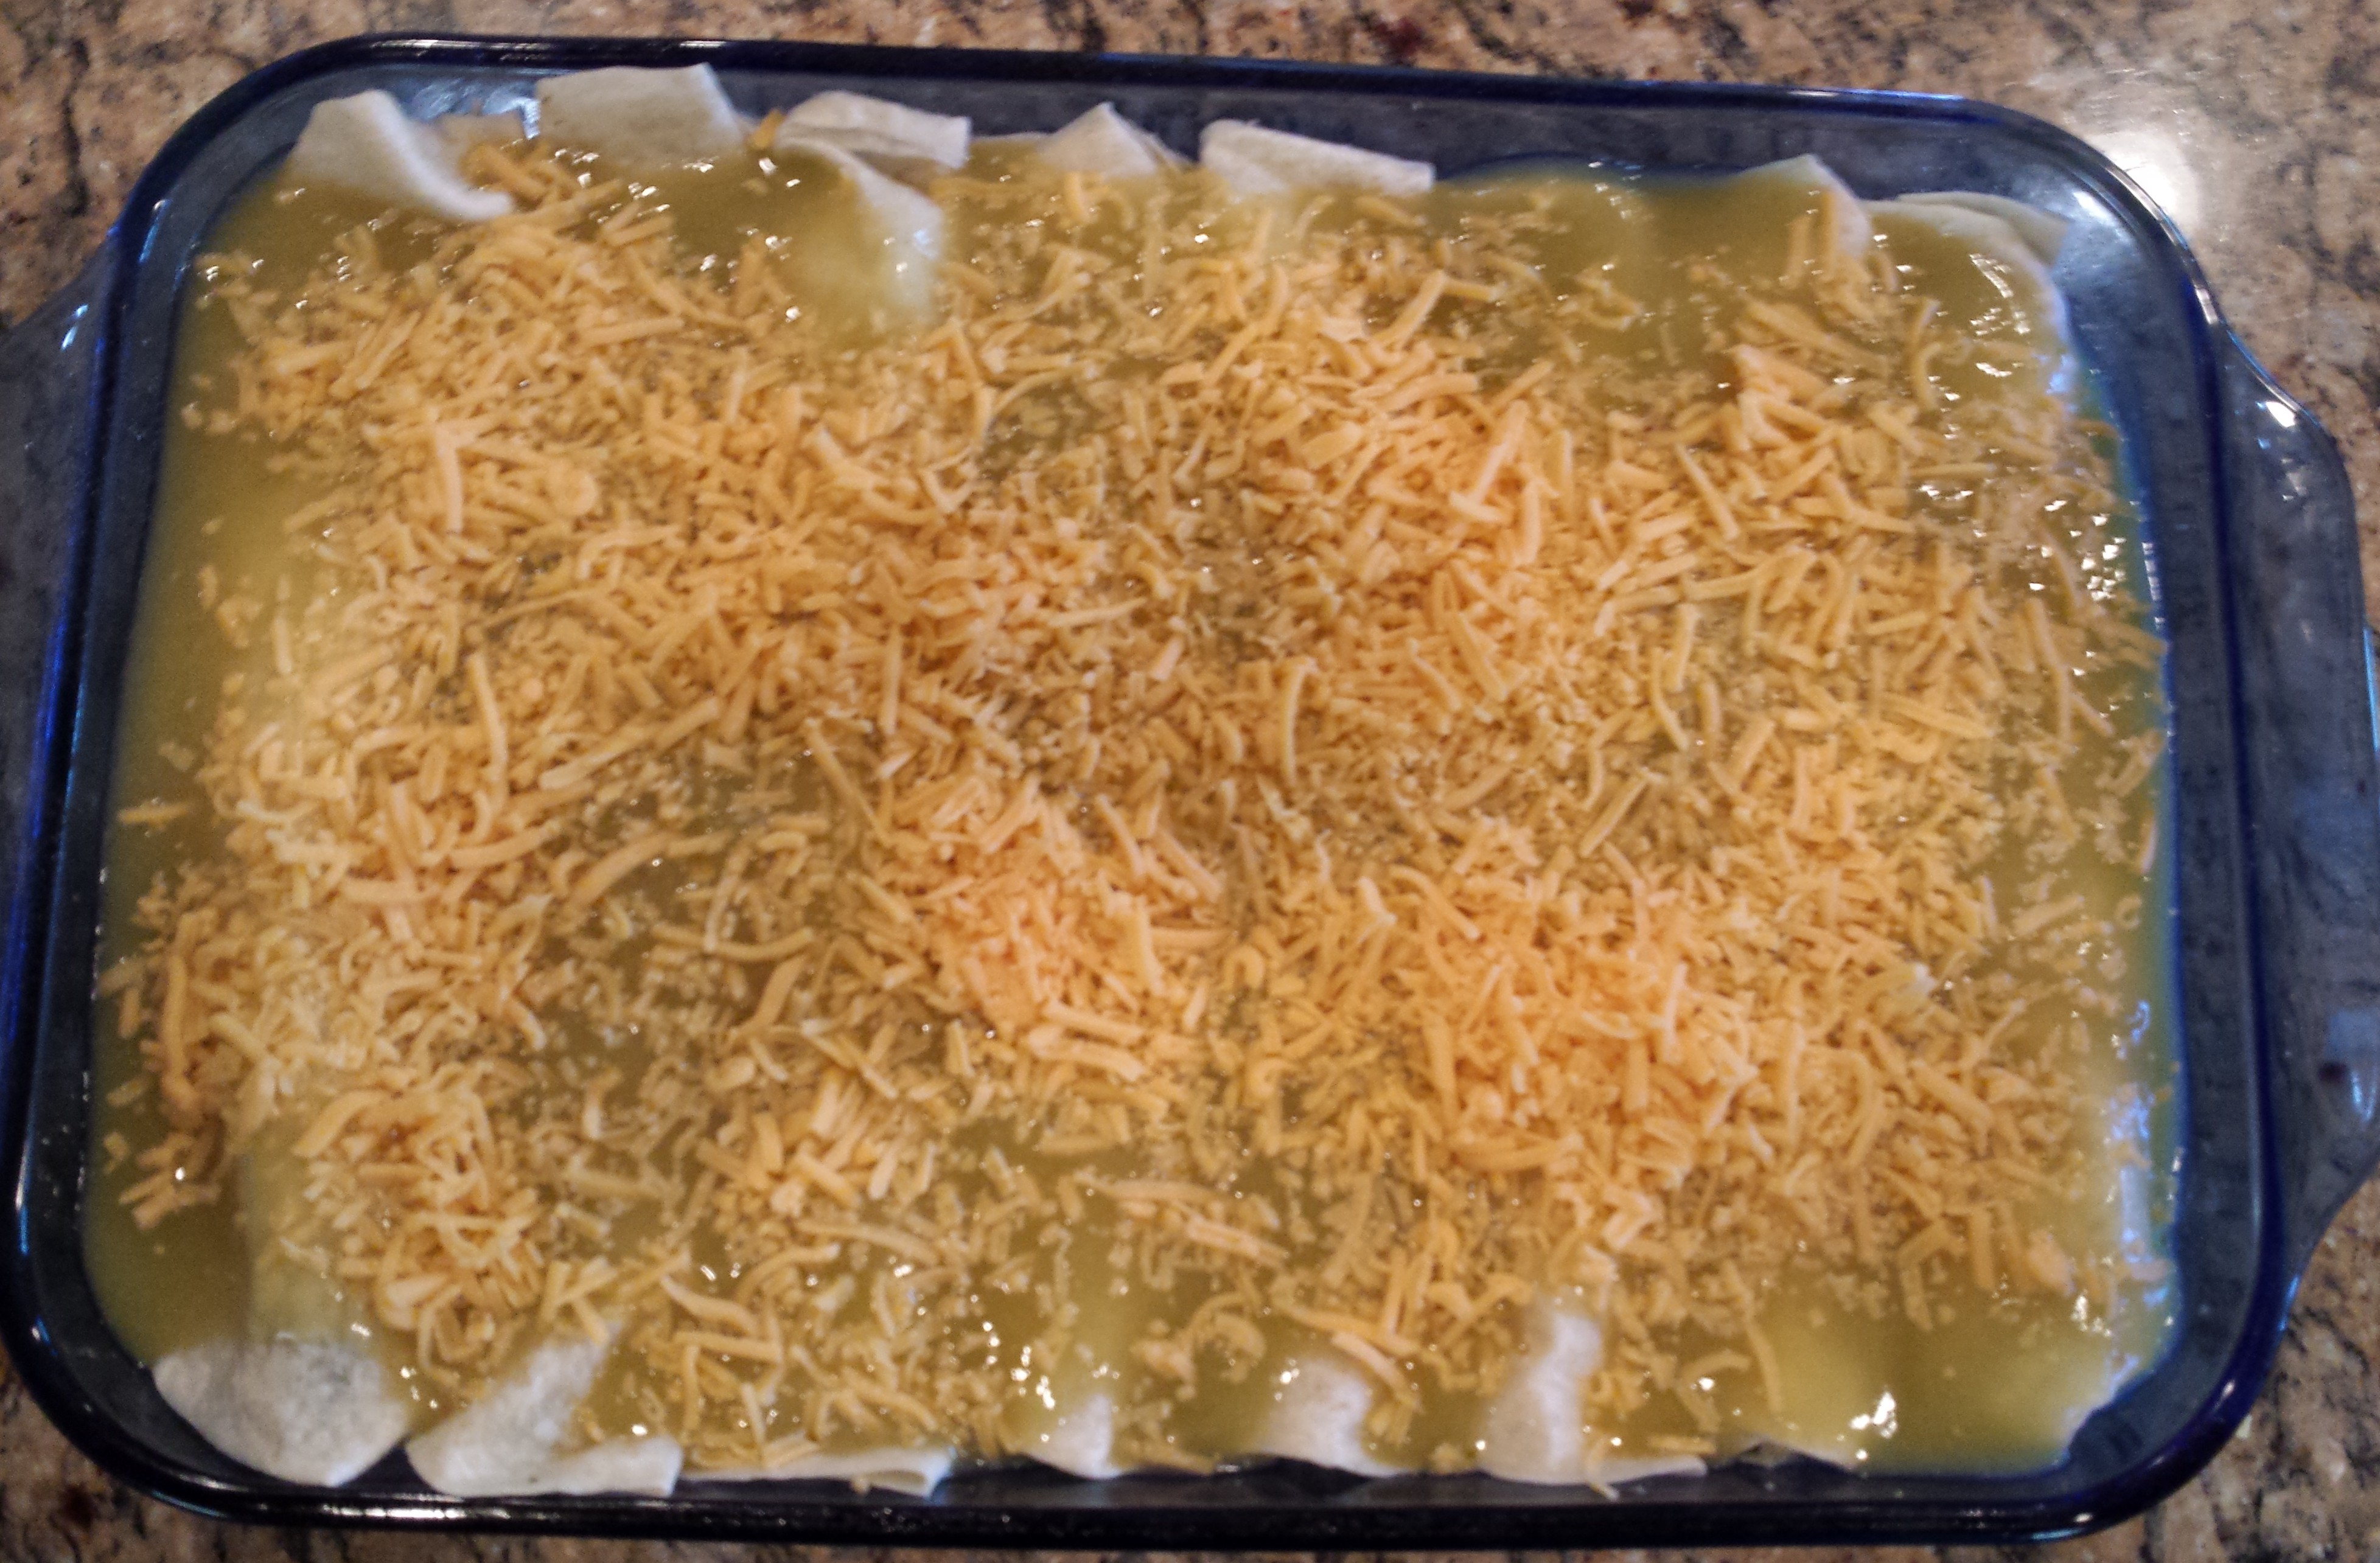
- Lightly spray the enchiladas with vegetable oil spray. Pour the remaining sauce over the enchiladas until they are all coated.
- Sprinkle the remaining 1 cup of cheese down the center of each enchilada.
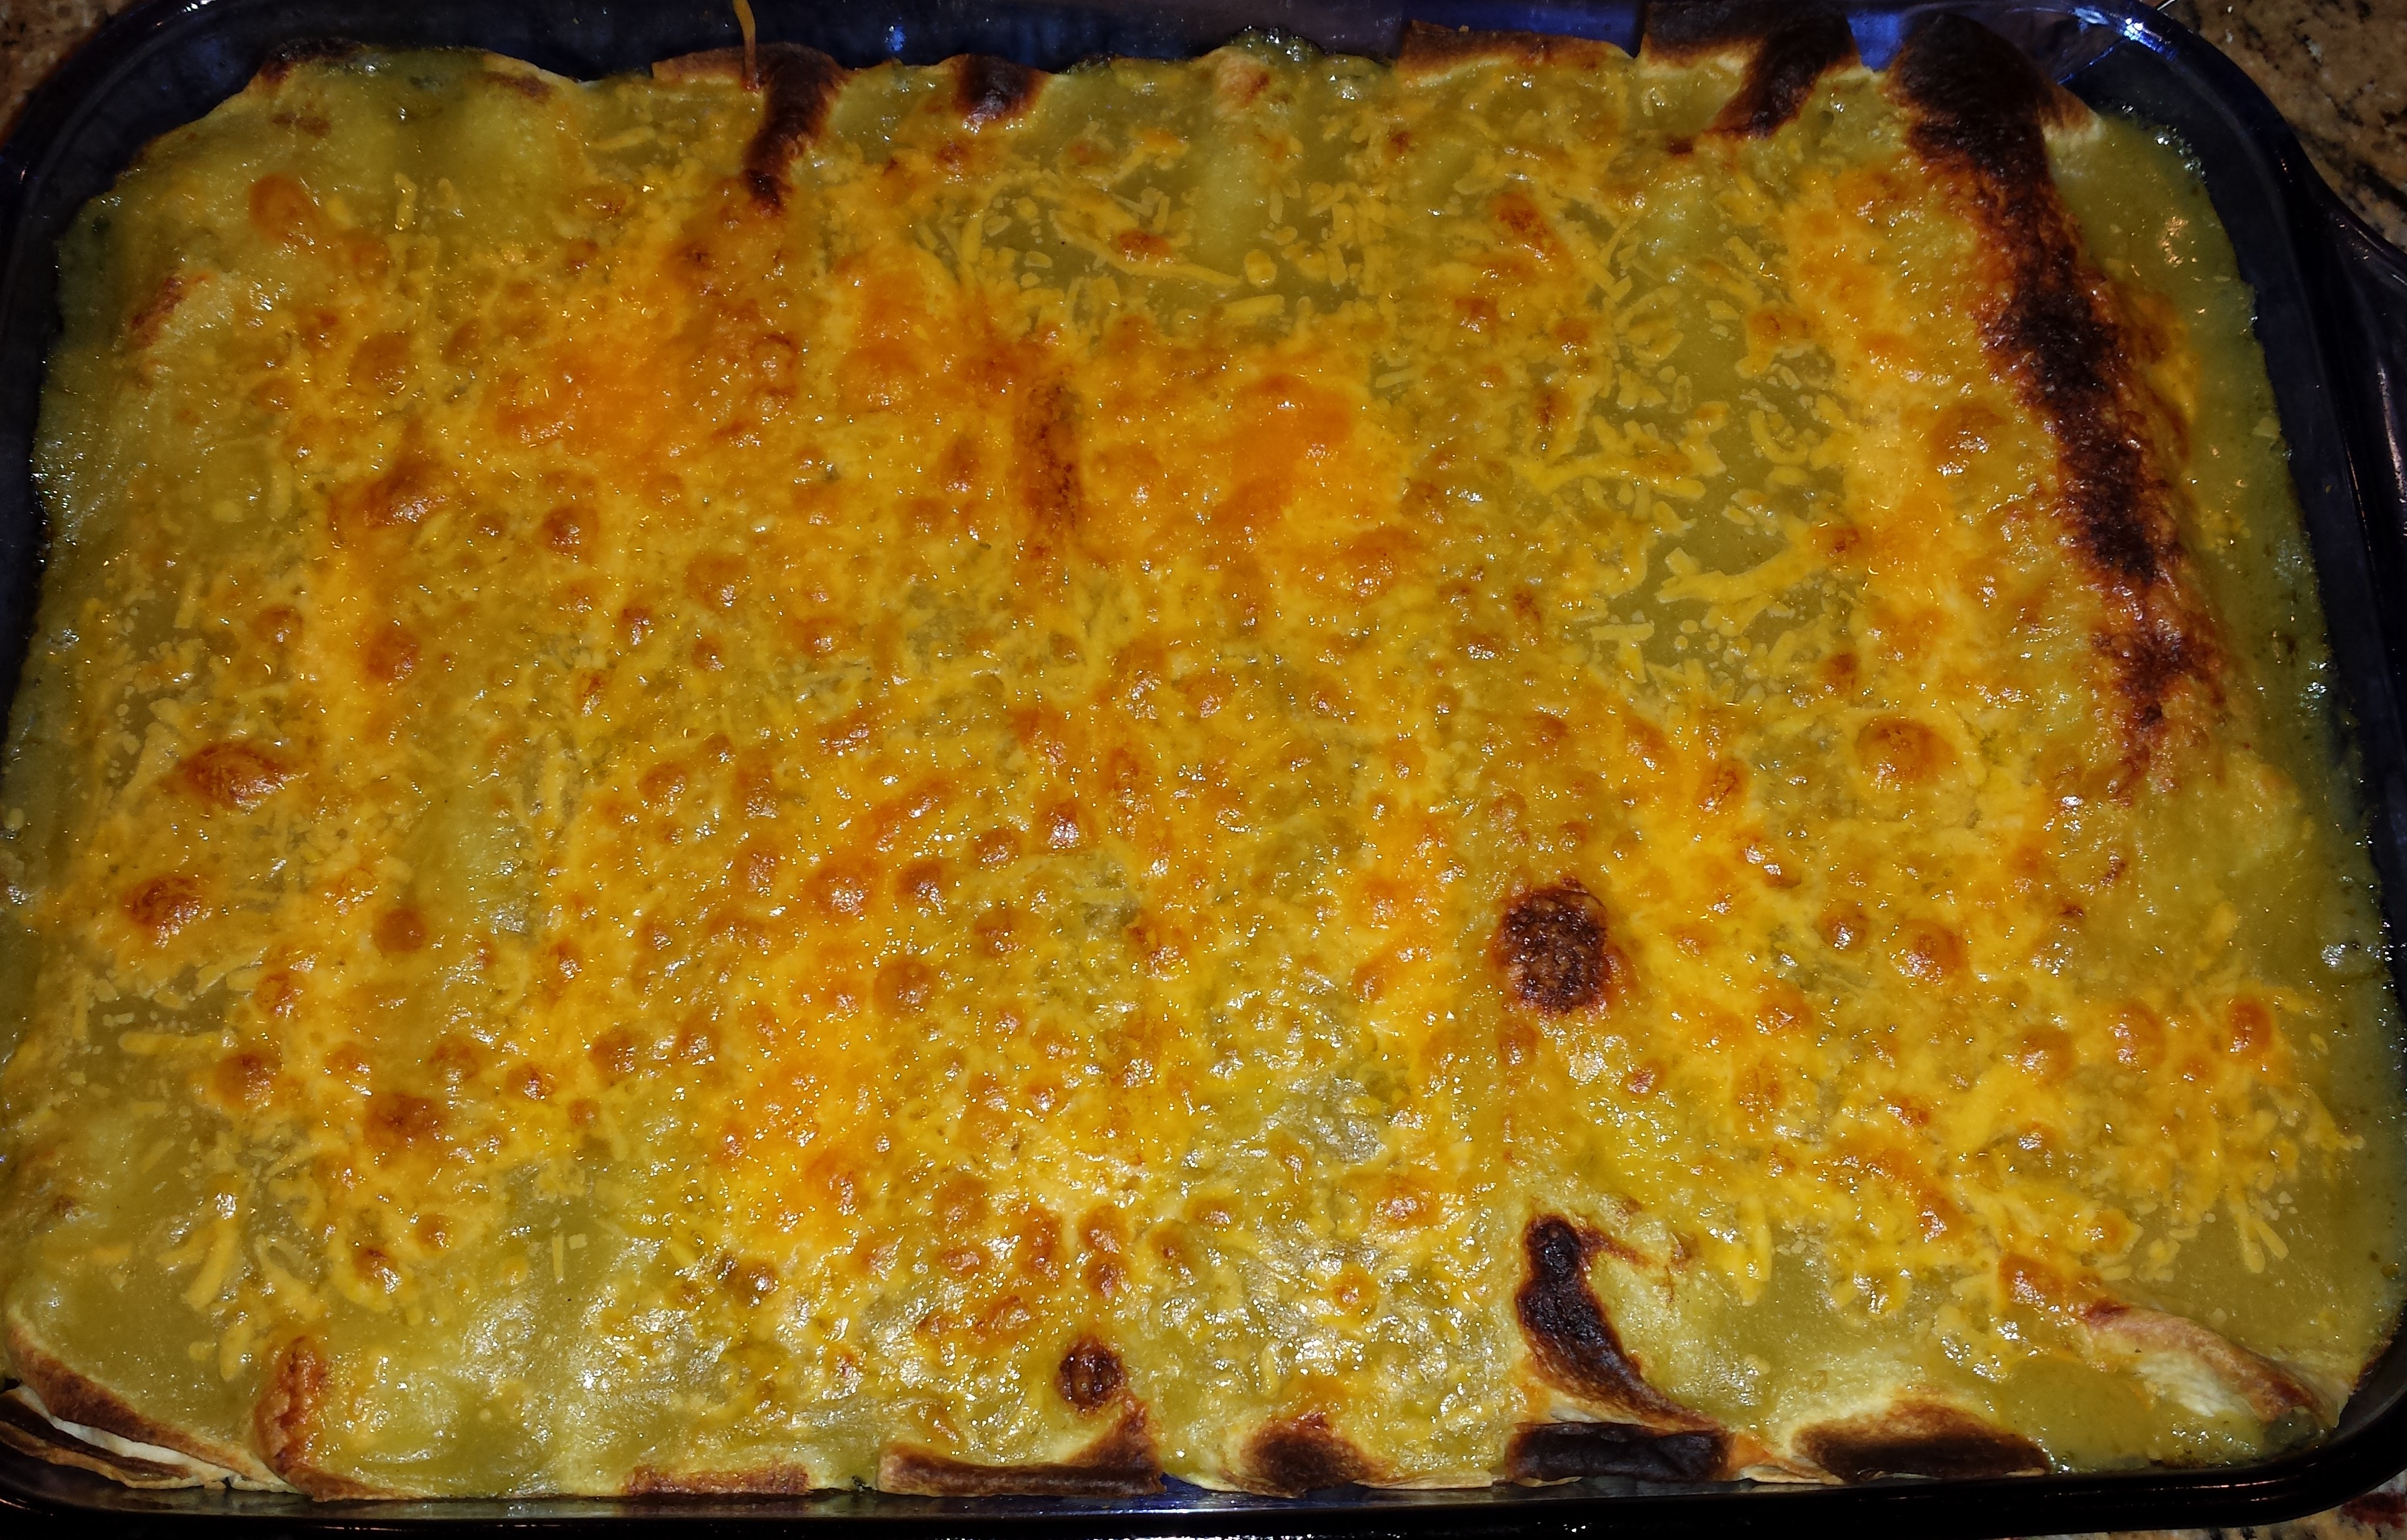
- Cover the dish with foil and back 20-25 minutes.
- Remove the foil and broil for about 5 minutes until they are nicely brown.
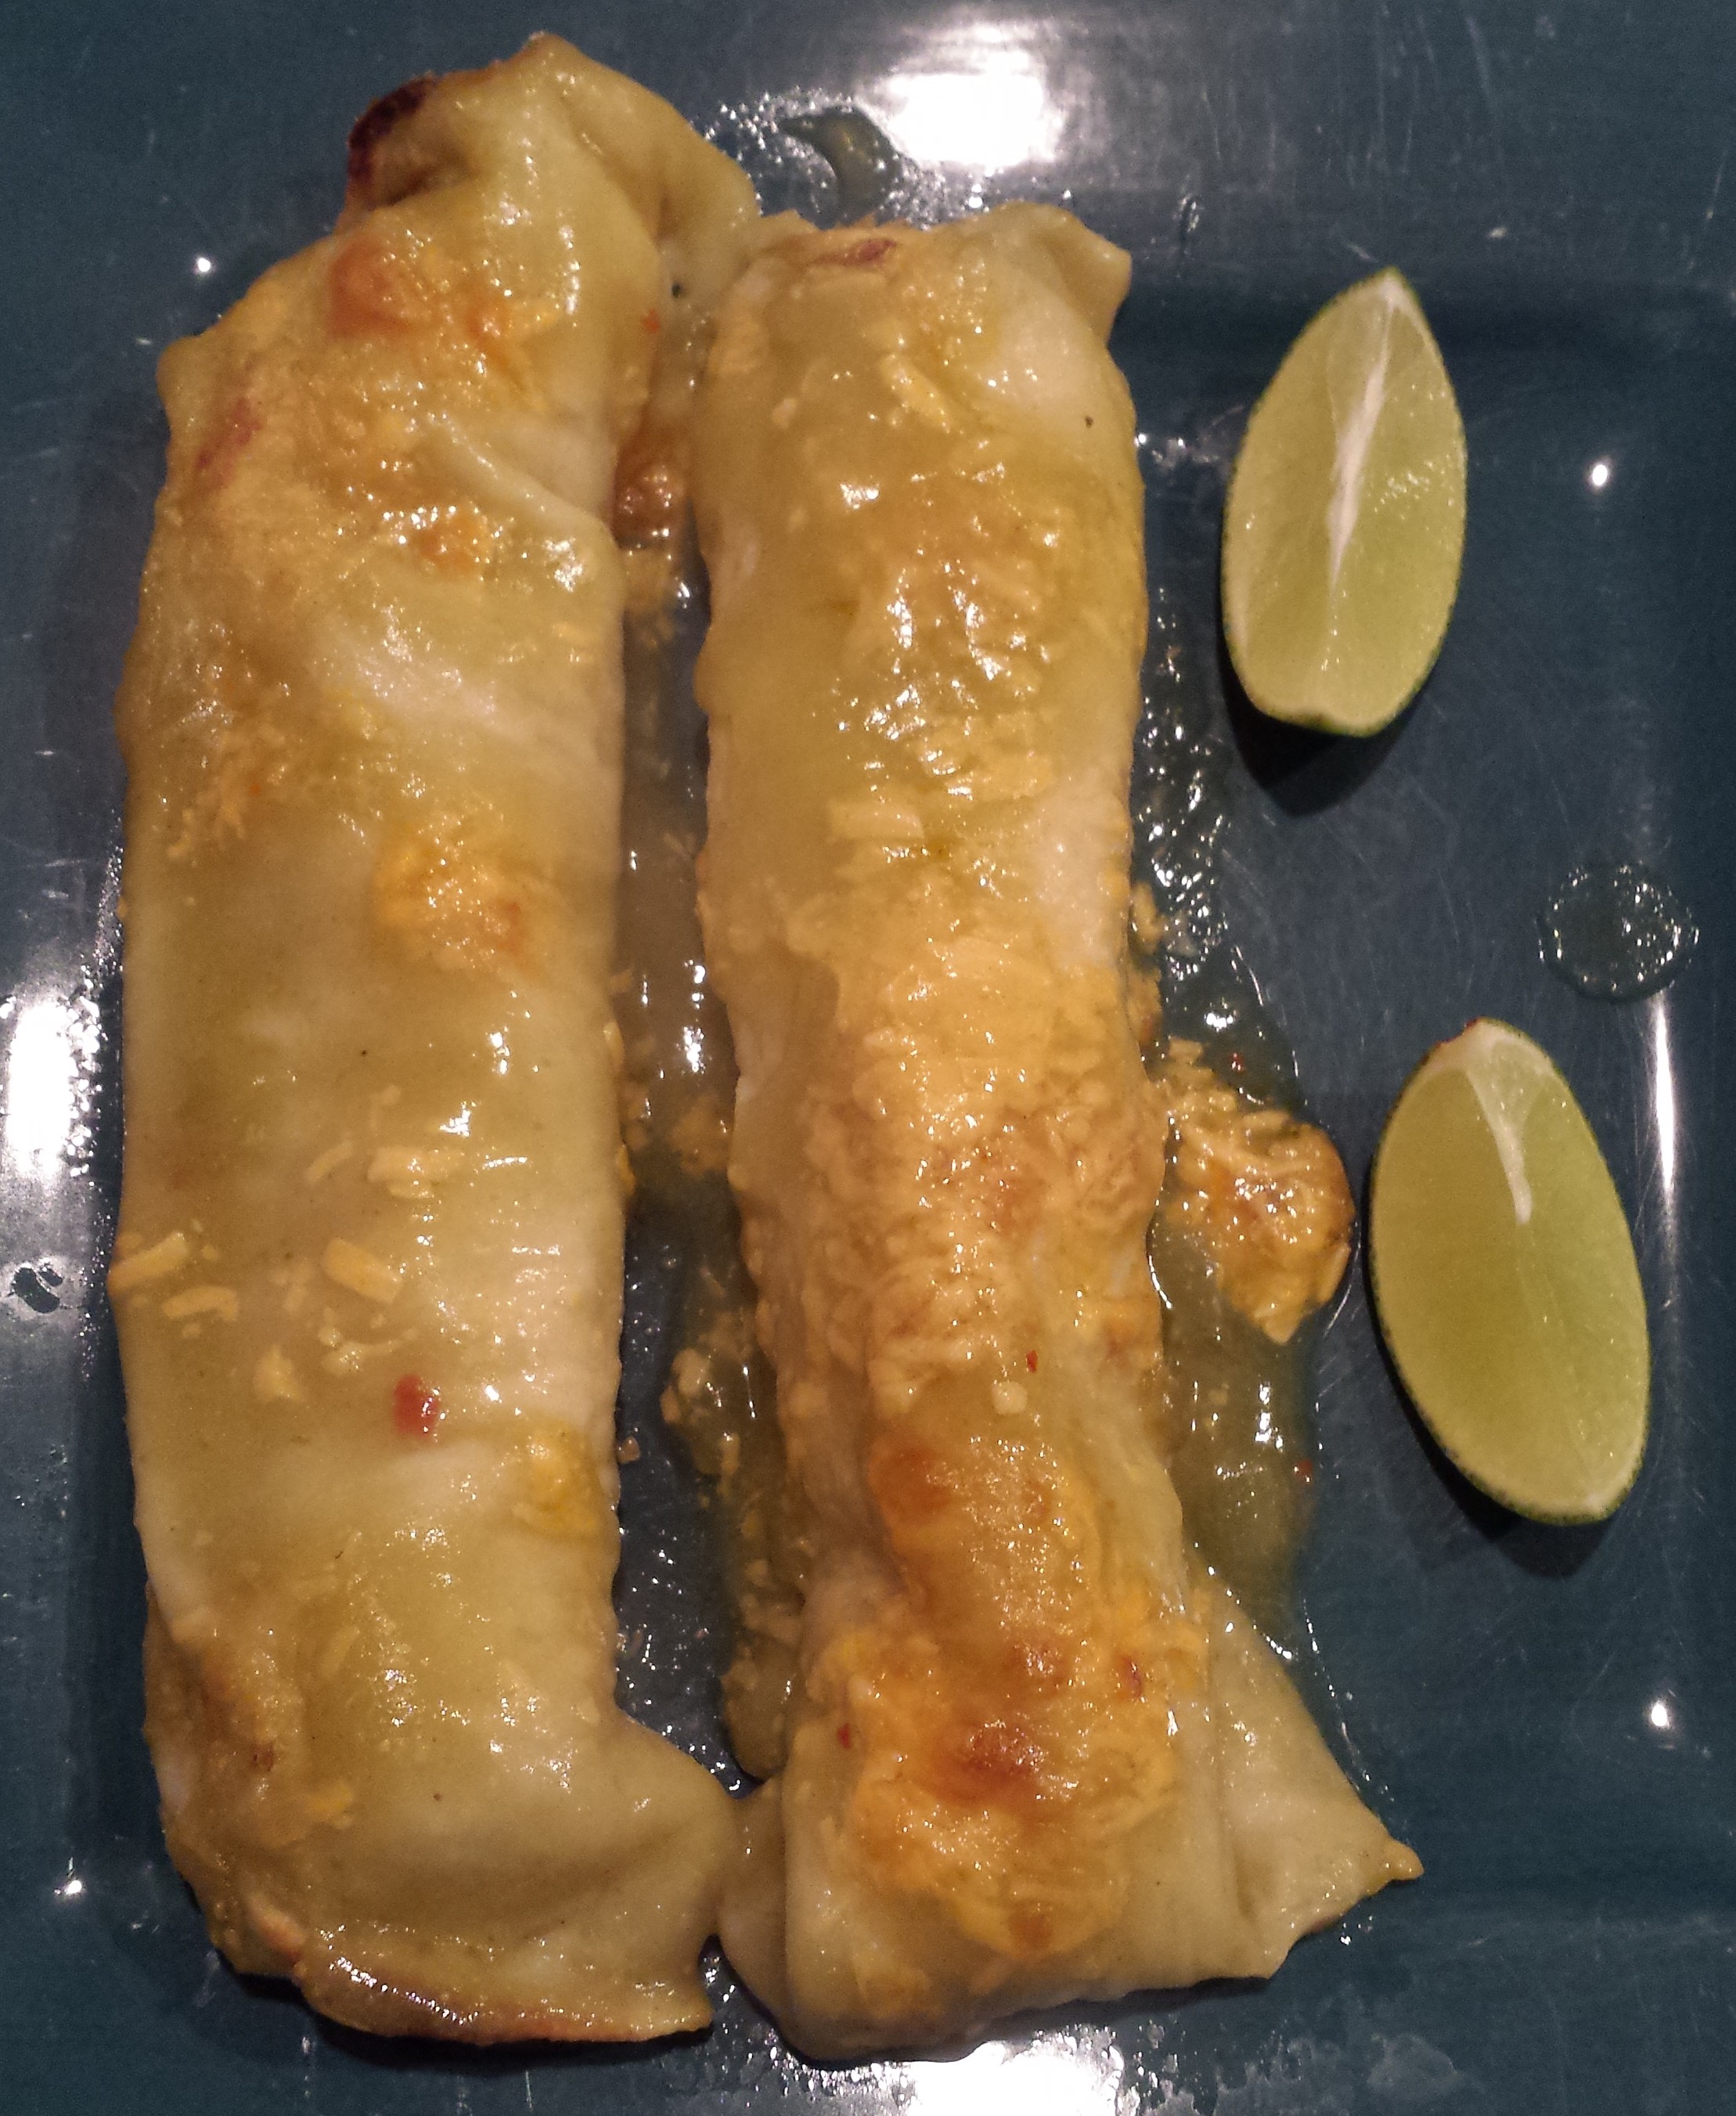
- Serve with lime wedges.
Ideas
- You can cook your own chicken and shred it, but that’s a lot more work than I want to do in the evening. Canned cooked chicken works great and I’ve never had anyone be able to tell the difference.
- When using flour tortillas, I usually don’t pre-warm them. For corn tortillas, this step should really be done so you don’t tear them.
- If you do not like your food too spicy, either omit of minimize the 4 oz of green chiles.
- Number of tortillas to roll? I usually only make 8. If you make more, you can have a second row on top of the first. This is fine, but then I feel they do not all get the enchilada sauce and cheese that I prefer.
- Broiling – I like to broil on low for about 3 minutes and then switch to high to finish. My husband prefers nicely browned enchiladas and I prefer mine a little more moist. Every oven has different rates of cooking, especially when broiling, so watch closely and rotate as needed.


Crustless Tomato Pie

This is one of the recipes that people either get super excited about or they think you are completely strange for making it. If the later, get them to taste it and they’ll wonder what they were thinking about. The first time I made a crustless tomato pie was about 20 years ago. I had a small garden, but a profusion of tomatoes. After I had made tomato sauce, piccalilli and too many BLTs to count, I figured I needed to find something new to make. Most tomato pies have two crusts and seem heavy to me. When it’s Summer, I prefer the idea of “lighter” feeling food. If you agree, make this pie. Many years ago, I traded this recipe for a bunch of free grapes from an amazing winery in the Willamette Valley in Oregon. I hope you enjoy it as much as that owner did.
Ingredients
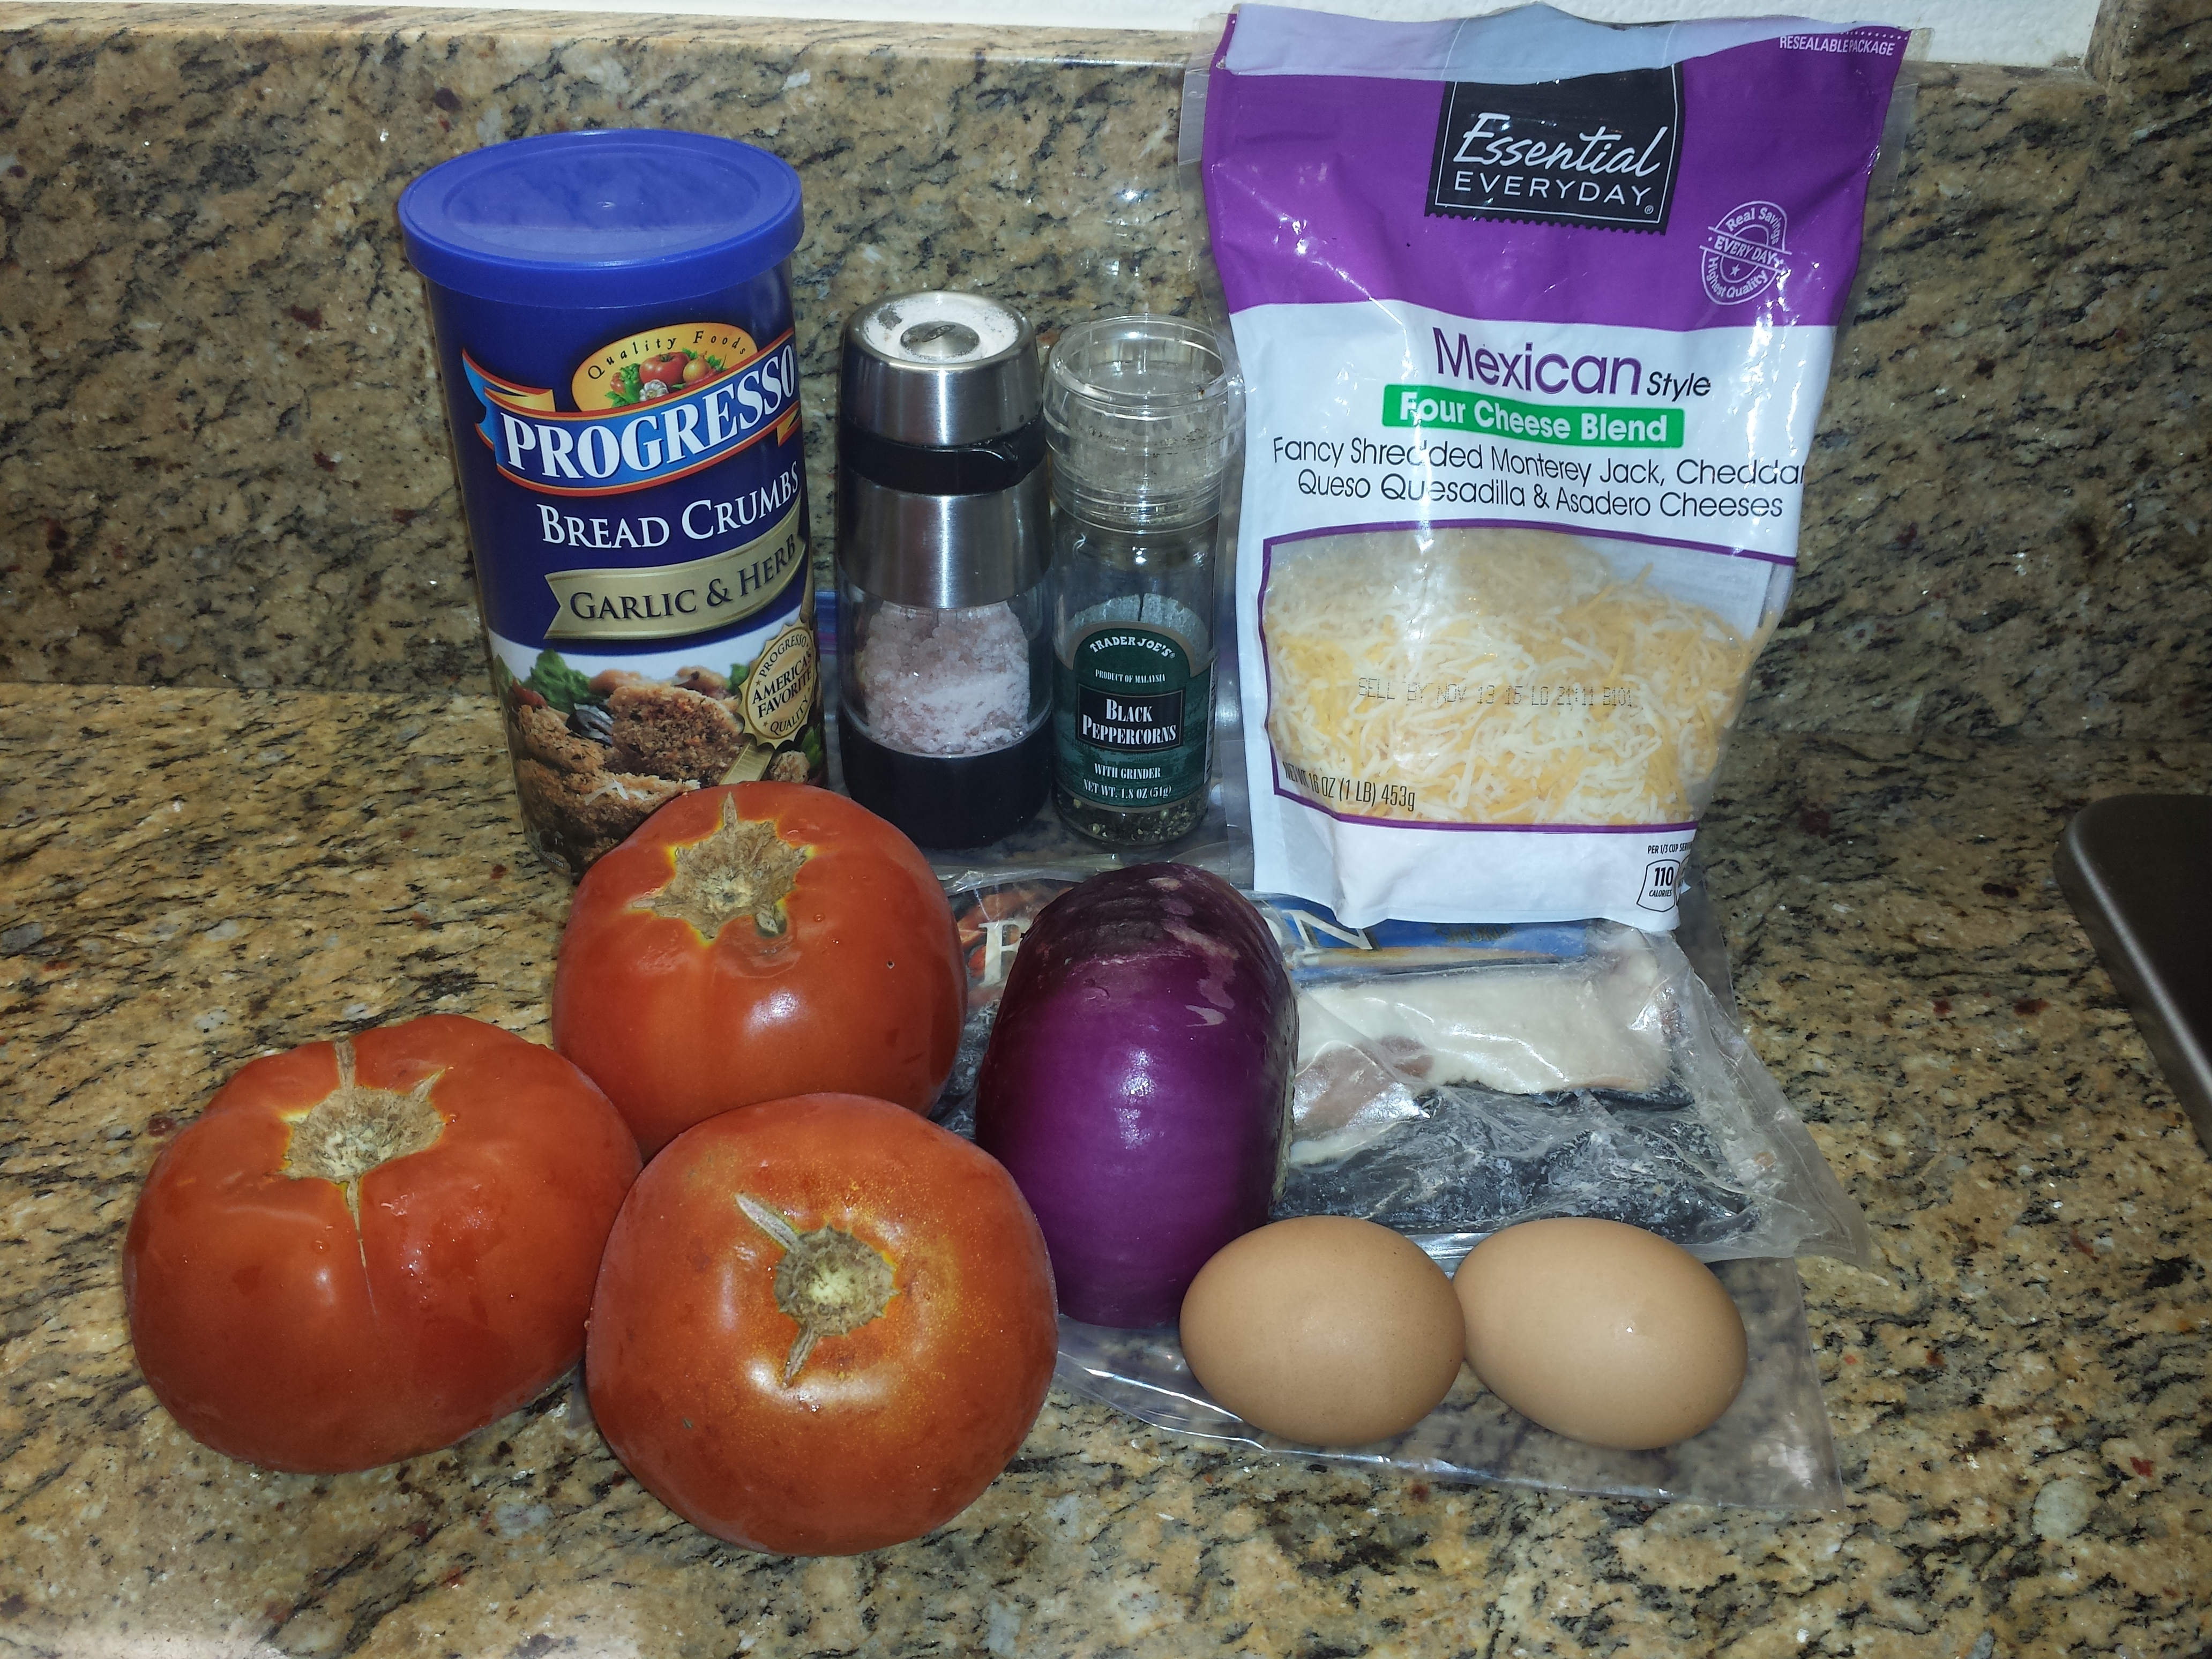
- 1 cup of breadcrumbs (I prefer flavored ones, Italian is my choice)

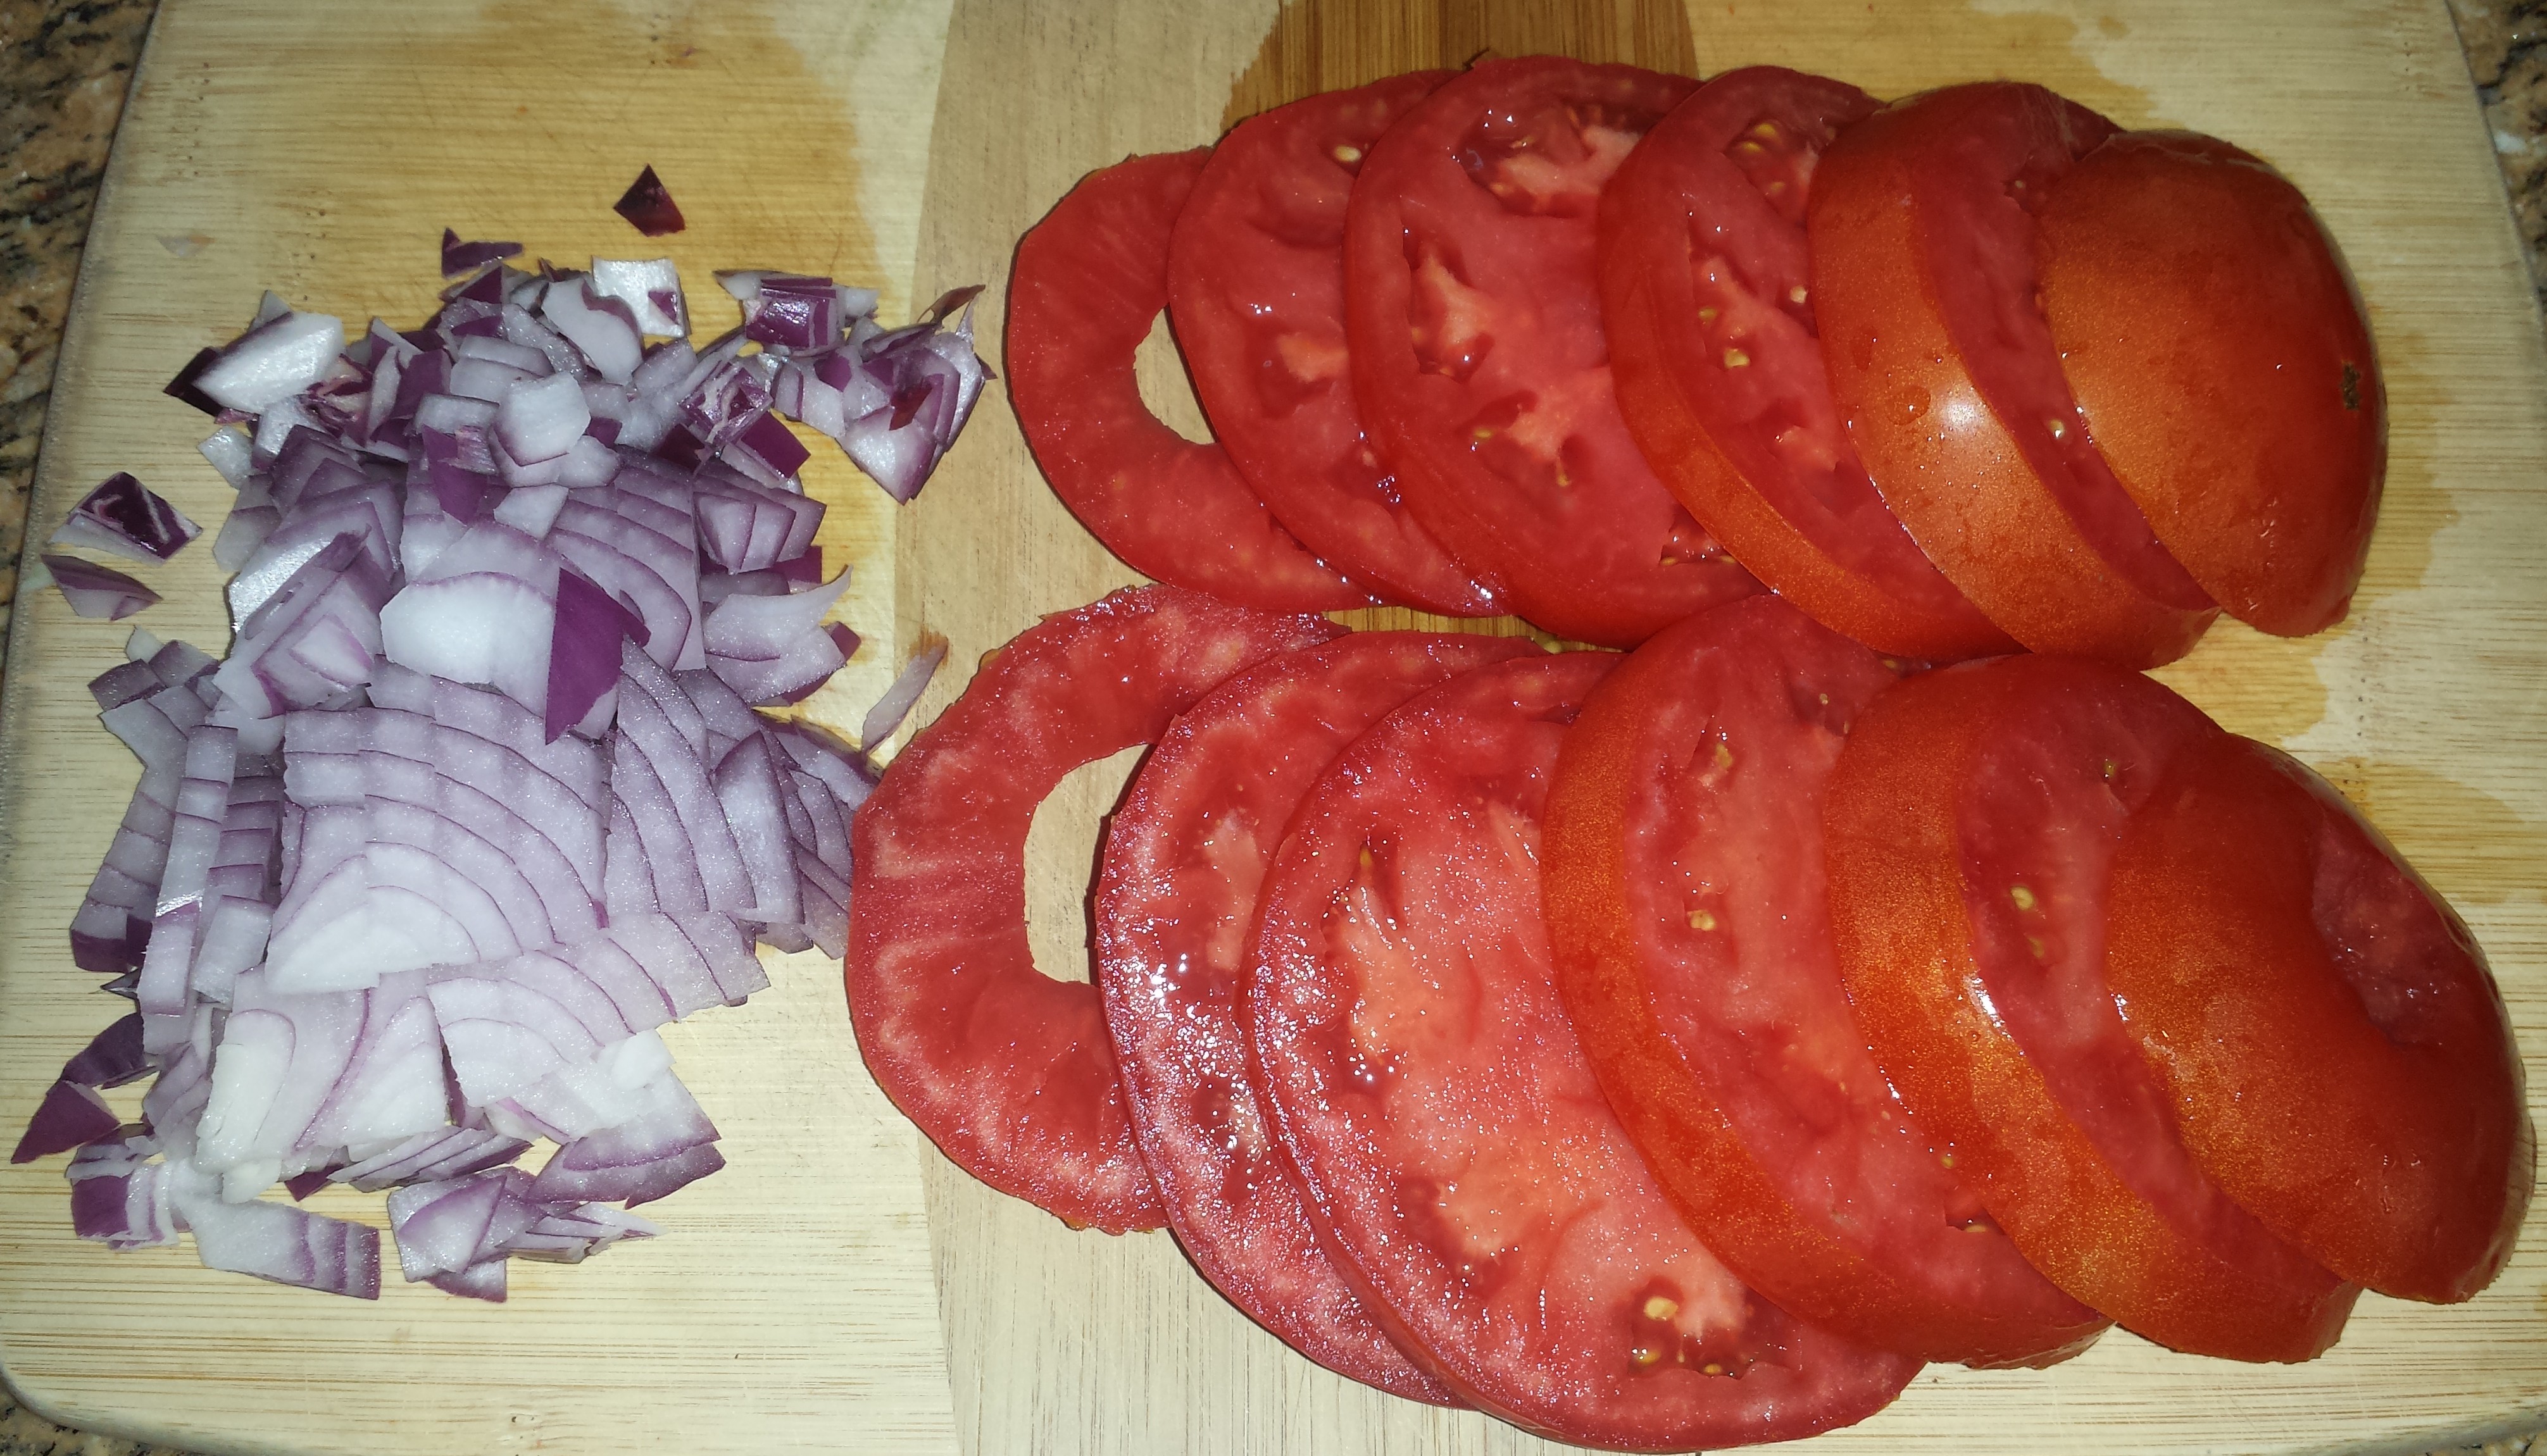
- 2-3 good size tomatoes (about 3 cups), cored and sliced
- 1 medium onion, finely chopped (I prefer a red onion) – after chopping heat in the microwave on high for about 45 seconds
- 2 cups of grated cheese (Sharp cheddar or Mexican)
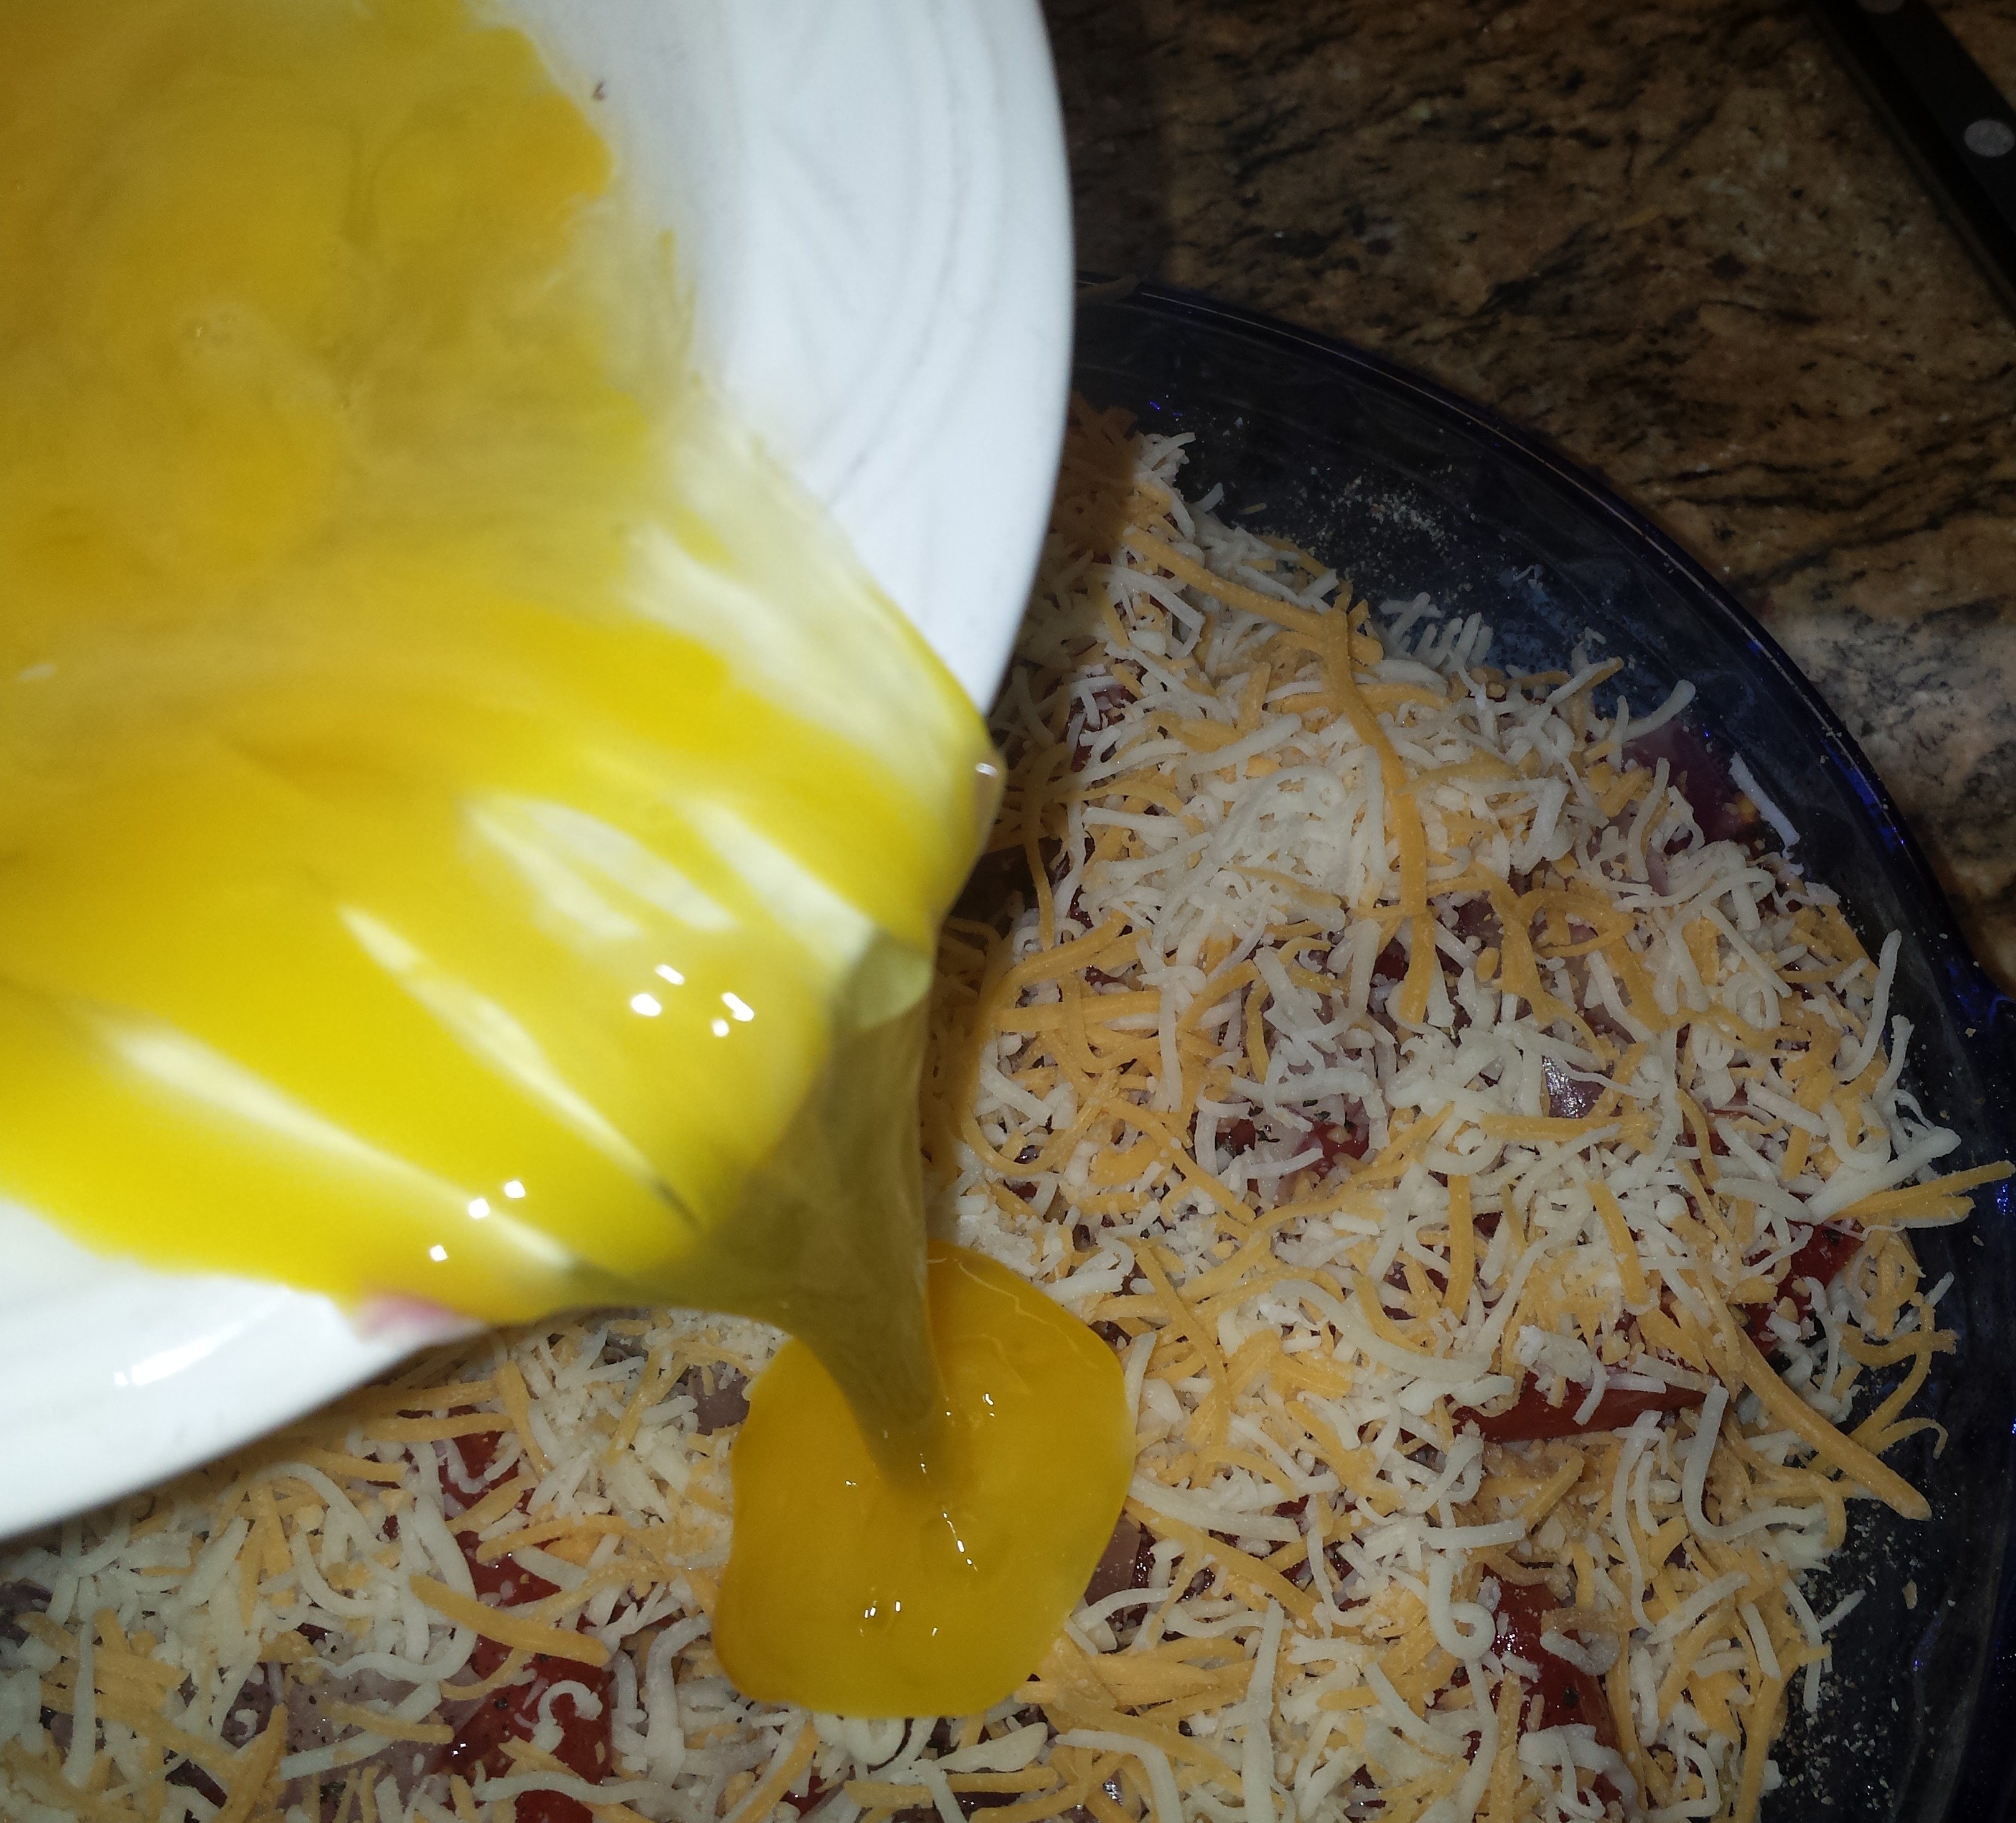
- 2 large eggs, lightly beaten
- Salt and freshly ground pepper (to your taste)
- 3-5 strips of bacon (pork or turkey) – and cut 2-3 slices into bite size pieces
Instructions
- Preheat over to 325 degrees F. Spray a 9″ pie pan with nonstick cooking spray.
- In a skillet (or in the microwave on a paper towel), partially cook the bacon, drain on paper towels and set aside.
- Spread 1/2 cup of the bread crumbs evenly on the bottom of the pie pan.

- Arrange 1/2 of the tomato slices on top of the bread crumbs.
- Add 1/2 of the chopped onion and the bacon pieces.
- Put some freshly ground pepper and salt (if desired) over this.
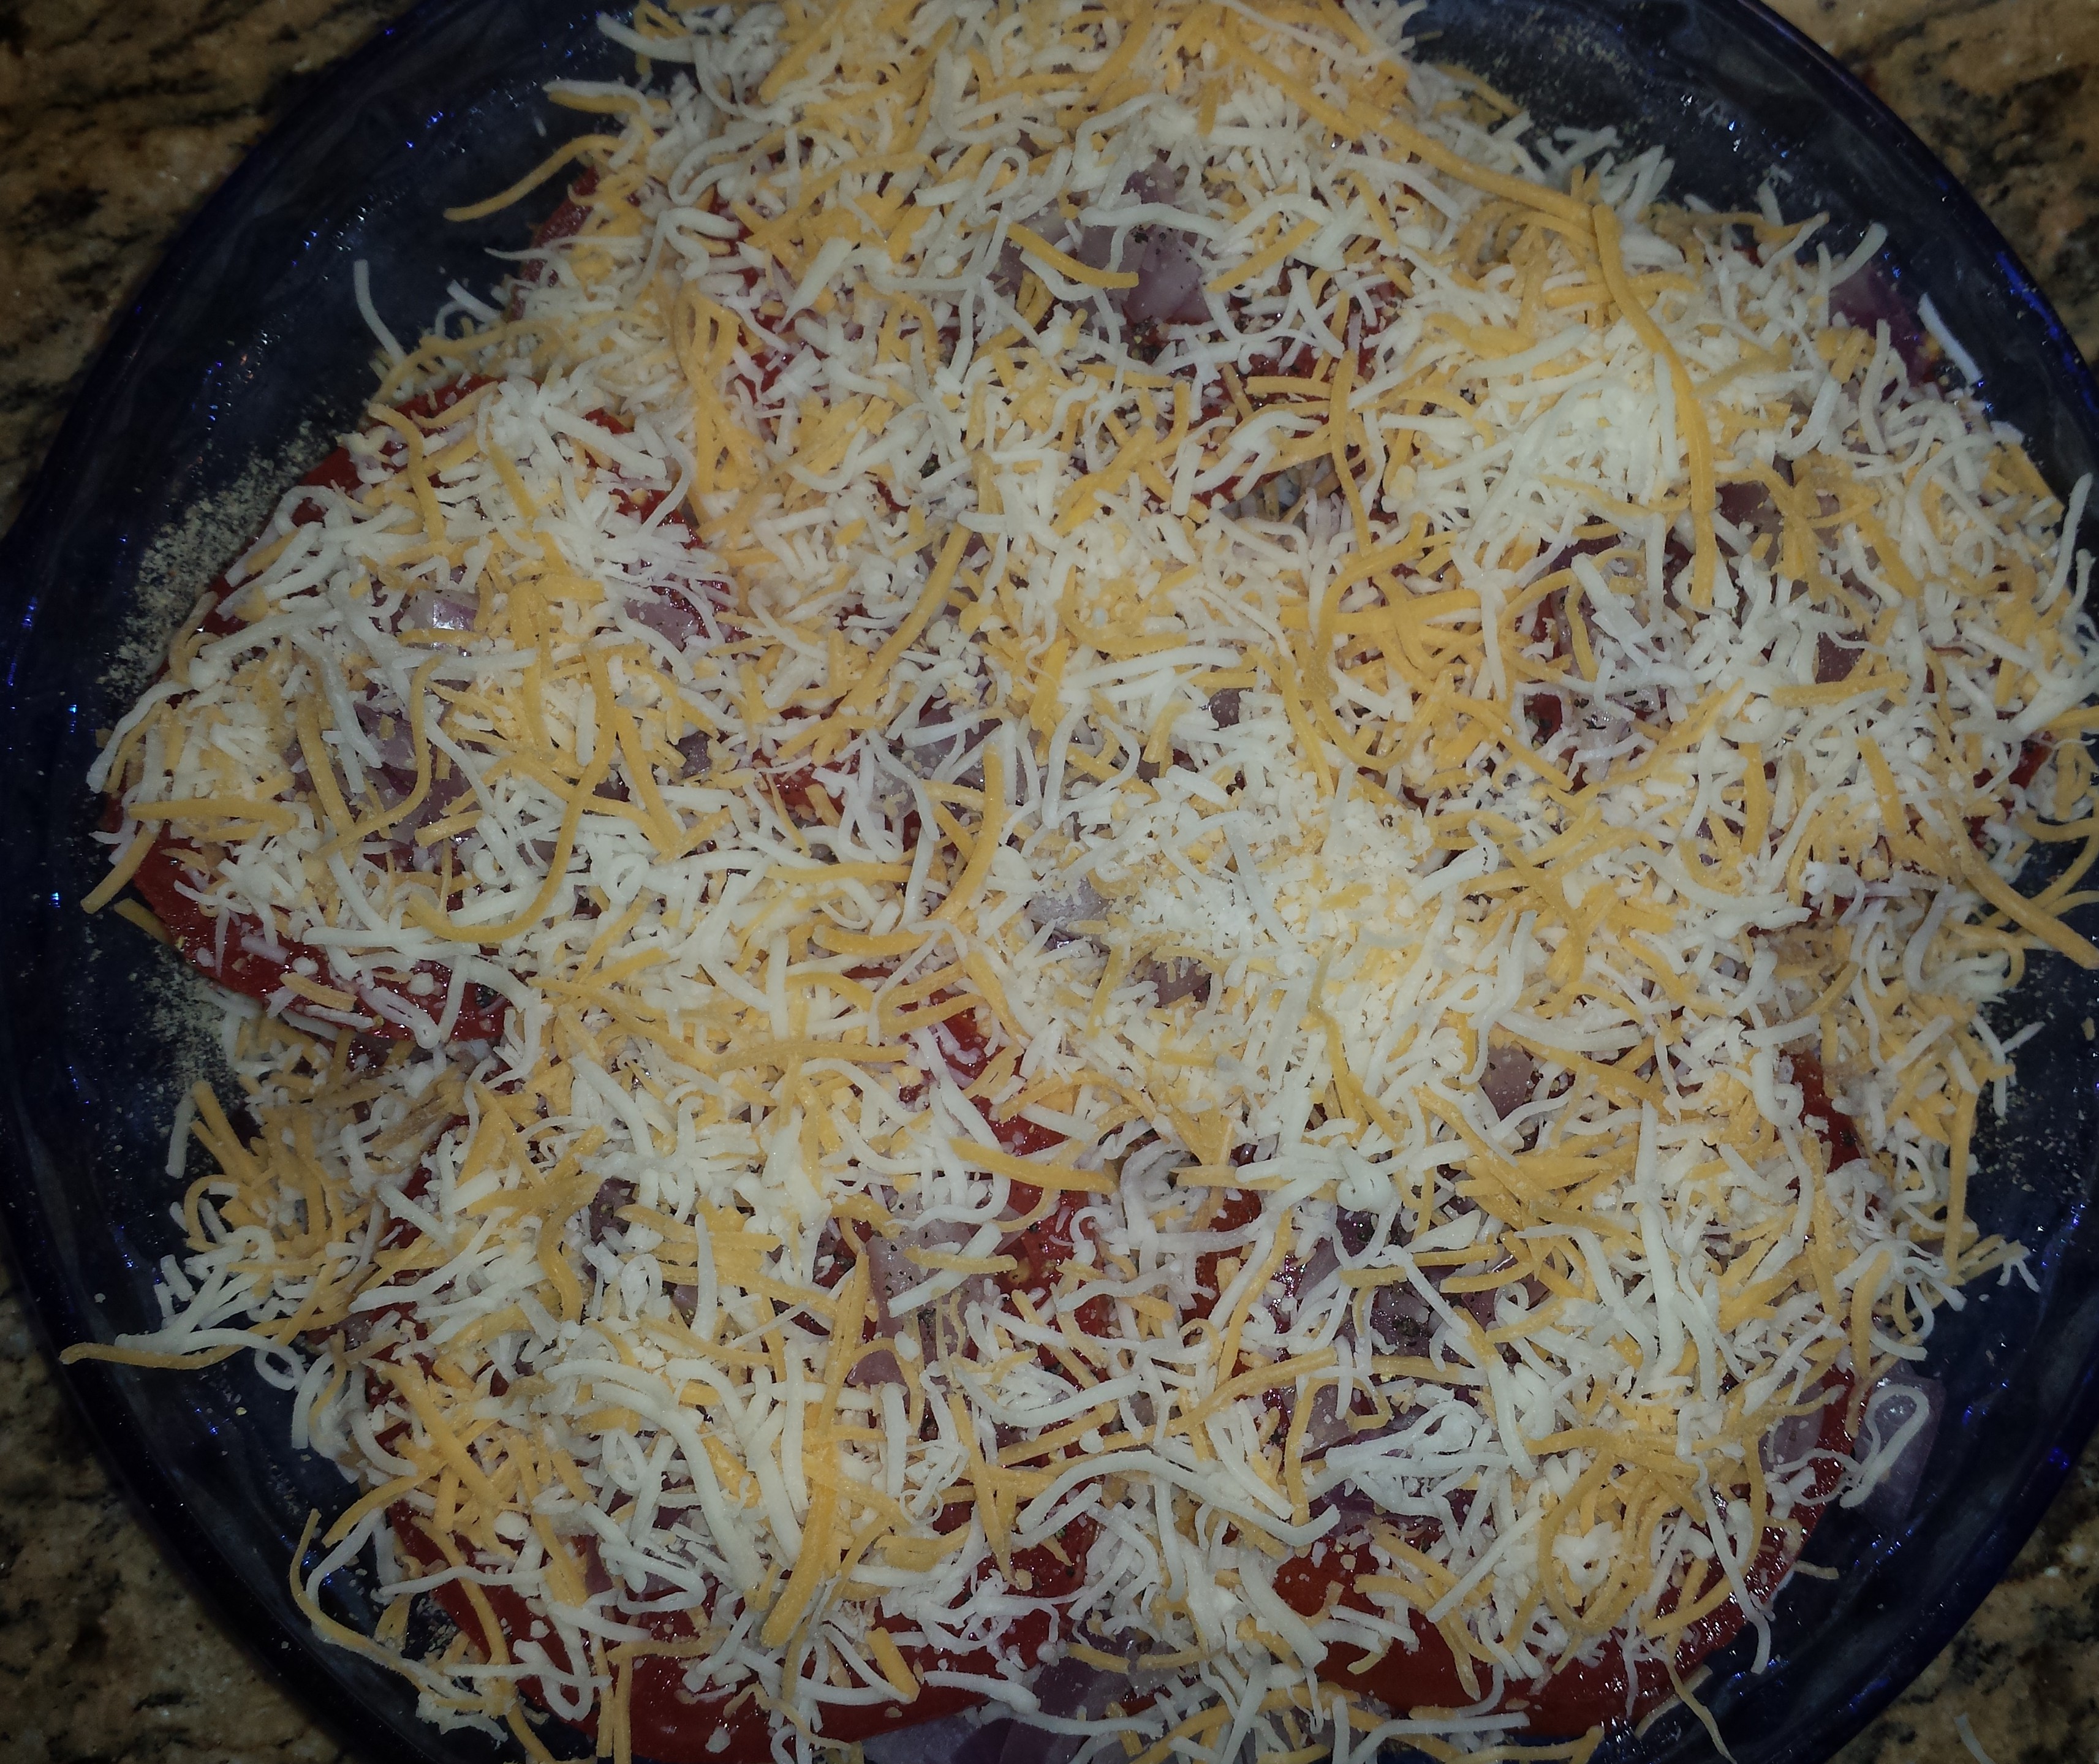
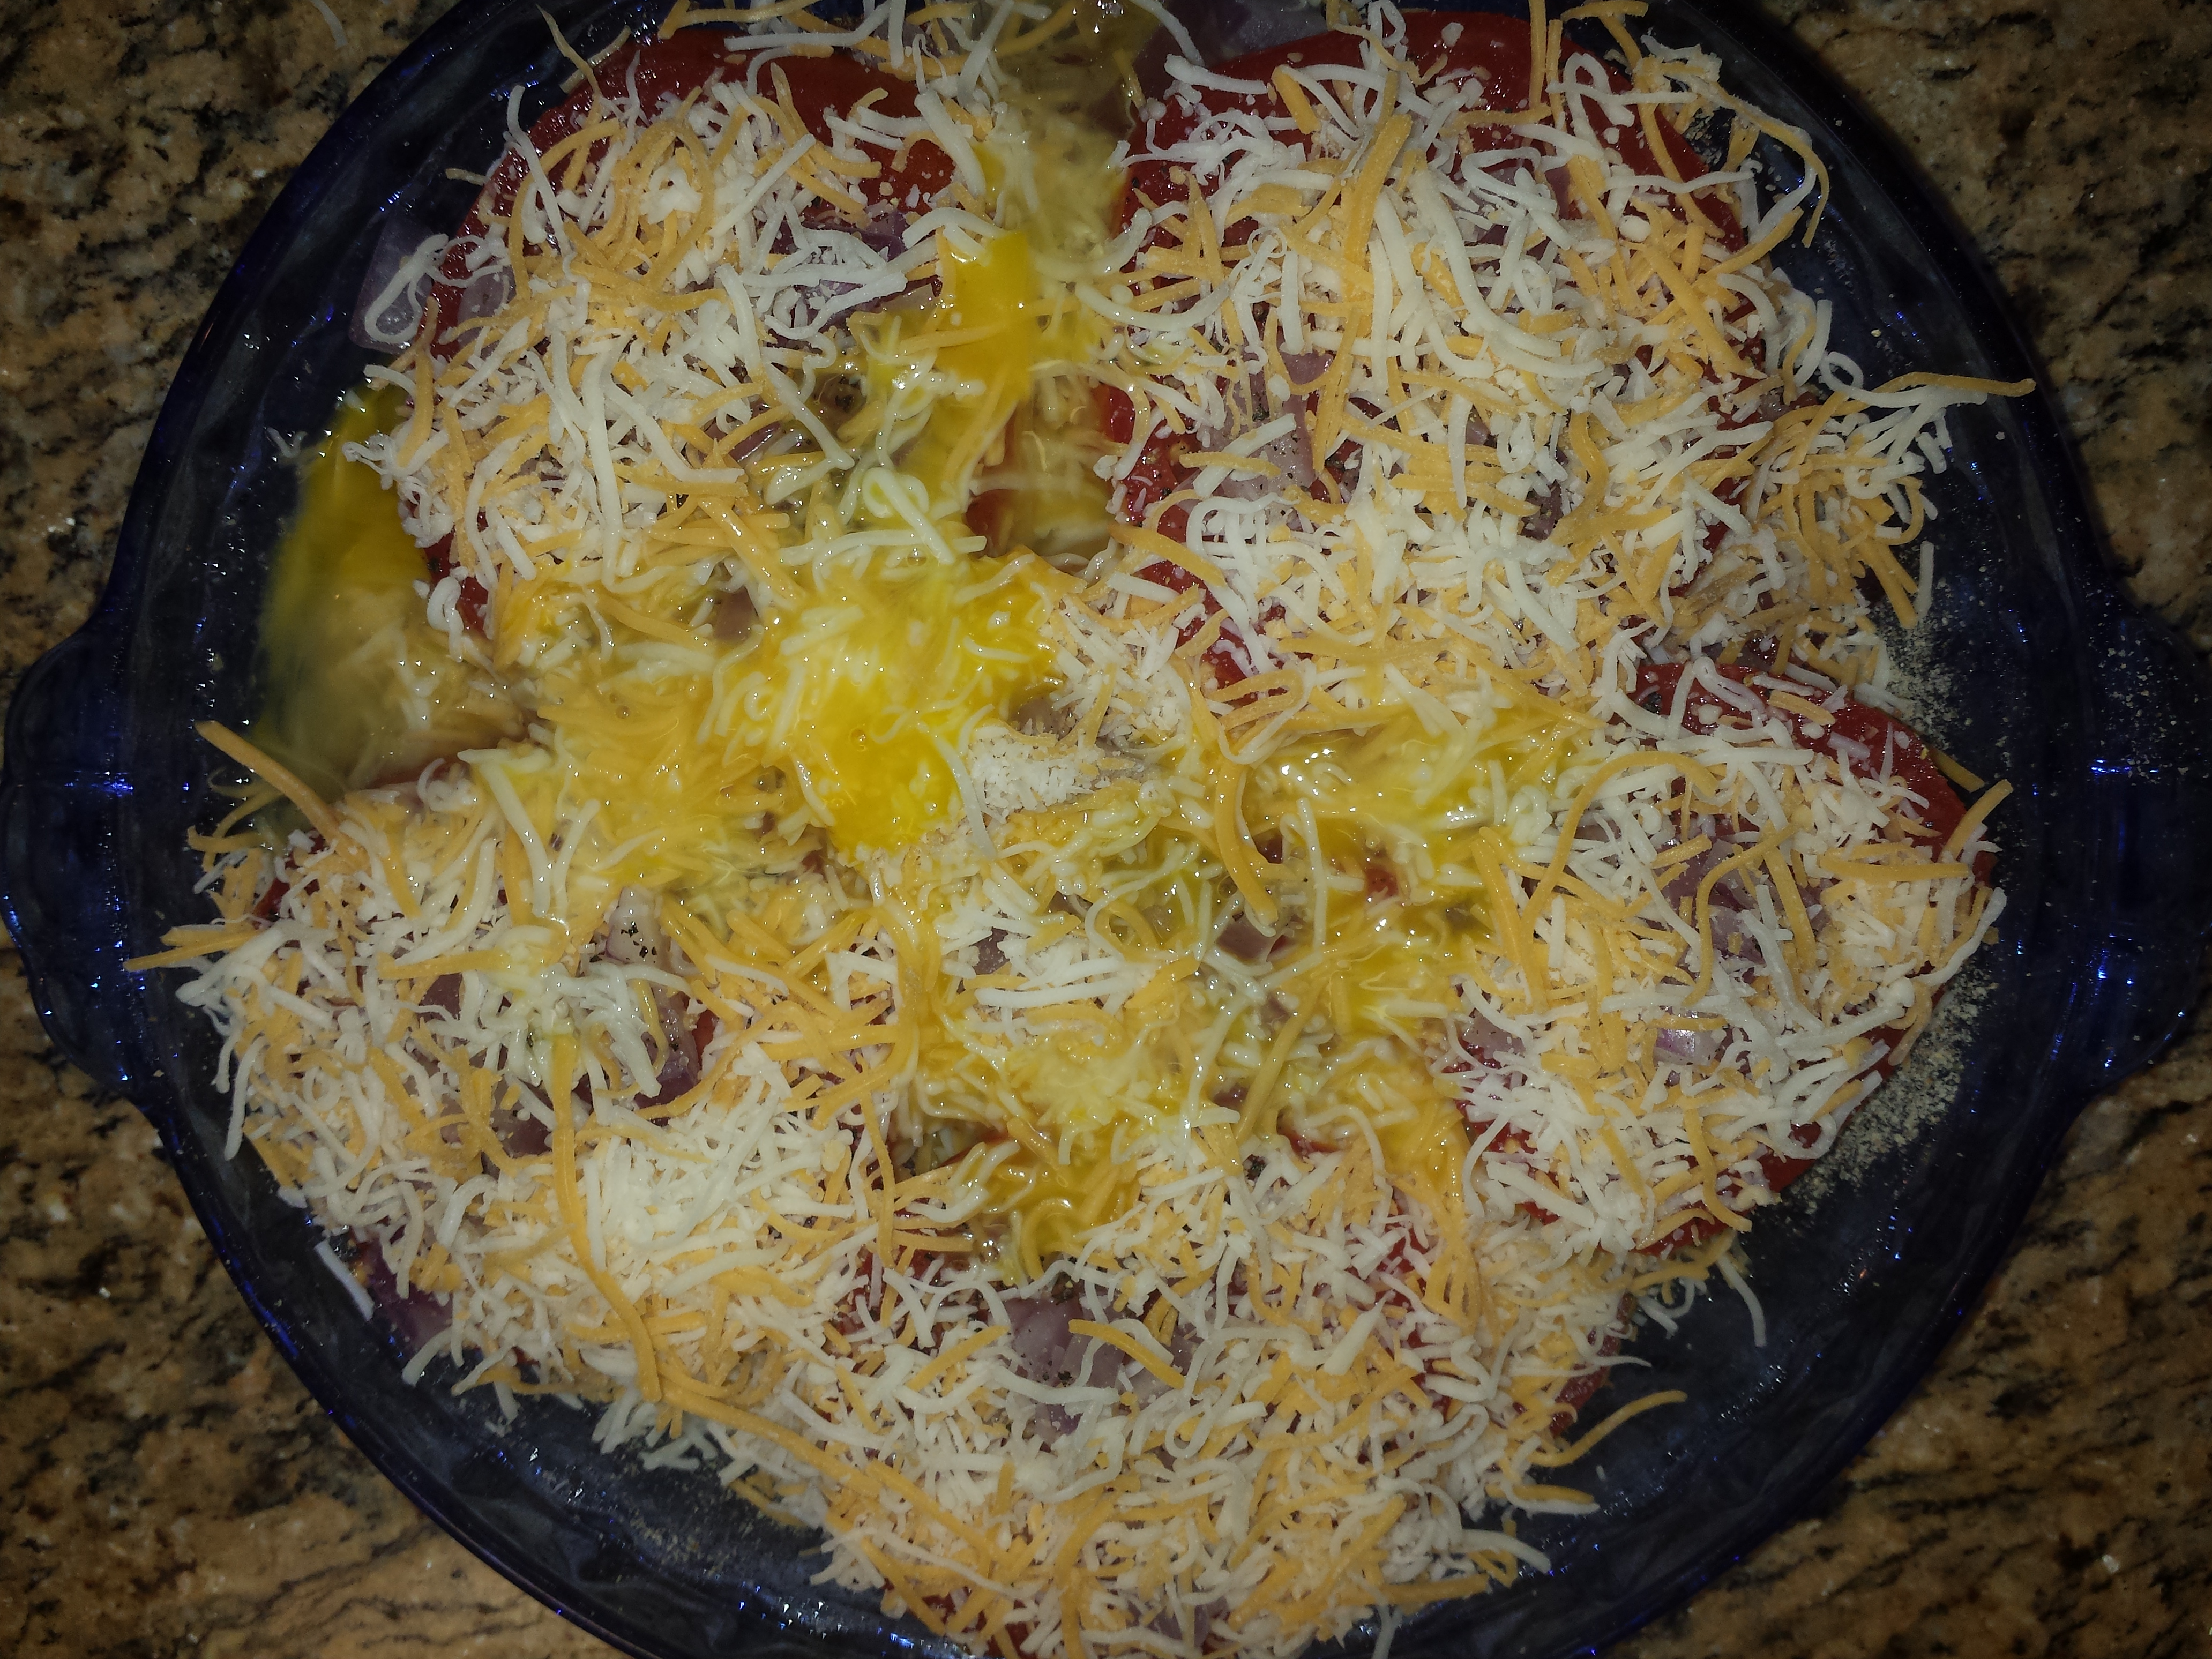
- Cover with 1 cup of grated cheese.


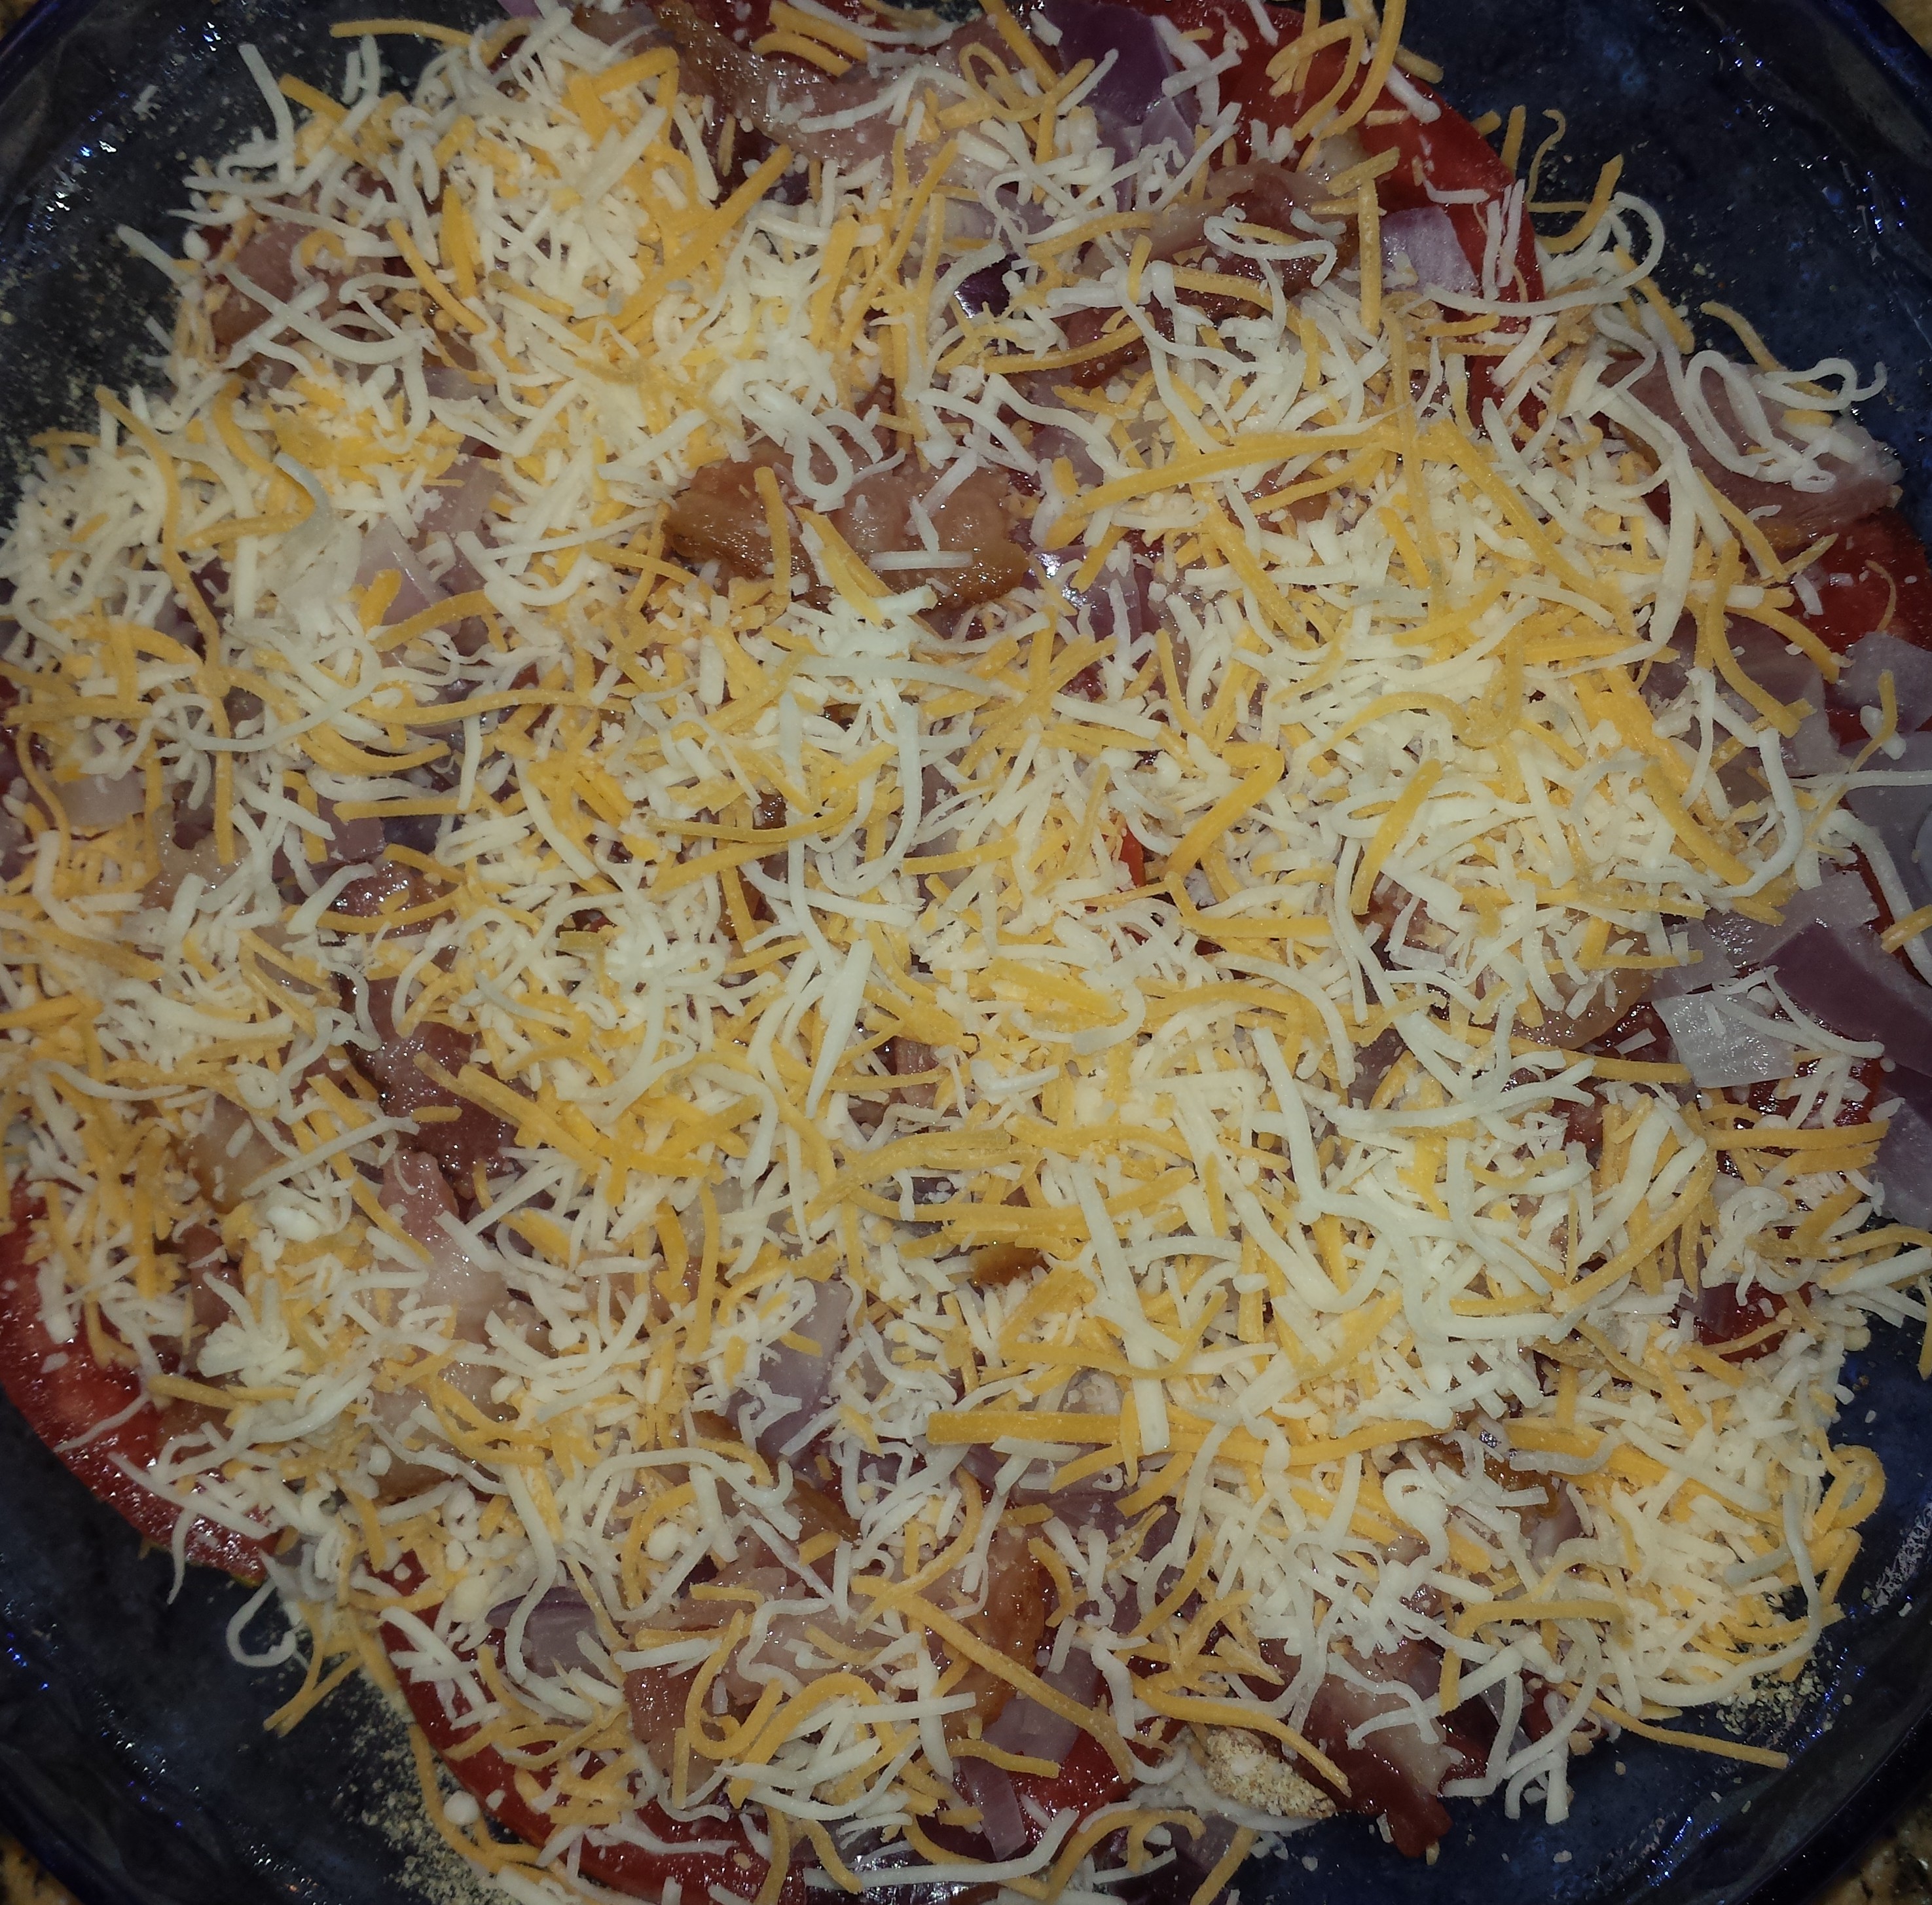
- Repeat with a second layer of tomatoes, onions, and cheese.
- Pour the beaten eggs over the pie and add salt/pepper (if desired)
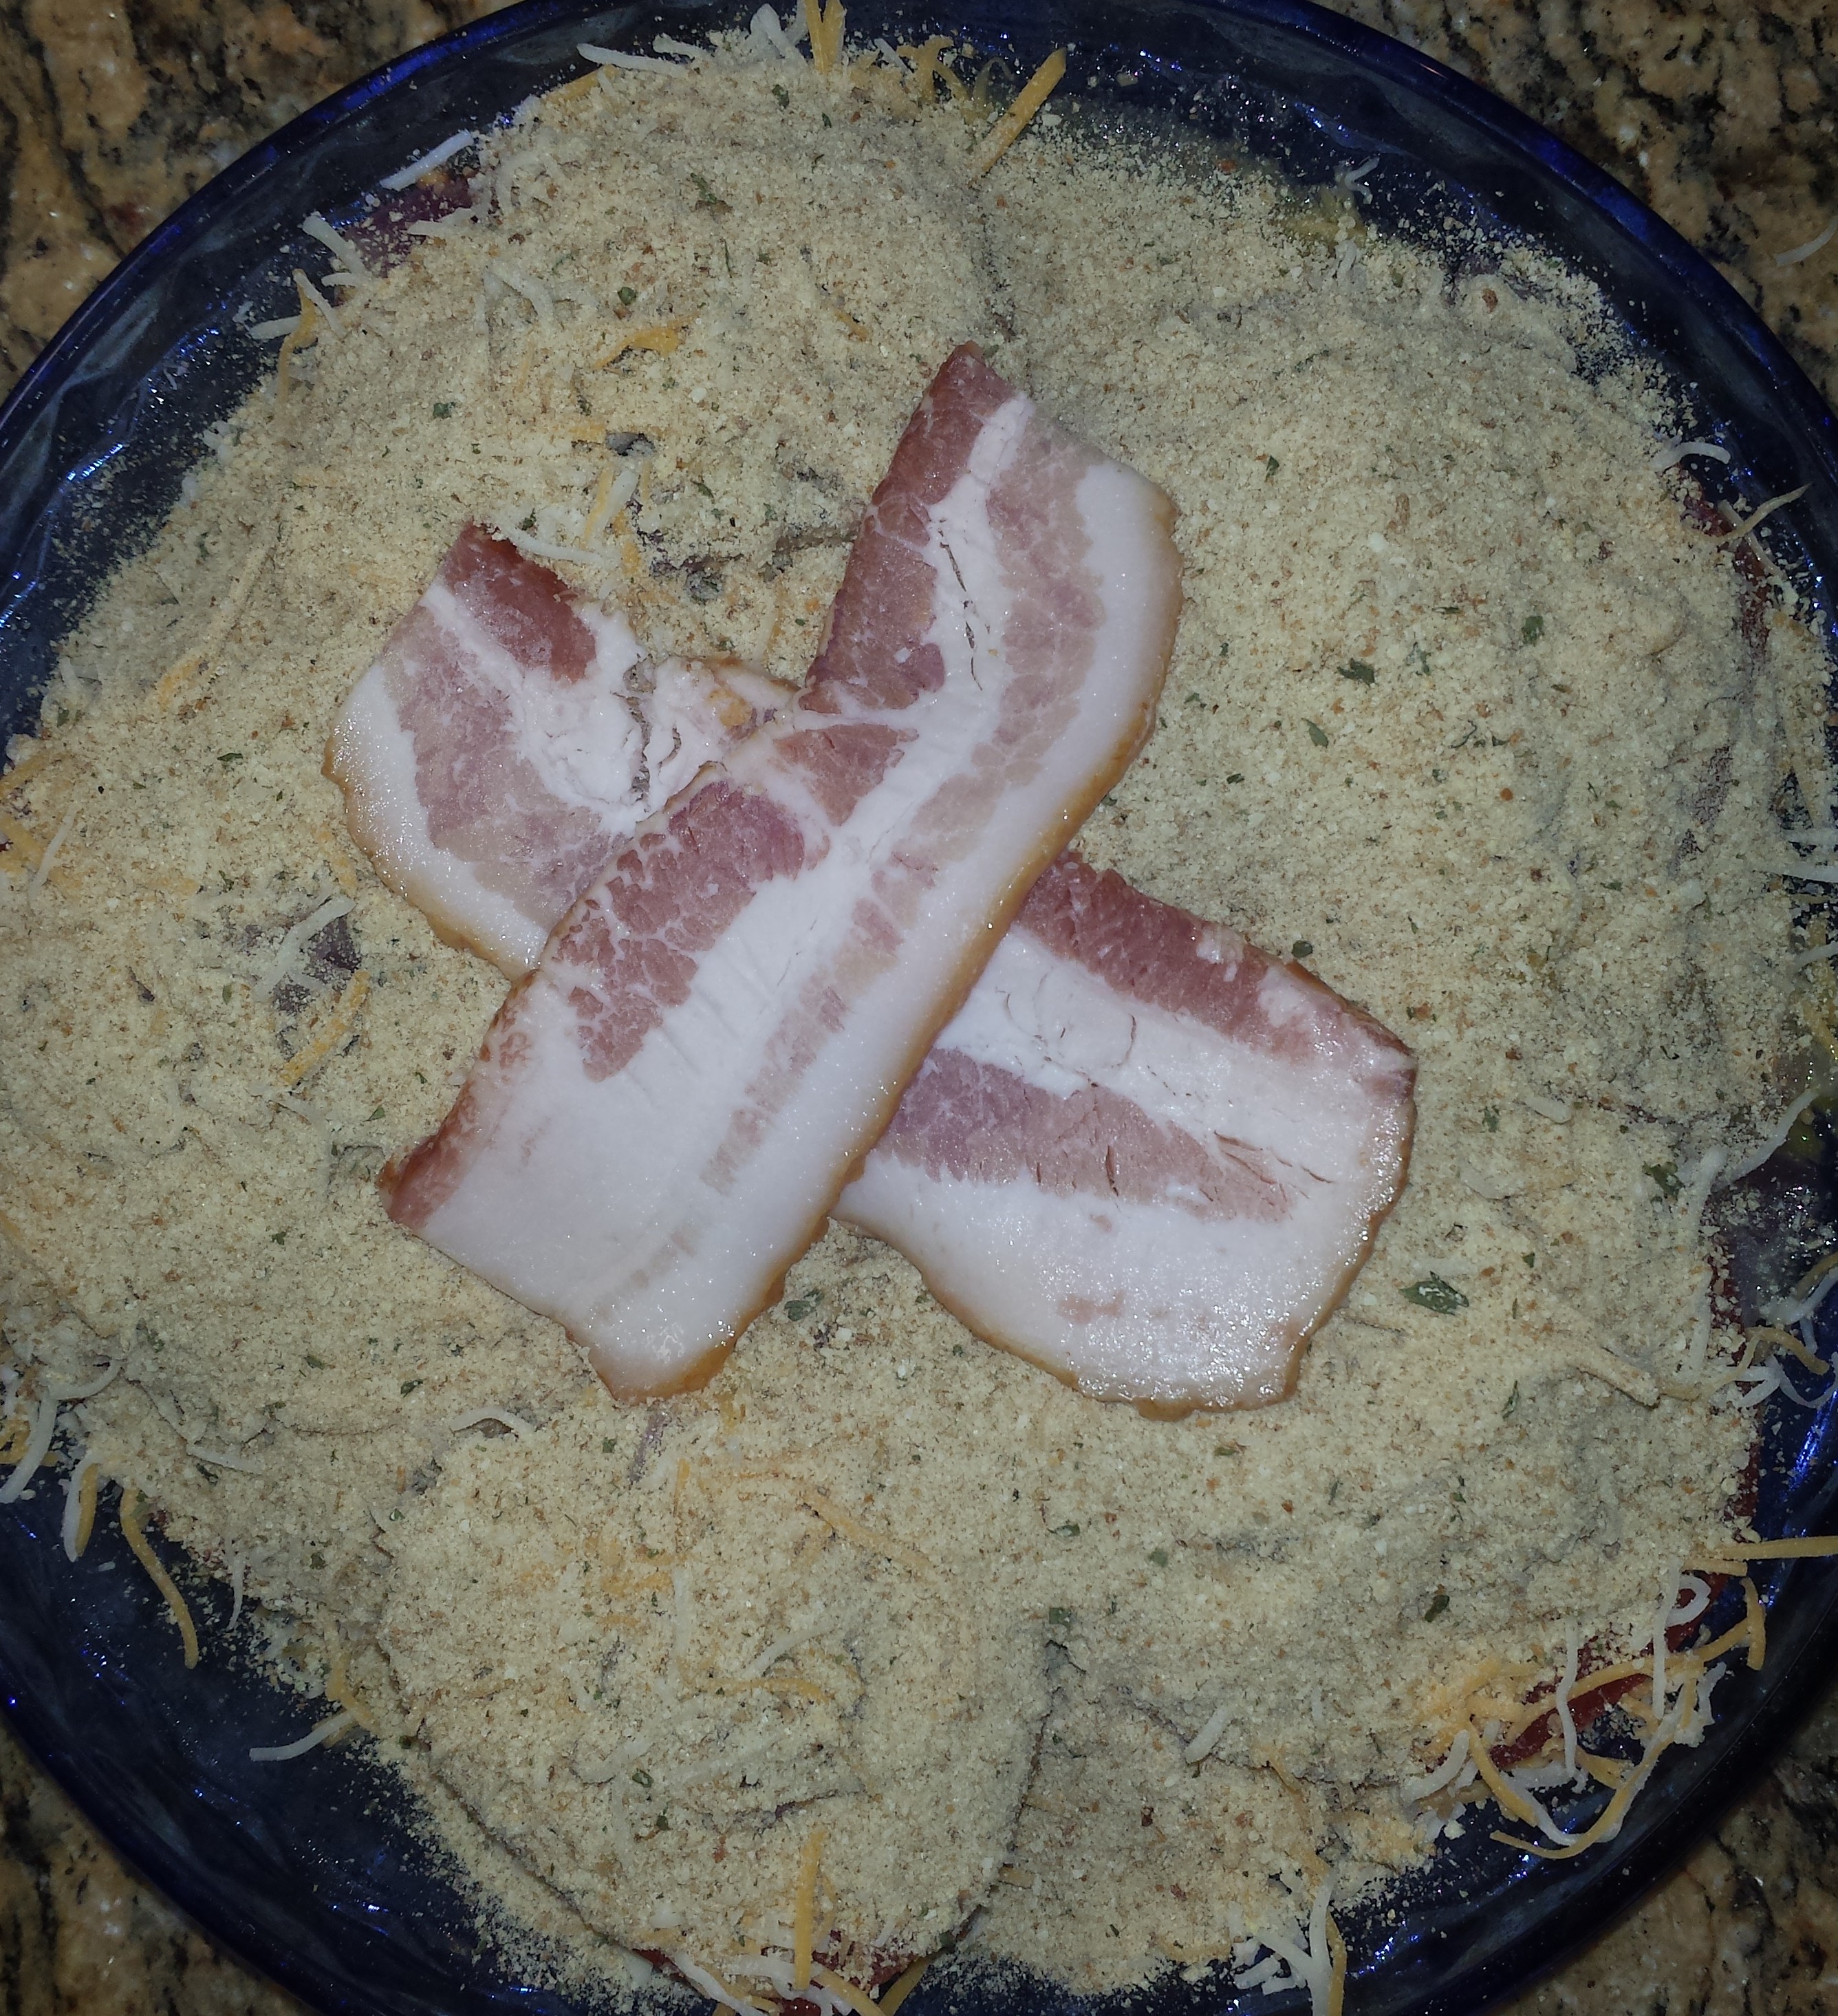
- Cover the top of the pie with the remaining 1/2 cup of breadcrumbs.

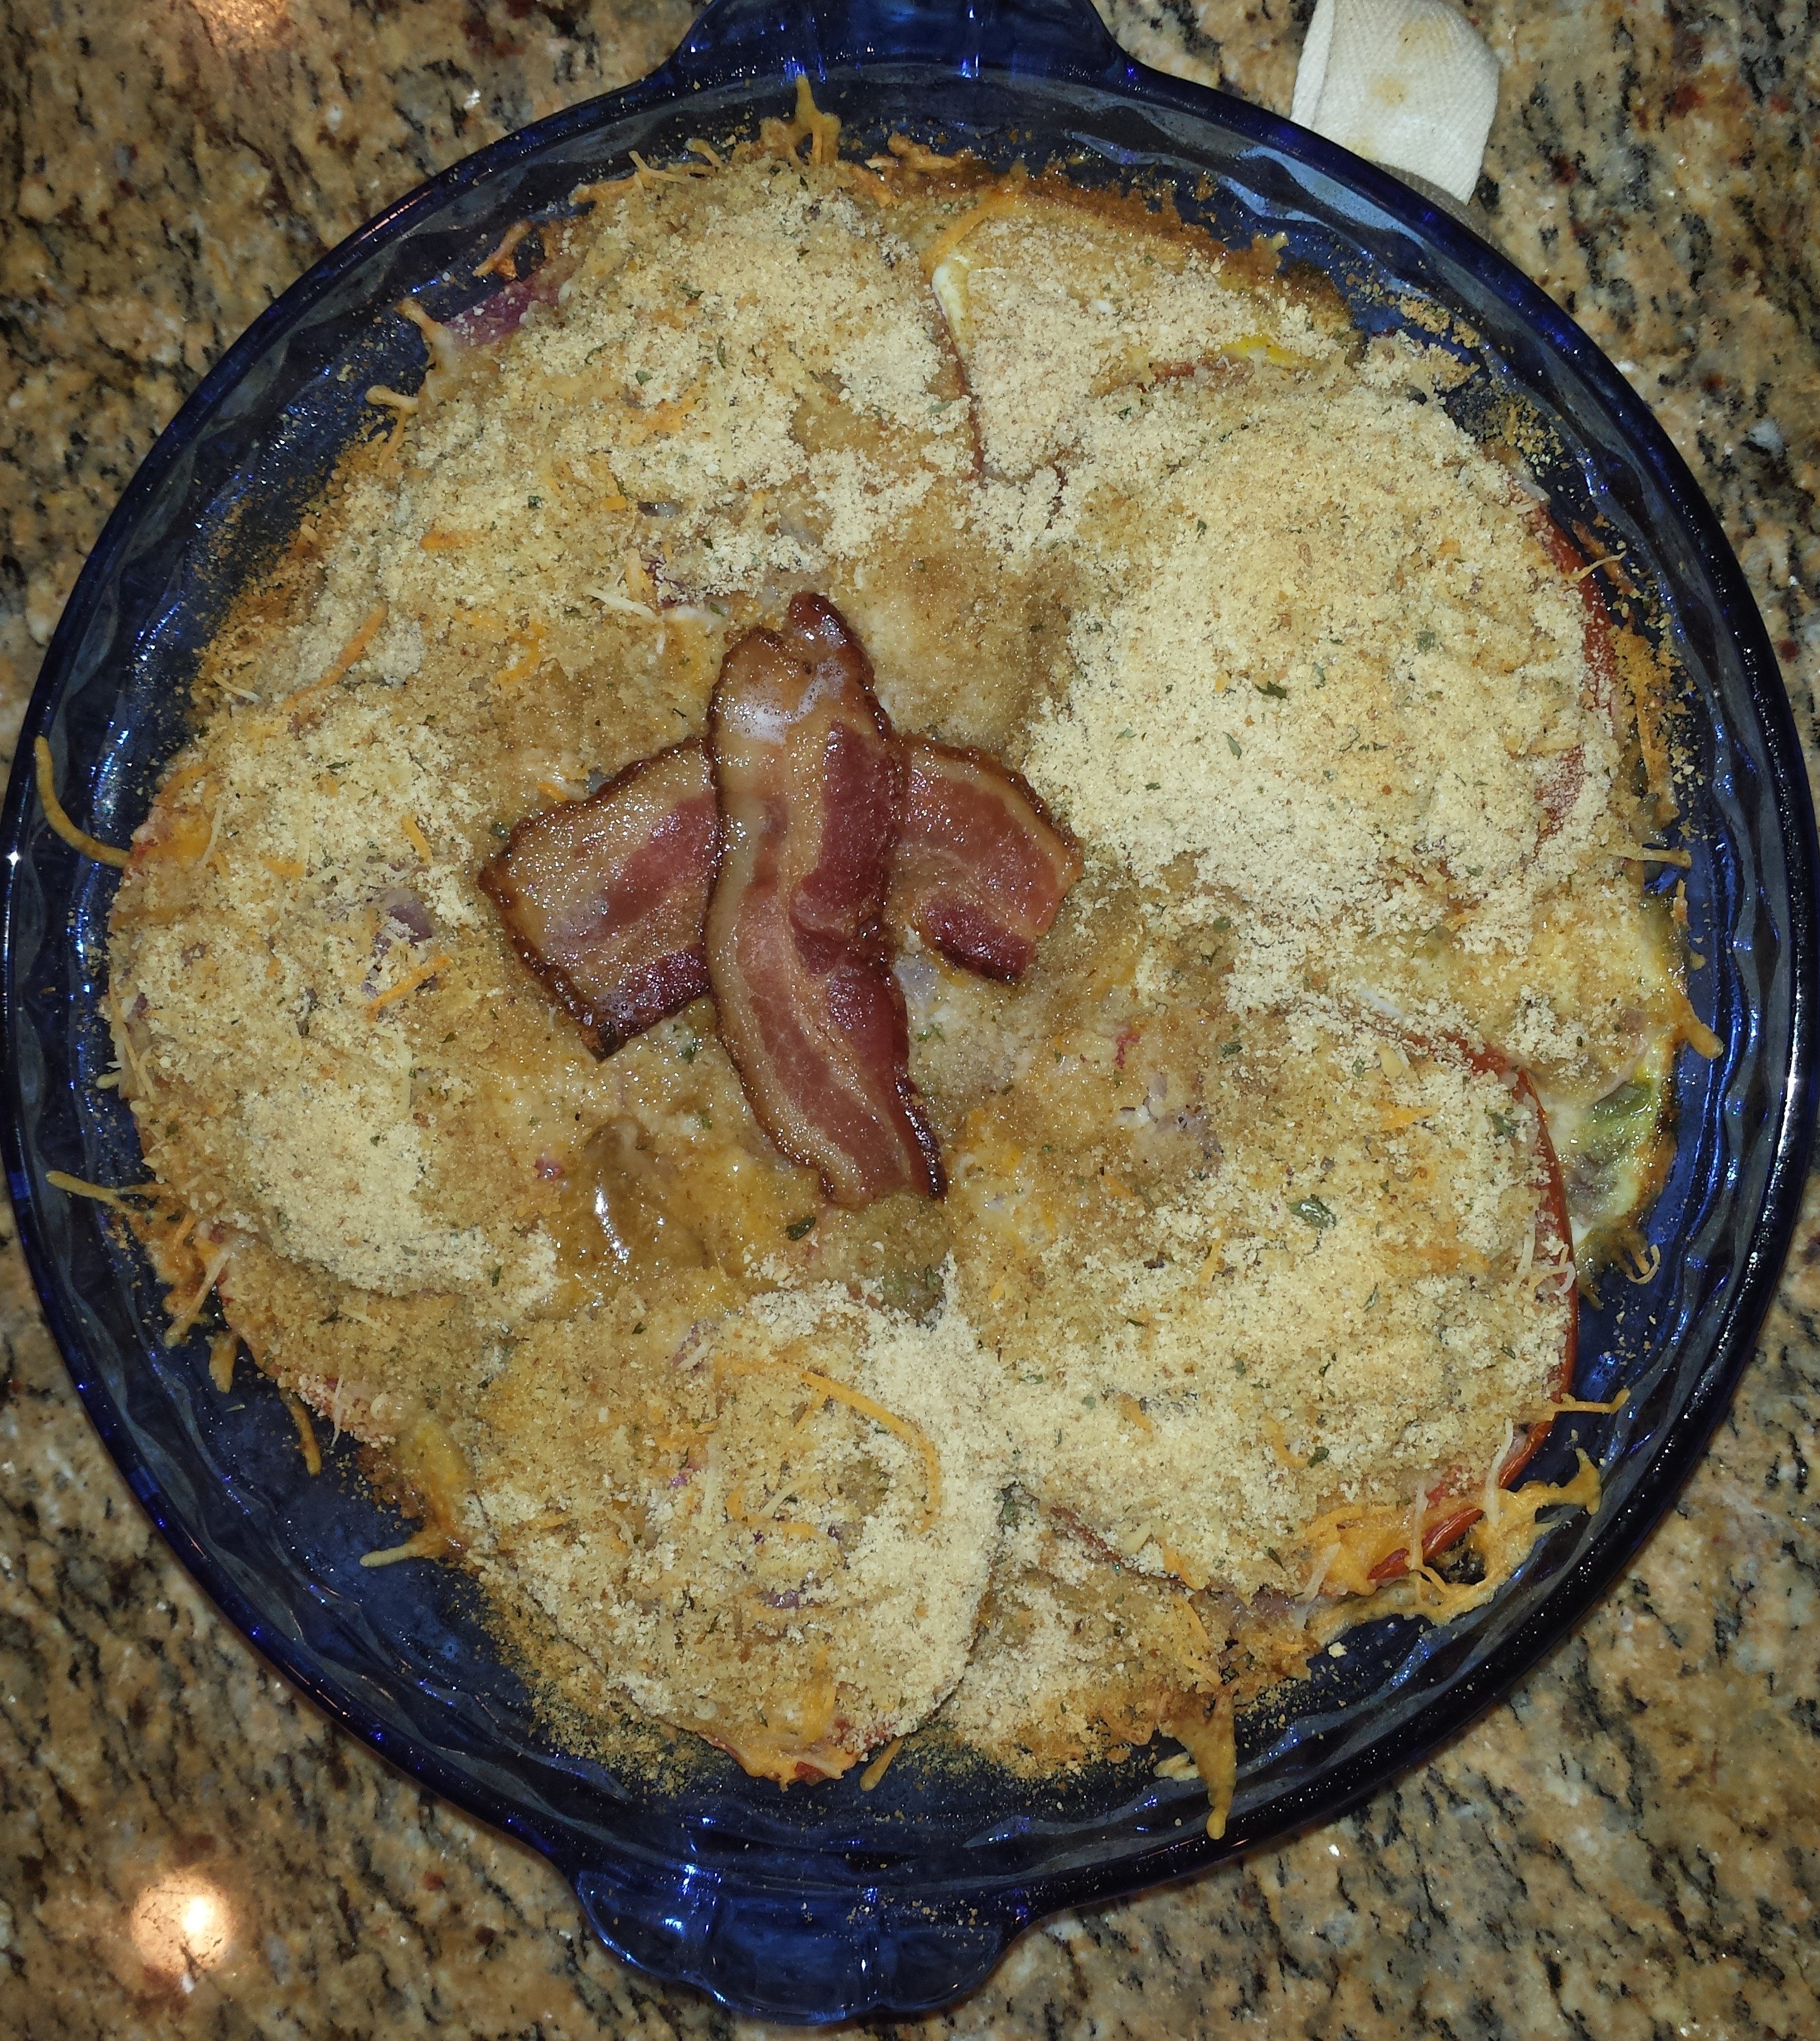
- Arrange the remaining 2 bacon strips on the top of the pie.
- Bake for 45 minutes, or until the bacon is crisp.
Ideas
- Don’t forget to pre-heat the onions a little. It makes a huge different in the texture and taste of them in the pie.
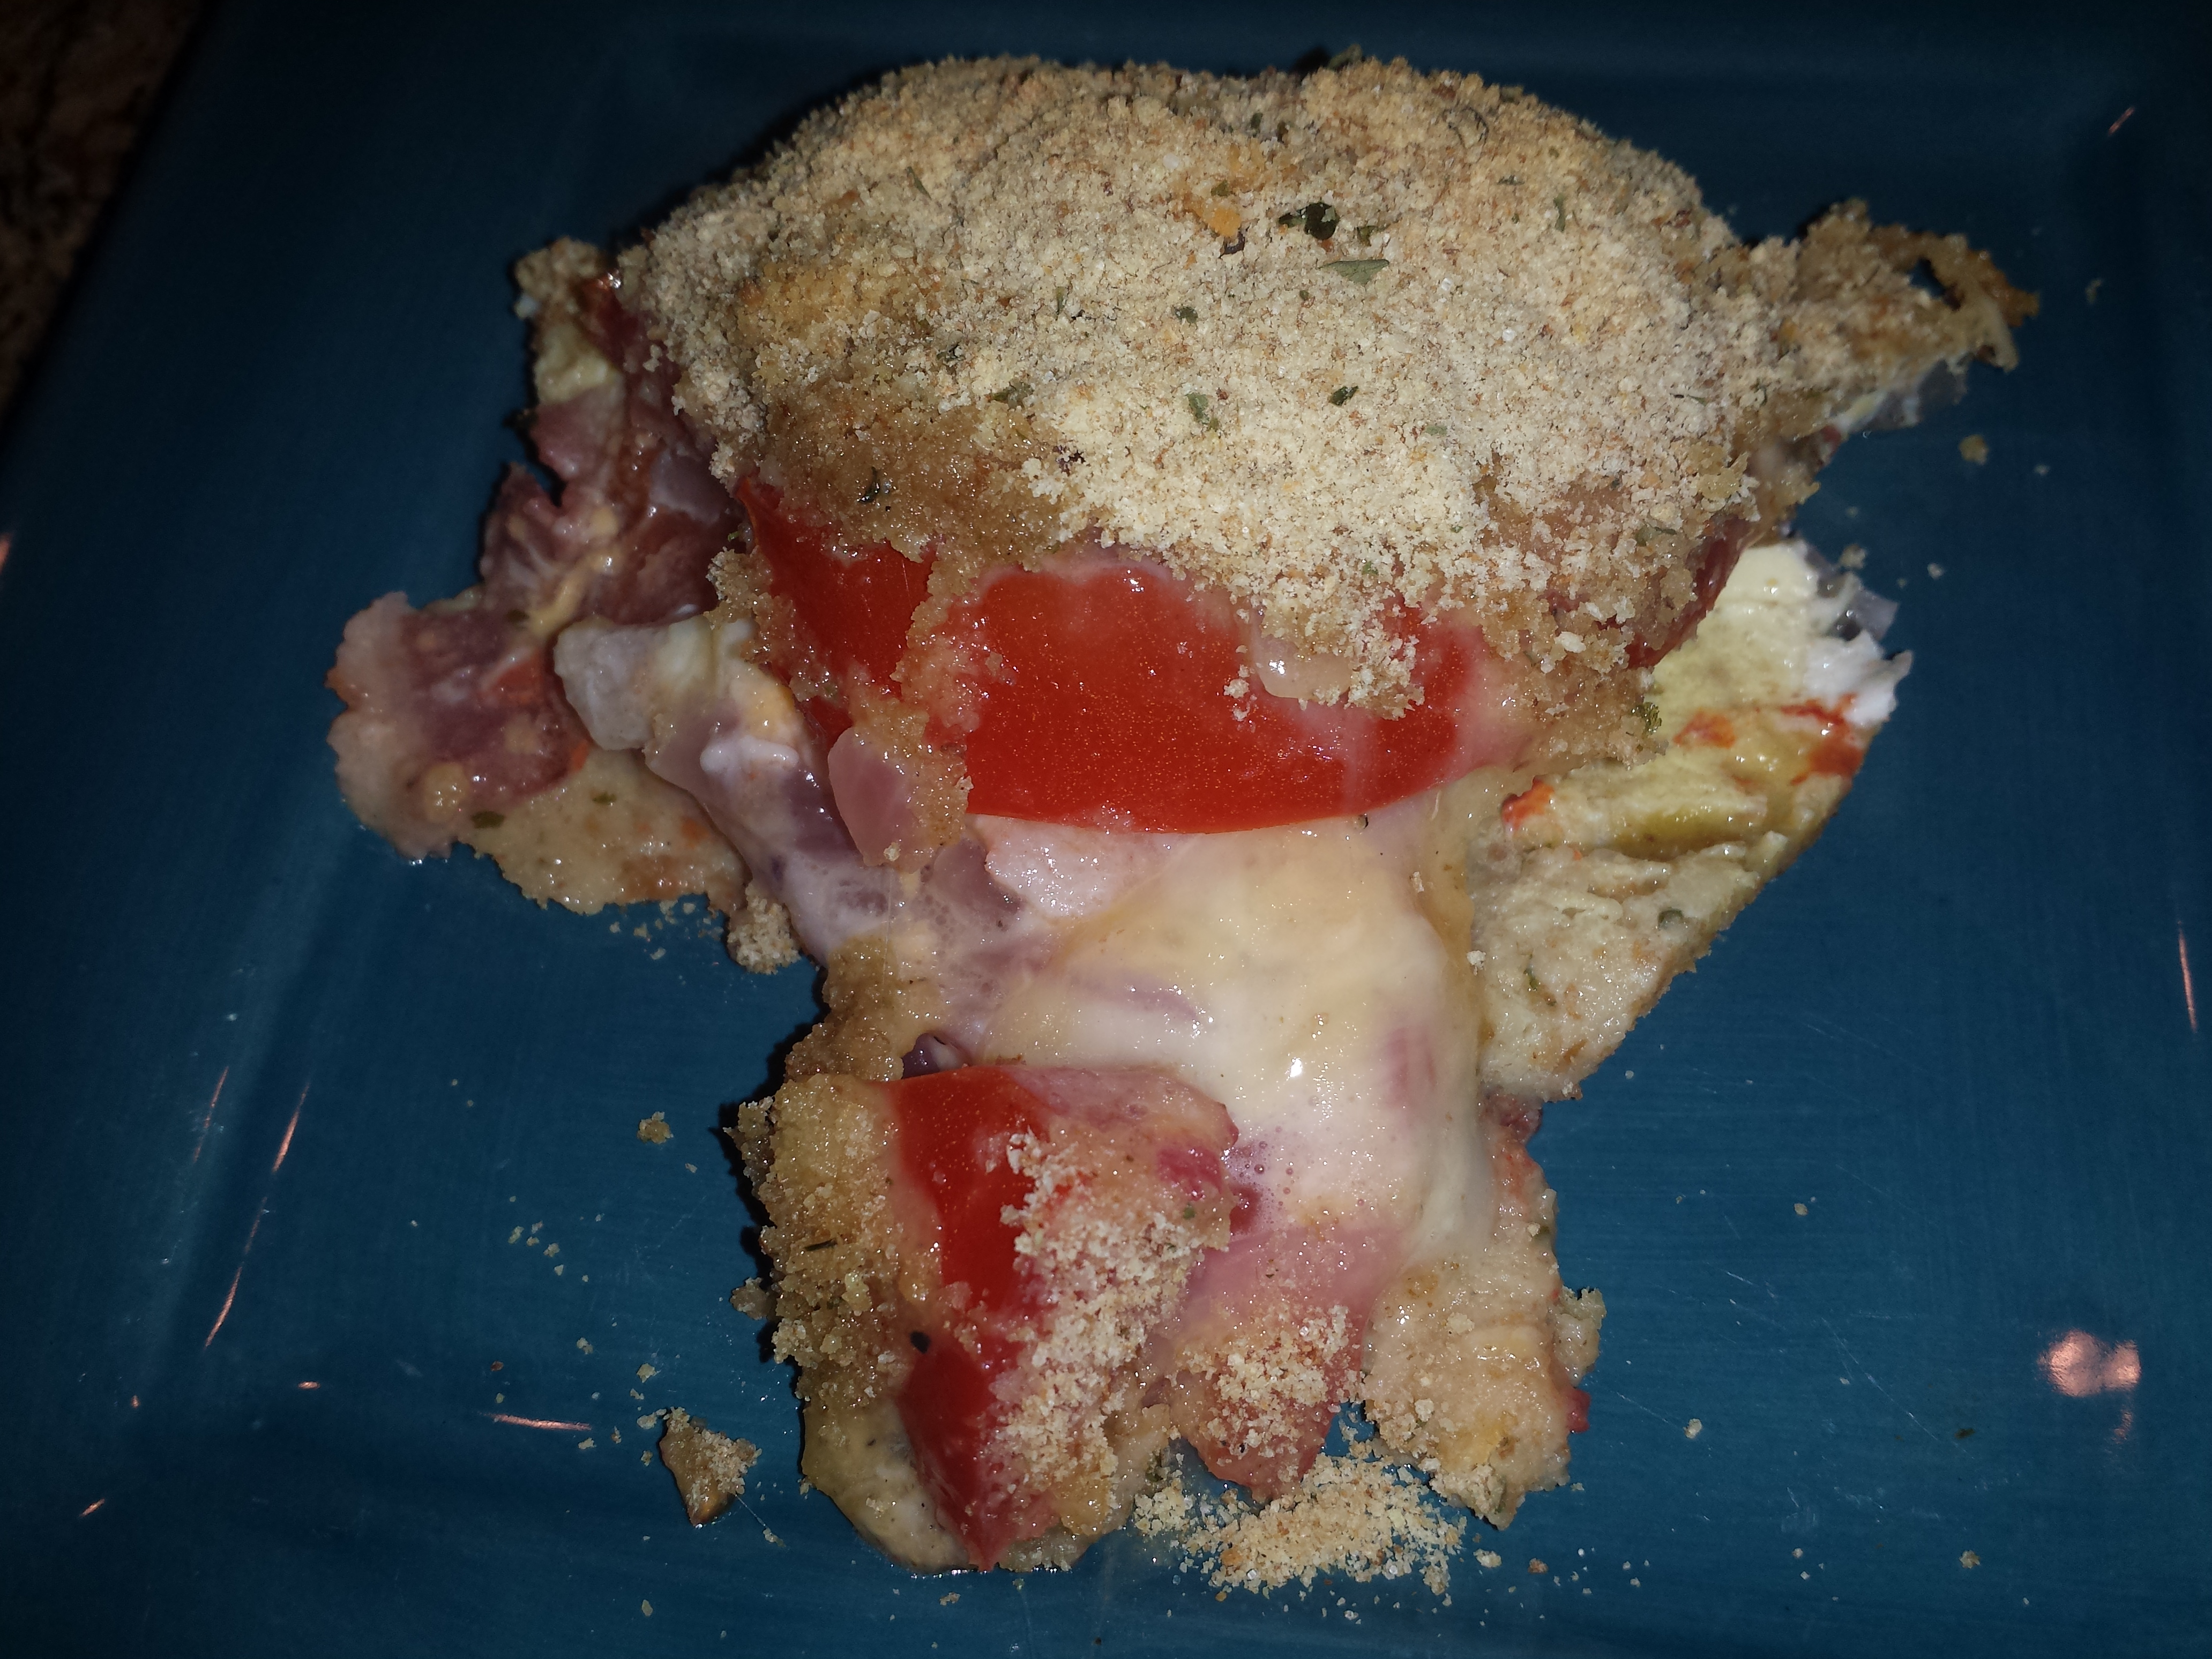
- This is excellent as a main meal or a side dish.
- For vegetarians, just omit the bacon, but add some additional salt.
- In my ingredient picture, you saw 3 extra large tomatoes. I only ended up using 2 of these because they were so big.
Index of Recipes
A new “Index of Recipes” is available. Just click on the link in the upper right of the page.
WHAT EVERY HOME COOK NEEDS – PART 2 ESSENTIAL SPICES AND HERBS
Now, most of you will never need or want the fully stocked spice rack that I have at my house. My husband sometimes wonders why I could possibly need everything I have too. There are many spices that you will only use a couple of times a year, like when you are cooking for the holidays. This list will not include those items. These are my must haves for cooking simple and yummy food. This is the second of many posts to help you make your own versions of my recipes. If I didn’t mention something and you’d like to know why it’s not a must have, send me a comment and I’ll let you know. In any case, you may have some must haves that I don’t – but we can compare notes.
Essential fresh herbs
- Basil – so much tastier than the dried version and the color looks fantastic in your dishes
- Cilantro – this is the perfect herb to have seasonally. I say seasonally because it burns and dies when it’s too hot and sunny. For San Diego area, cilantro grows best in my yard in the spring and fall, but not so well in July and August.
- Parsley – nice flavor and great garnish for more recipes than you realize
- Thyme – the aroma of fresh thyme can’t be beat, plus it’s compact and doesn’t take up too much space
Essential spices
- Basil – I prefer fresh, but if that’s not available, you need dried.
- Bay leaf – used in so many recipes
- Celery salt – one of my personal favorites
- Chili powder – for when you need a bit of heat
- Cilantro – for anything Mexican style, of course
- Garlic powder – essential if you don’t have a garlic clove available
- Lawry’s Seasoned Salt – an absolute must have
- Onion powder – added flavor now and then
- Oregano – if you do not have fresh
- Paprika – I prefer Smoked Paprika, but whatever you want
- Parsley – if you do not have fresh
- Pepper – Peppercorn, color of your choice, and a good grinder
- Rosemary – if you do not have fresh
- Red pepper flakes – for a little heat
- Iodized table salt – a nice big container only costs around $1.
- Sea Salt for a grinder – My favorite, which you’ve seen in my recipe pictures, is Pink Himalayan Salt. It has a less salty taste than other salts and is supposedly the cleanest and purest salt found in the world. Personally, I like the color.
- Thyme – for when you do not have fresh
- Vanilla extract – can’t bake without it
Other Essentials
- Olive oil
- Soy sauce – low sodium is my preferred
- Spray can style oil
- Worcestershire sauce
- Vegetable or canola oil
- Vinegar – balsamic, white, apple cider and red wine
Next issues: Cooking utensils, serving, oven pans, taking the leftovers to work for lunch, baking, preserving
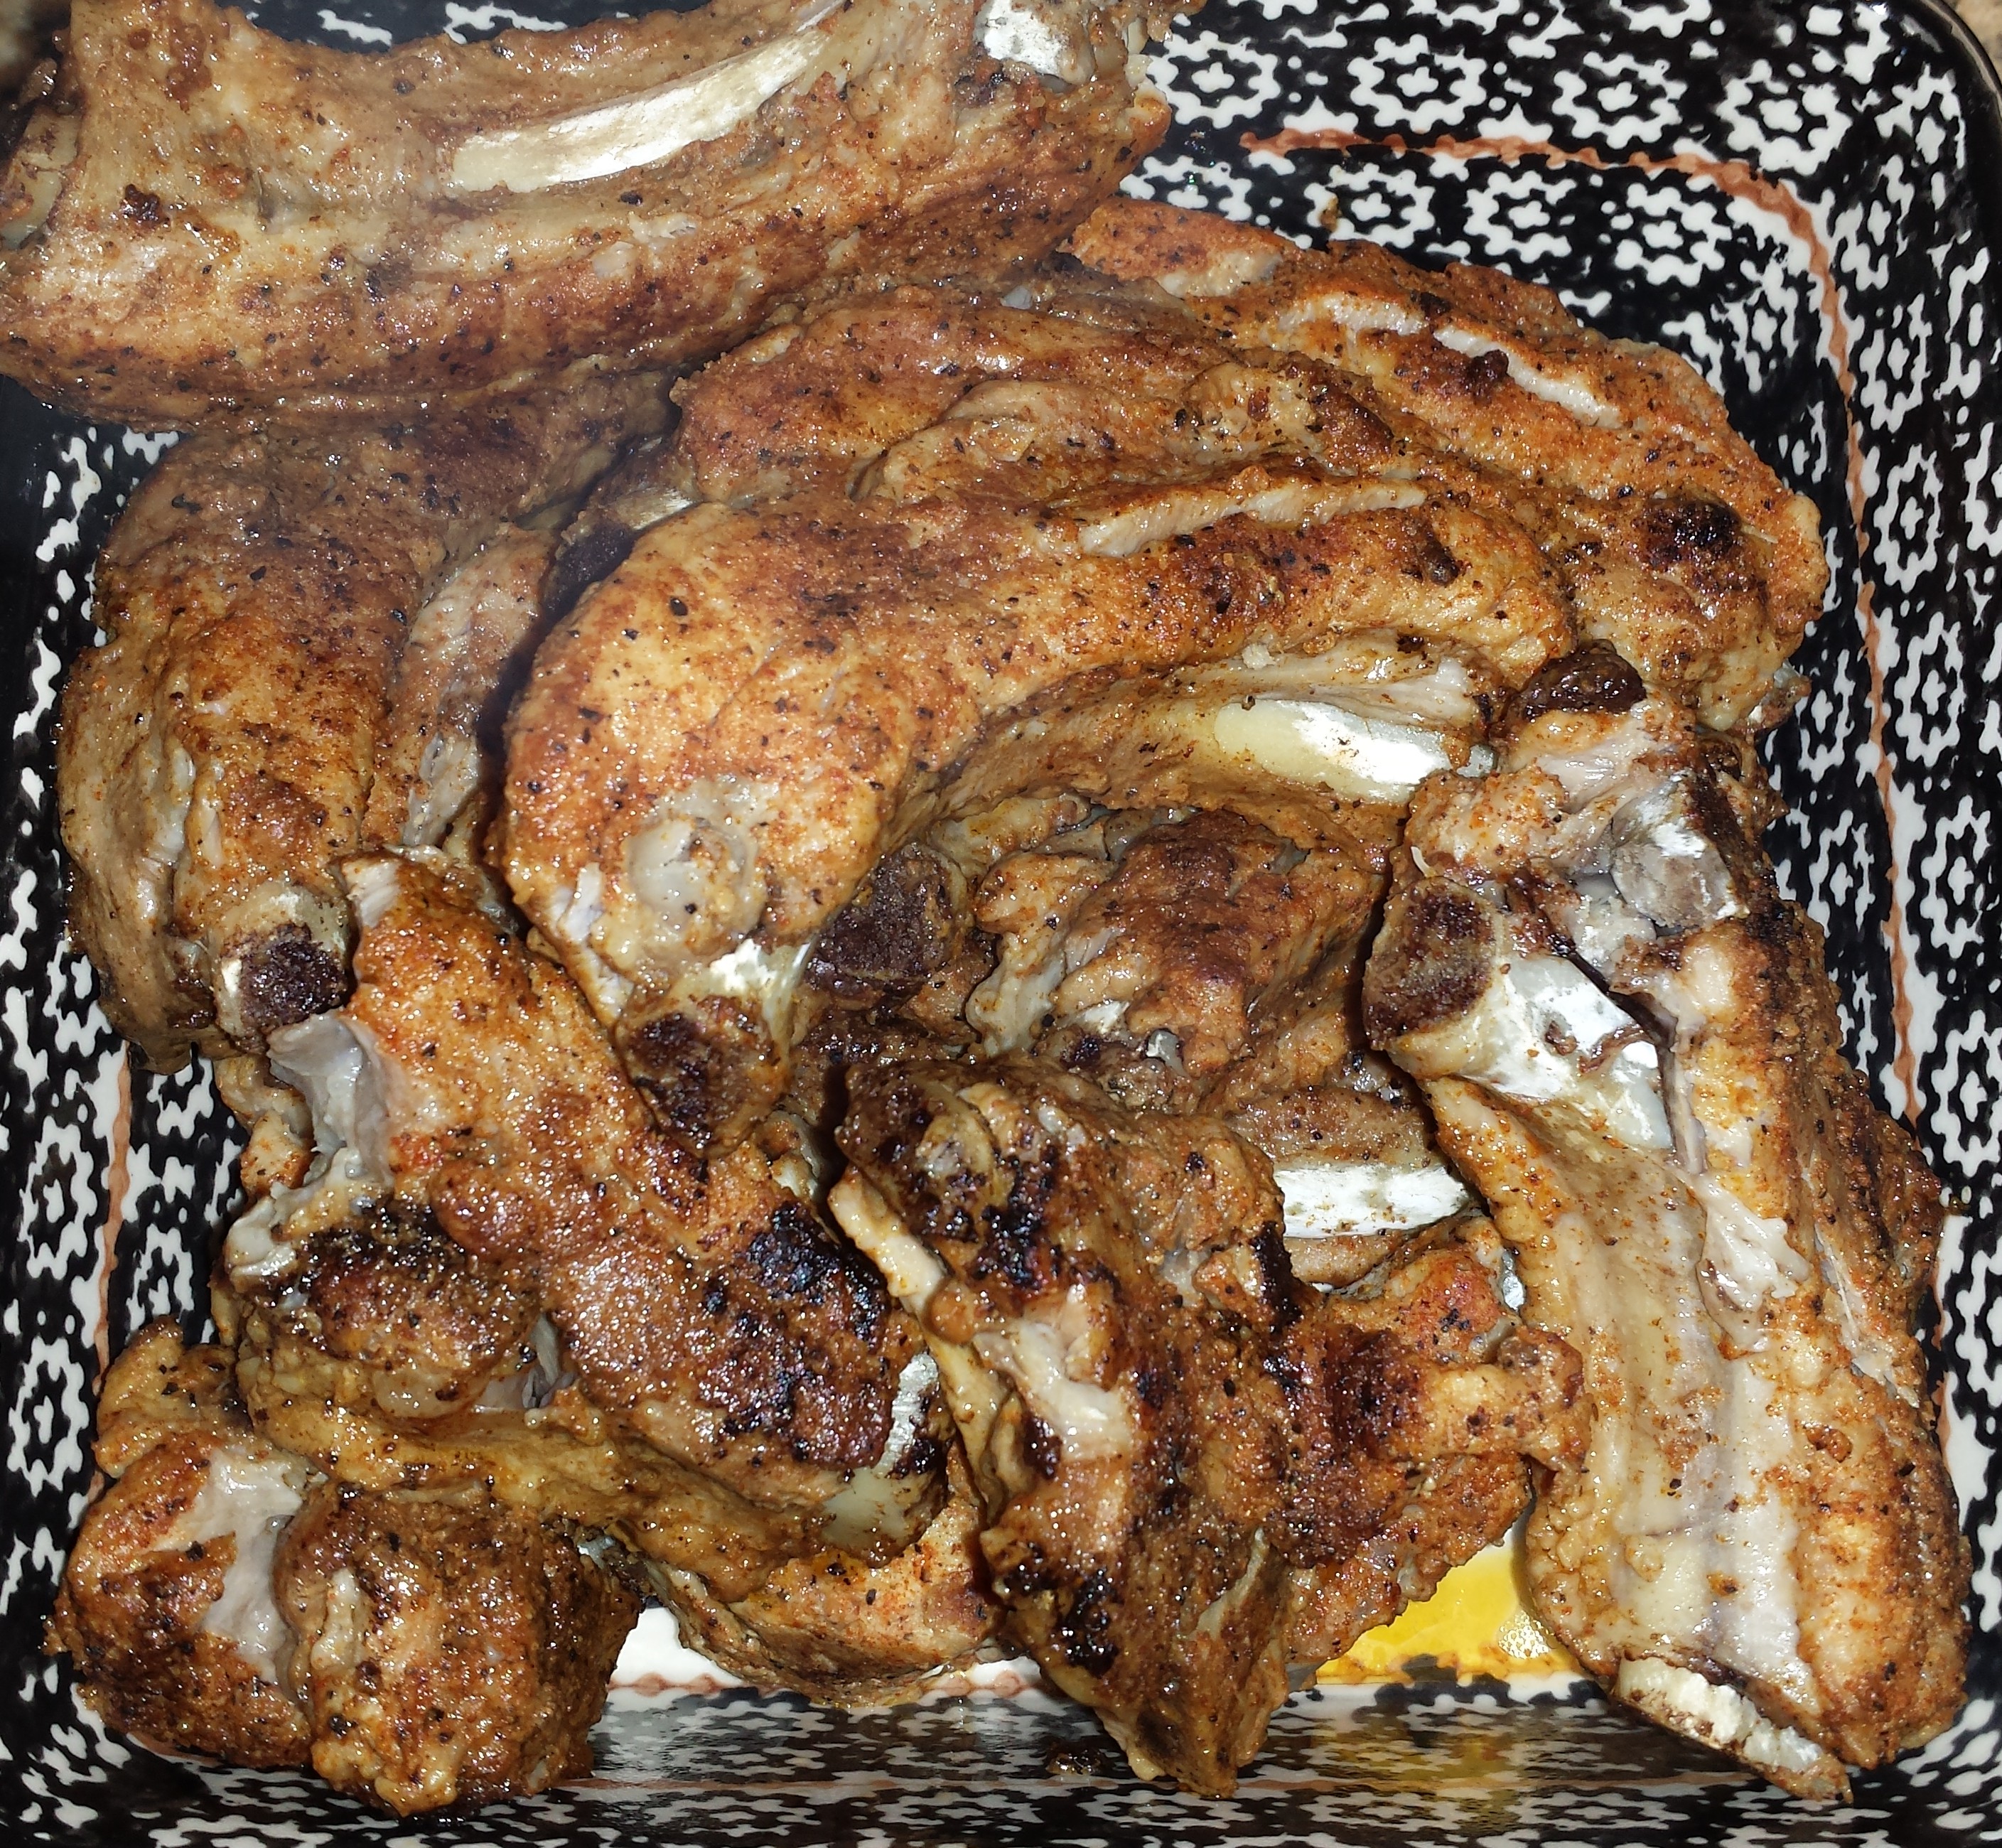
Super Easy Baby Back Ribs

Everyone has their own favorite rib recipe and I must admit, the ones I’ve tried are pretty amazing. That being said, they take hours to make and if people aren’t careful, can be a bit dry. What if you could make ribs in under one hour that the meat just barely stayed on the bone until you got the rib to your mouth and were super moist? Oh yeah, and only uses about 5 things? Yes, I’m not kidding. Unlike others, I almost exclusively cook ribs during the week after a full day of work. And no, I’m not crazy, this recipe is just super easy. Oh, that’s right – I said that in the recipe name already.
Ingredients
- Olive oil

- 3 lbs of baby back ribs
- Dry rub of your choice
- Barbecue sauce of your choice
- Can of beer, whatever you happen to have around the house
- Pressure cooker
Instructions
- Assuming you got your ribs in a nice long strip, rinse first and then cut them apart.
- Dry with a paper towel.
- Put your favorite dry rub on them.
- While preparing the ribs for cooking, put about 2T off olive oil in your heated up pressure cooker.
- Once oil is ready, add ribs to pressure cooker and brown. Flip over to brown other side. Takes about 4-5 minutes per side. And you have to cook in 2 batches.
- Take the first batch out and let cool on a plate. Add more oil, let it warm and then add the rest of the ribs and brown.


- Once all the ribs are browned and removed from the pressure cooker, add an insert (most come with one, but not all. See Ideas if you don’t have one.)
- Now open your beer and pour about 8-10 oz into the pressure cooker. Put aside.
- Layer the ribs into the pressure cooker. Put the lid on and lock into place.


- Bring to high pressure and cook on high for approximately 32 minutes.
- Drink the rest of the beer.
- After 32 minutes have passed, turn off the pressure cooker and let the pressure come down for 15 minutes.
- After 15 minutes, release any remaining pressure and open the lid.
- Remove the ribs.
- Two choices now:
- Put on the table now for eating with a side of sauce so people can choose how much (or how little) they want. This is what I do.
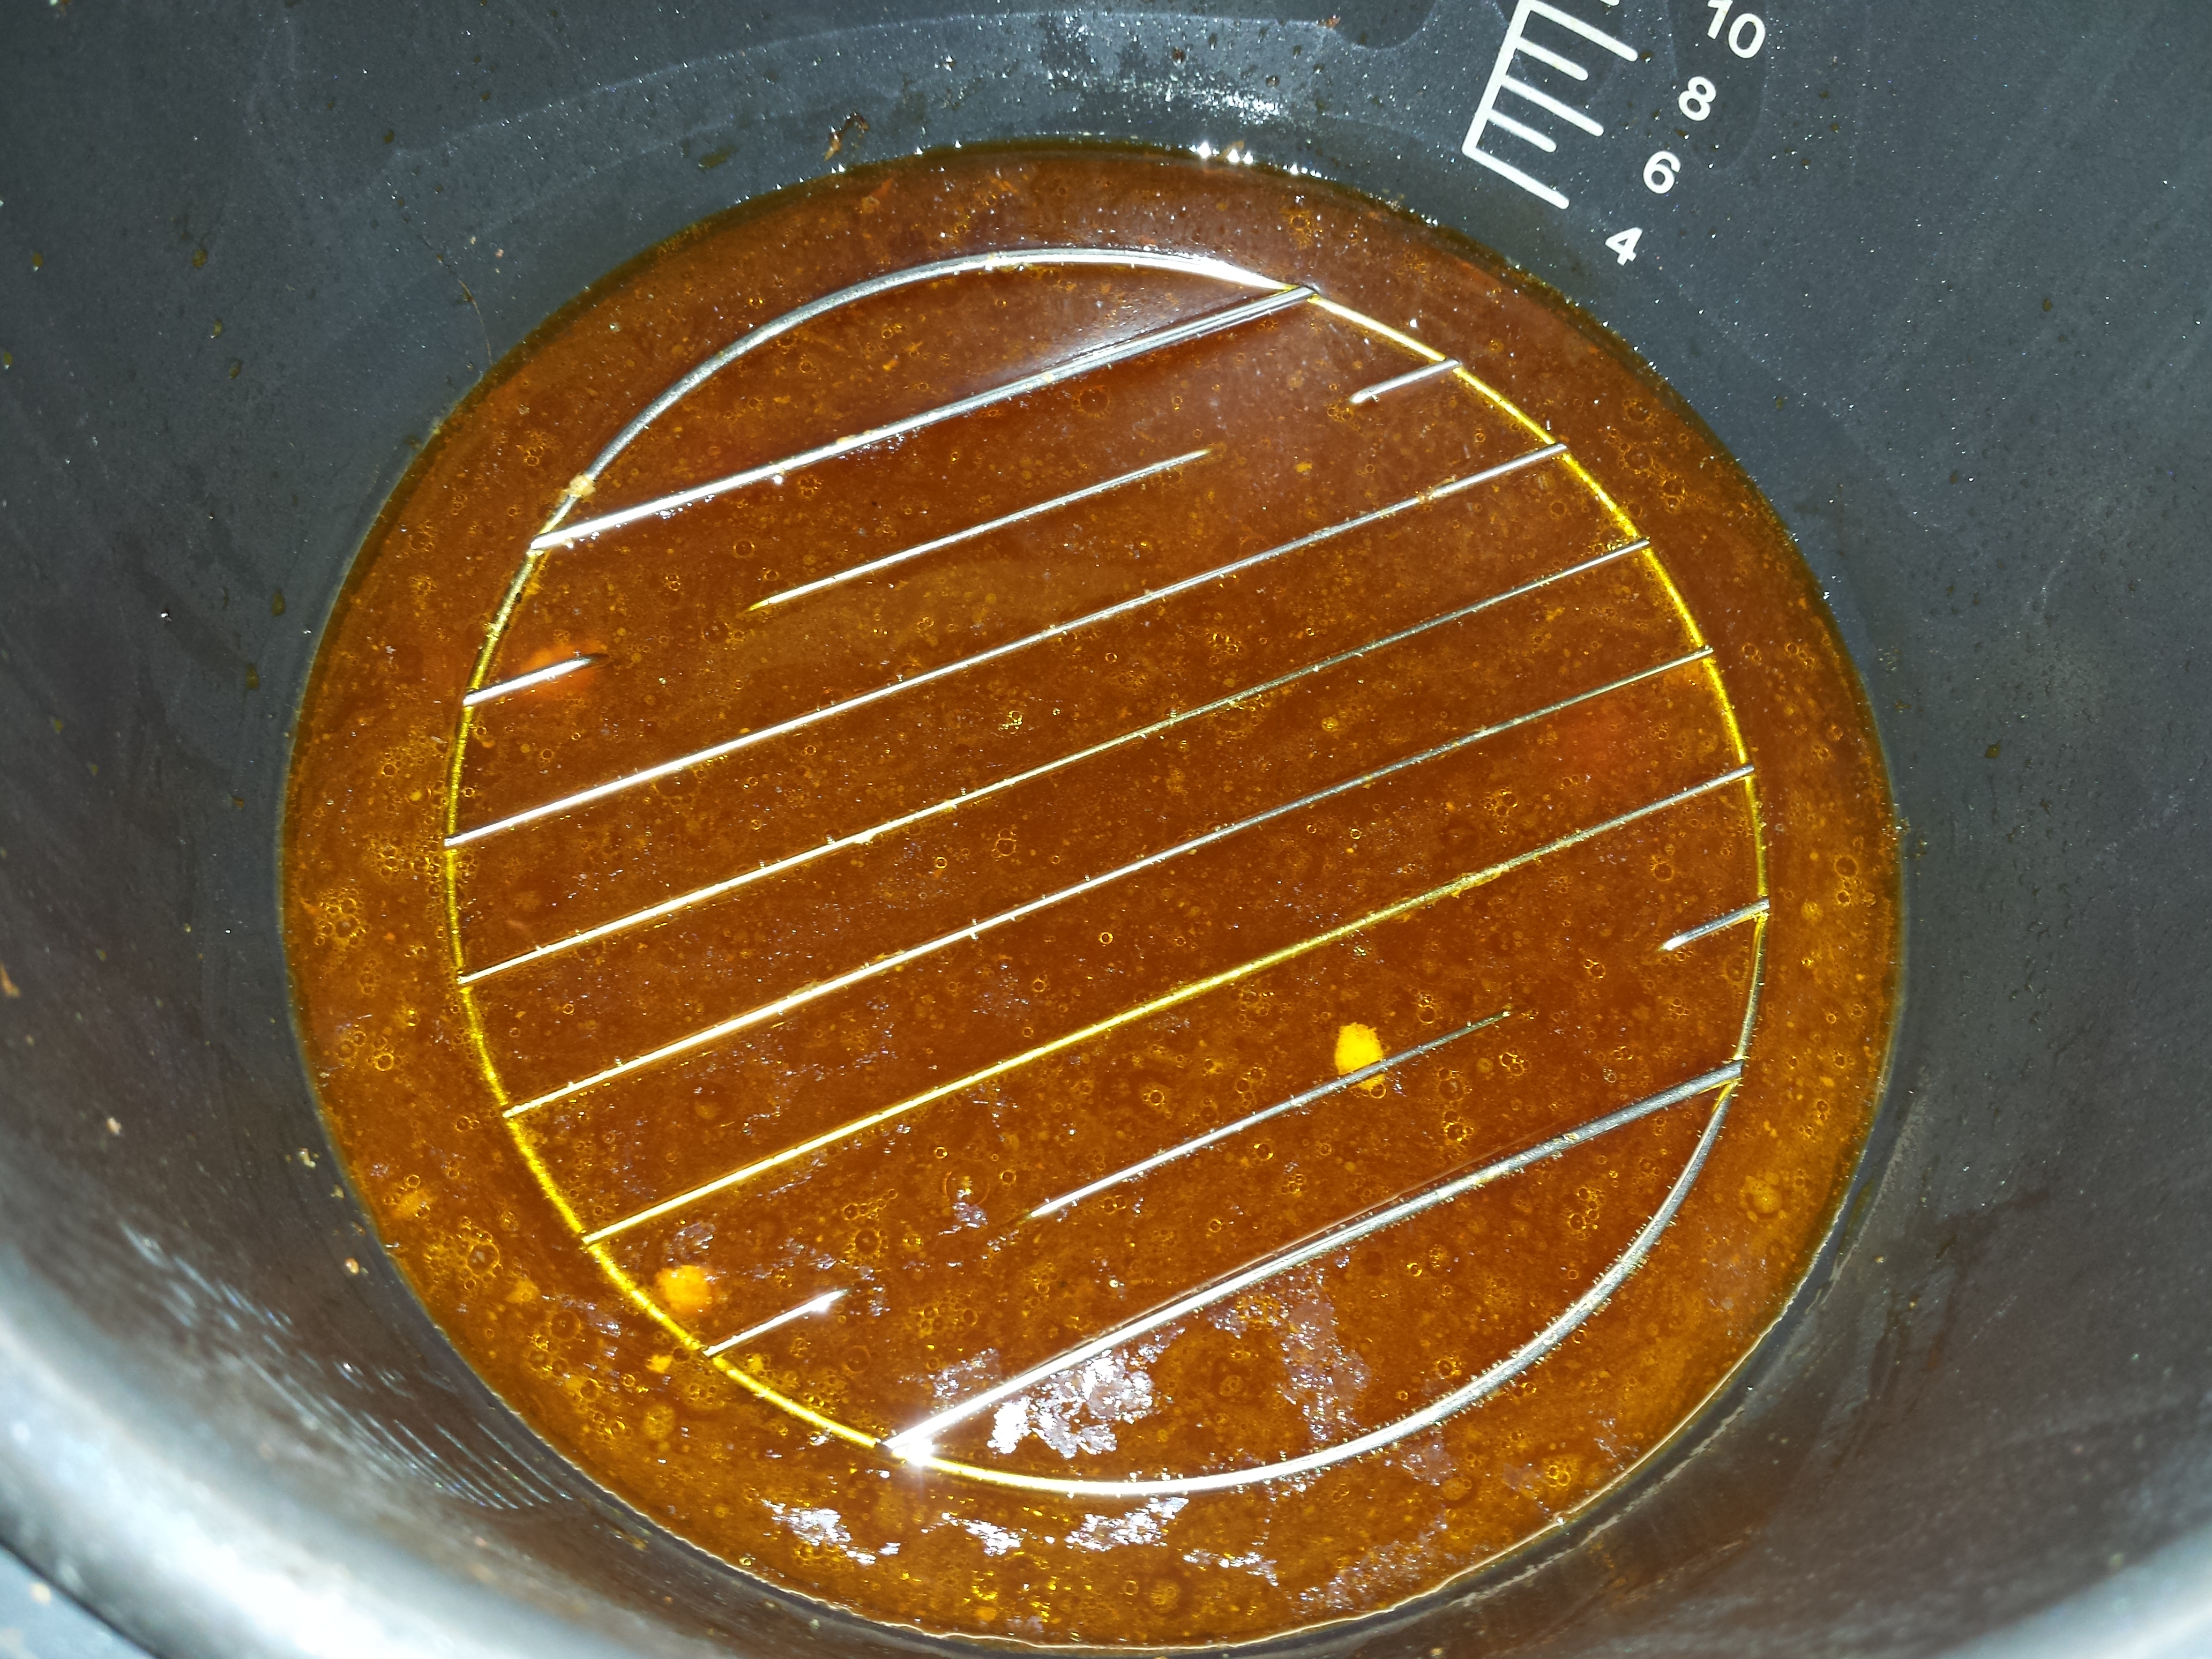
- Remove insert, empty out about 90% of the remaining liquid *remaining liquid is shown in the middle image belwo). Add your favorite barbeque sauce, about 1 inch thick. Put the ribs back in and heat until bubbling up; about 5 minutes. Then serve.

Ideas
- Use an inexpensive beer and make sure it’s nice and cold. Now having it cold will actually take longer for your pressure cooker to reach high pressure, but who wants to drink a warm beer?
- Pressure cookers – I’ve used both traditional and electric. As you can see from my pictures, I use an electric pressure cooker now. The reviews will tell you that they do not have the capacity of a traditional stove top one, which is true, but the capacity is just fine for your standard 4-5 person family. Other benefits of electric: you don’t have to guess if it’s reached high pressure. As soon as it has, it will start the timer countdown. It takes the guess work out of cooking with one and, most importantly, the concern. I remember being a bit afraid of my grandmother’s traditional pressure cooker. I know there’s no reason to be afraid of my traditional one either, but my electric one is used almost exclusively because it’s just so easy.
- Insert – If your pressure cooker didn’t come with an insert or if you misplaced the one that did, just use a vegetable steamer. They are inexpensive and easy to find. However, make sure it can handle the high pressure and heat so I don’t recommend one that isn’t metal.
- Rub – I put the rub on one side of the ribs. Once I add the ribs to the pressure cooker, I

Releasing the steam dust the other side with rub.
- Releasing pressure – I use the back end of my tongs to push the release mechanism to the side.
- Cooking time – I’ve found that 30 minutes isn’t enough and 35 minutes is too much; the meat just falls off the bone completely.
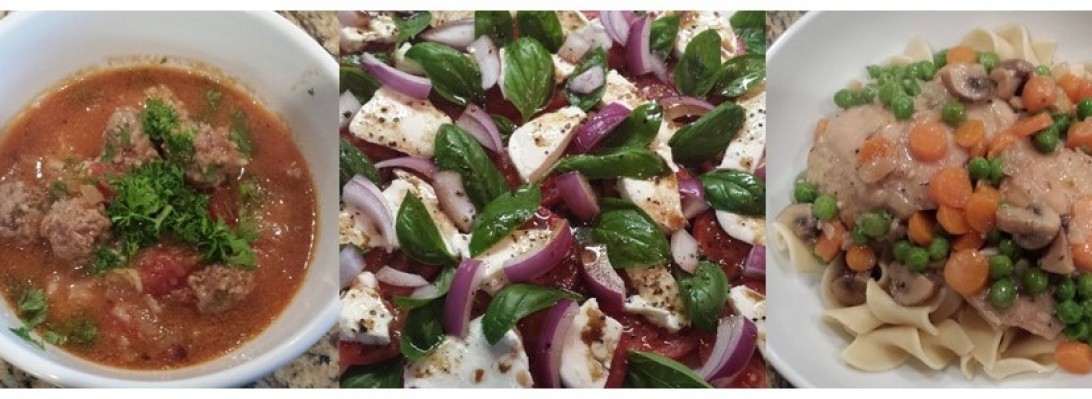
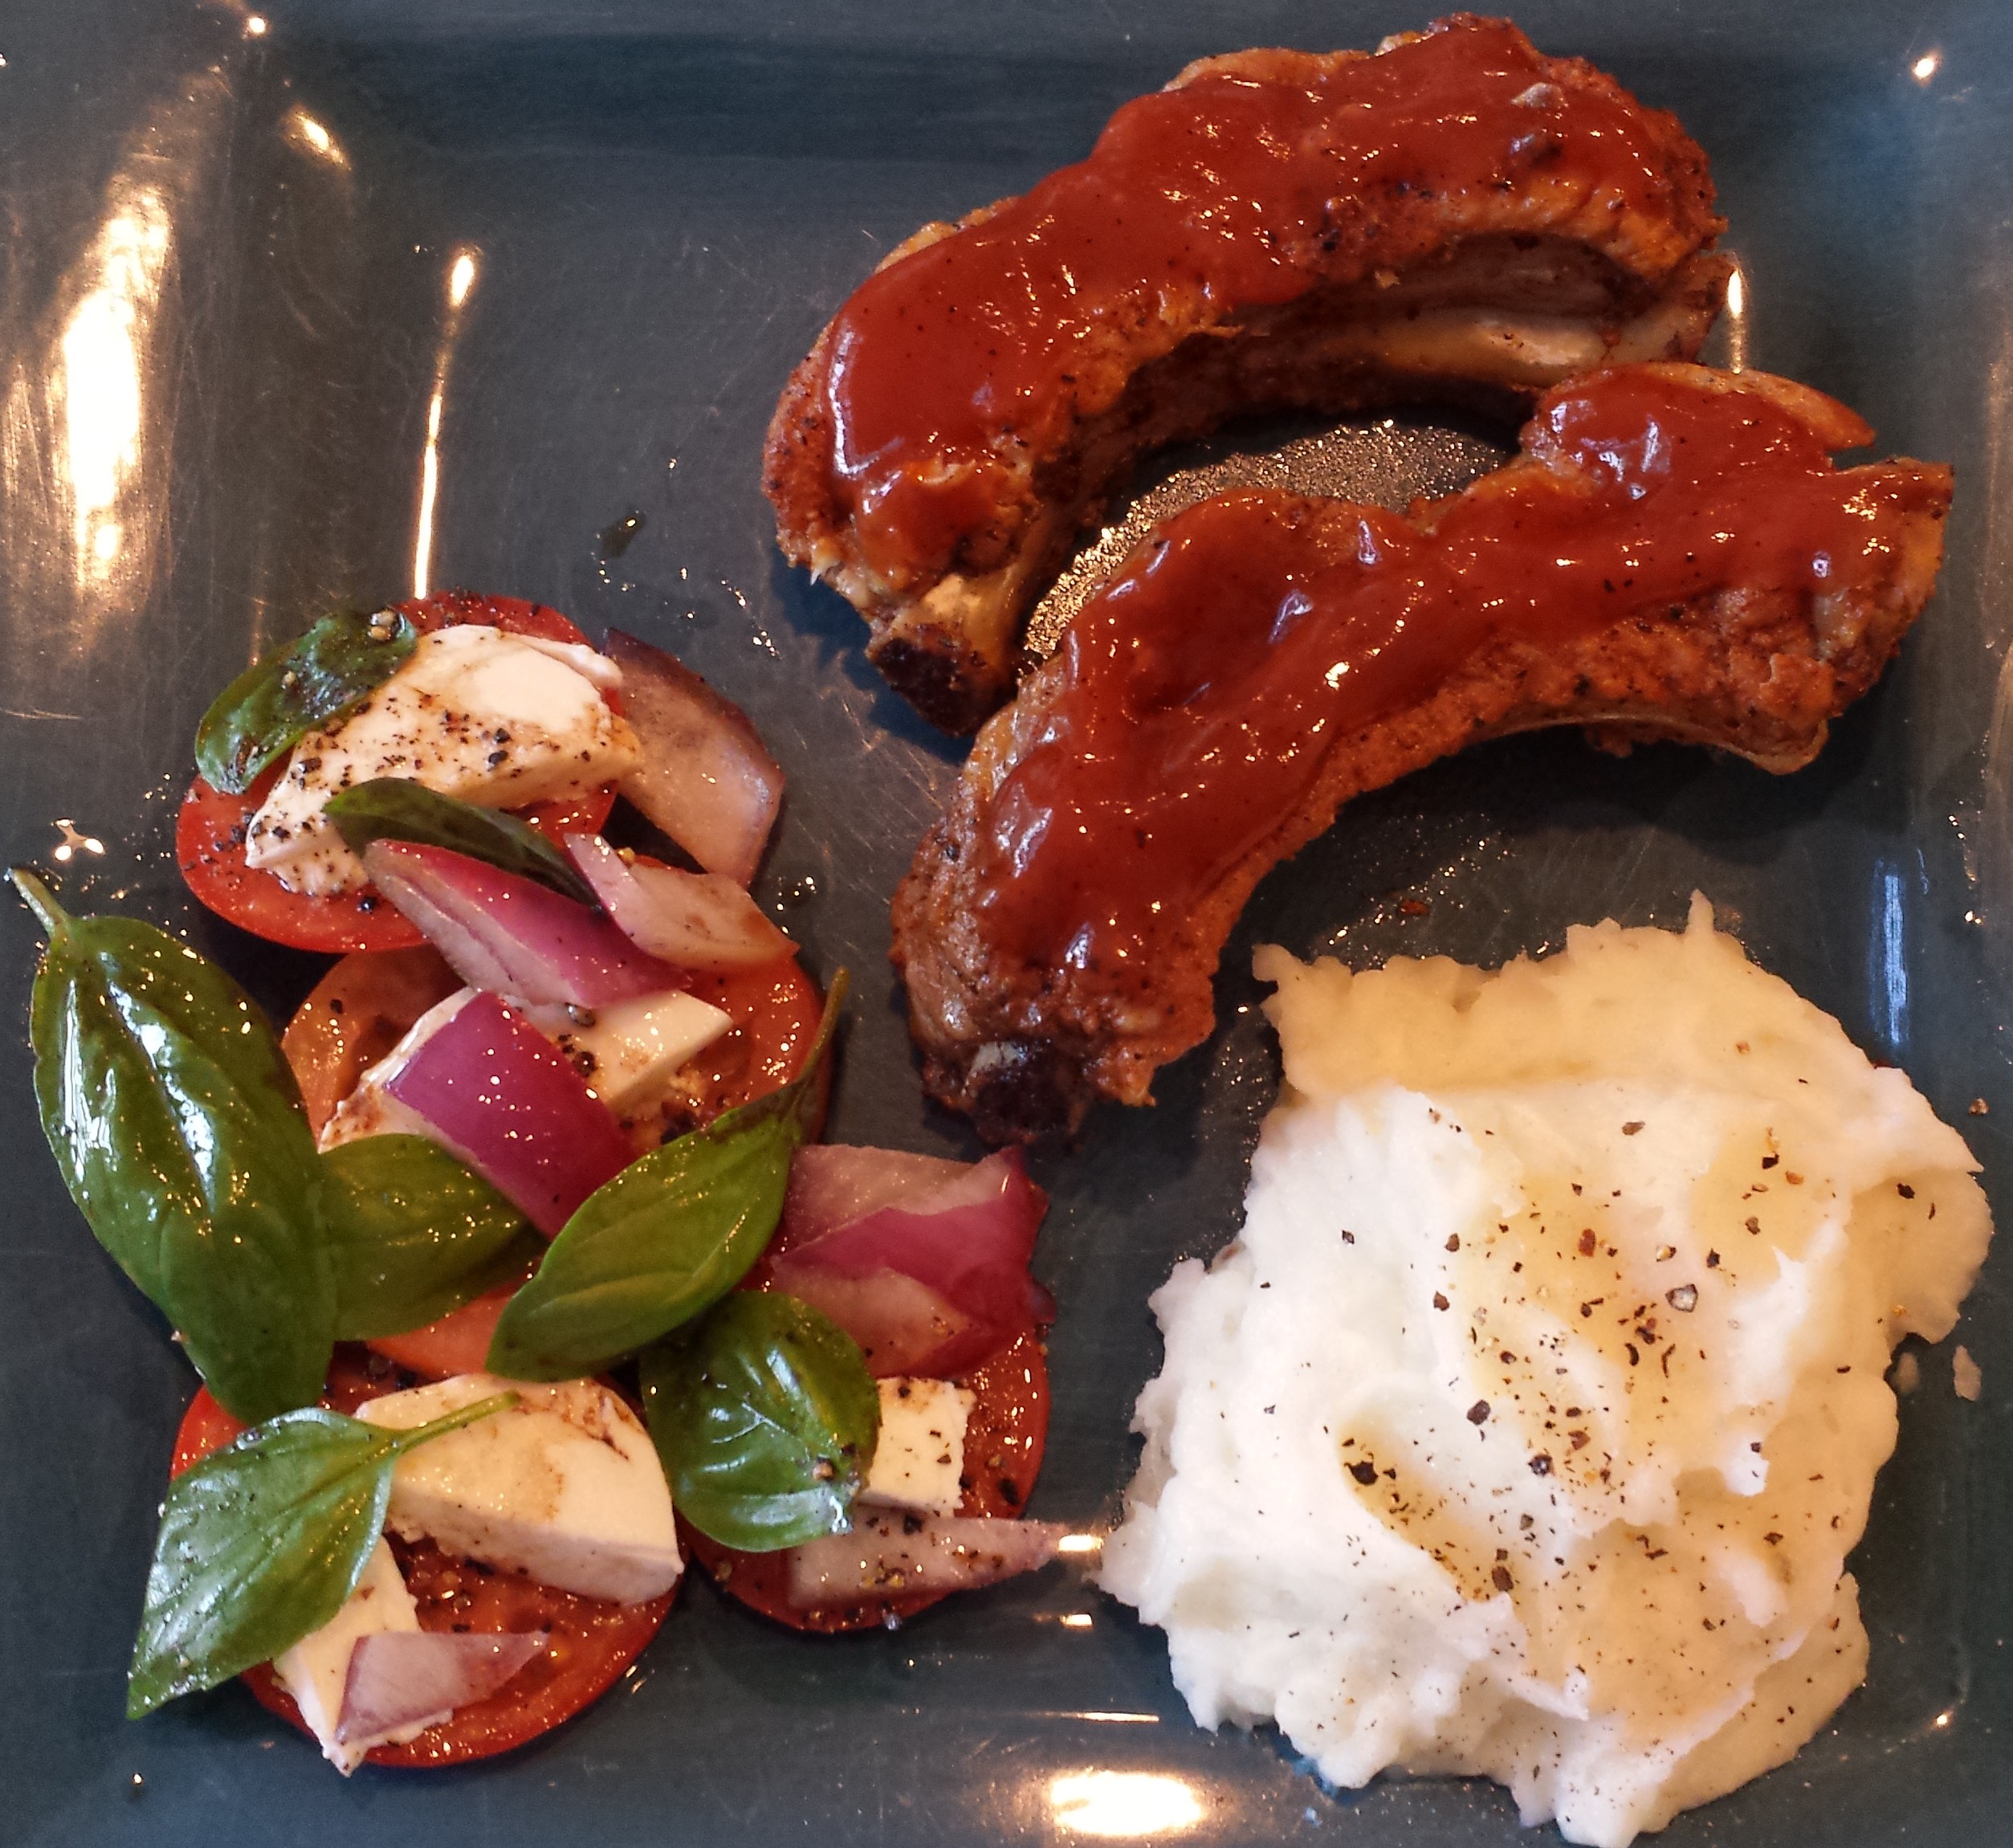
- Sides – Even though my picture shows mashed potatoes and a nice caprese salad (it’s summer and I have some great tomatoes in my yard), I normally serve my ribs with a delicious homemade potato salad (I’ll post this recipe soon) and a nice ear of corn. But as always, whatever you prefer.
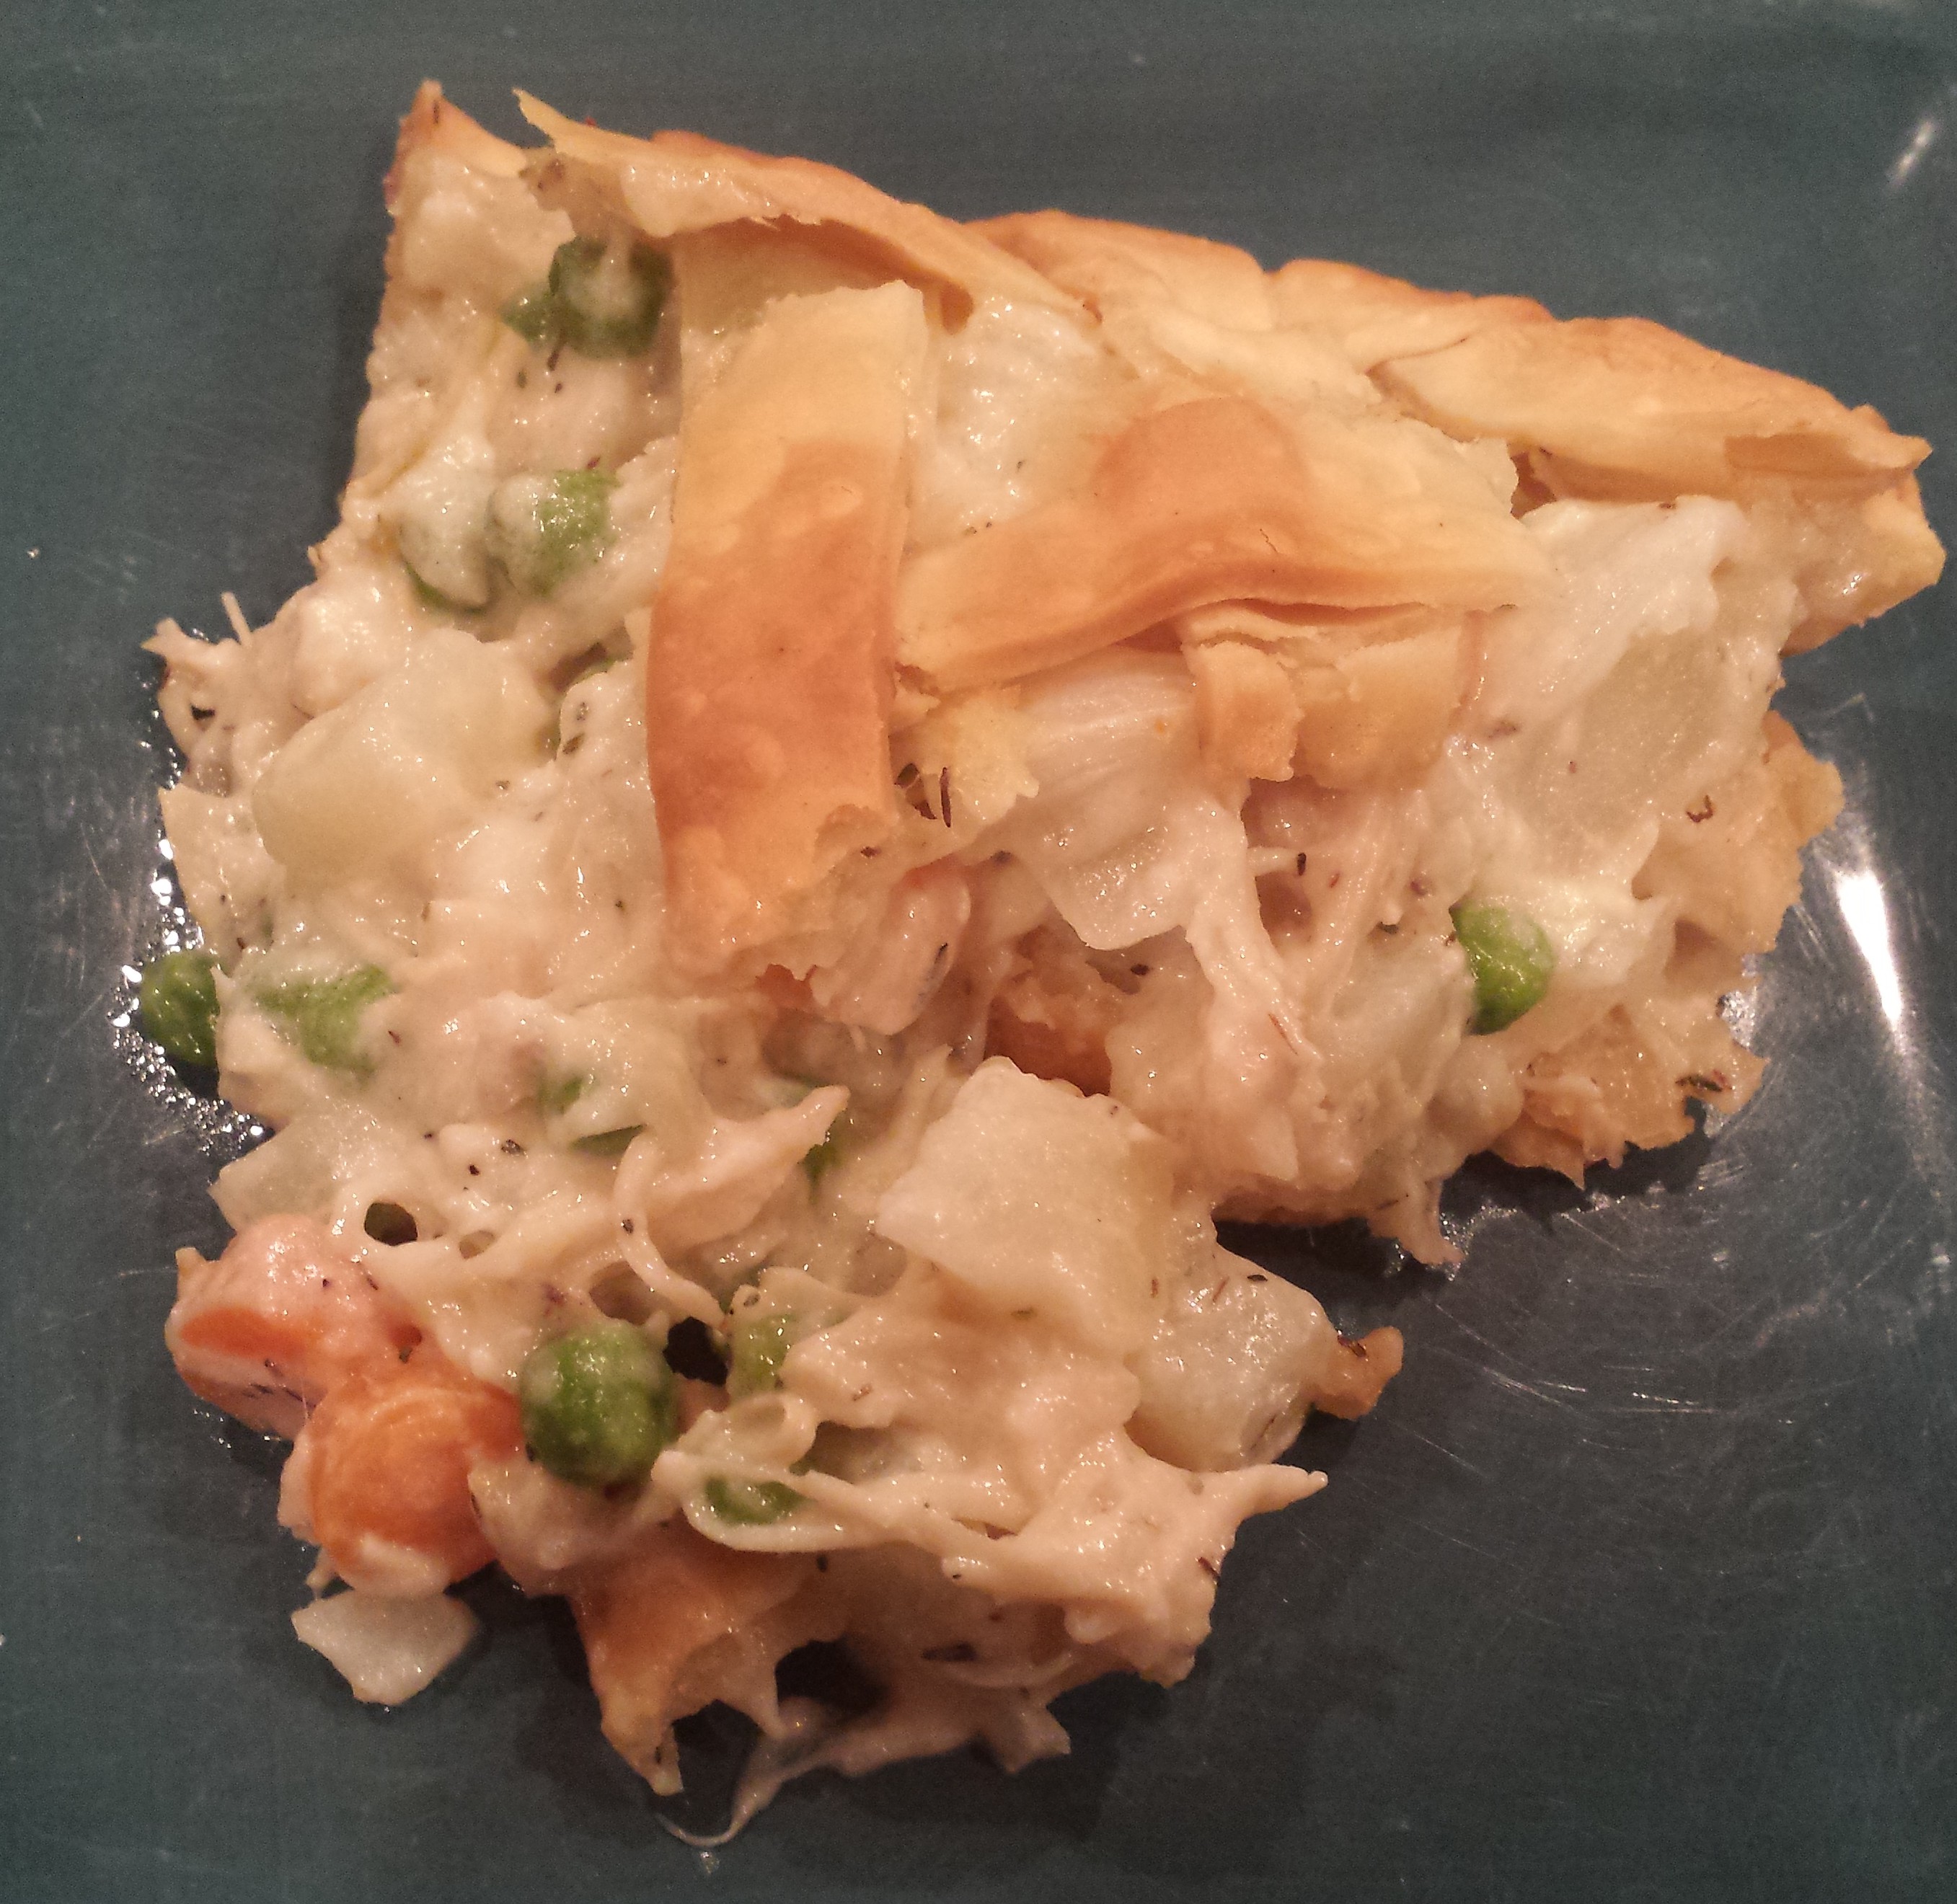
Homemade Chicken Pie

This chicken pie has been a favorite of all my friends for years. When I’ve had people over for dinner and asked them if they had a preference for dinner, inevitably, they requested chicken pie. A lucky few have been given the recipe in the past, but not with my special notes on how to perfect this pie. There are many chicken pie recipes available, so why should you try mine? Quite simply, it’s easy to make and loaded with flavor. As always, give it a try as is and modify to your particular preferences the next time. Although, from years of taste testing with dozens of people, this should be pretty close to perfect. Enjoy!
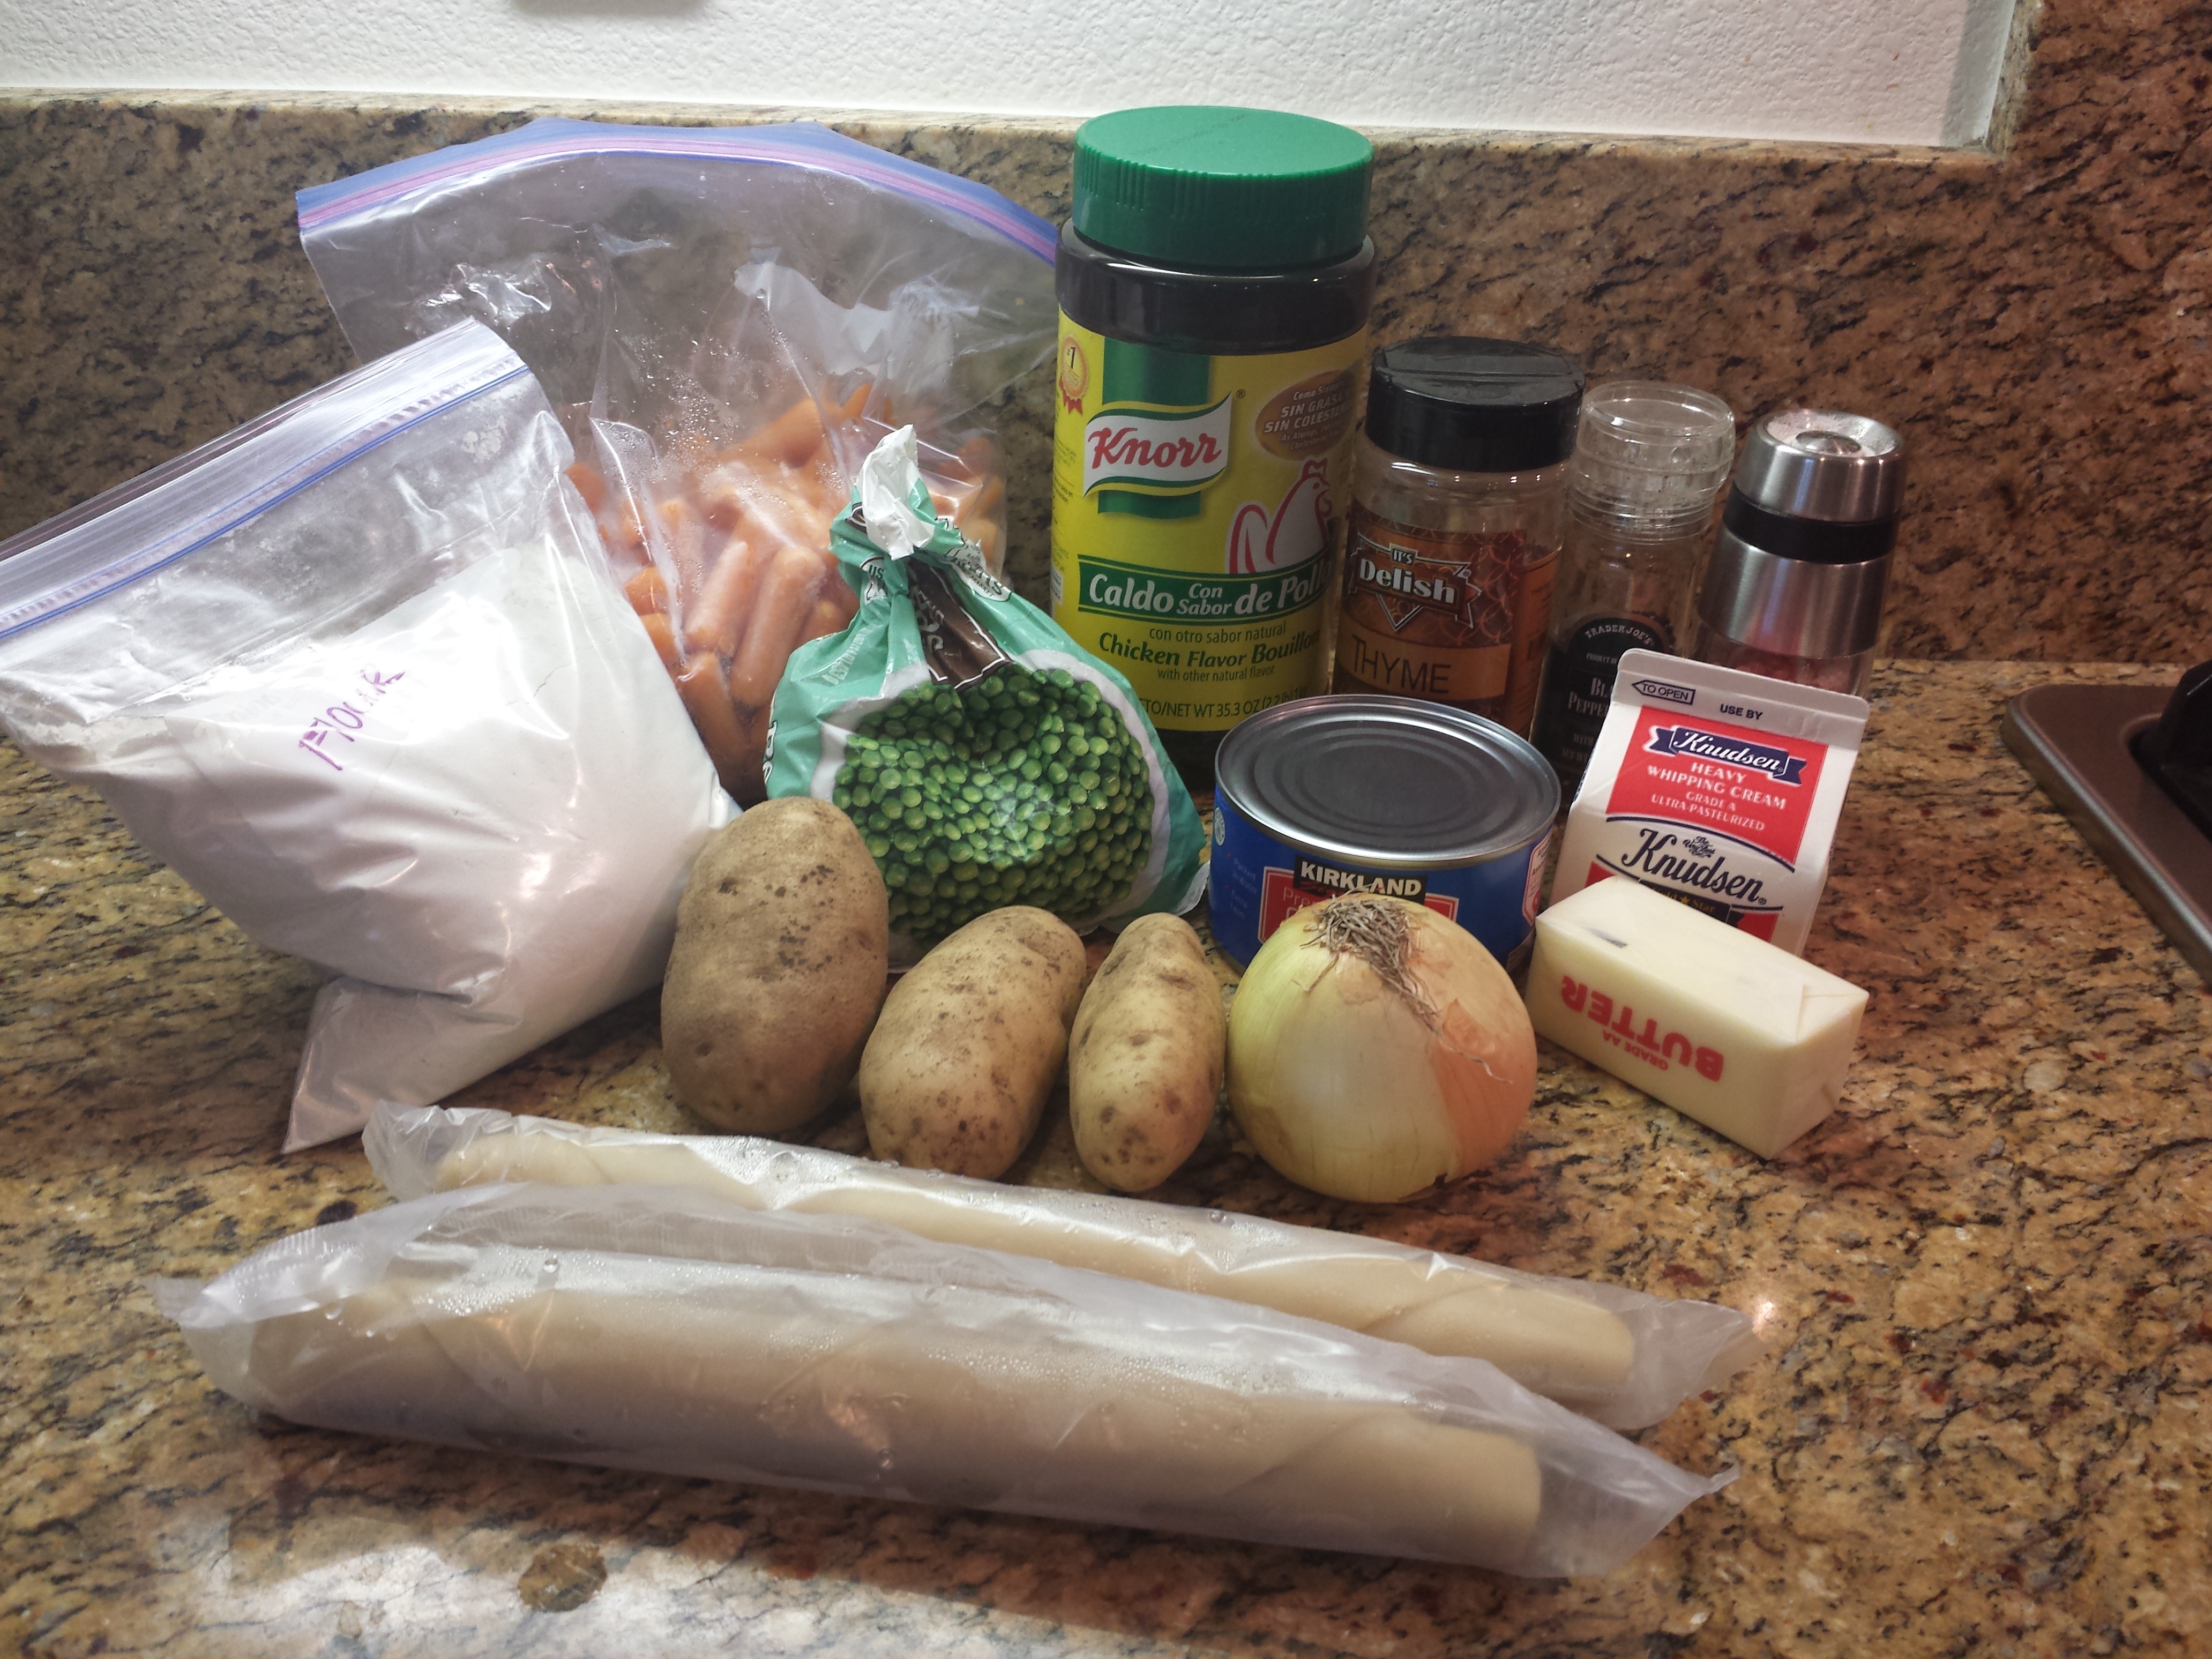
Ingredients
- 2 pie crusts (homemade or store bought, see Ideas below)

- 2 T flour
- 1-1/2 tsp thyme
- 1/2 c chicken broth
- 2 T butter
- 1 tsp salt
- 1/8 tsp pepper
- 1/2 c light cream
- 2 c cubed, cooked chicken (see Ideas below)
- 1-1/2 c diced, cooked potatoes
- 1 onion, diced into large chunks
- 2/3 to 3/4 c frozen peas
- 1/2 to 2/3 c of sliced carrots
Instructions
- Heat oven to 425 degrees F.

- Peel potatoes and cut into bit size pieces. Peel and cut the carrots. Place in medium size pot with water just covering them on the stove. Bring to a boil and cook until softened (your fork can penetrate, but they cannot be easily mashed with your fork against the side of the pot.). This takes about 8-10 minutes.
- Cut onion into large chunks. Put in a bowl and cook in the microwave for 30-45 seconds. This is enough to partially cook the onions and ensures optimal flavor and done-ness in the pie.

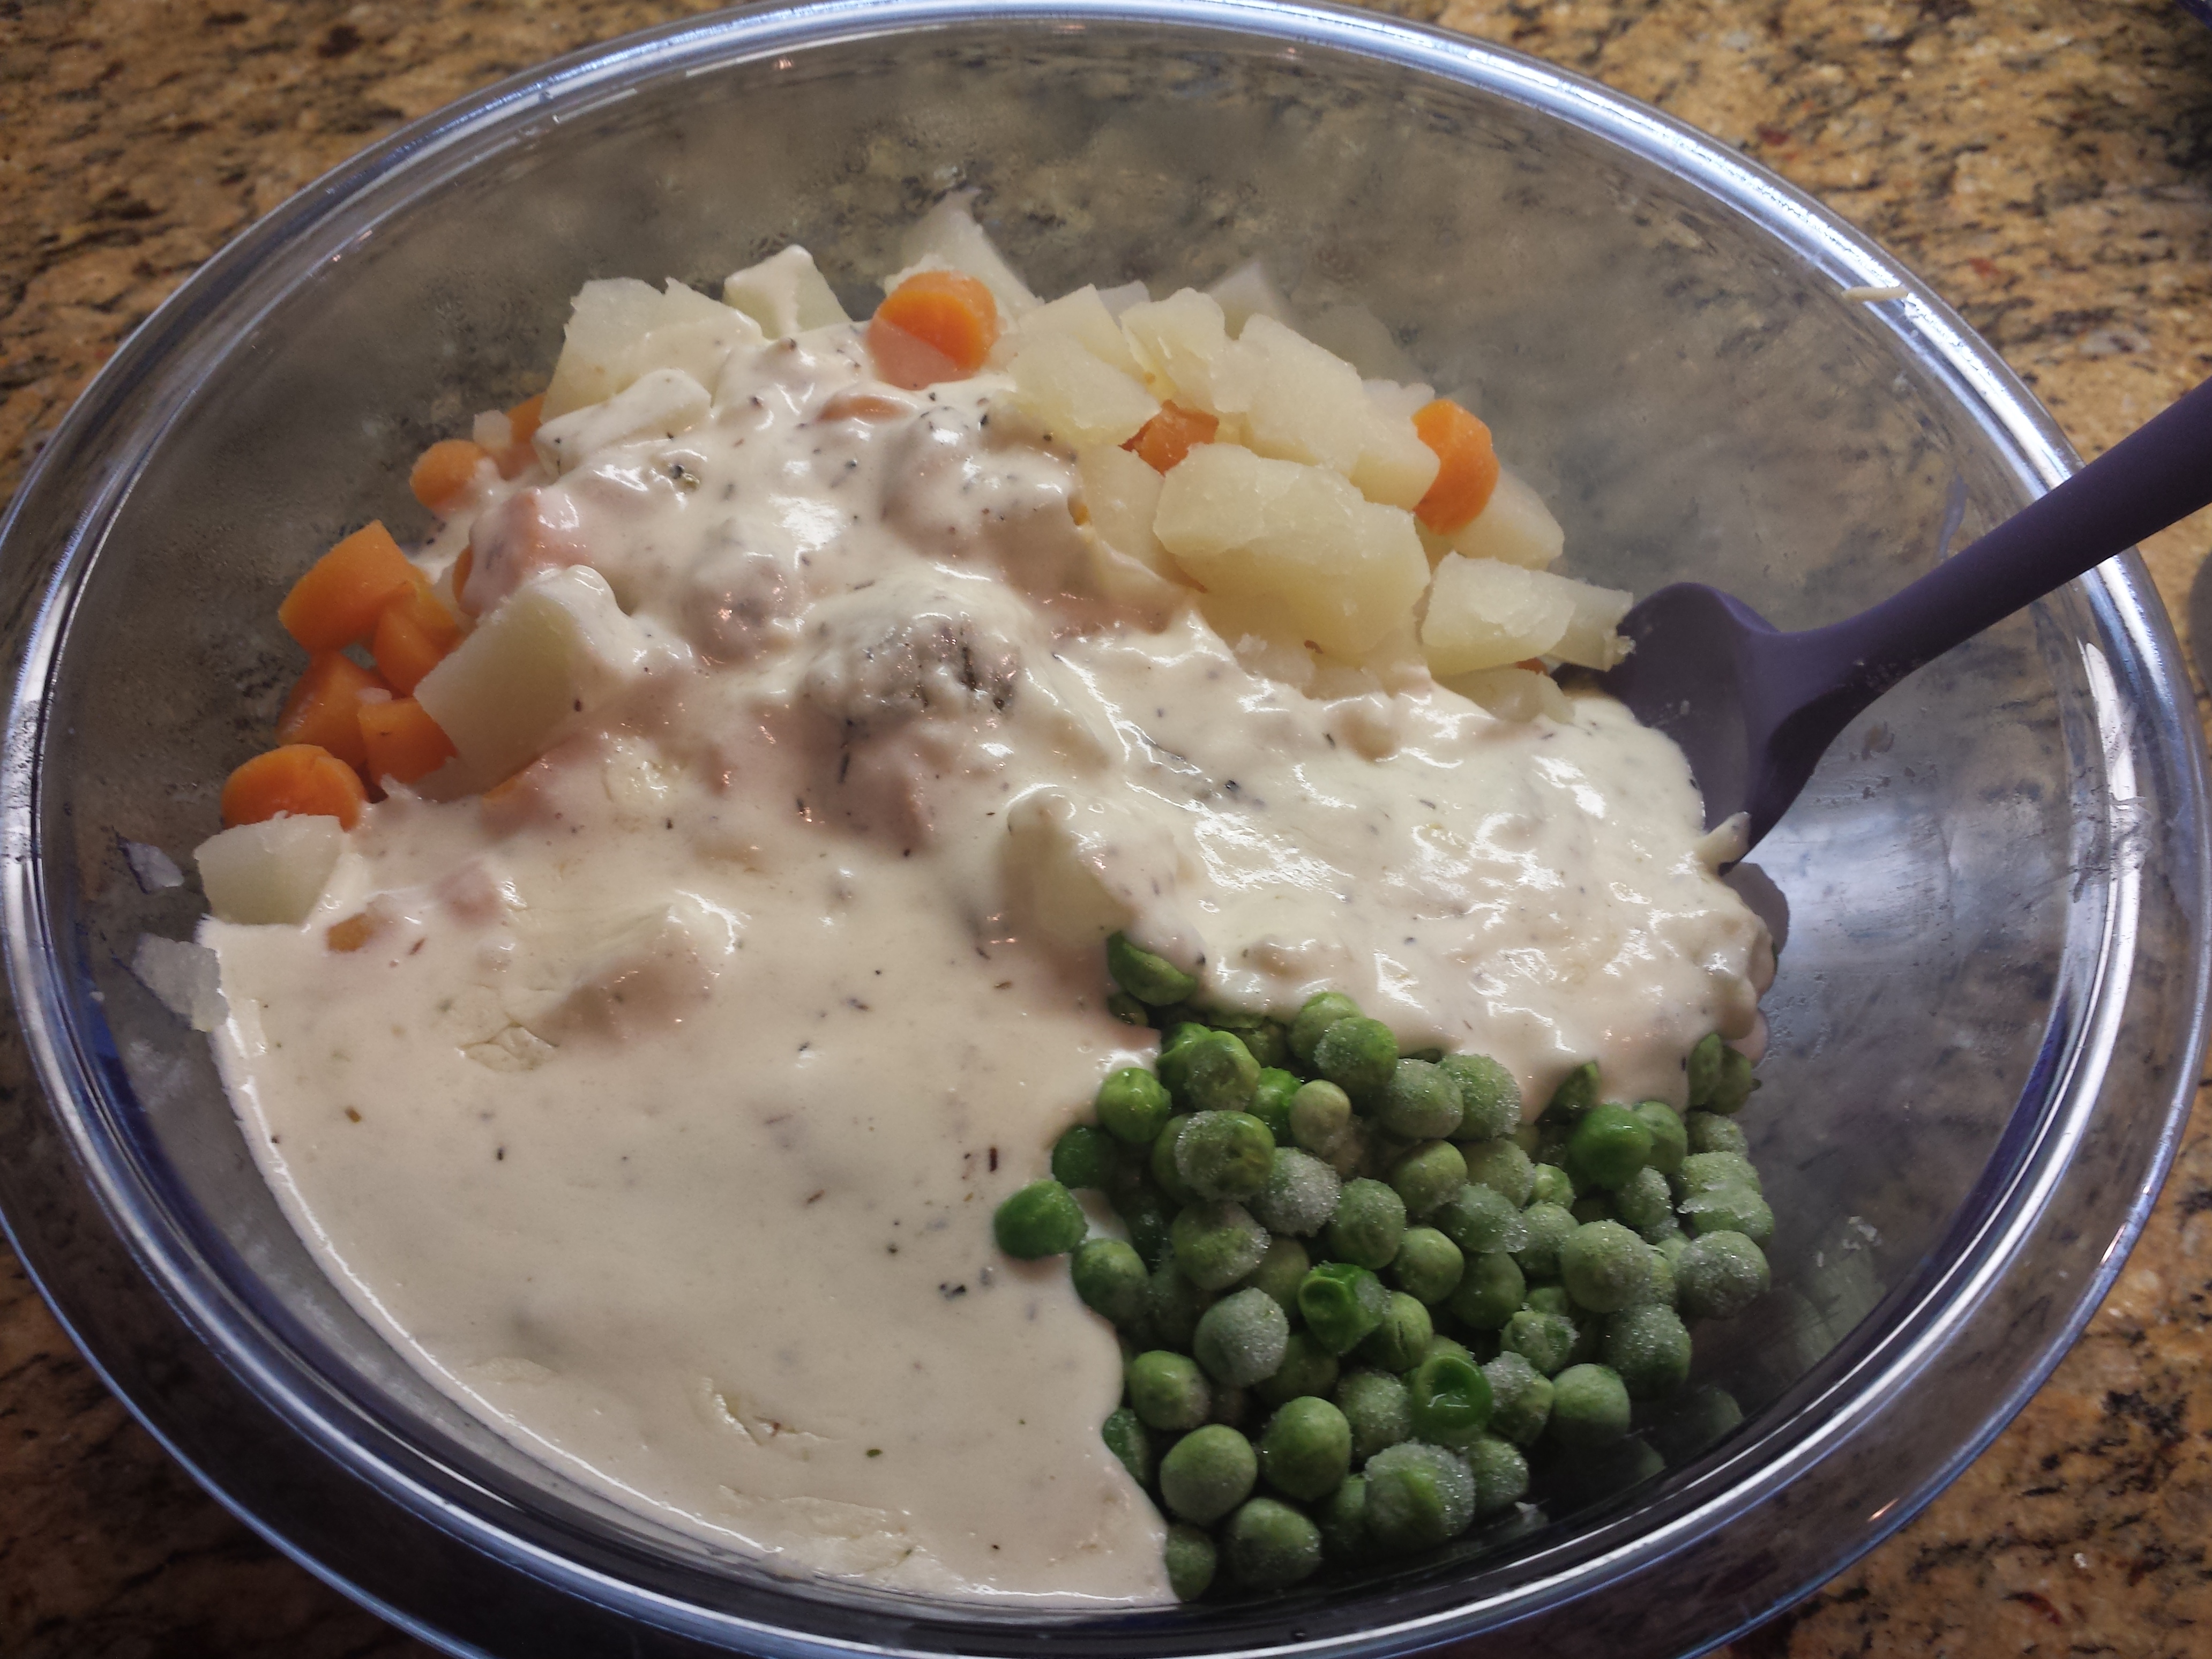
- In a large bowl
- Add the chicken and separate into small portions.
- Add the onions.
- While potatoes and carrots are cooking, prepare the pie crust and sauce, per the instructions below.
- Pie crust
- Homemade – roll out 2/3 of the pastry until it’s 1/8″ thick, Fit into a 9″ pie pan. Roll out the rest and cut into strips.

- Store bought – remove from refrigerator and let sit on counter for about 5-10 minutes before opening package. Place one crust into pie plate. Lay the second crust on the counter and cut into strips of ~1/2″ wide each.
- Homemade – roll out 2/3 of the pastry until it’s 1/8″ thick, Fit into a 9″ pie pan. Roll out the rest and cut into strips.
- The sauce
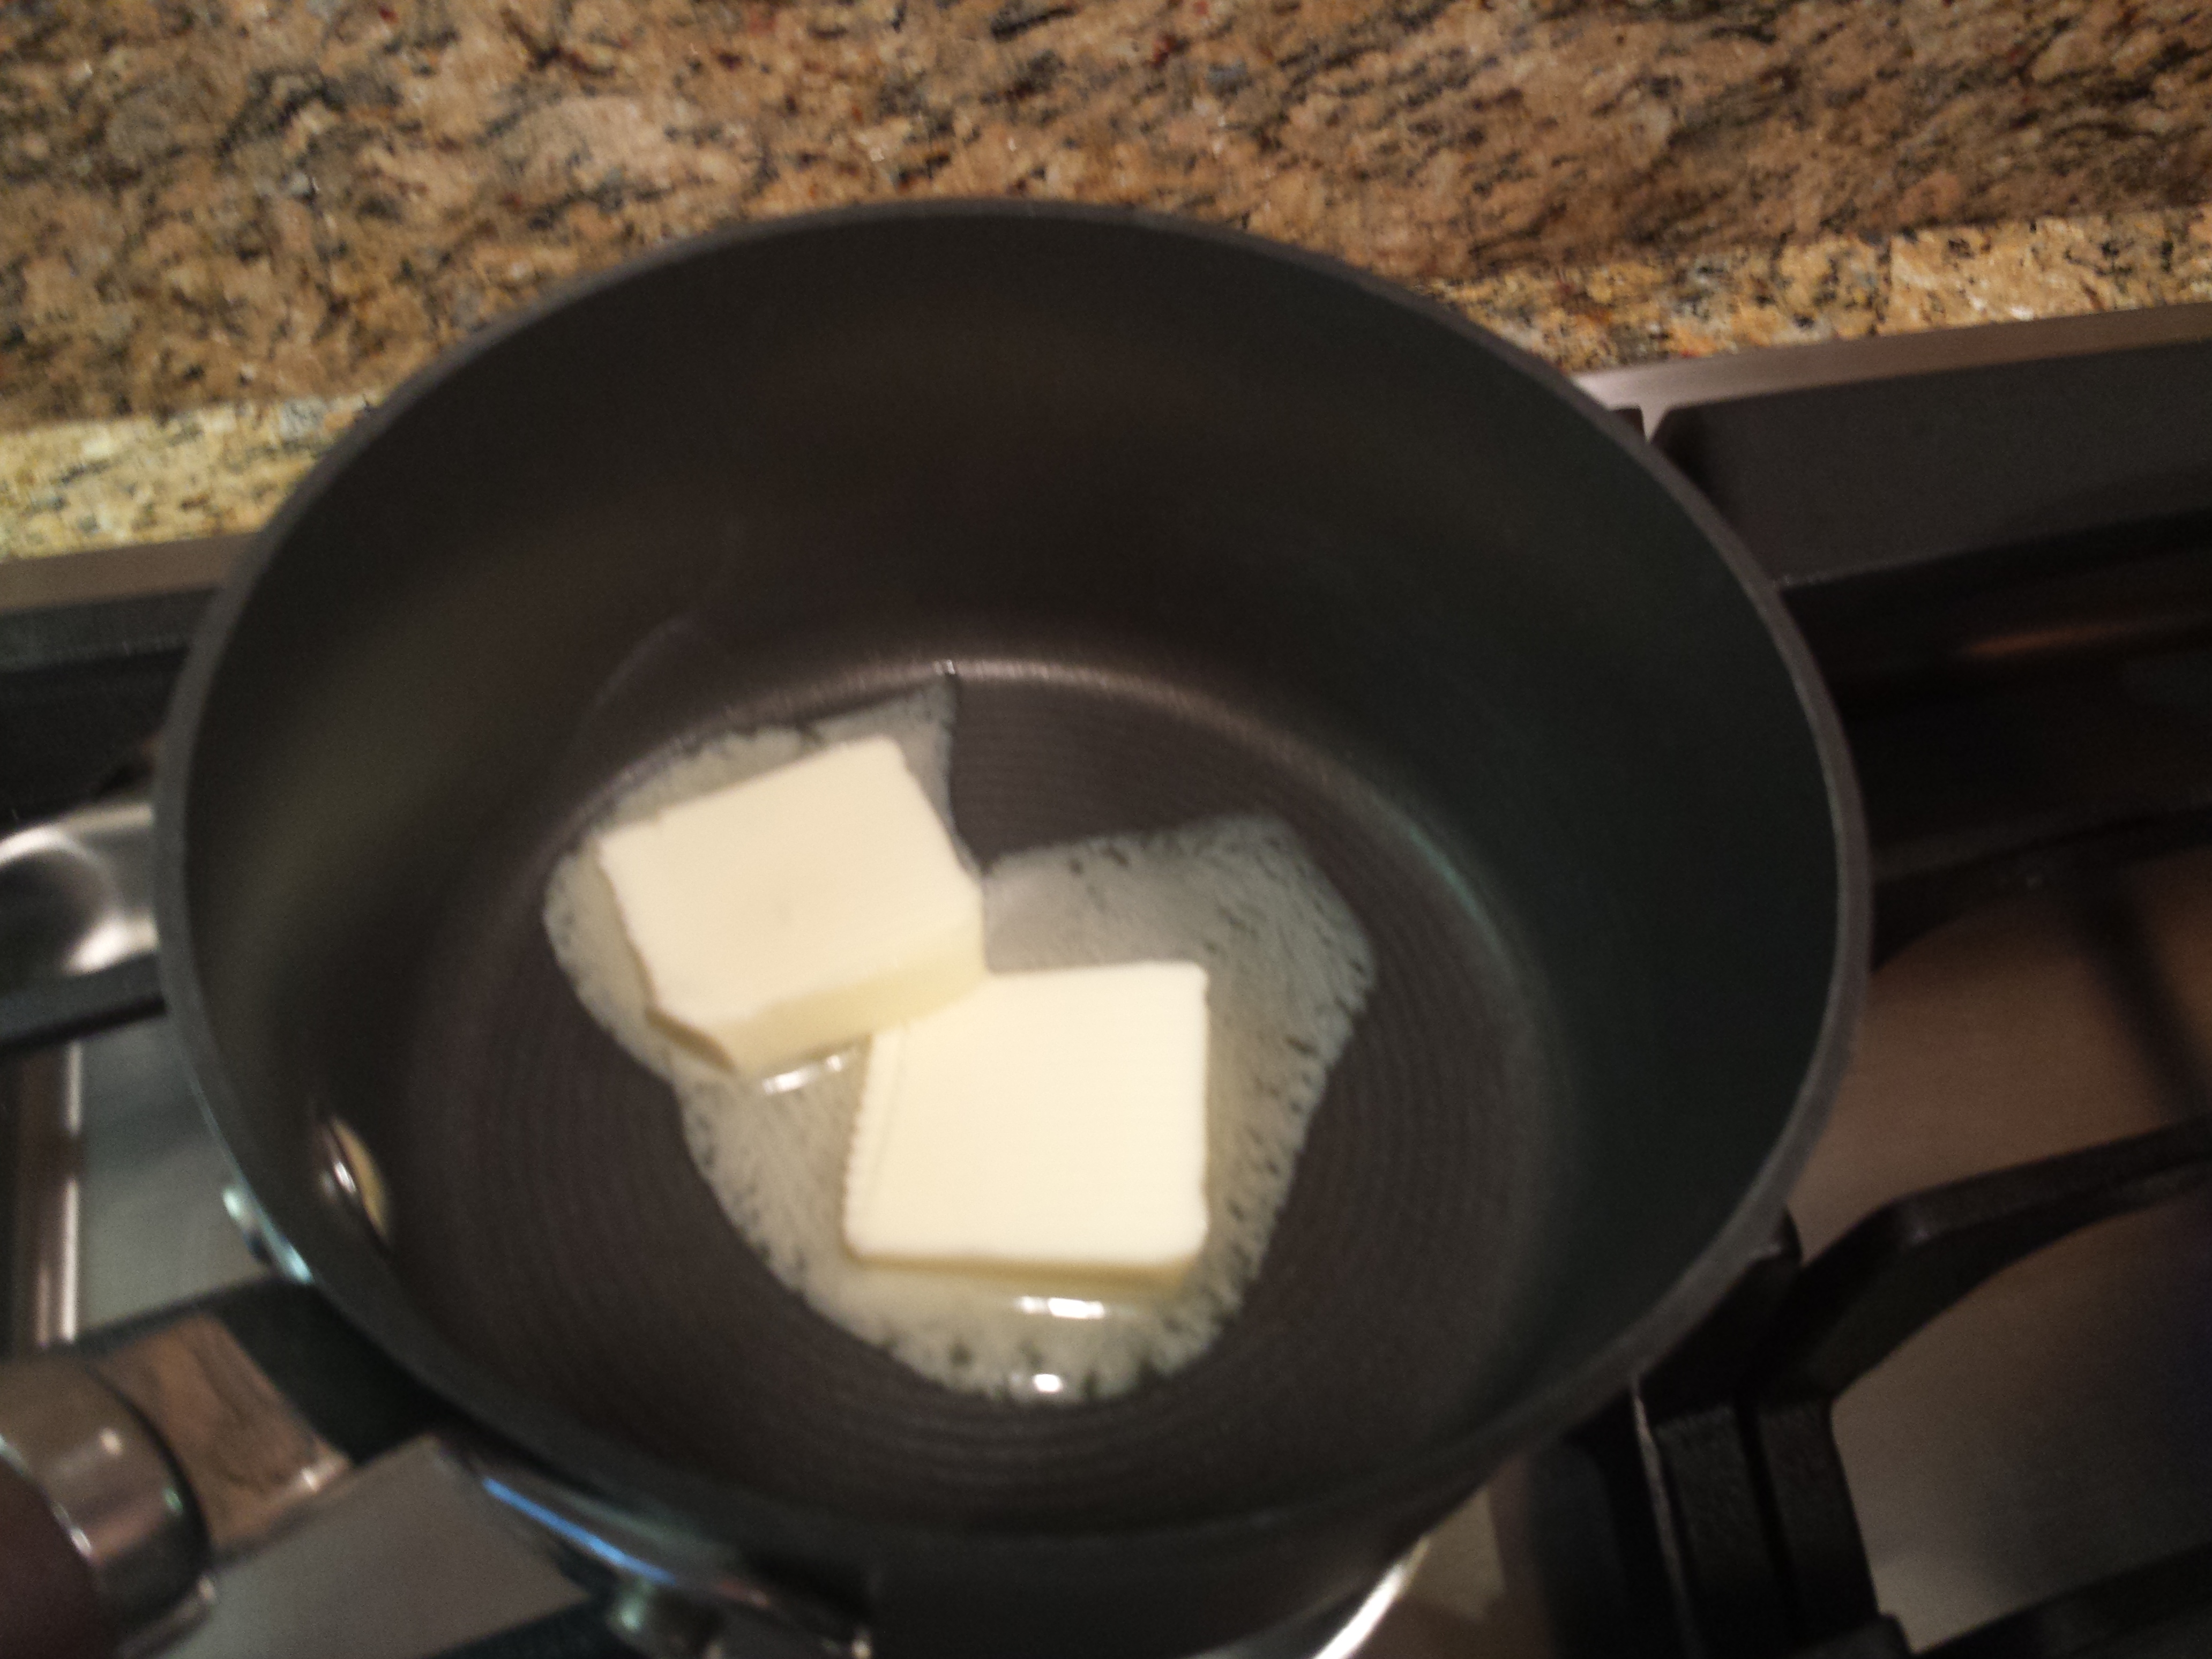
- In a small saucepan (I use my smallest, which is 1.5 qt), melt the butter over low heat.
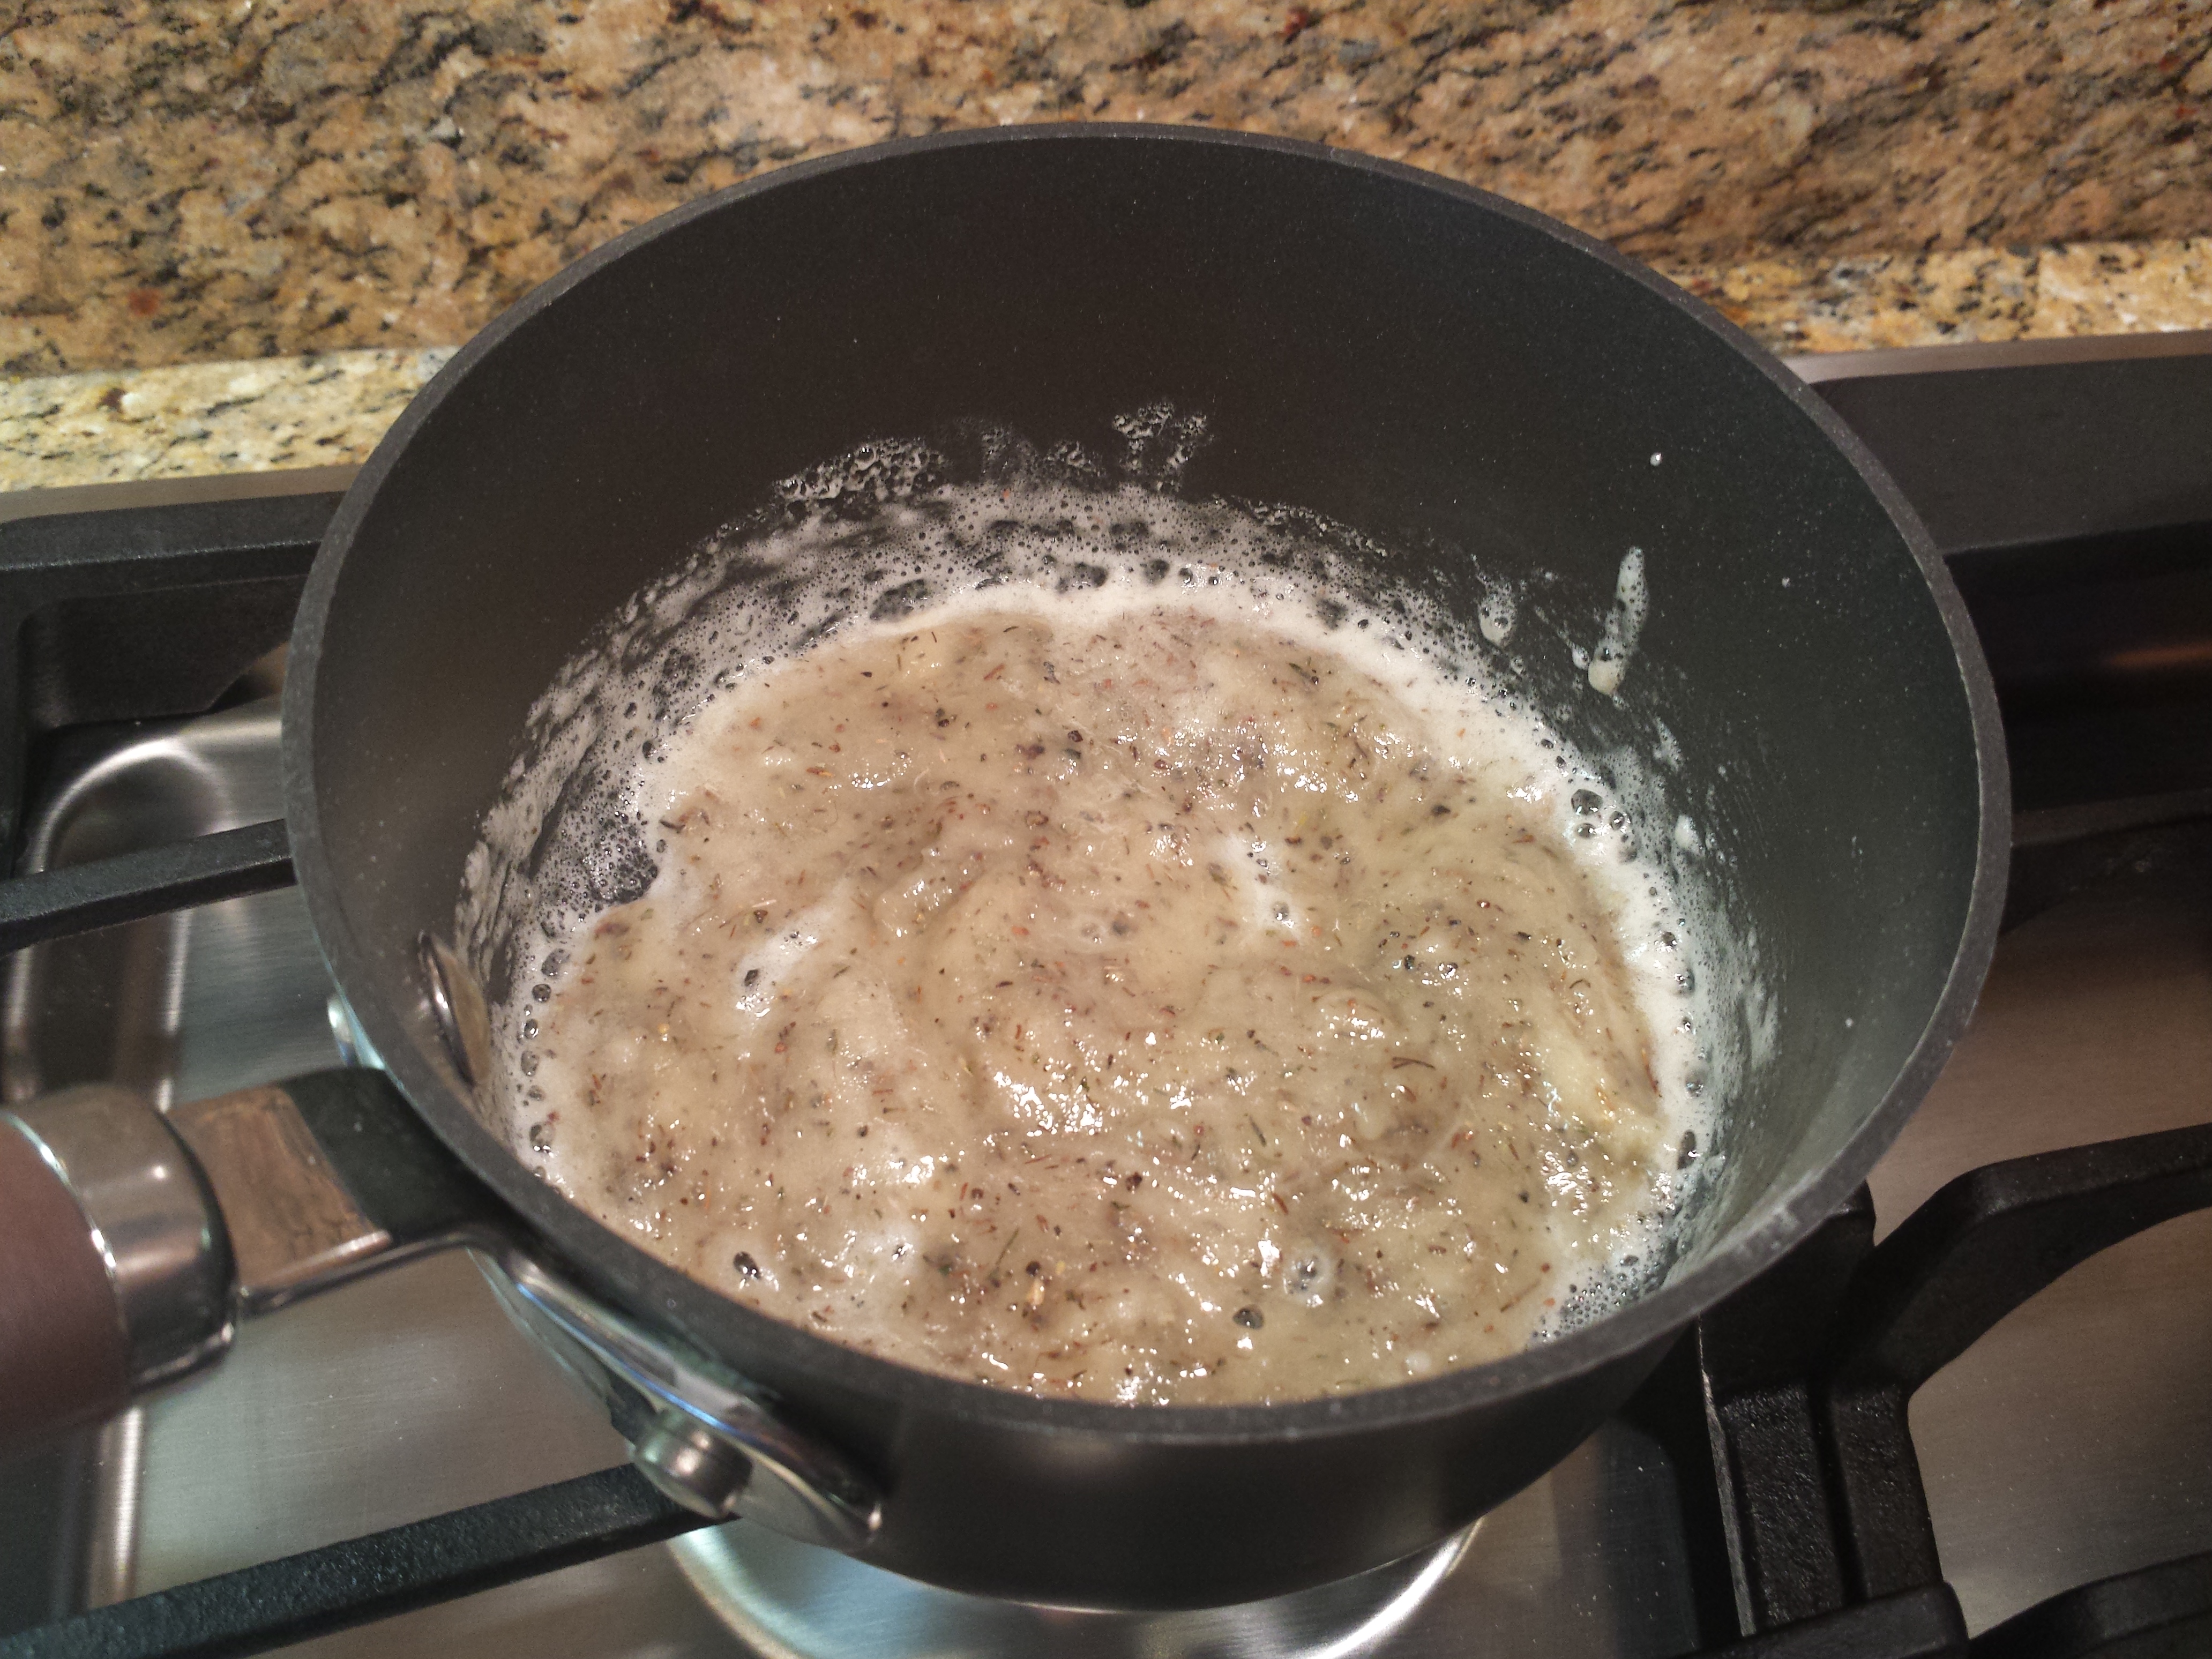
- Add the flour, salt, pepper and thyme. Mix well and cook over low heat, stirring often, until smooth and beginning to bubble.
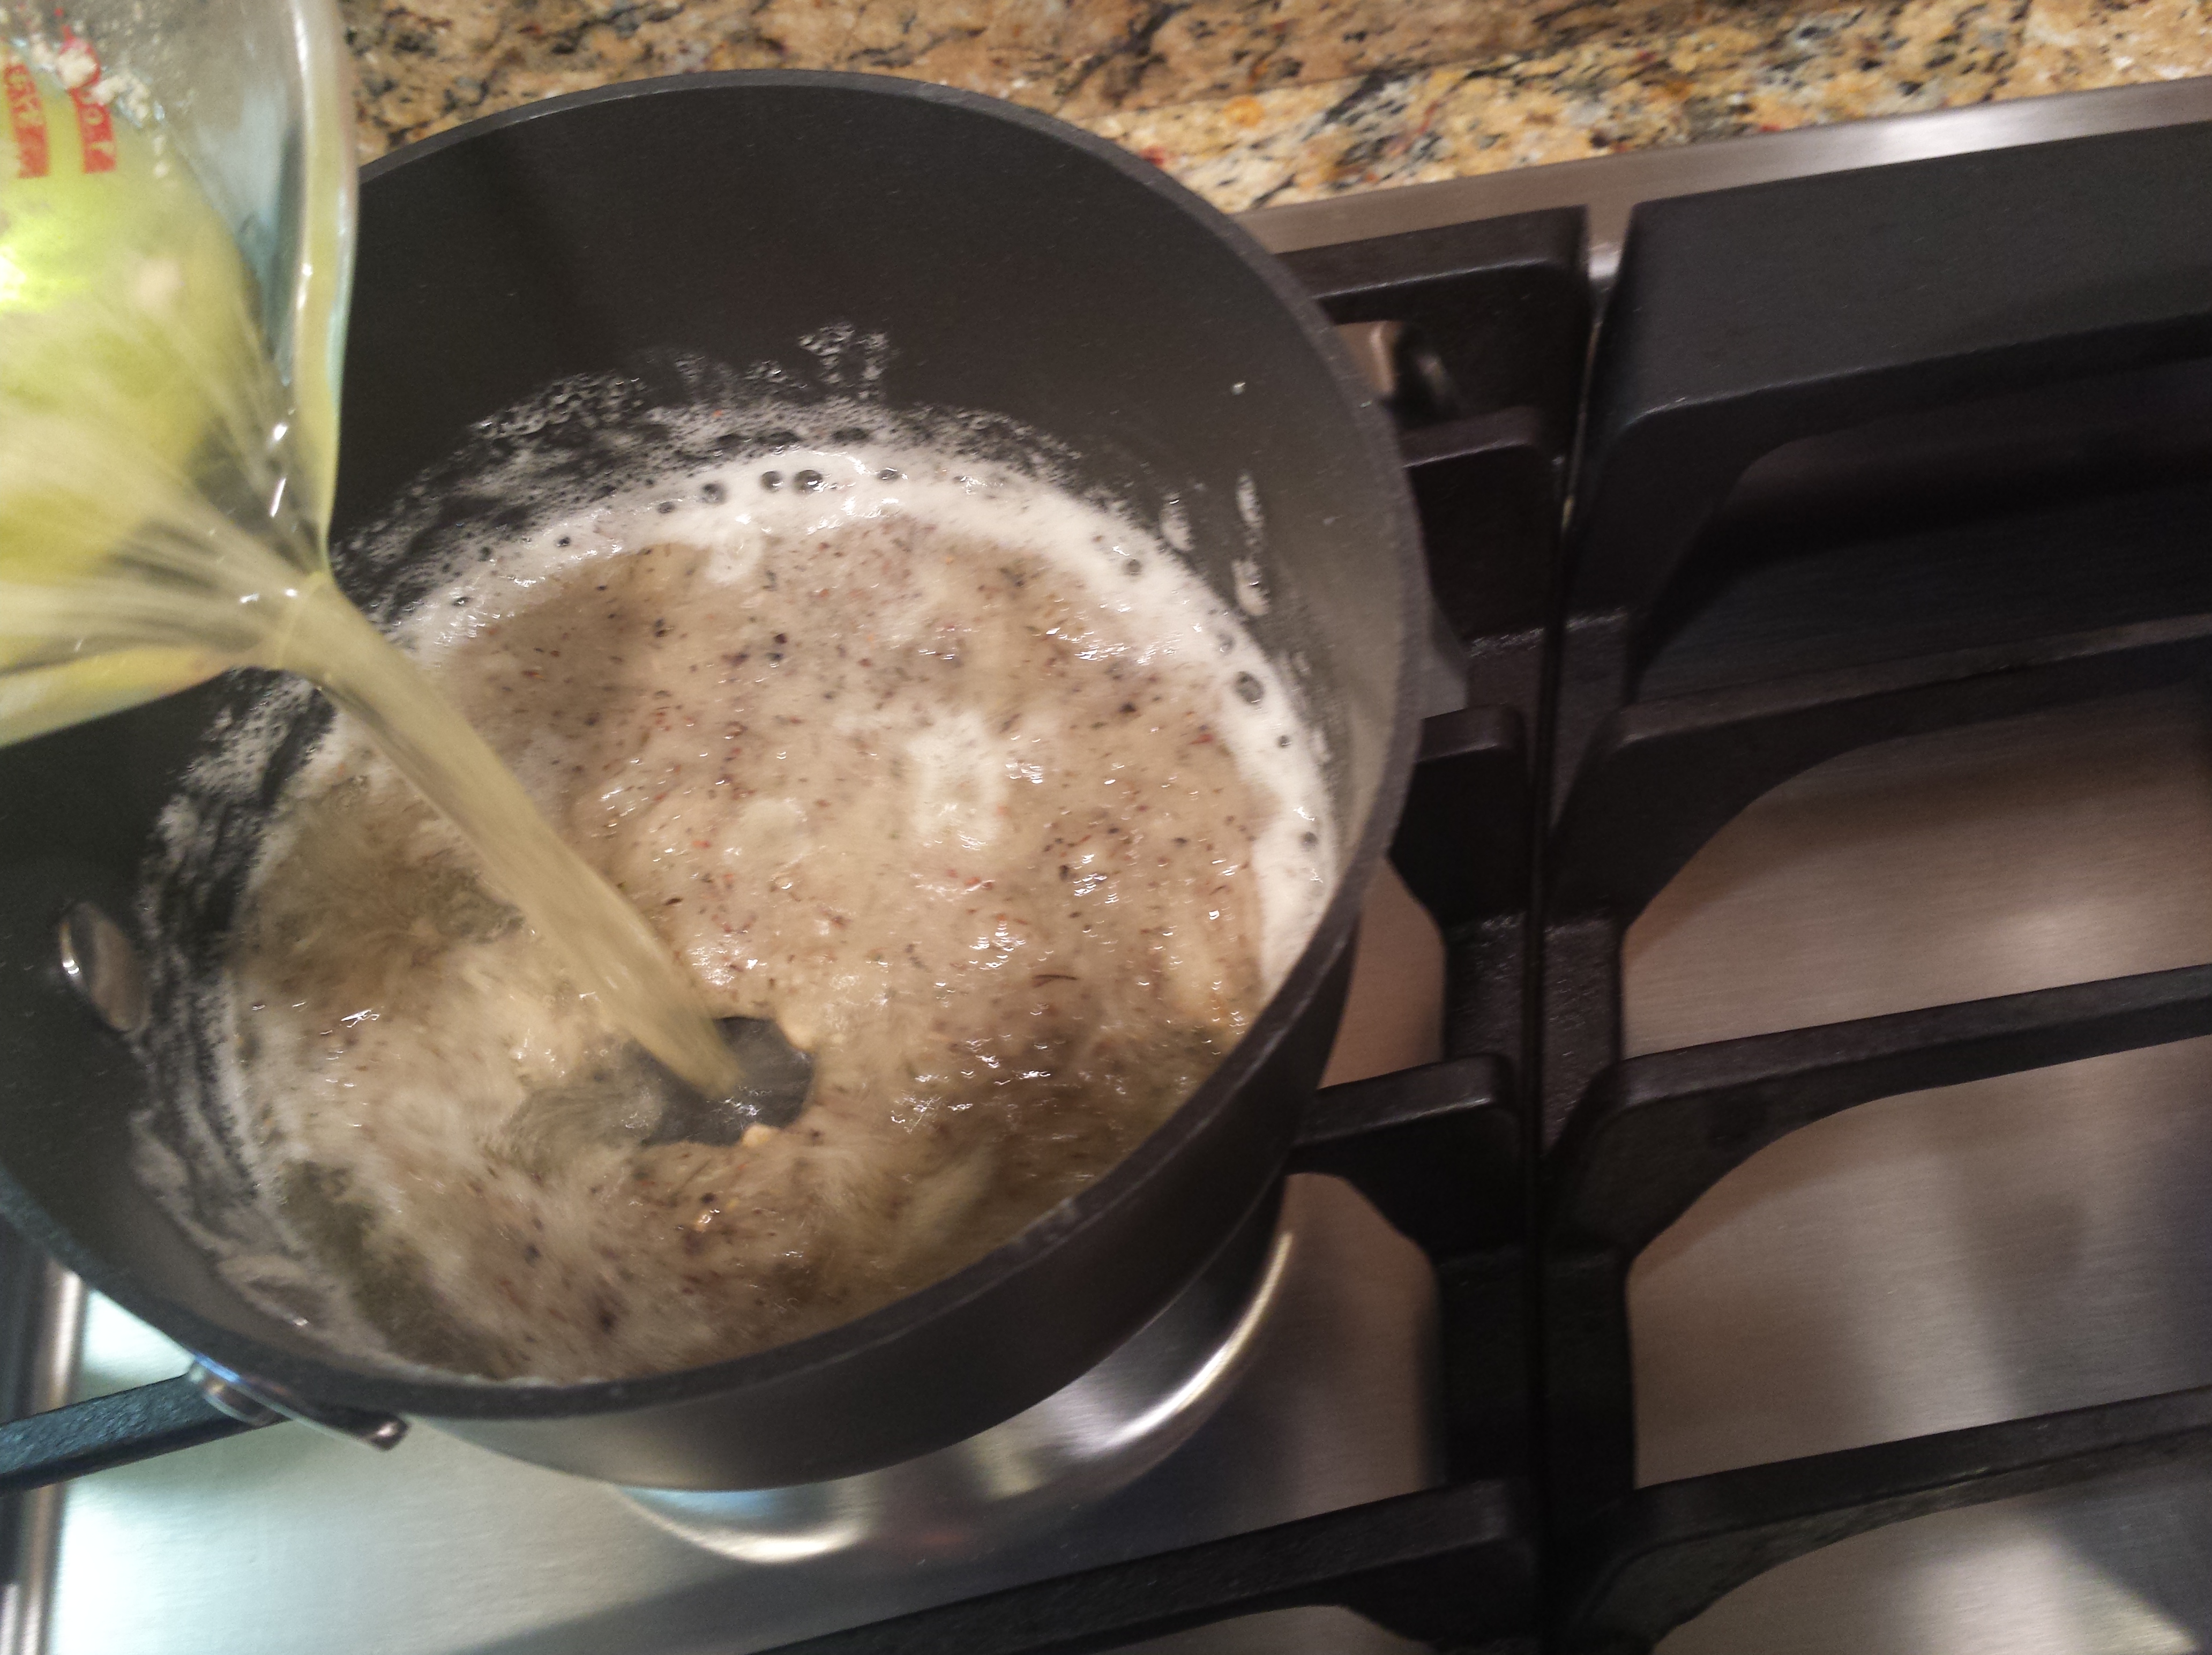
- Stir in cream and chicken broth.
- Heat to boiling, stirring constantly so that you do not have lumps. Boil for about 1 minute. The sauce will start to thicken a little.


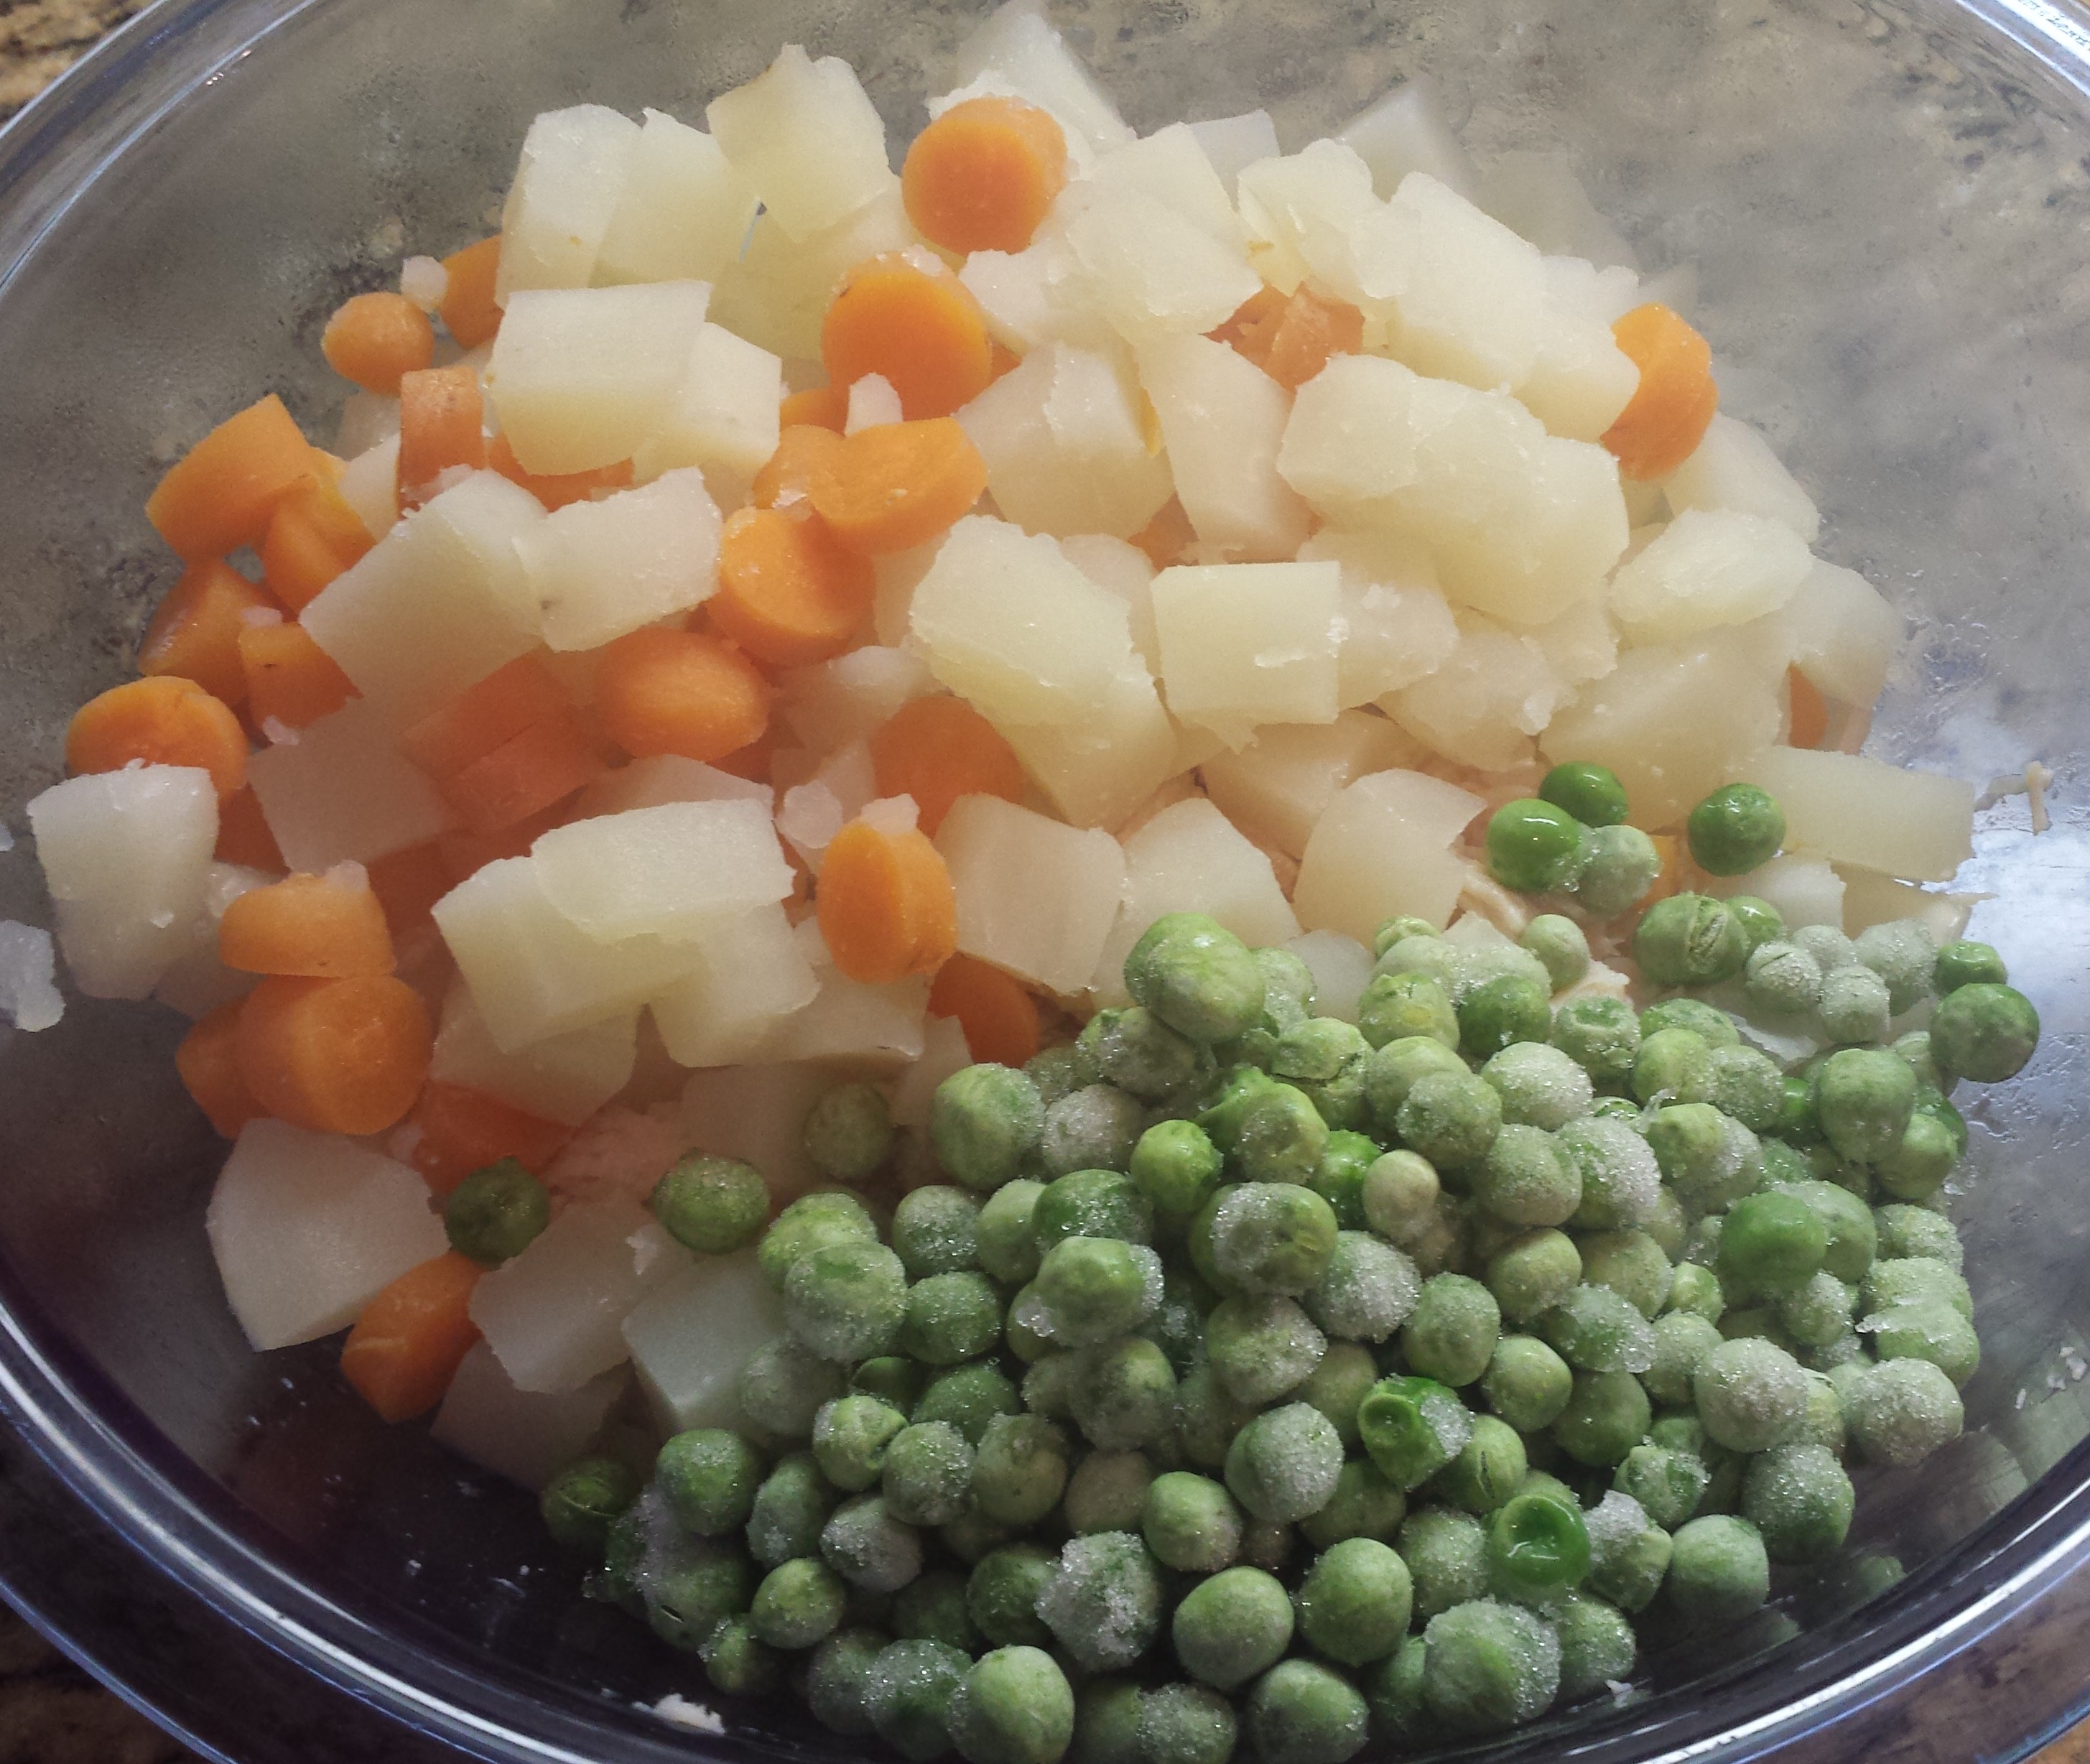
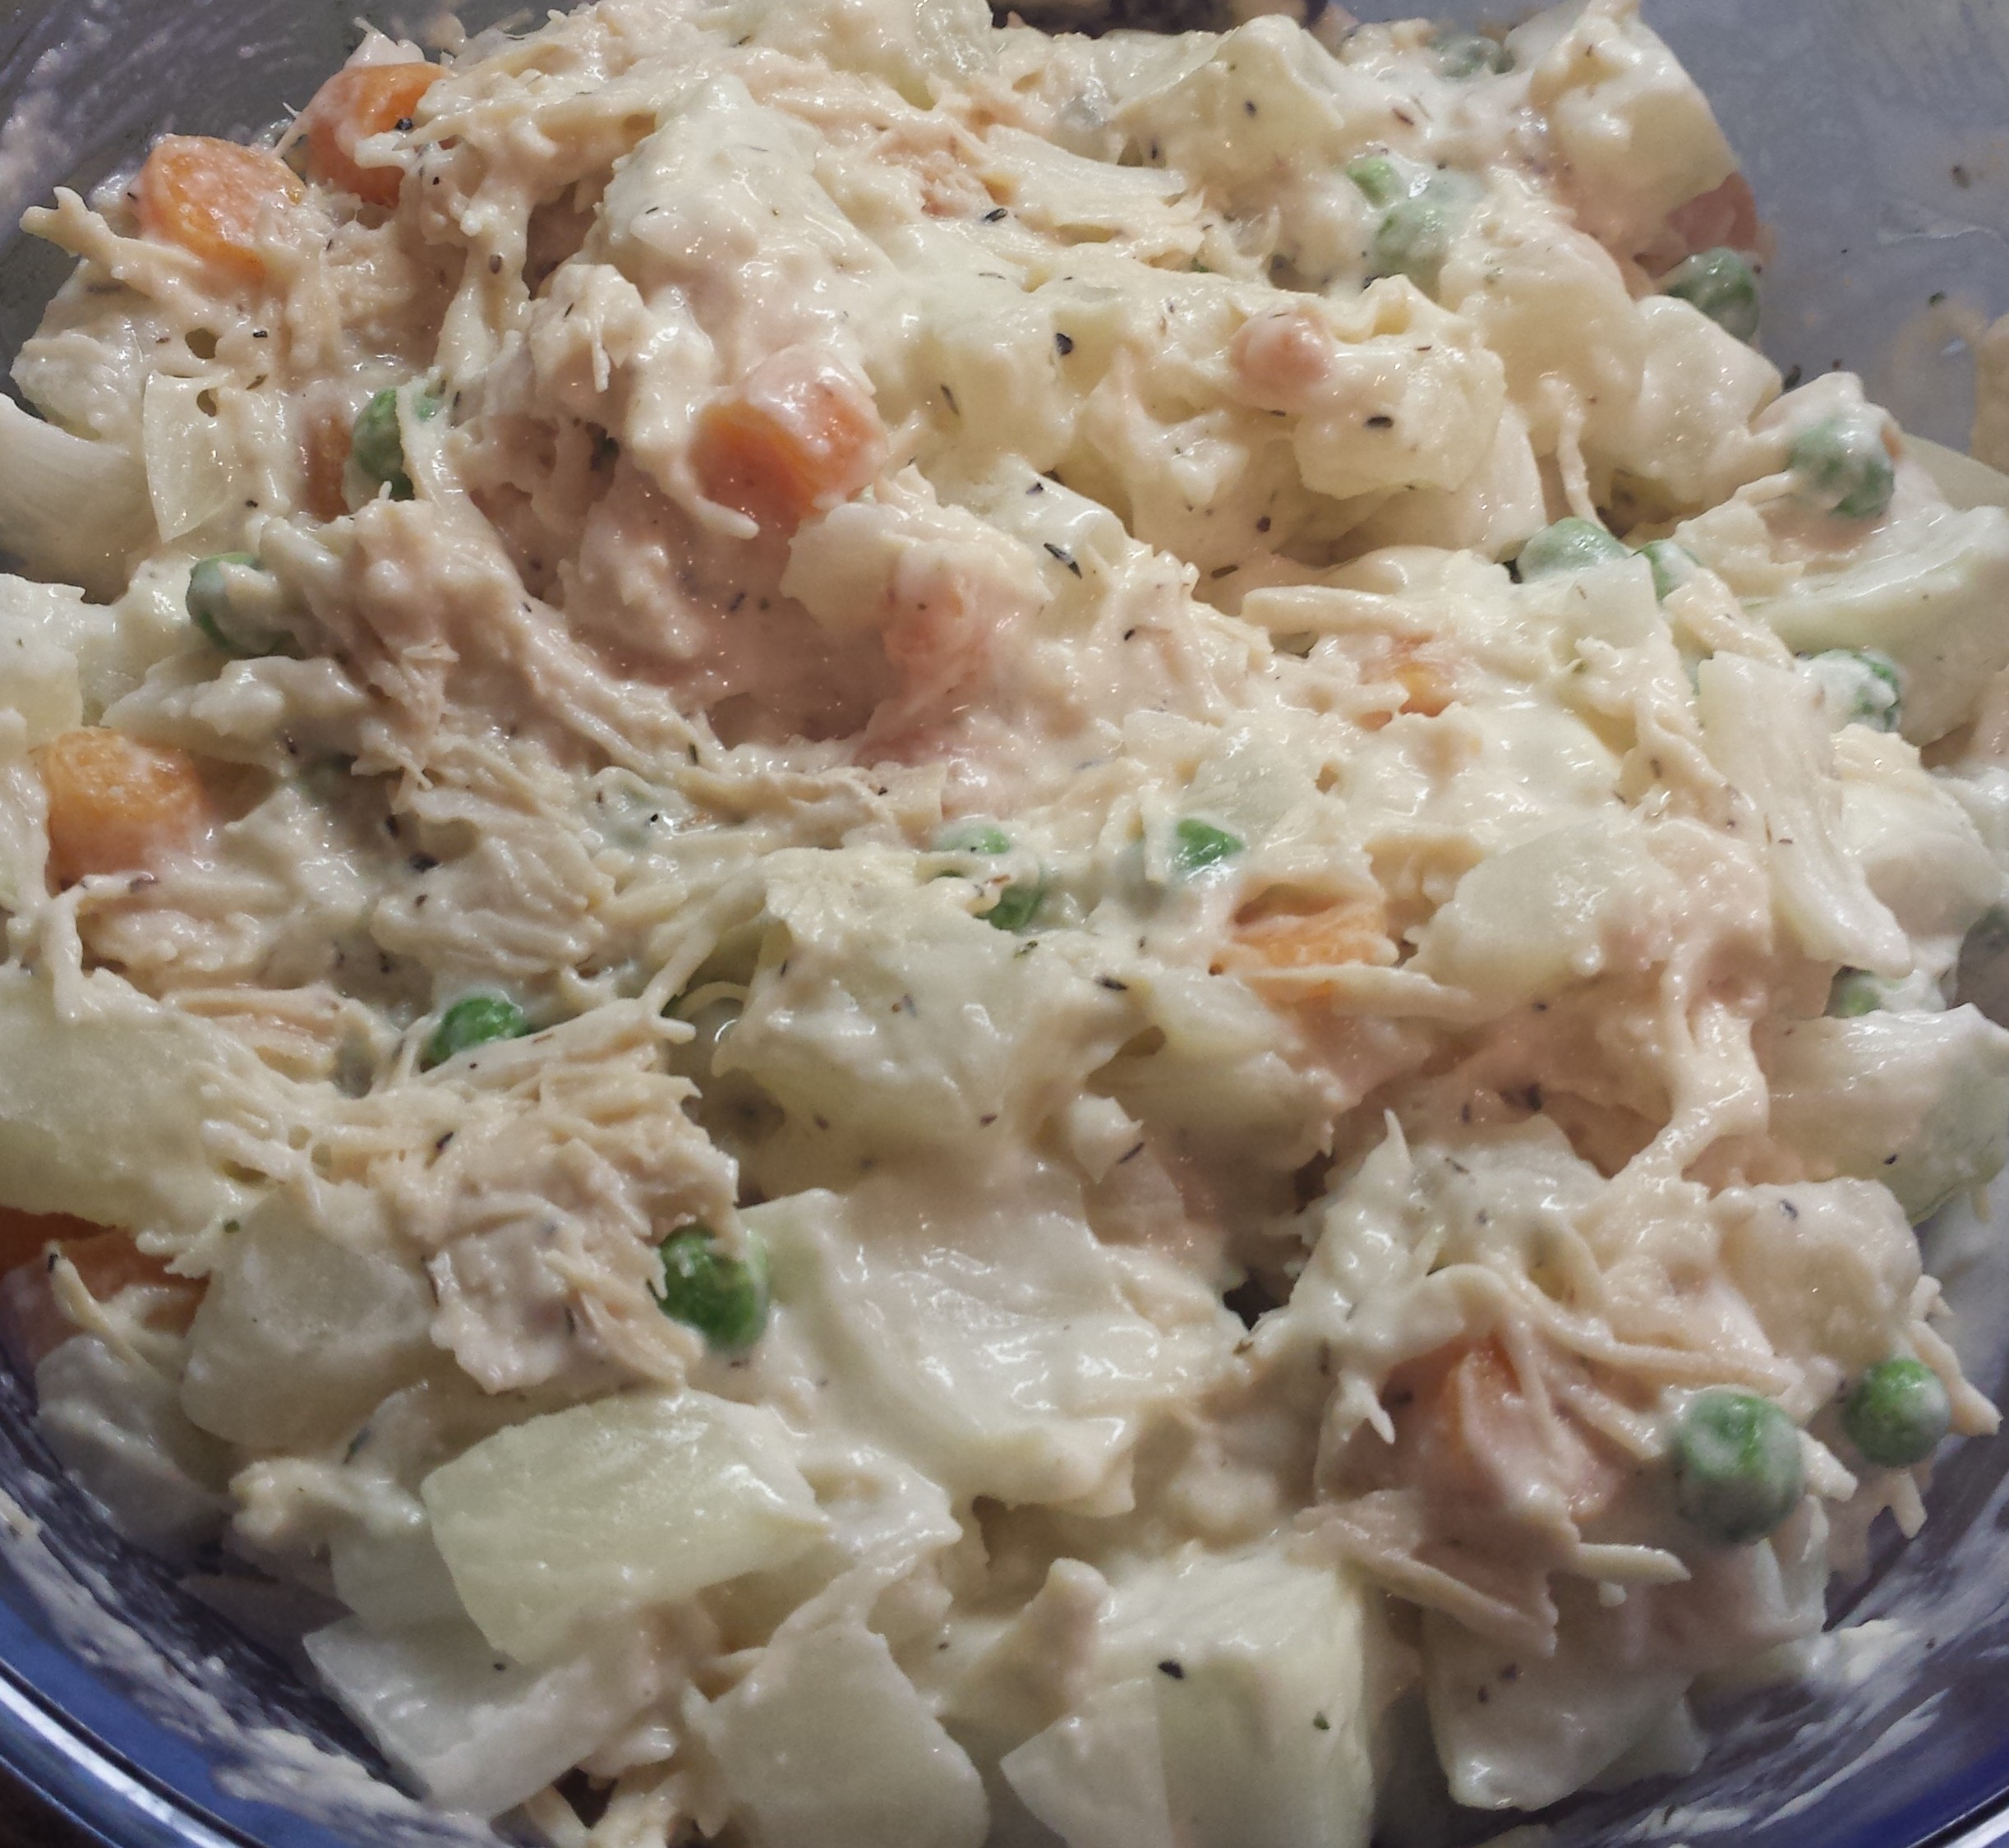
- Drain the cooked potatoes and carrots. Add to chicken, onions and peas. Mix.
- Pour the sauce into the large bowl and mix.
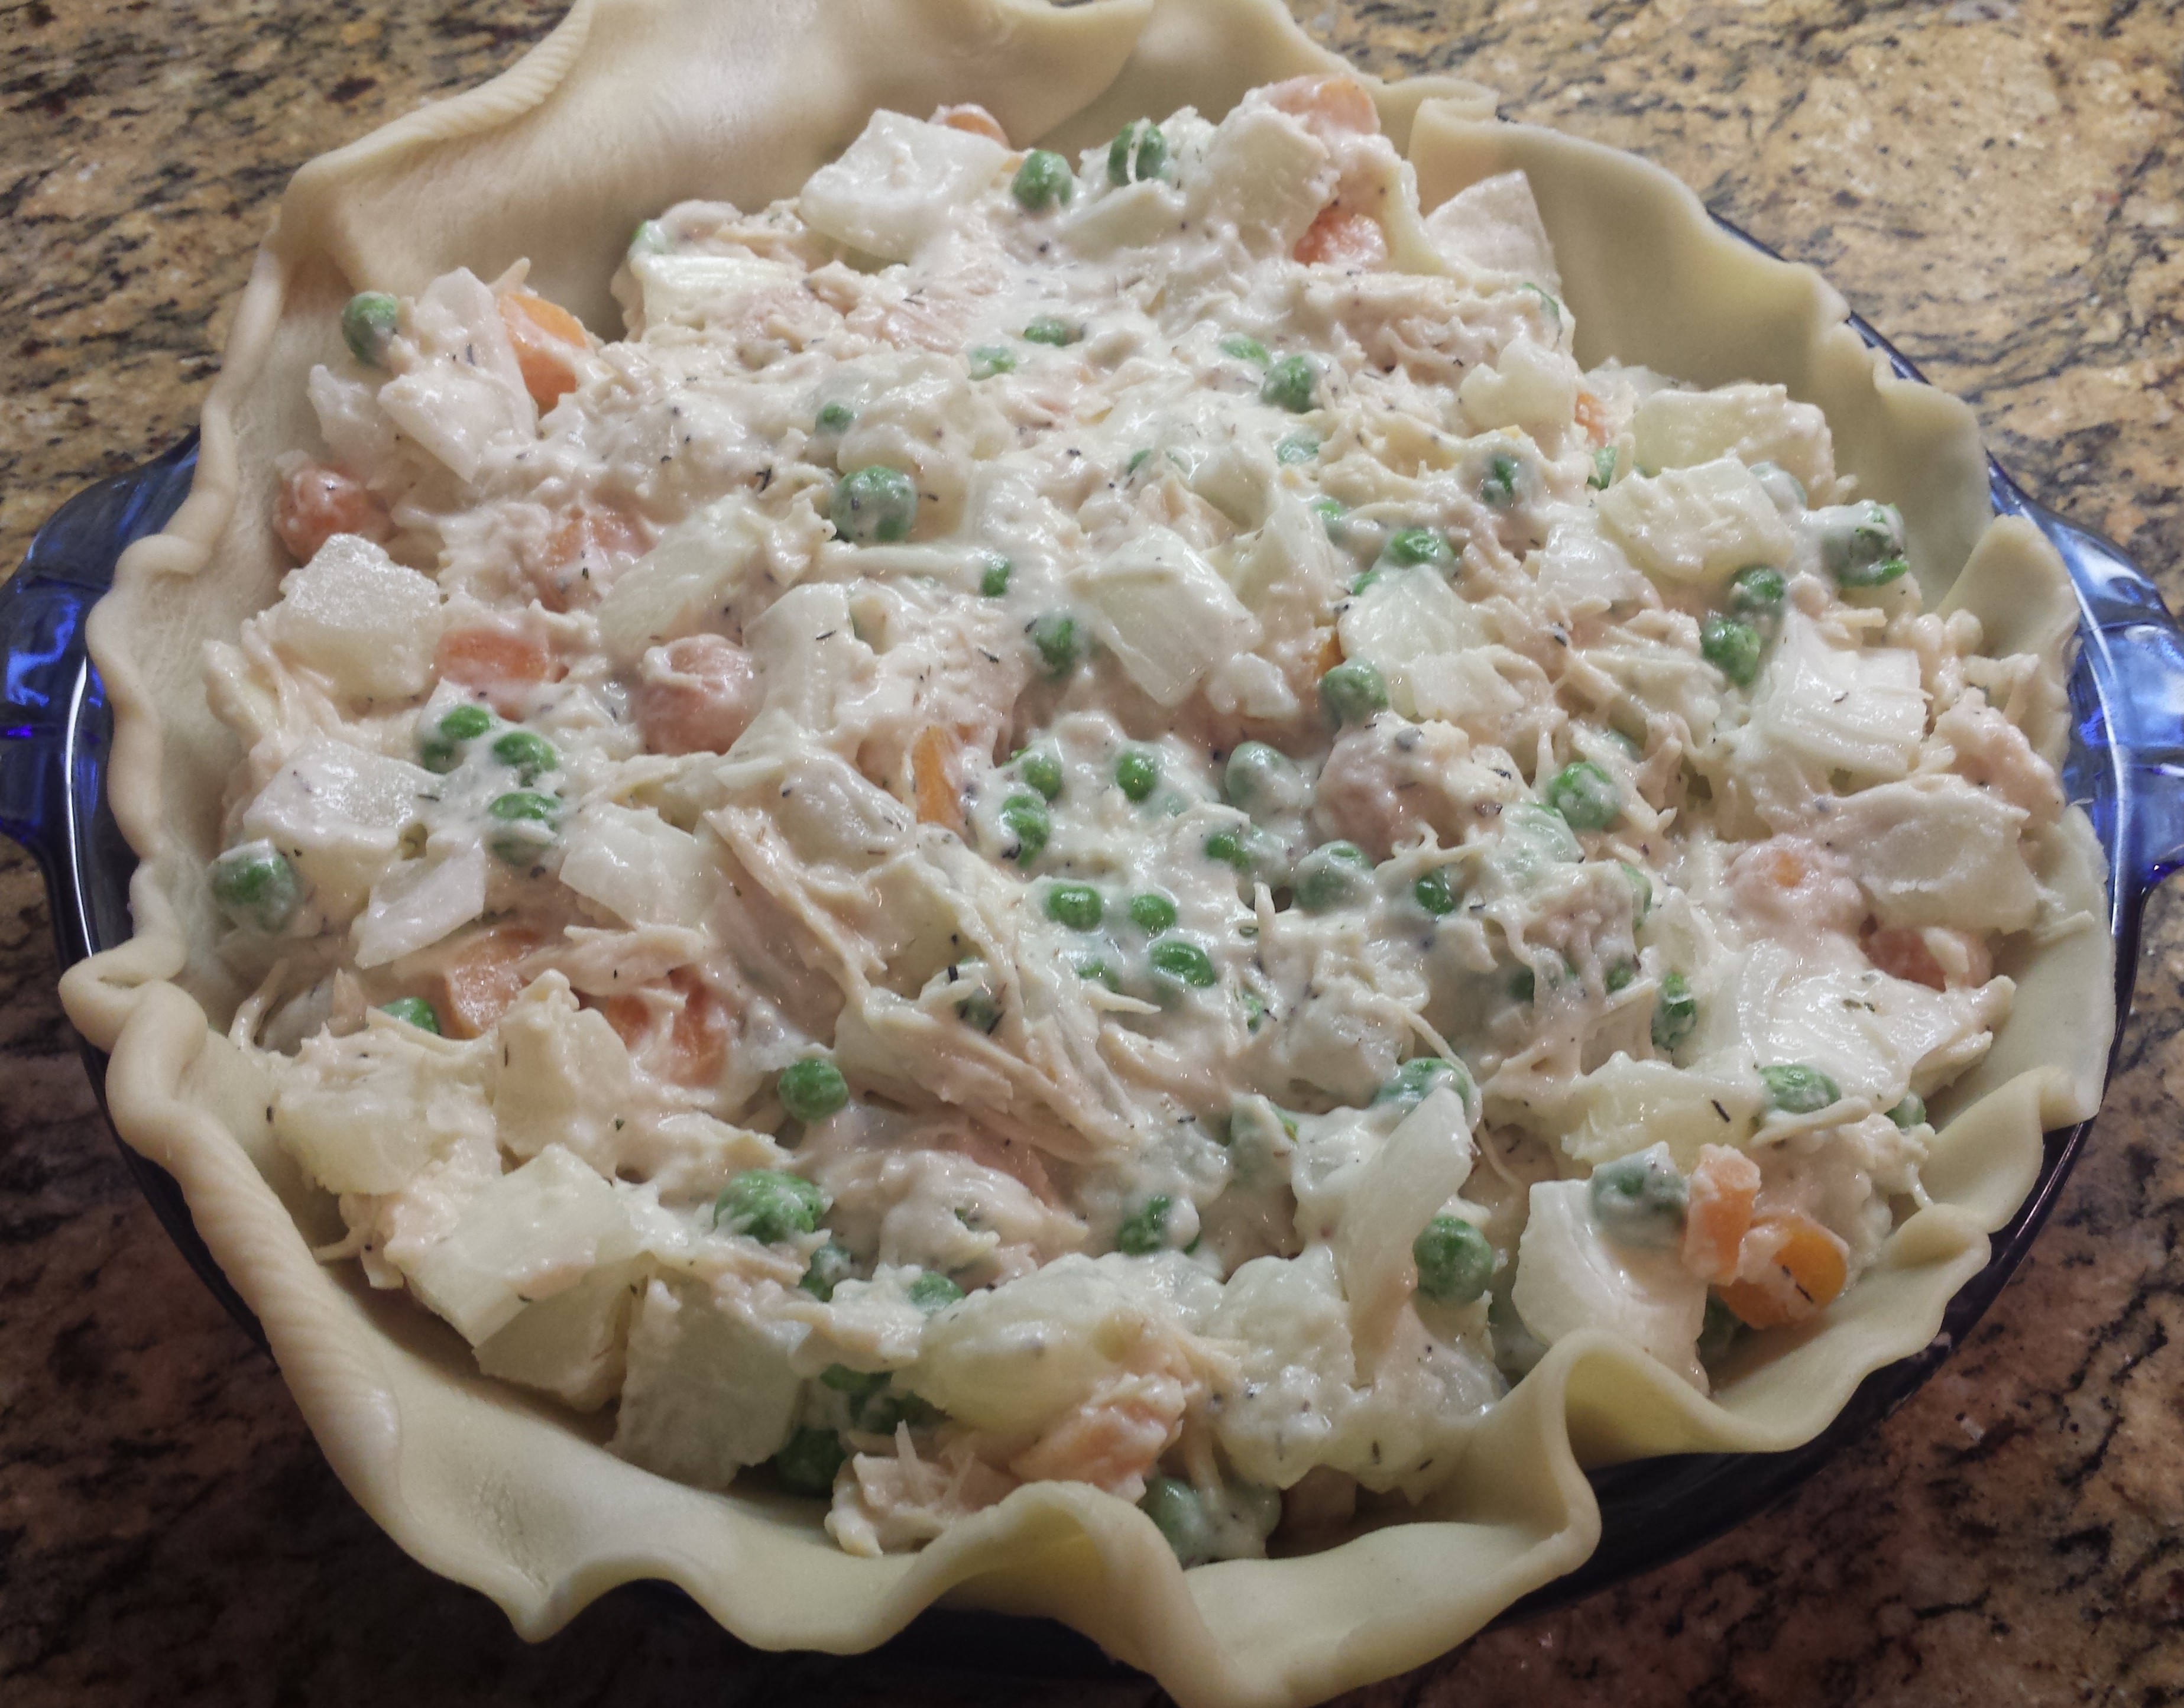
- Pour this mix into the pie plate.
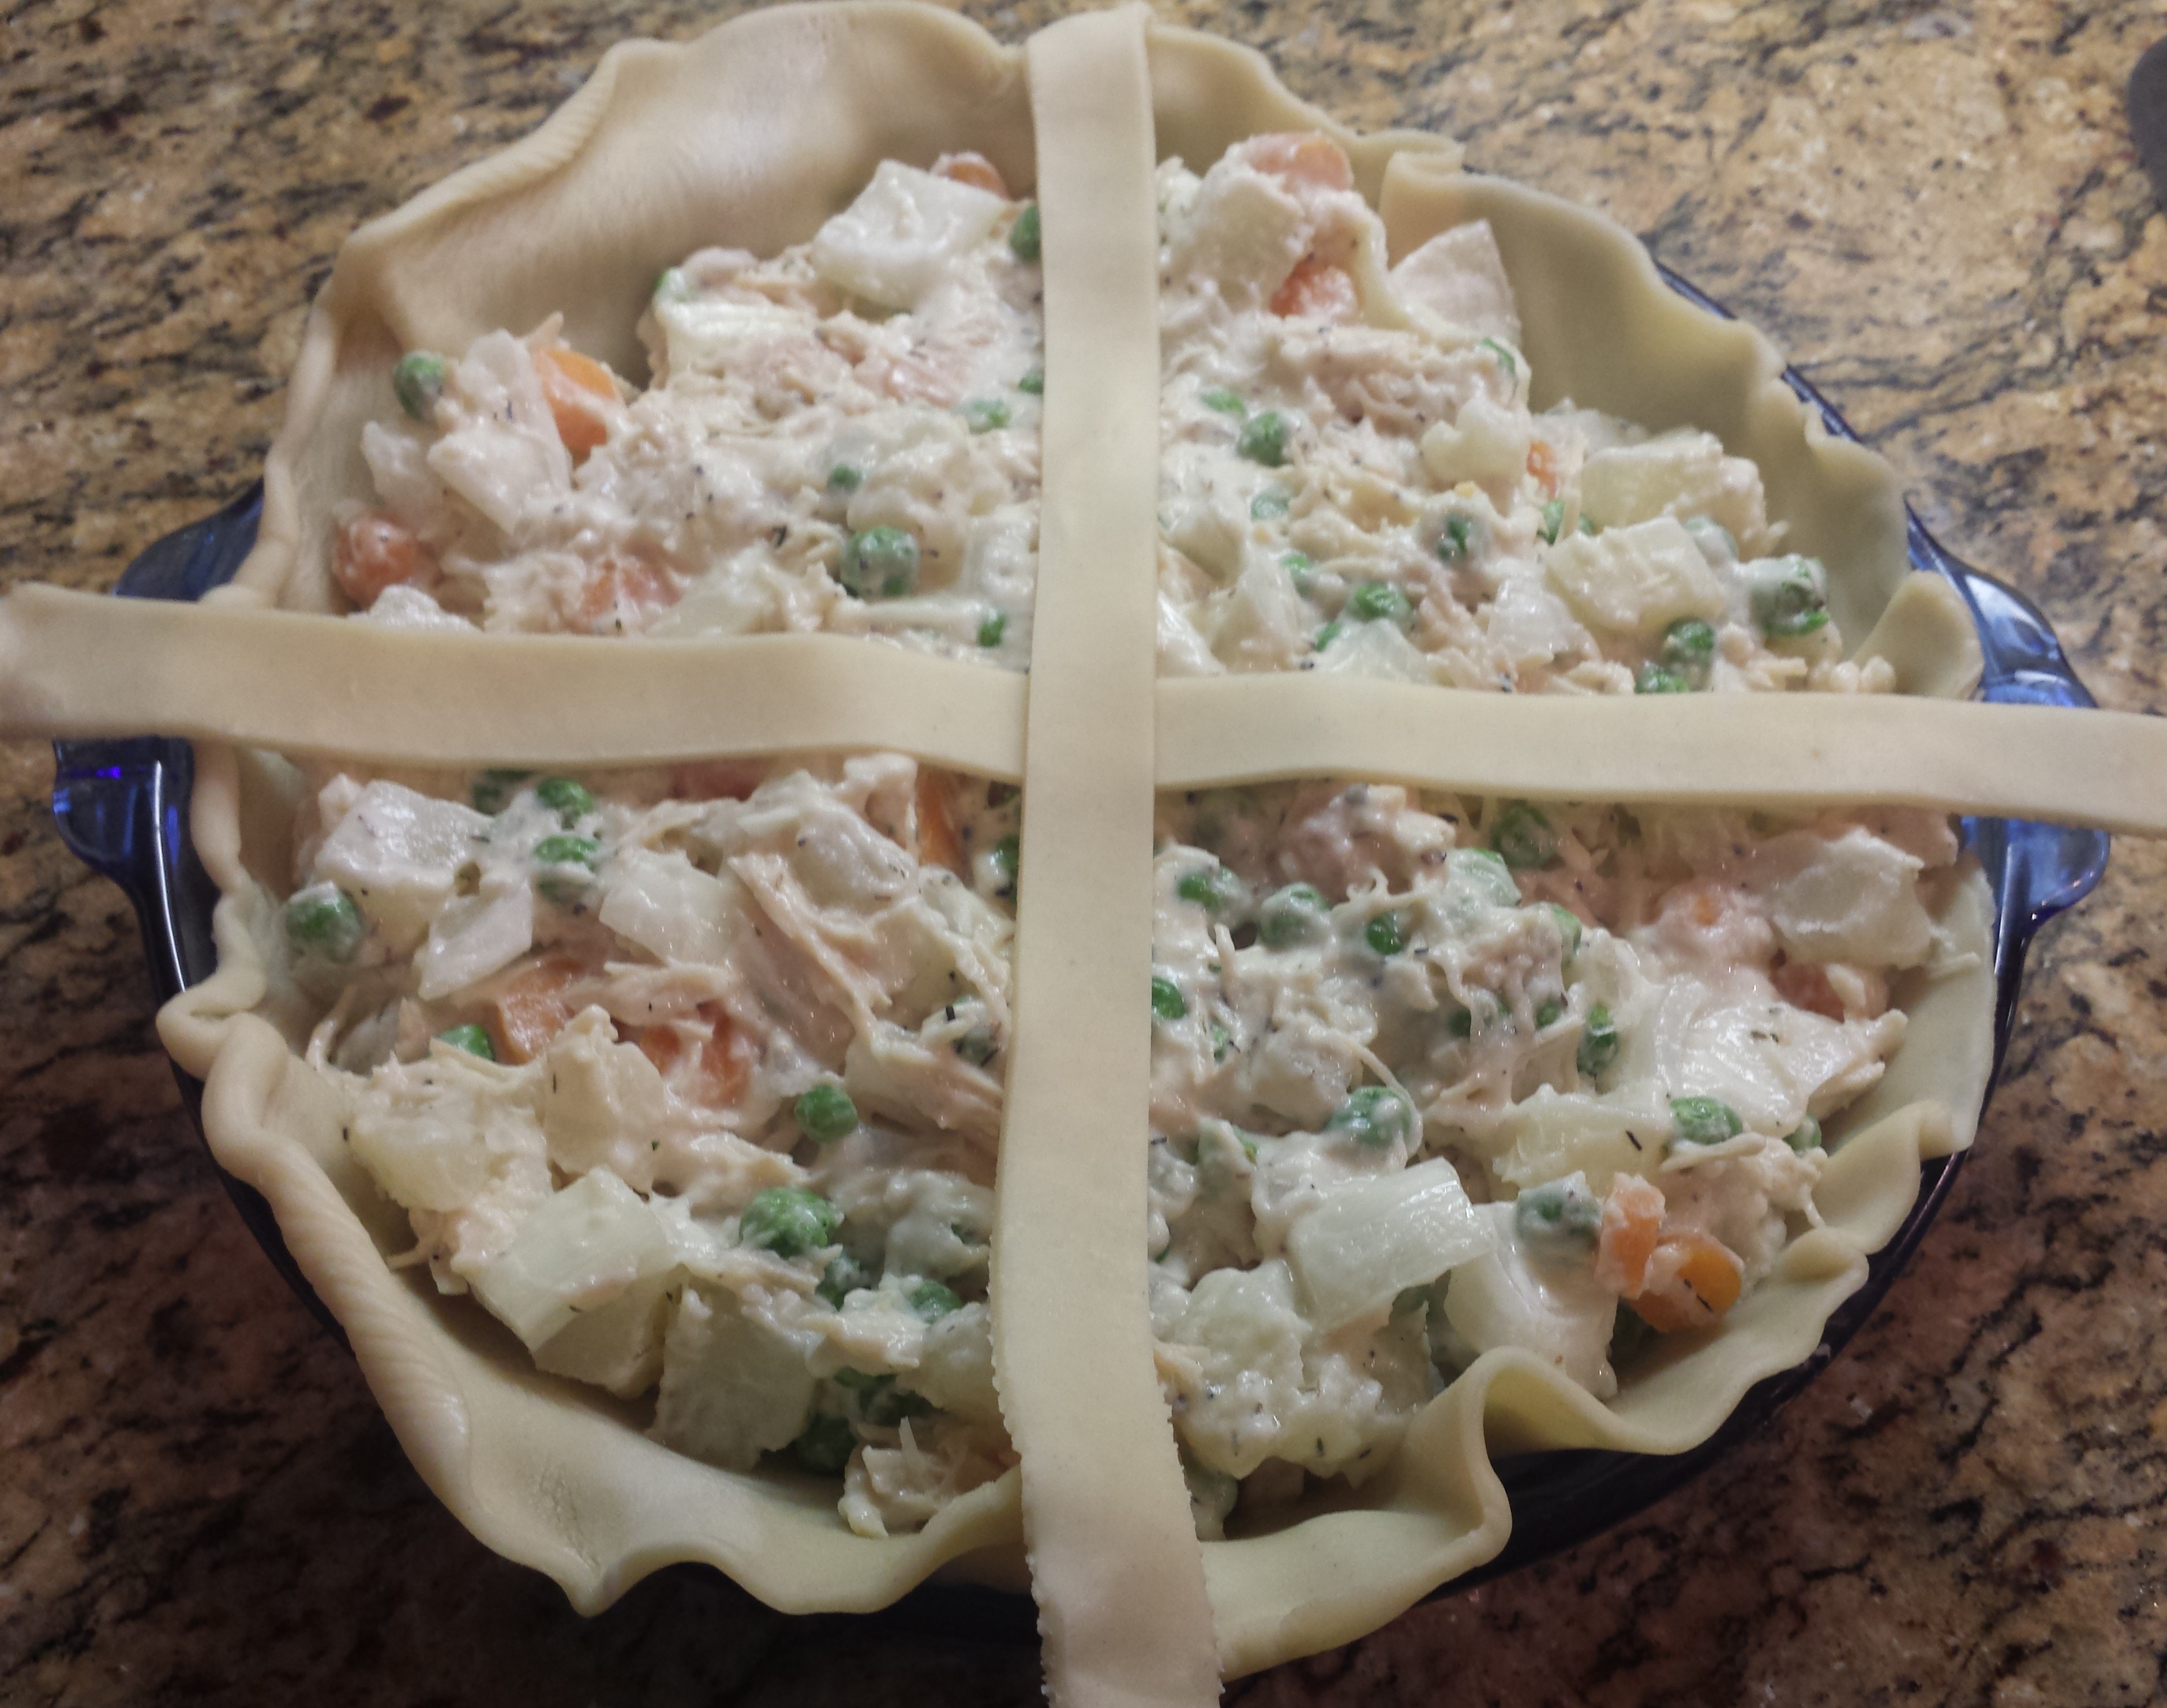
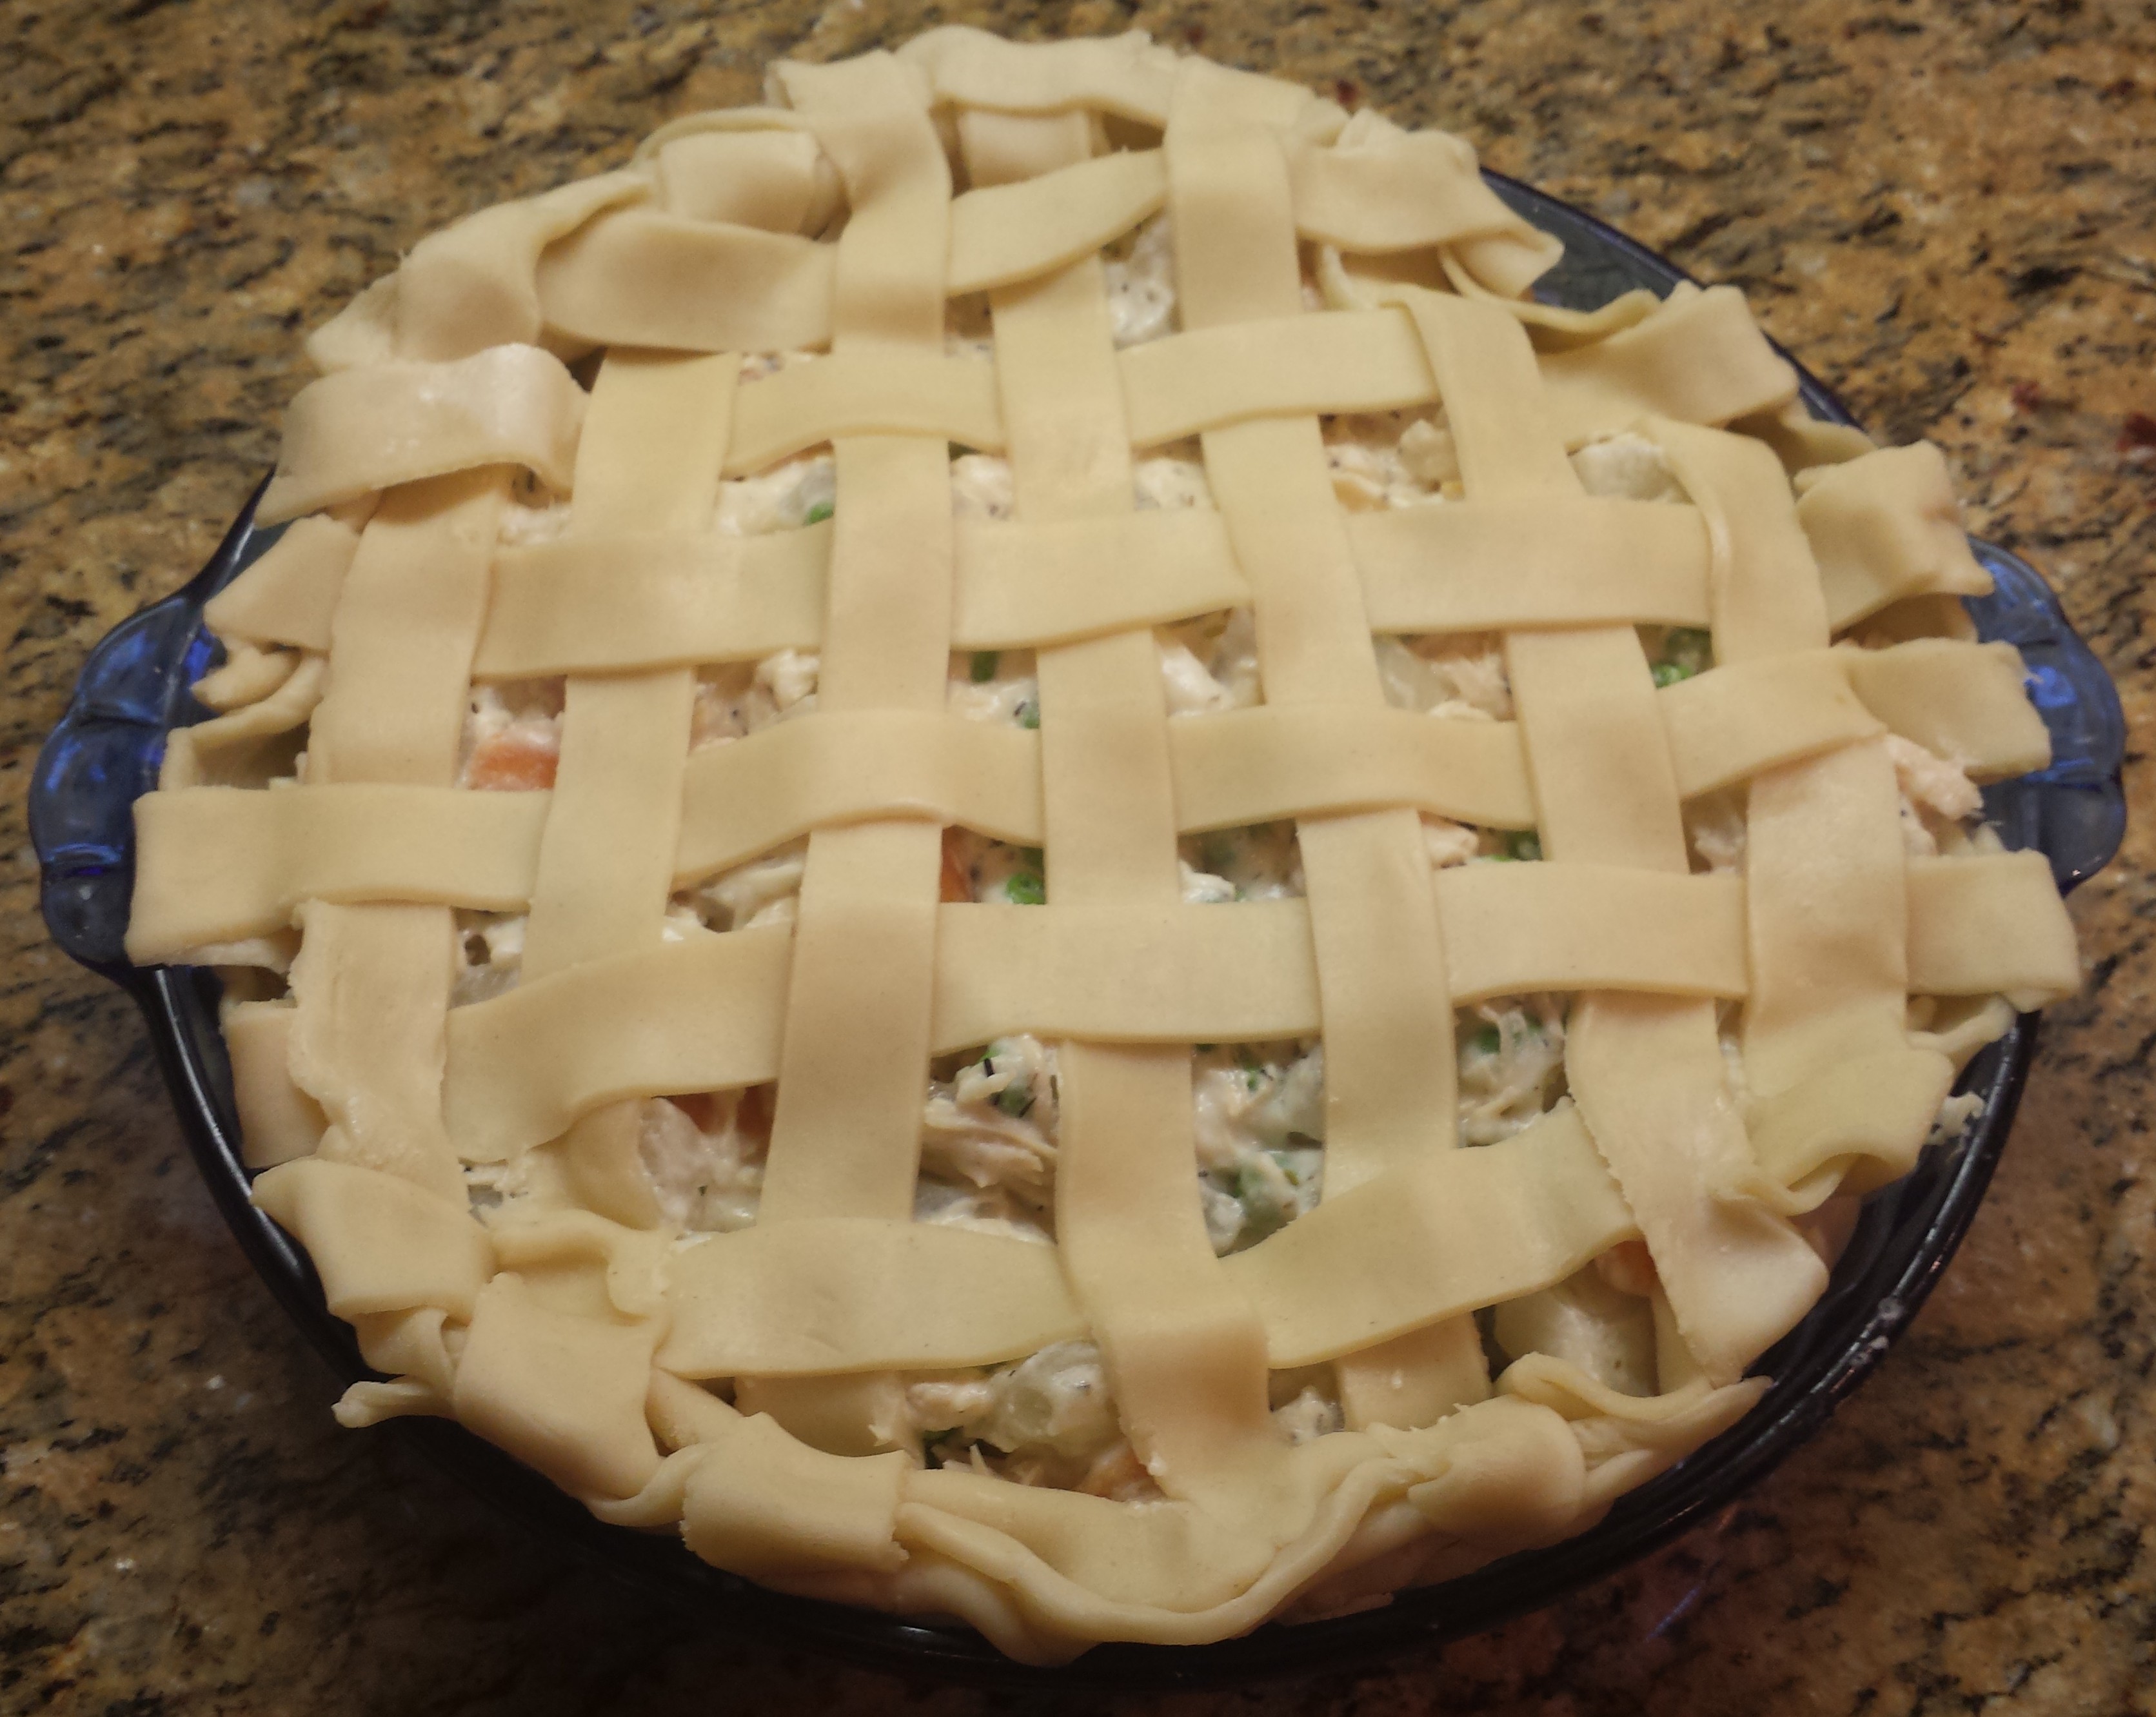
- Place pie crust strips crisscross fashion to make a lattice-style top.
- Finish the edges of the pie.
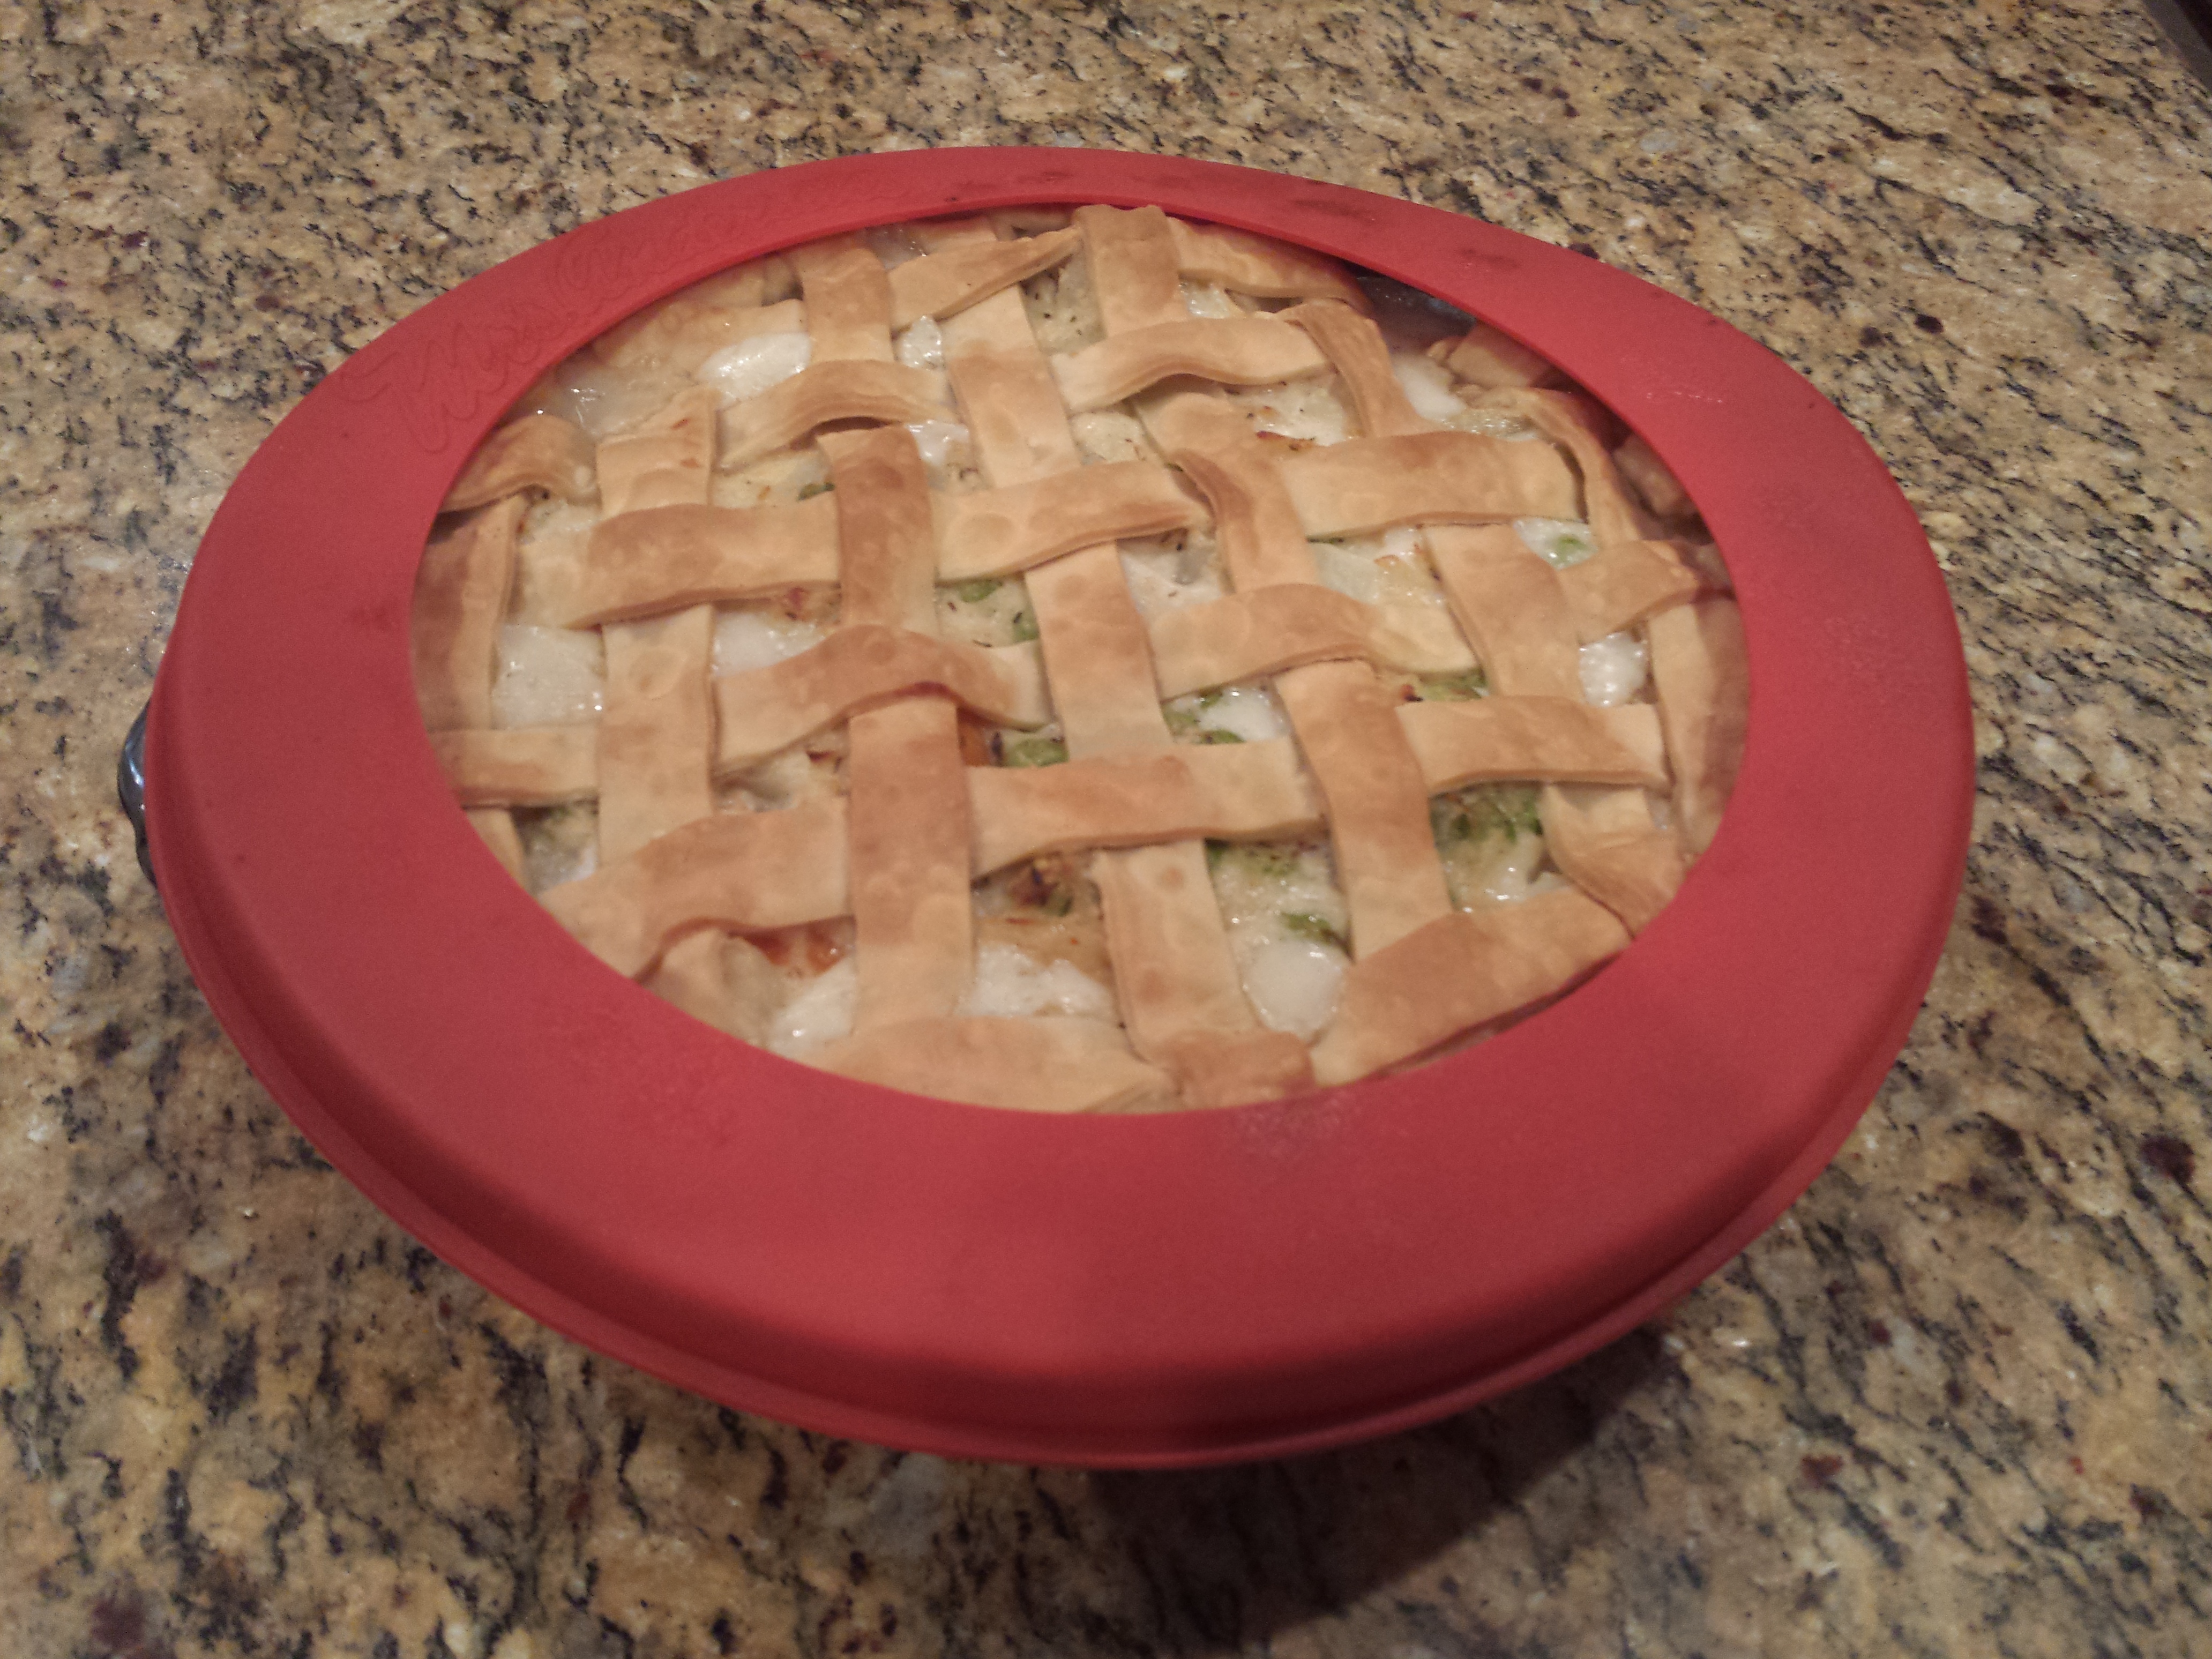
- Cover the crust with a specialized pie crust edger (like what I use) or with aluminum foil. This will allow for your pie to cook properly, but ensure that you do not have a burnt crust.

- When using aluminum foil, remember to remove the foil about 12-15 minutes before the pie is done baking.
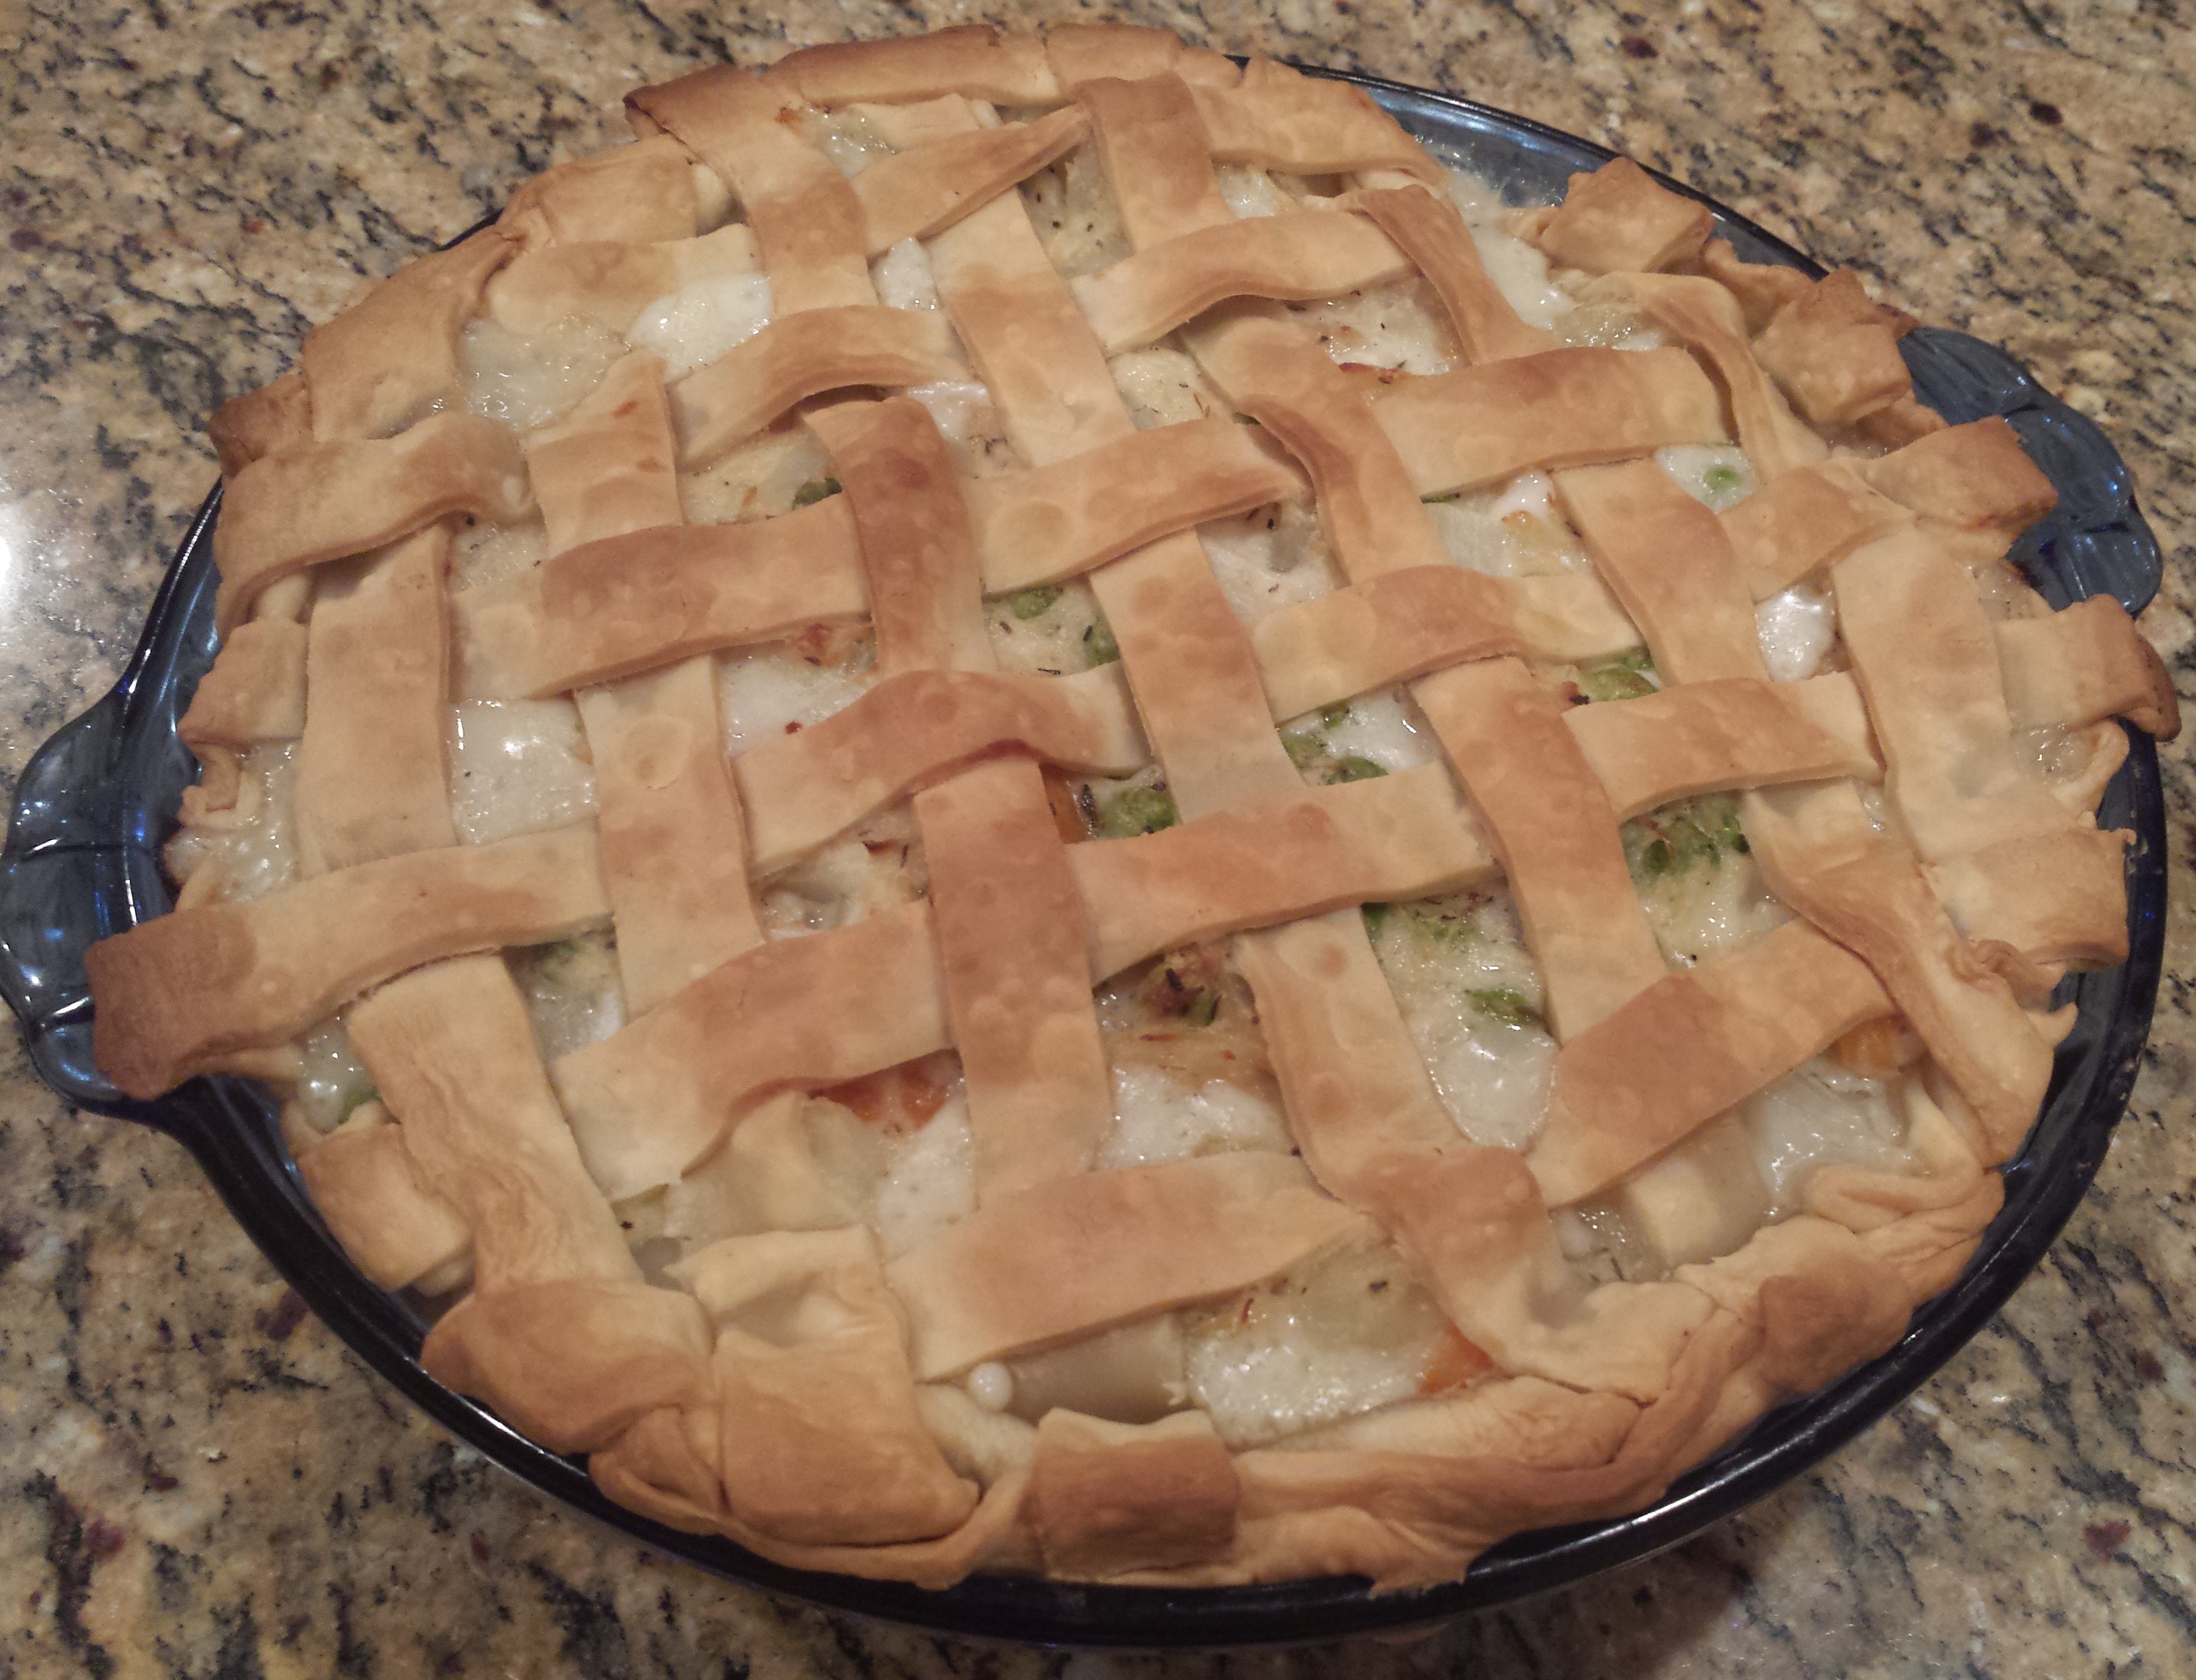
- Bake 35-40 minutes, until nicely browned.
Ideas
- Chicken – There are 2 ways to prepare the chicken. First, you can purchase some boneless, skinless chicken breasts and cook them (in a skillet or in boiling water) and then cut them into bit sized pieces. (Like the pie crust, I have done this many times.) Or you can buy pre-cooked chicken, which is a huge time saver and is super easy to have shredded chicken pieces in your pie. Contrary to my long-thought belief that cooking my own chicken is best, my friends and family have far preferred my pie when it has chicken from a can in it. It saves me a lot of time and effort, and texture-wise, they are definitely right.
- Potatoes and carrots – put the potatoes in the pot first and the carrots on top.
- Peas – you can used canned peas if you prefer, but the frozen ones keep their texture better. And if you have them, fresh peas are the best.
- Pie crust – I’ve made my own pie crust more times than I can remember and that is the ideal choice. That being said, most of us don’t have the time to do this. I normally serve this pie during the week. As a working mother with a small child, I no longer make my own crust except on special occasions. It’s perfectly fine to buy a ready-made, rolled up crust from the refrigerator section of the grocery store. But, buy the brand name crust, not the store bought. For this, I’ve seen a definitive difference in quality, flexibility and smoothness.
- Chicken broth – if you like your pie a little saltier and are using a powdered chicken broth as I do, use a little more than the recommended amount of powder when making your broth.
