Apple Pie

A classic apple pie is the dessert of choice in my household. The smell of a freshly cooked pie brings me back to Massachusetts and my mother’s kitchen. She has always been an amazing cooker, baker and preserver. I hope I can pass that along to my daughter as well. But back to the apple pie, which is why you are here. There are many ways to make an apple pie. For me, the simpler the better. I do not like to have a bunch of additional ingredients or fancy designs (I save that for other pies), just a nice “A” in the crust put there with the tines of a fork.

You will see that I used store bought crust in the making of this pie. Sacrilege to some, but a life saver to others. For years, I only made pies with homemade crust, but then I got married, had a baby, a full-time job, etc. and just don’t have the time. Often for the holidays, I will still make my own crust, but it’s been super busy this year and I was working today… you get the point. As you will see, a store bought crust doesn’t have to diminish your results. Many times I’ve served my pies to people who would be shocked to learn that the crust wasn’t homemade. One caution though, purchase the premium brand crust as you will see a difference.

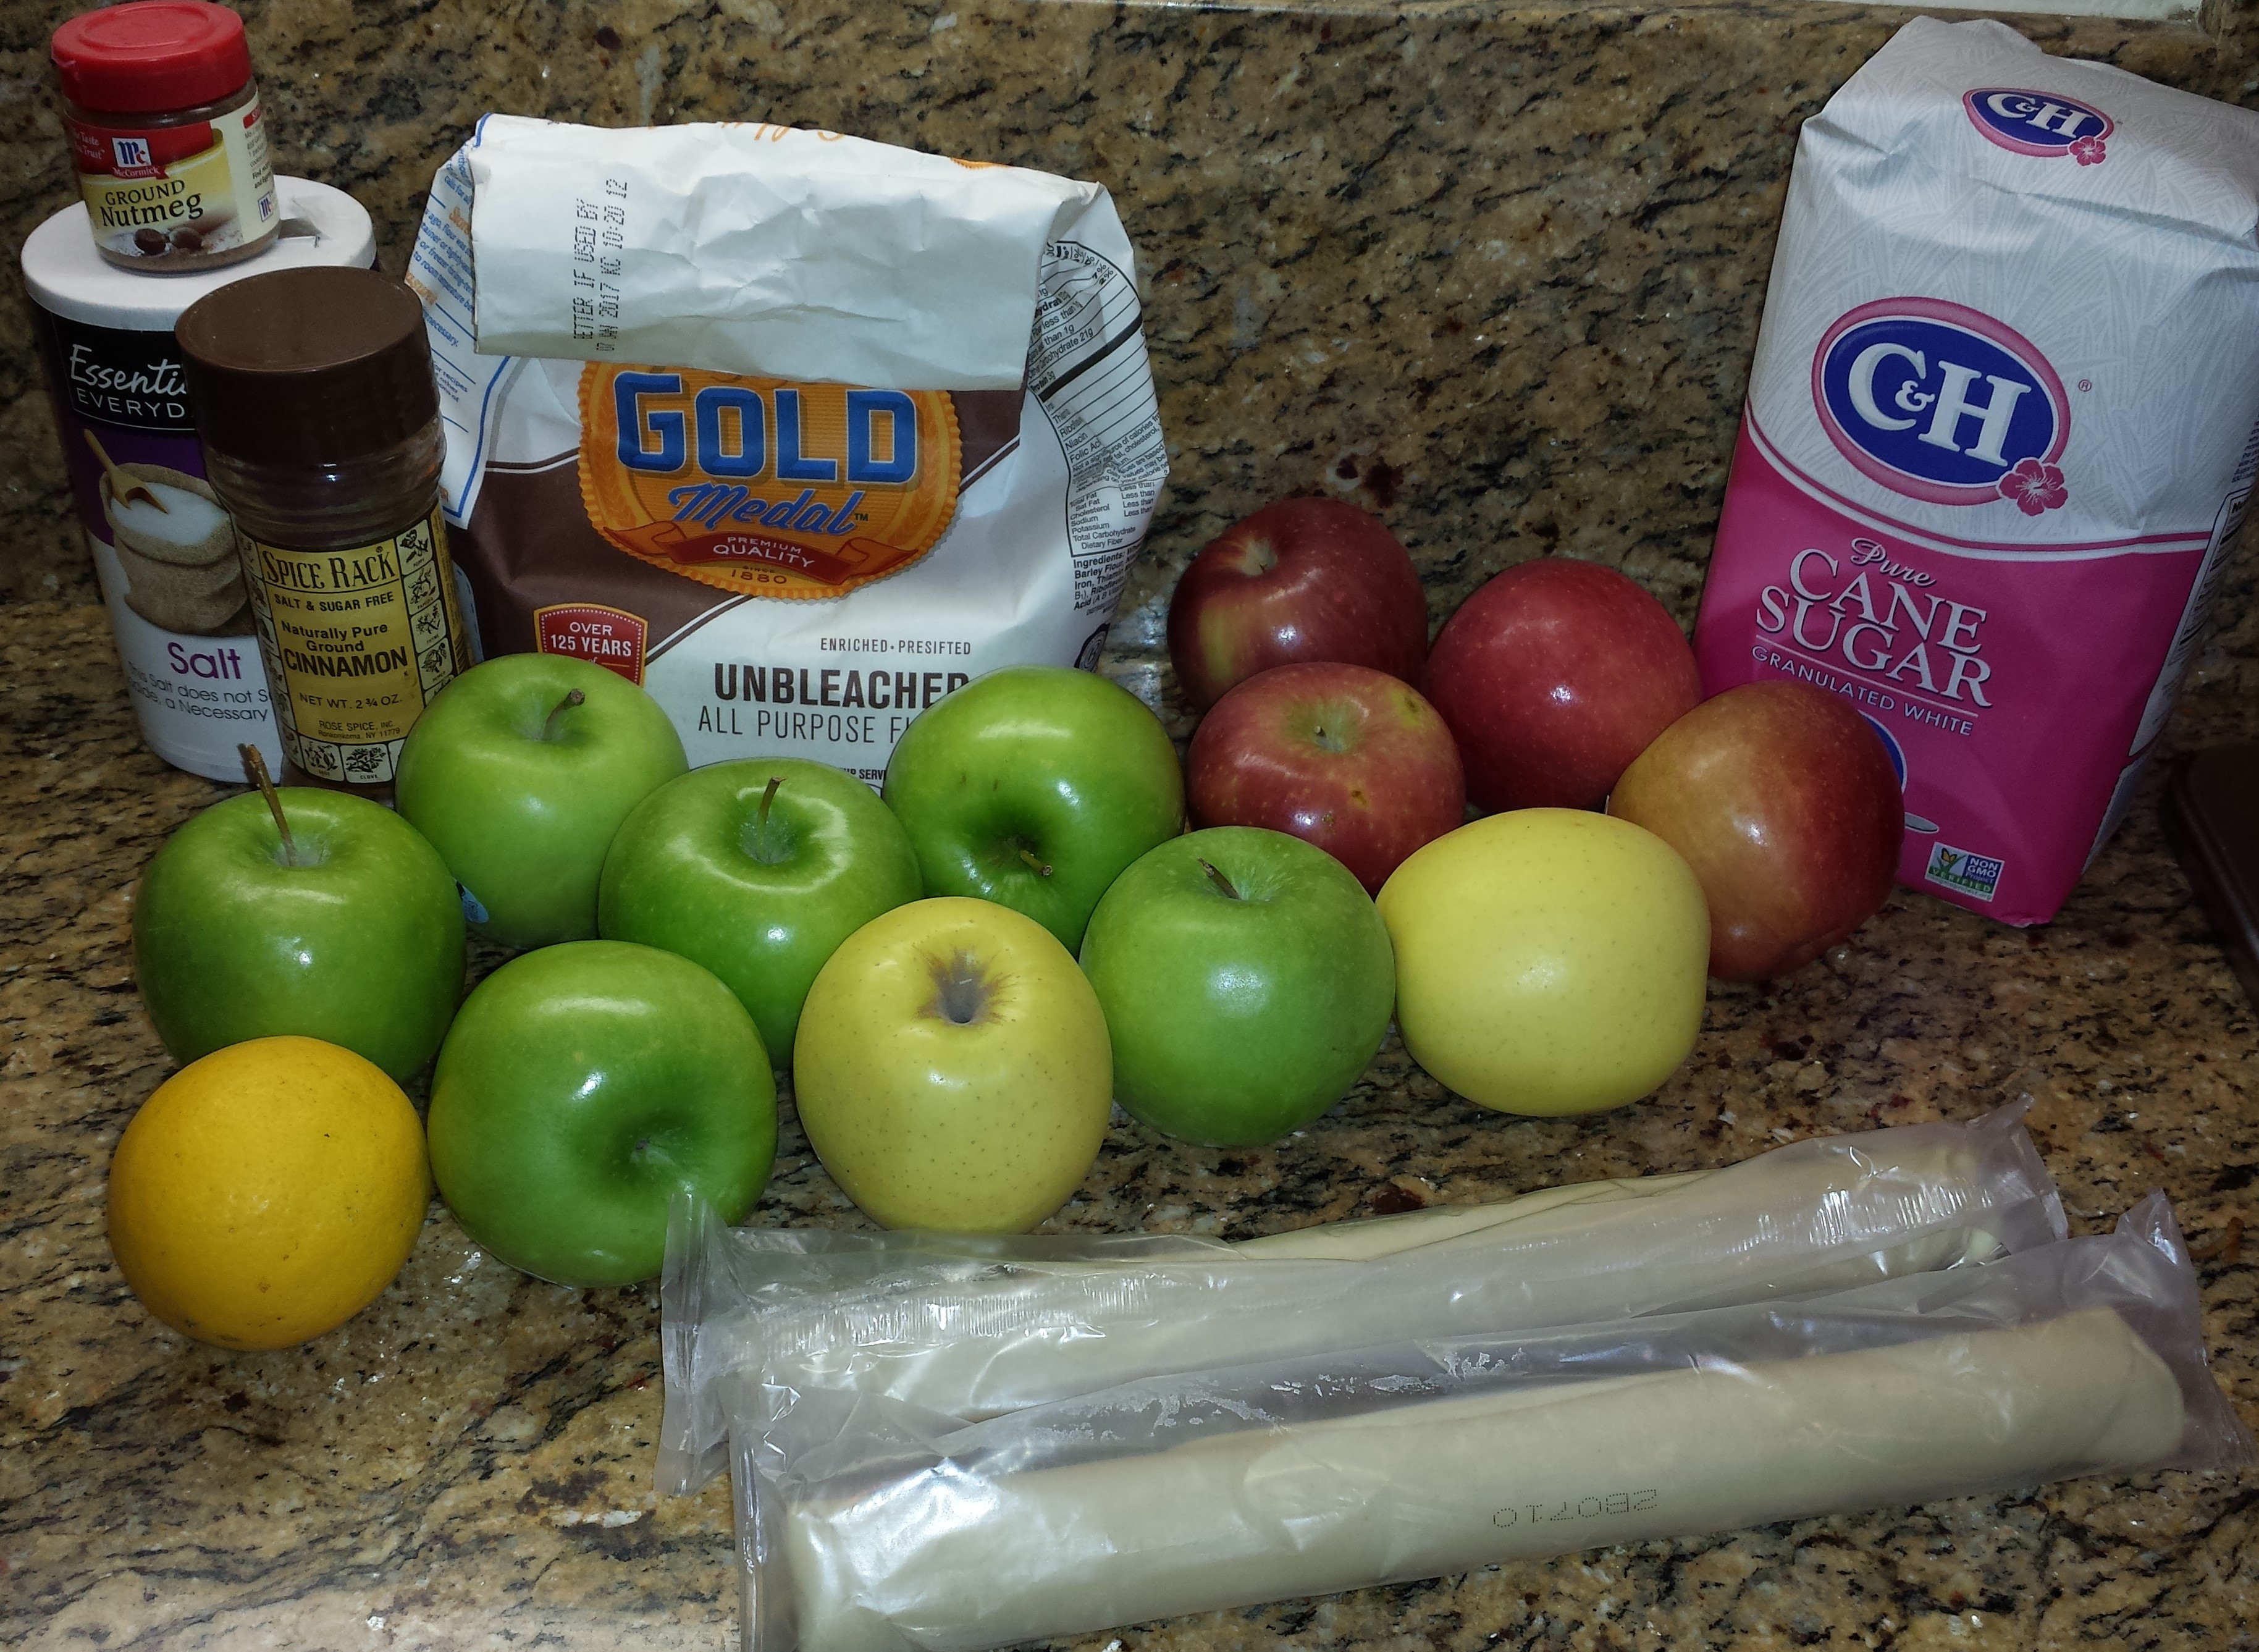
So, get your ingredients together, preheat that oven and get peeling. Happy baking!

Ingredients

  • 3-1/2 lbs of apples (1-1/2 lbs should be granny smith)20151125_164109
  • 3/4 cup plus 1 T sugar
  • 2 T flour
  • 1 T fresh lemon juice
  • 1 tsp grated lemon zest
  • 1/4 tsp salt
  • 1/4 tsp nutmeg
  • 1/2 tsp cinnamon
  • 2 pie crusts
  • 1 egg white, lightly beaten

Instructions

  • Preheat oven to 500 degrees. Place a large rimmed baking sheet on the lowest rack.
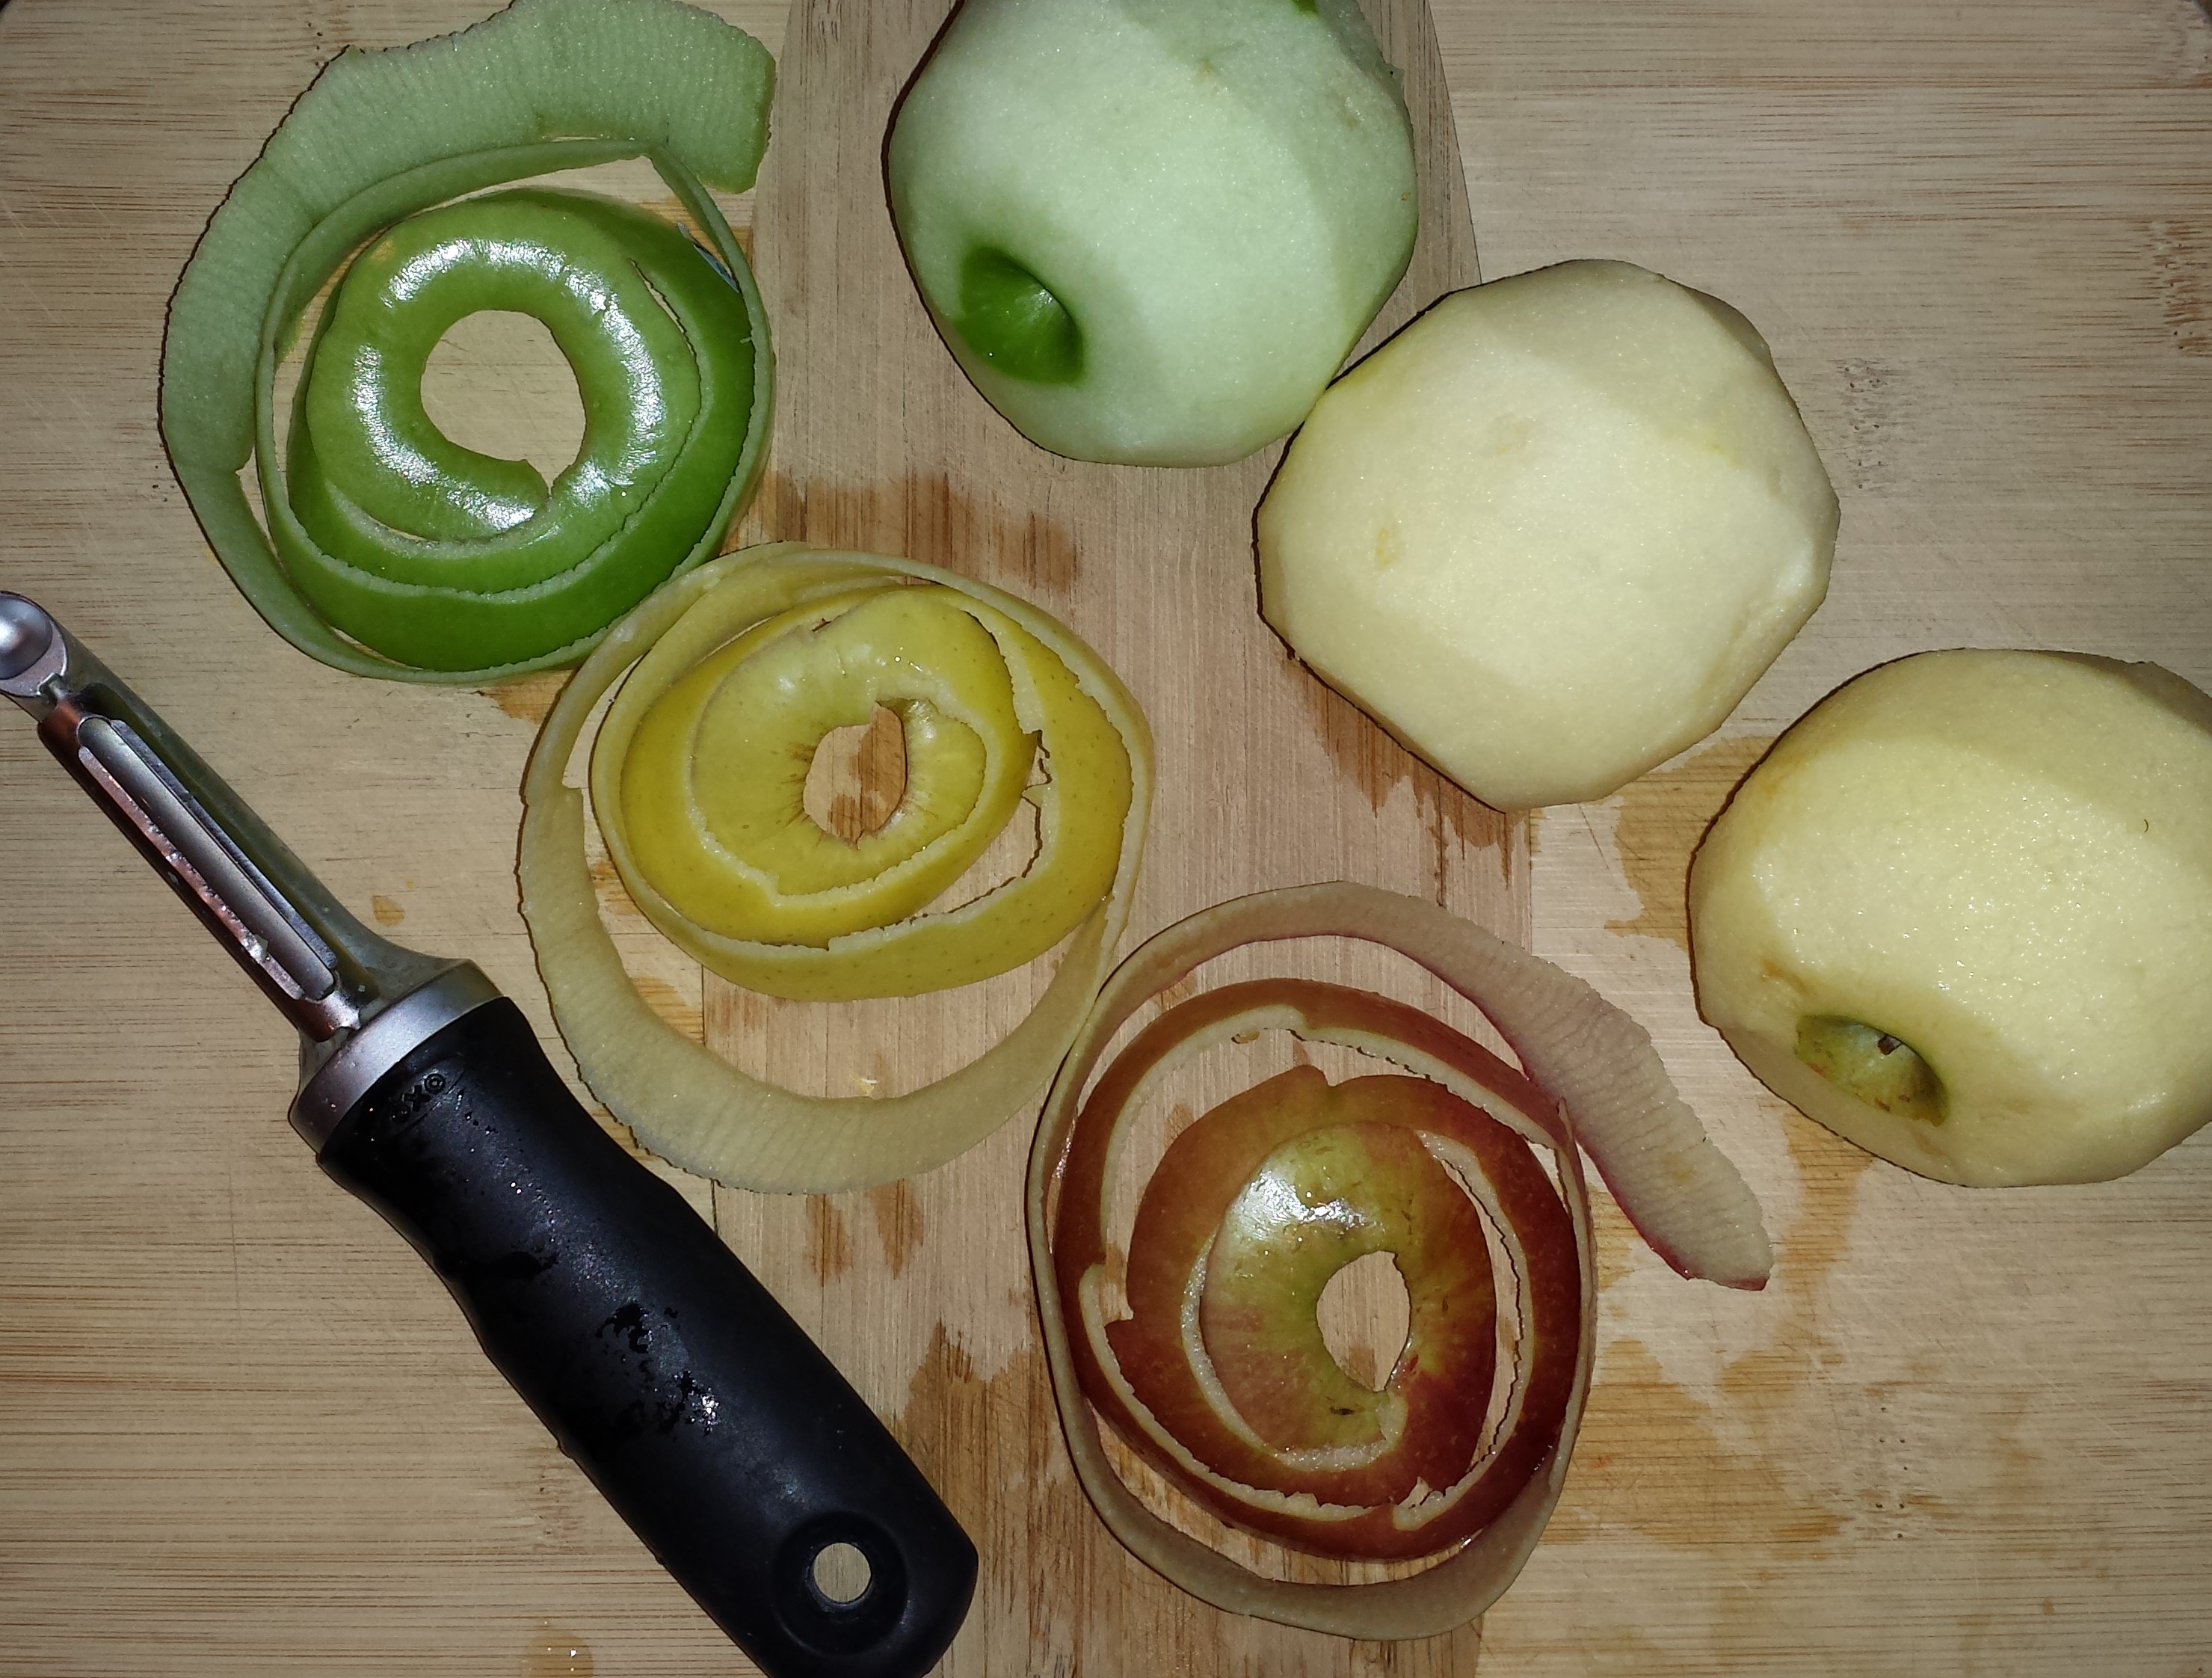
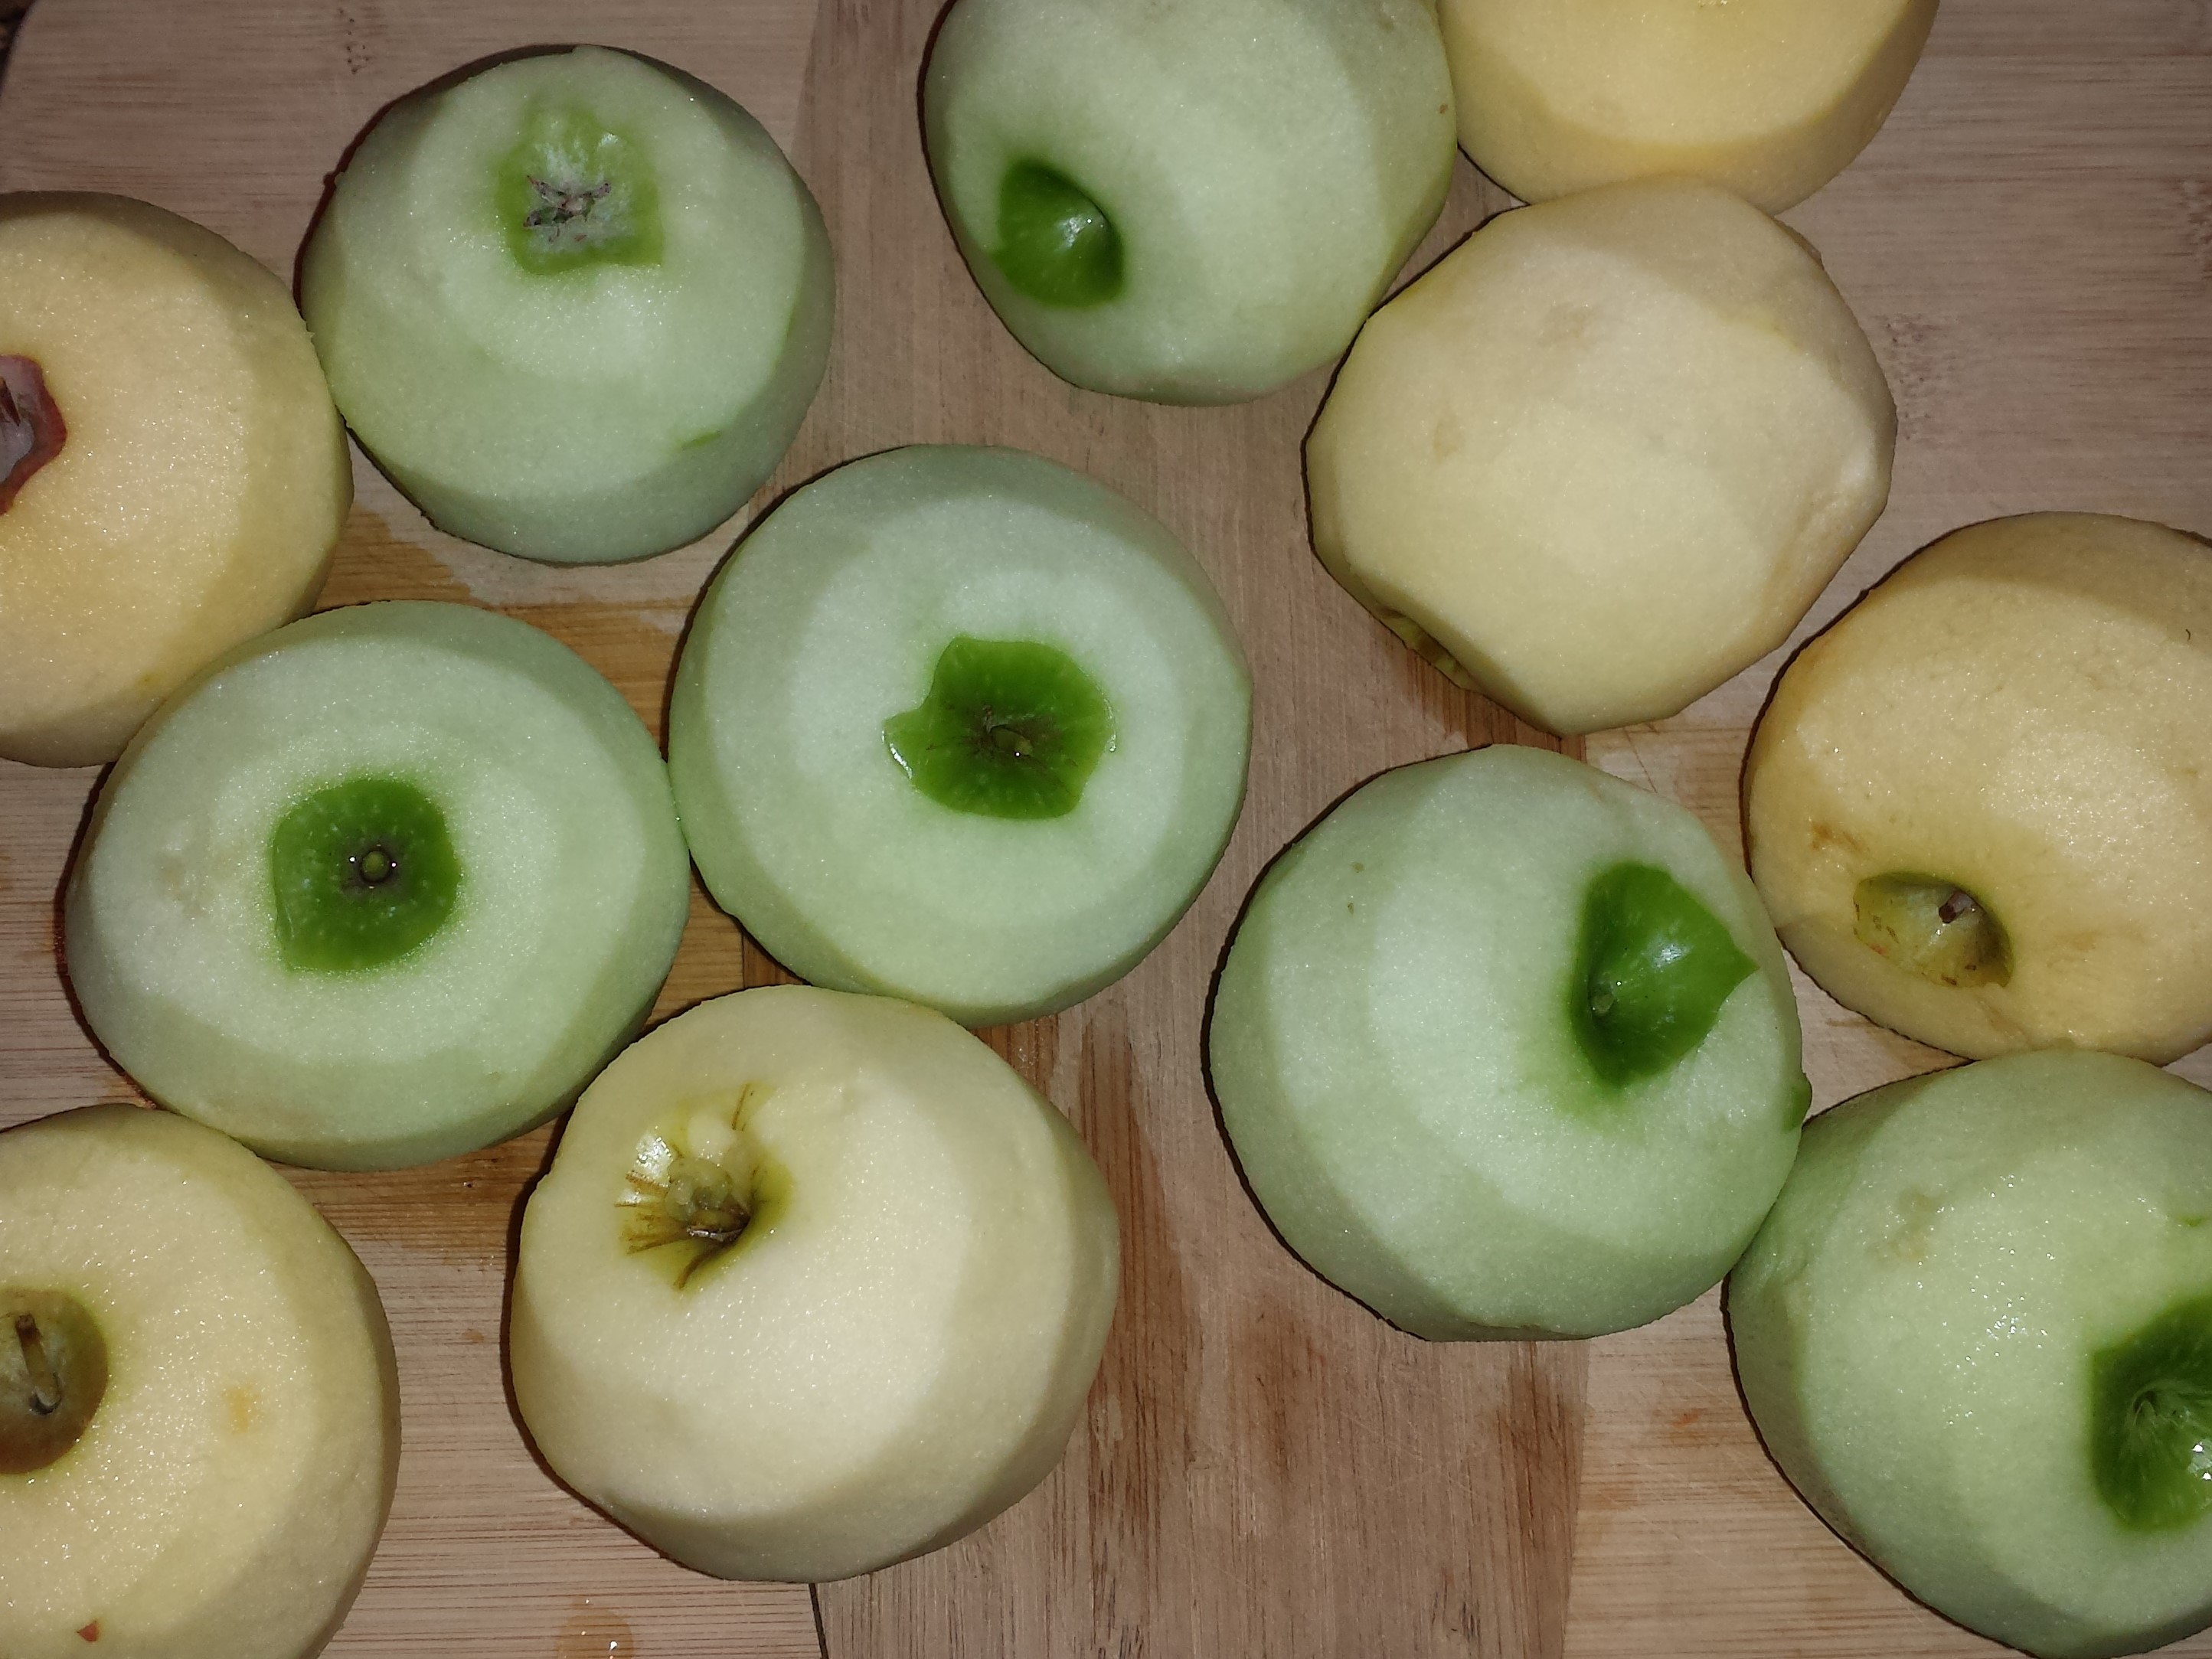
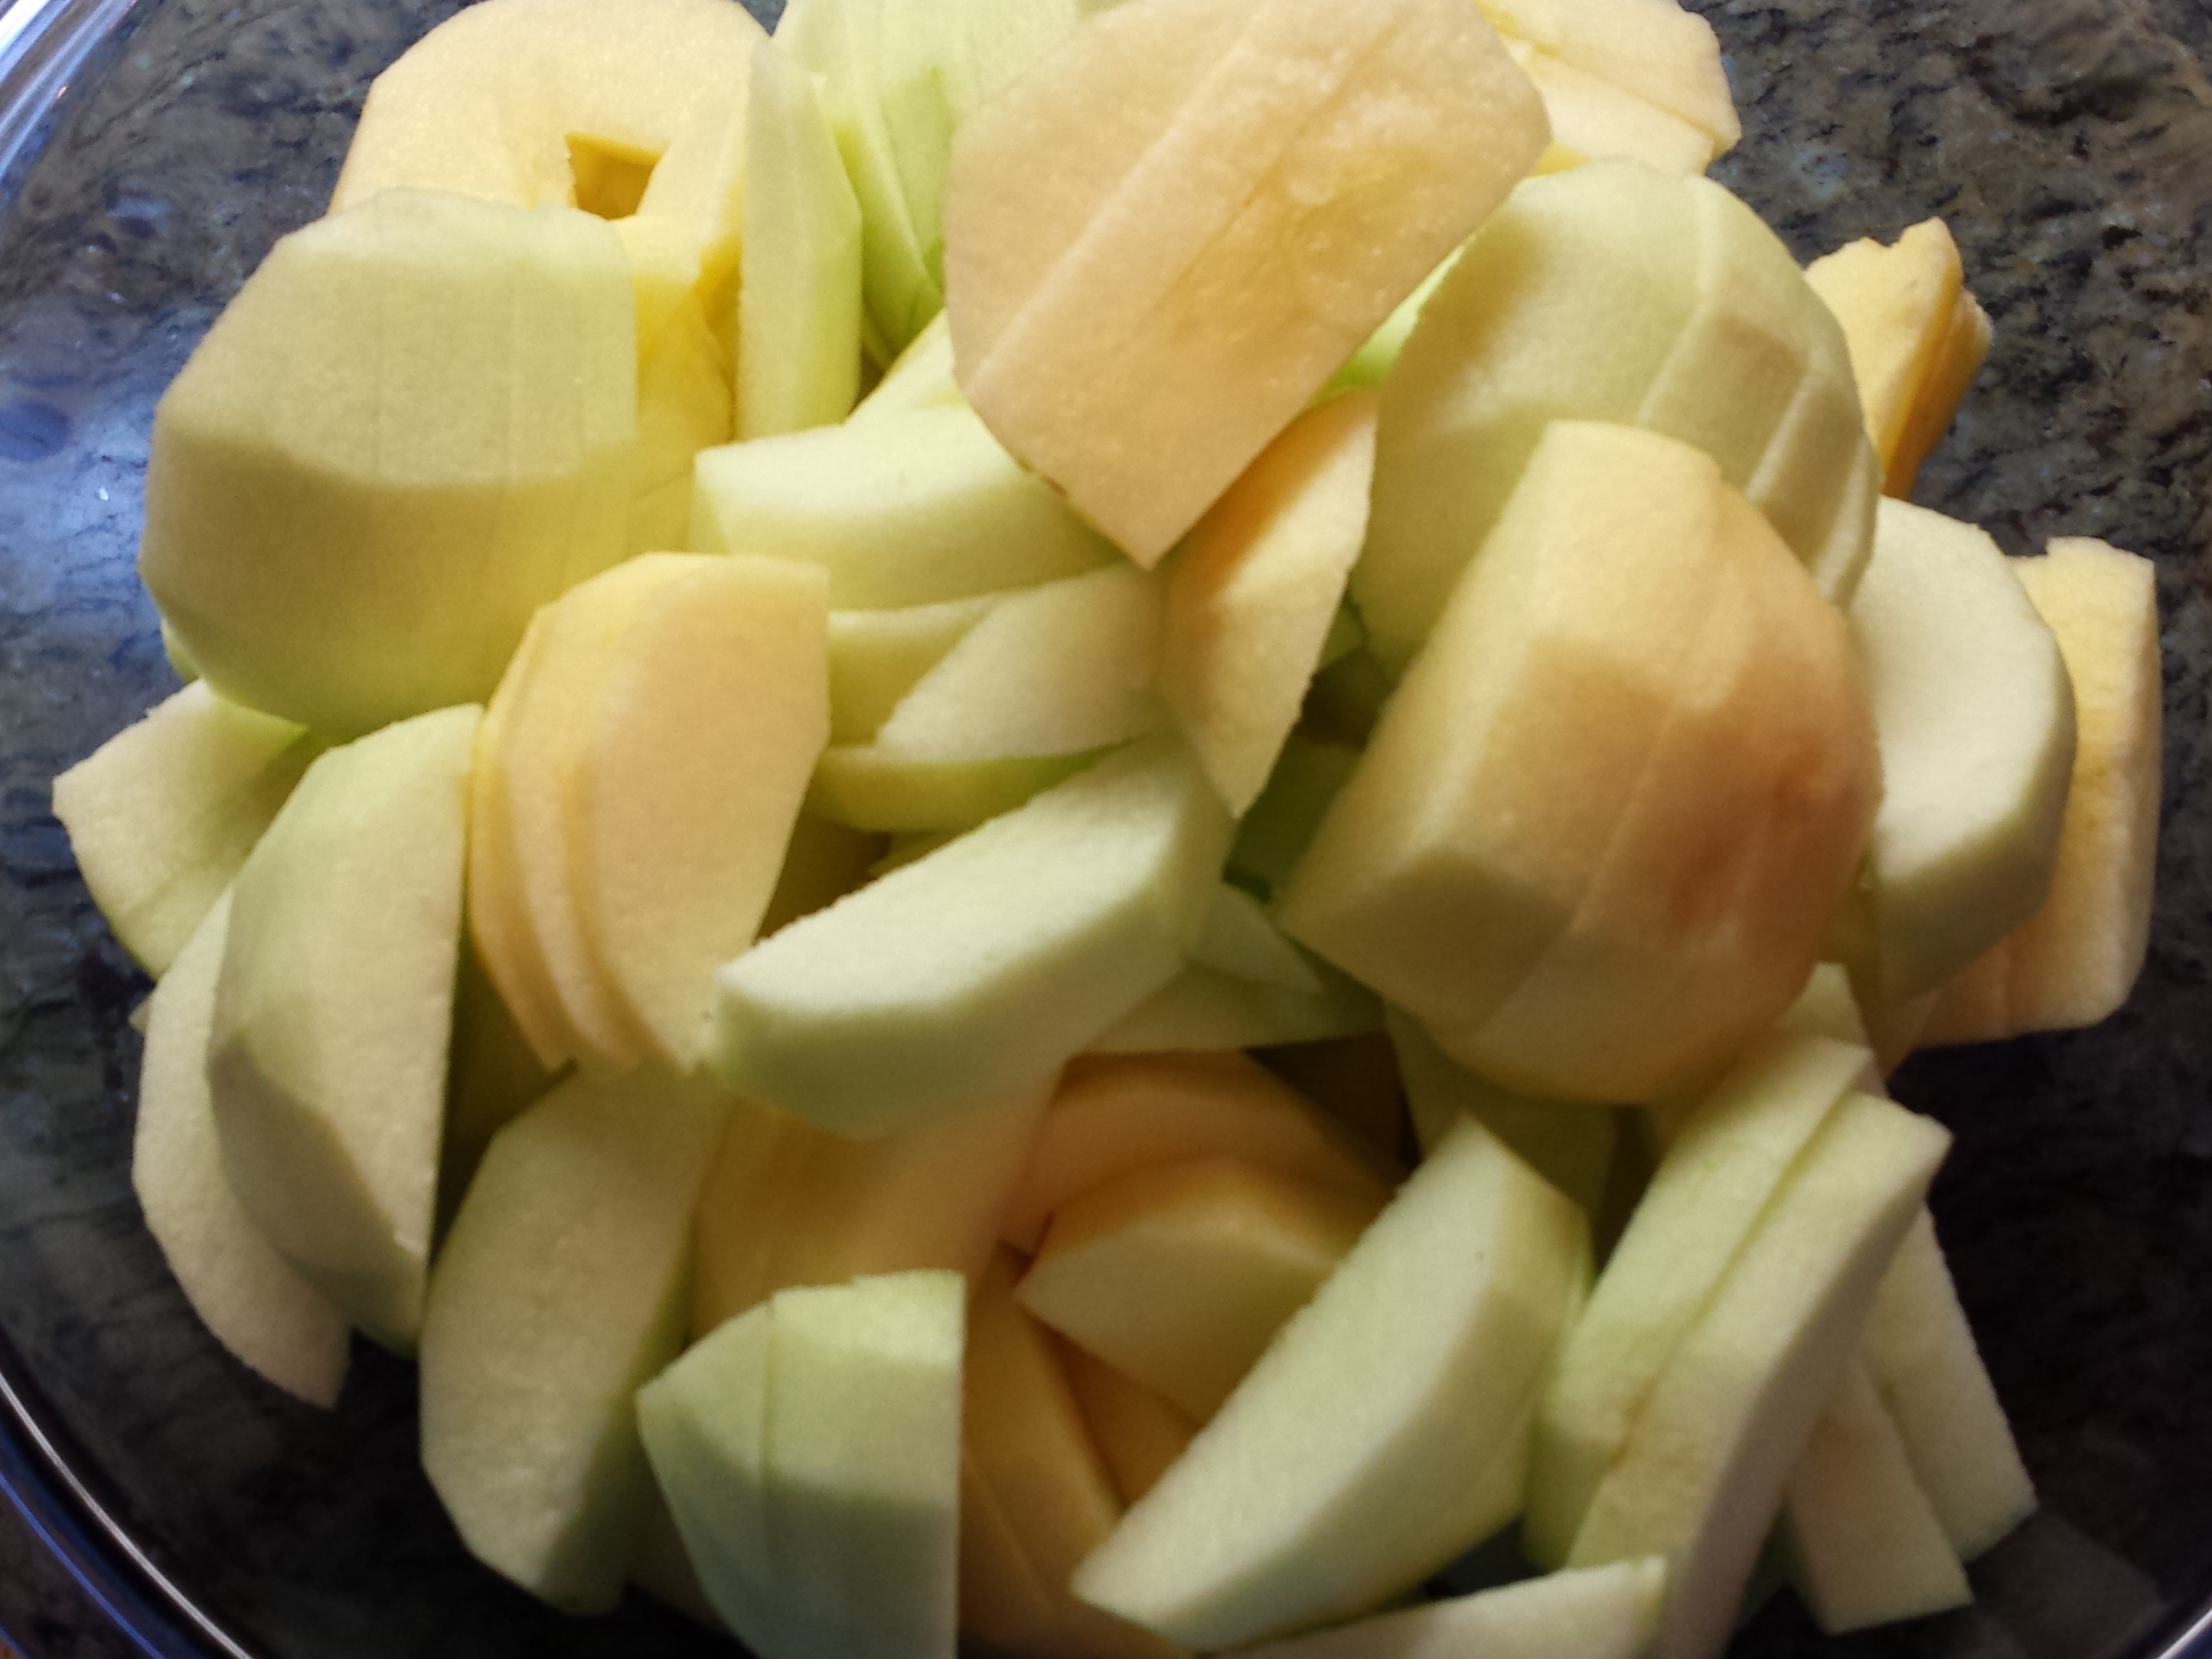
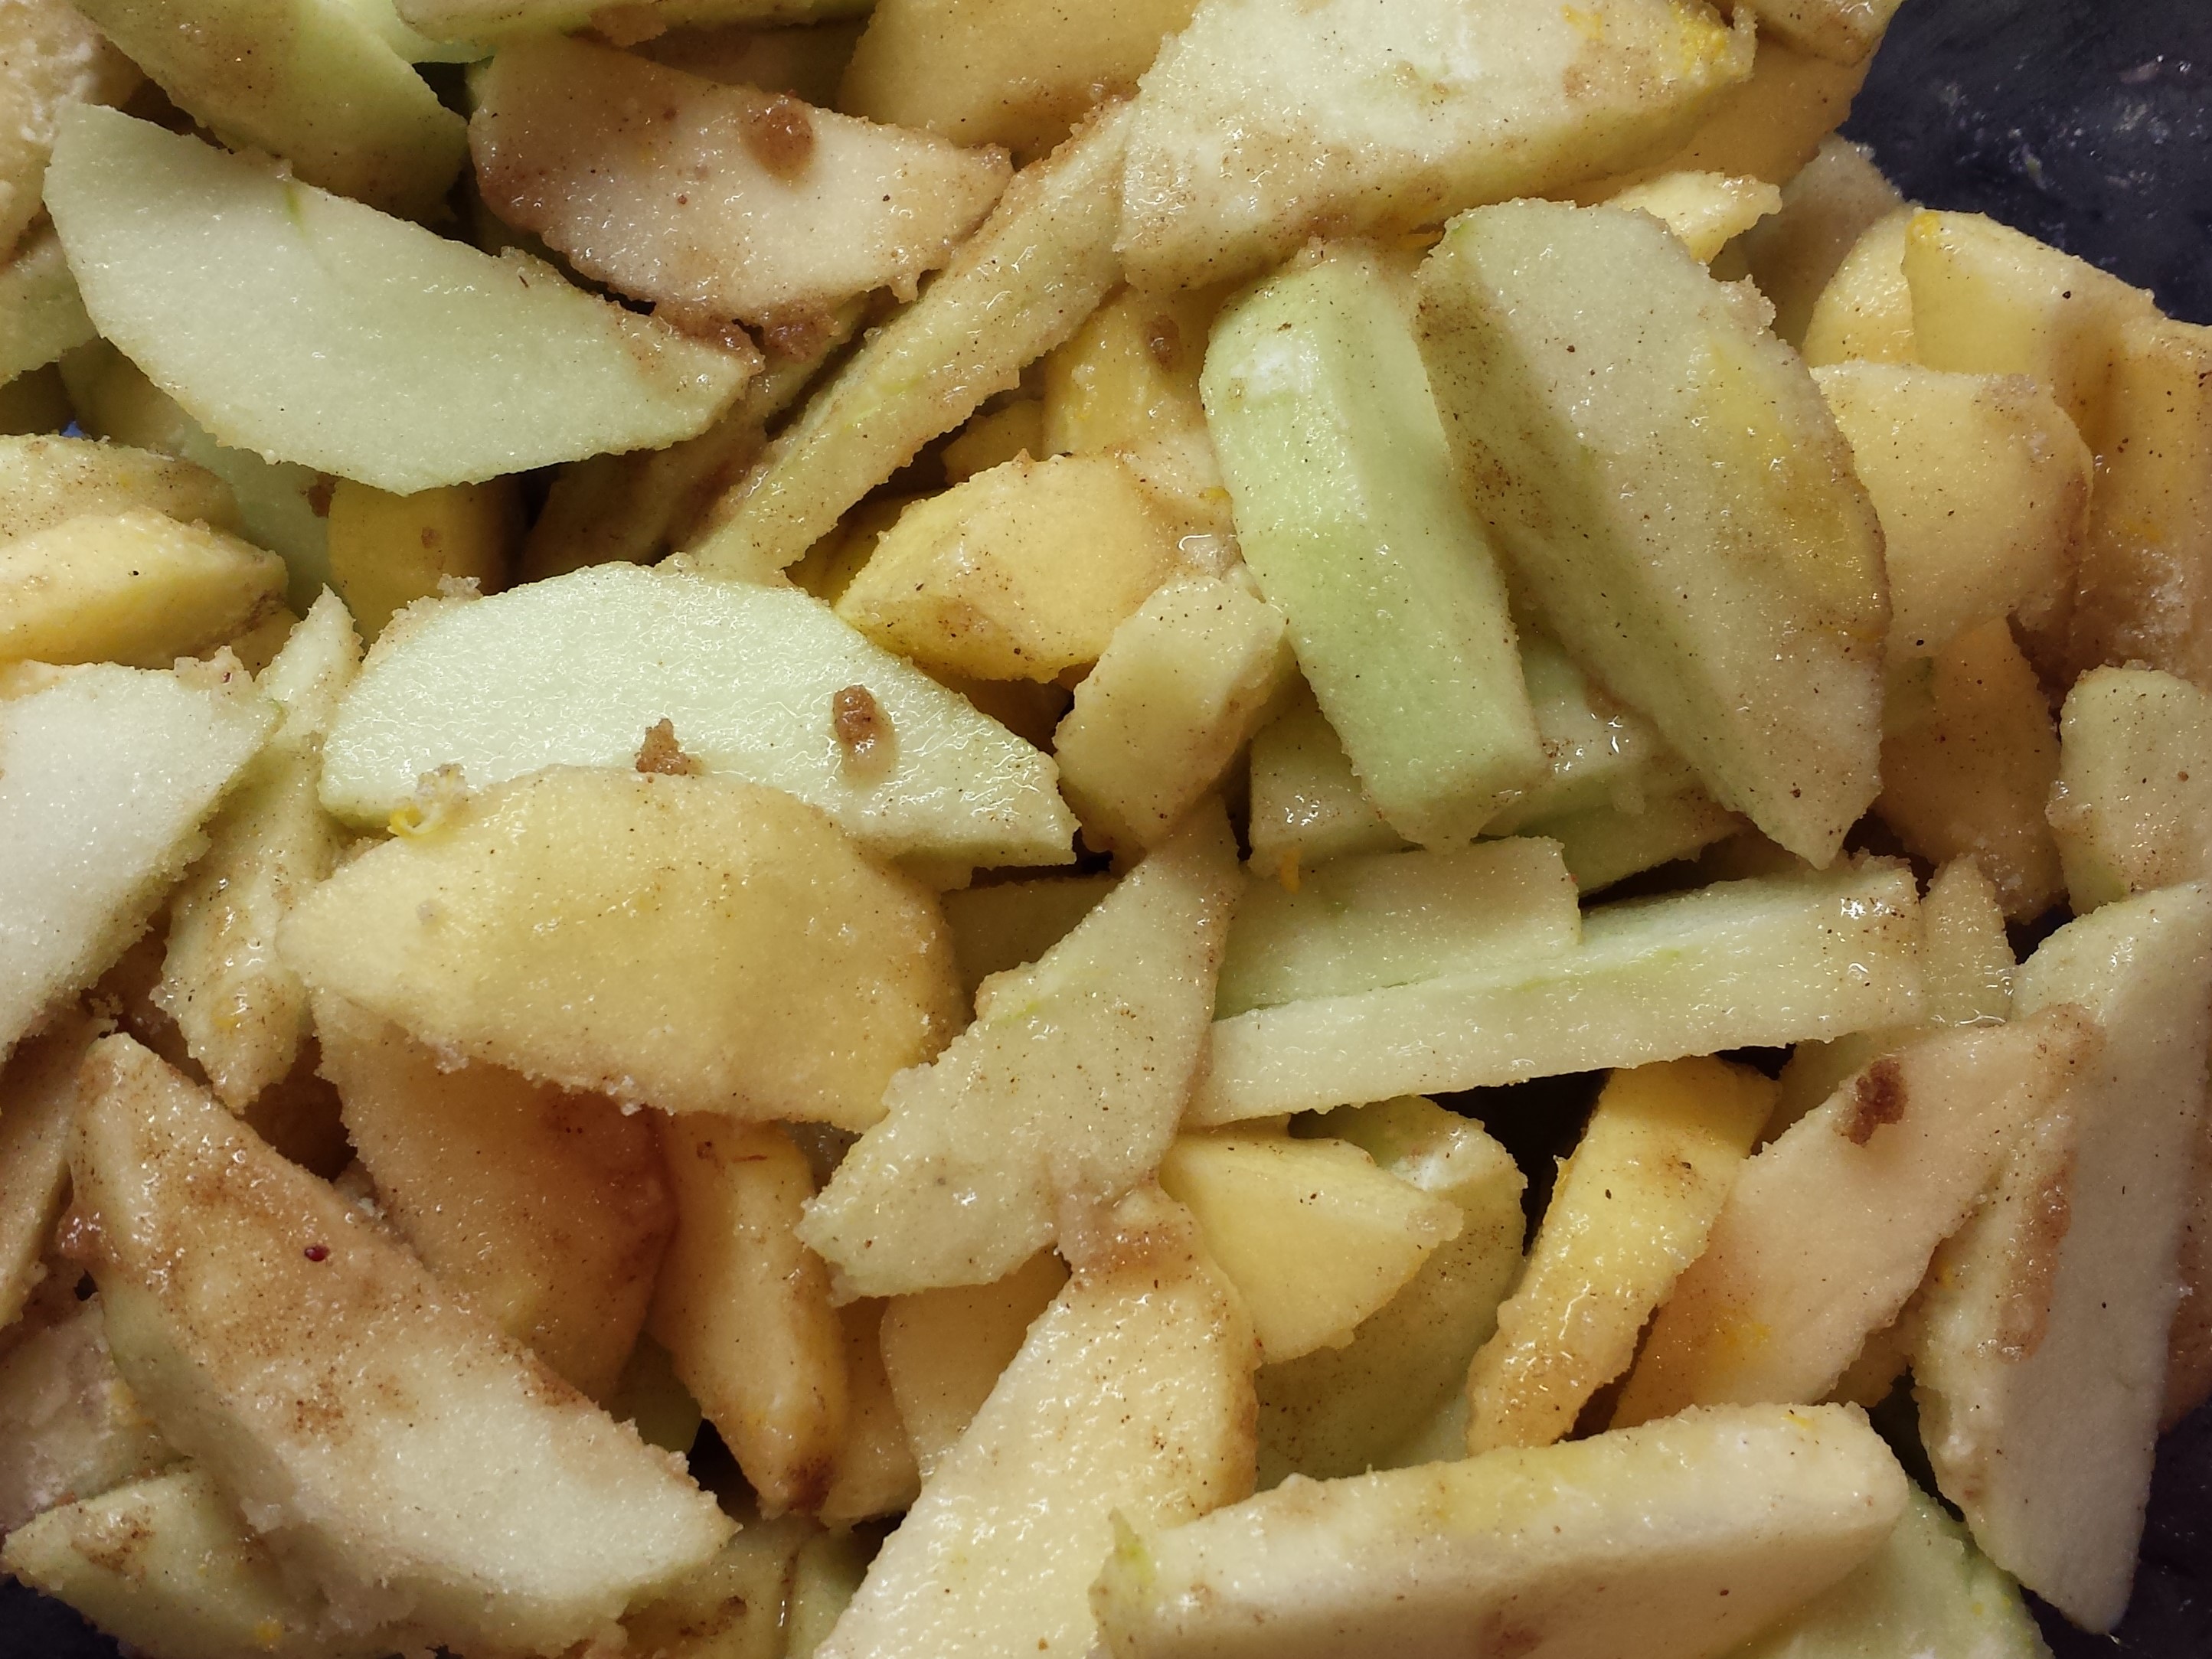
  • Peel and core the apples. Slice into 1/4 inch thick pieces and place into a large bowl.

20151125_164658  20151125_165346  20151125_170148

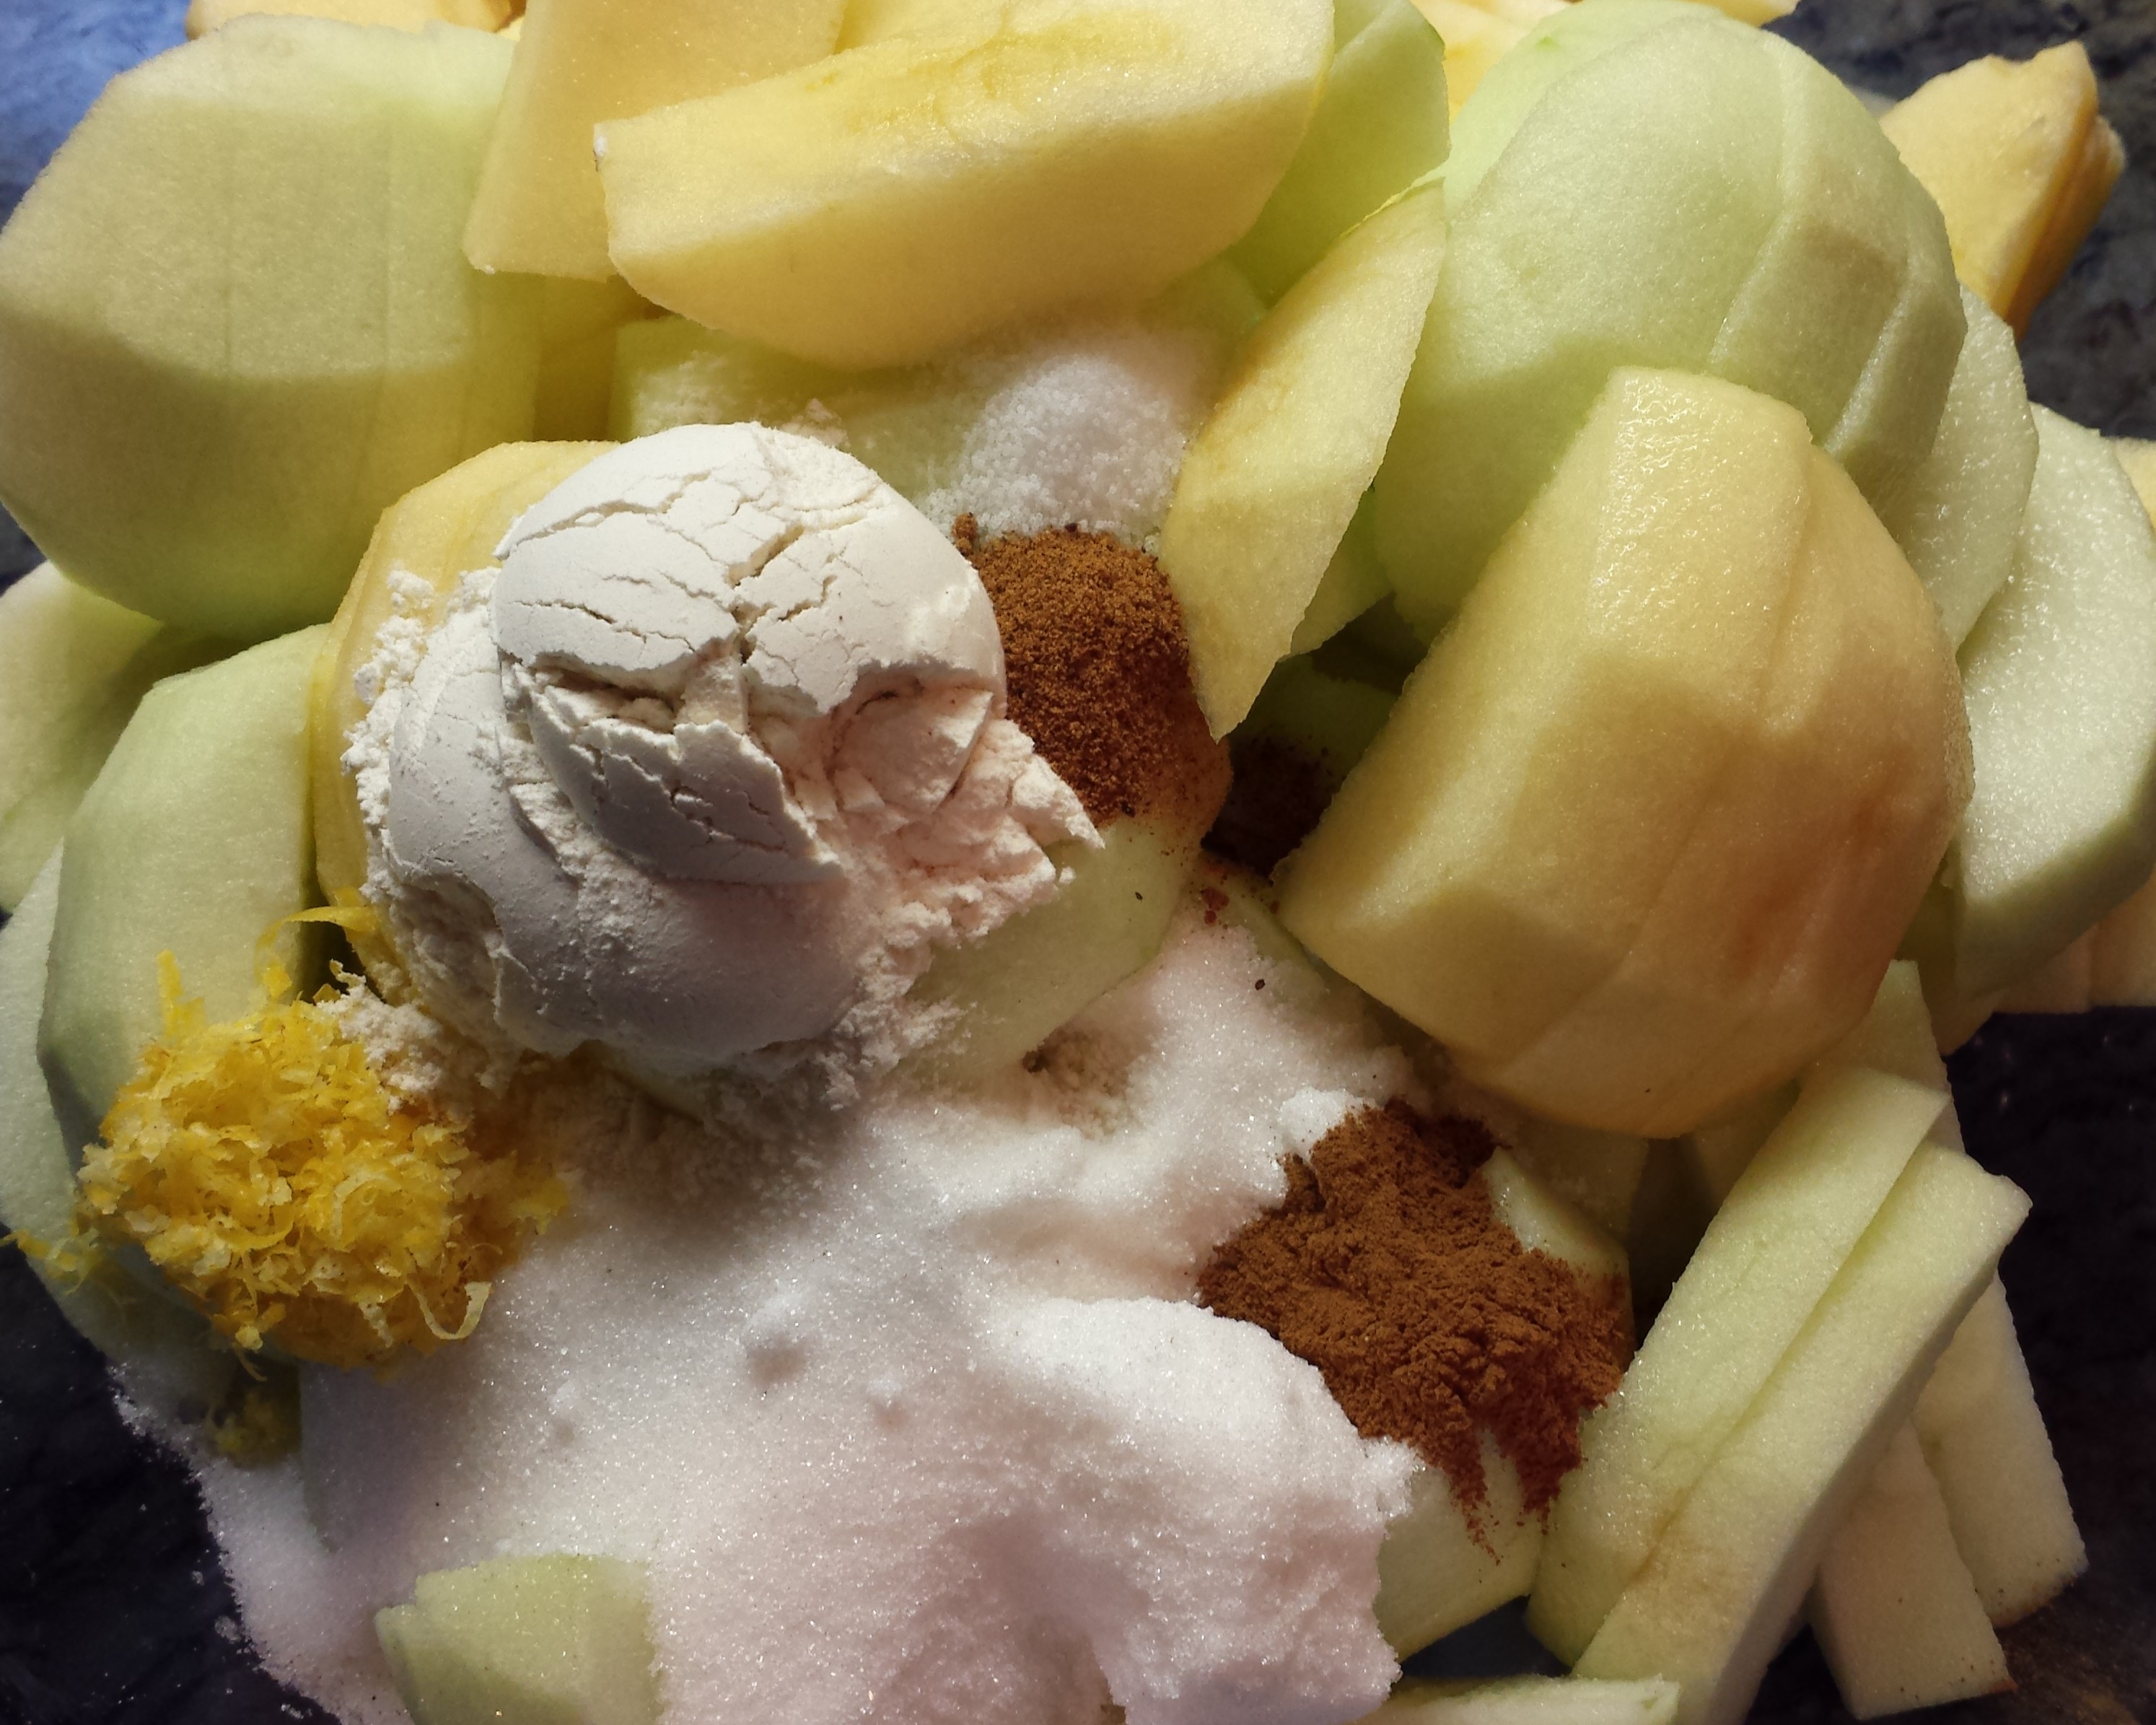
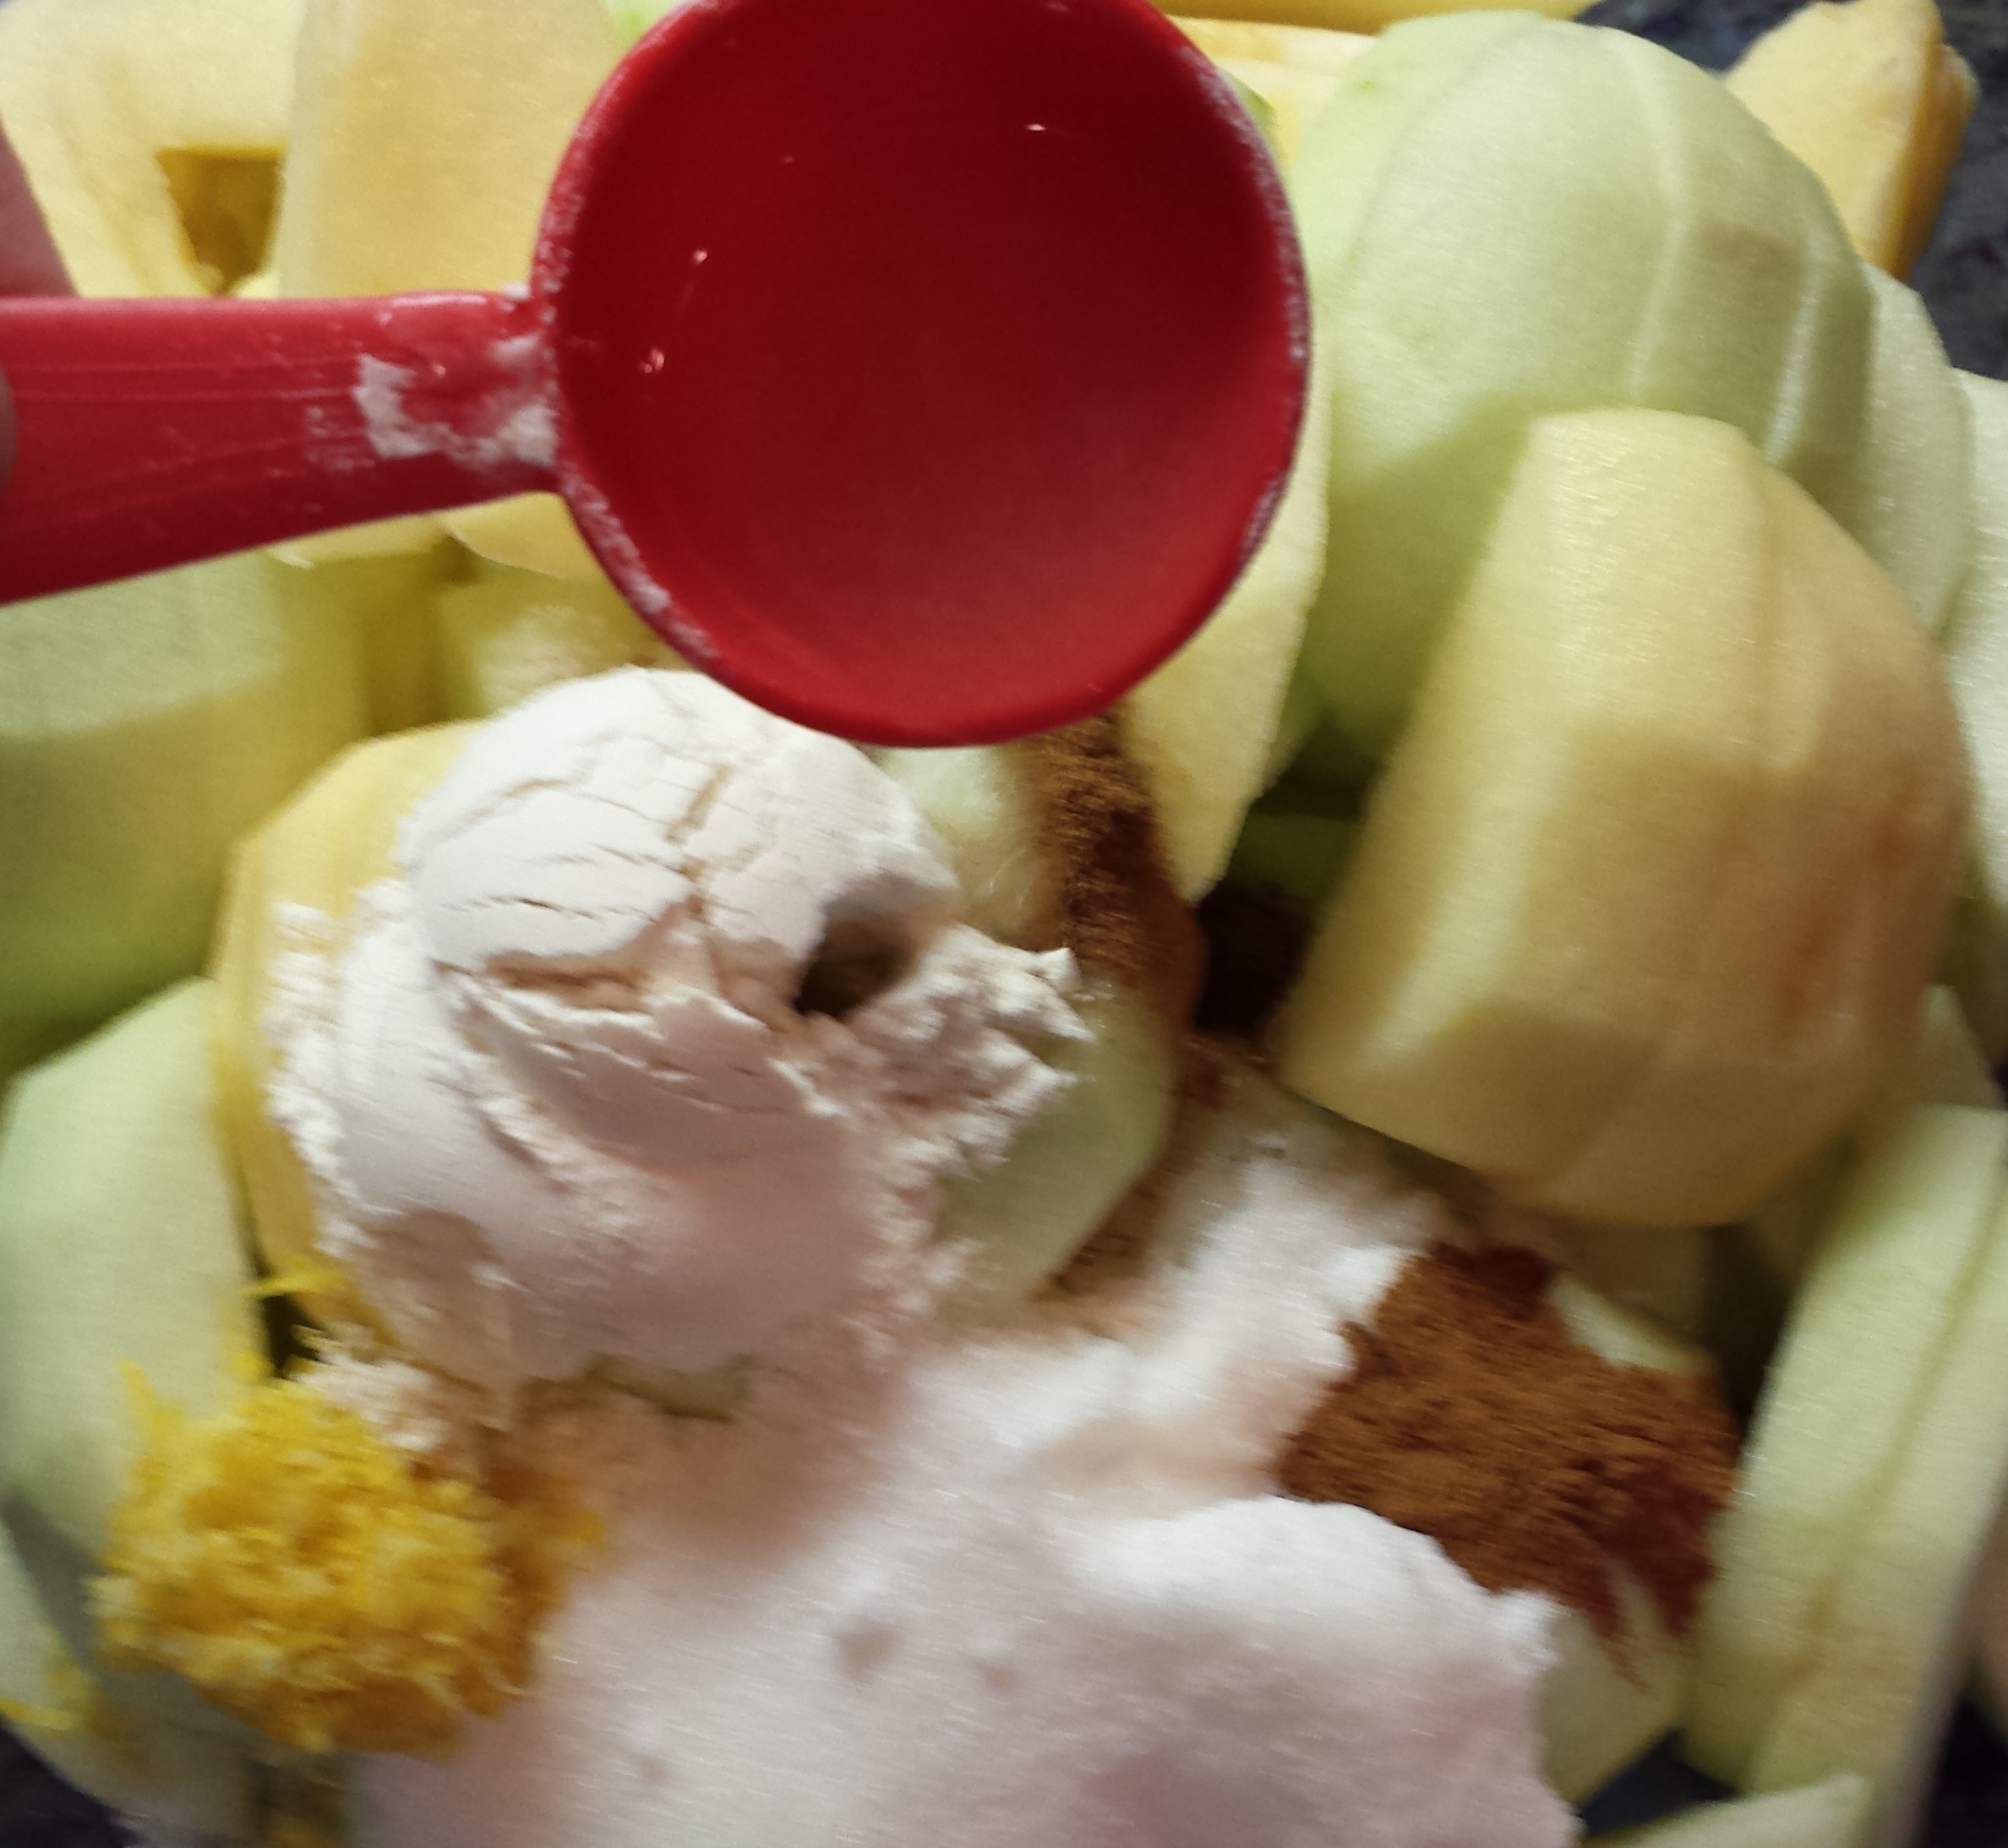
  • Add 3/4 cup of sugar, the flour, lemon juice, lemon zest, salt, nutmeg and cinnamon to the bowl and toss to cover all the apple slices.

20151125_170643  20151125_170659  20151125_170938

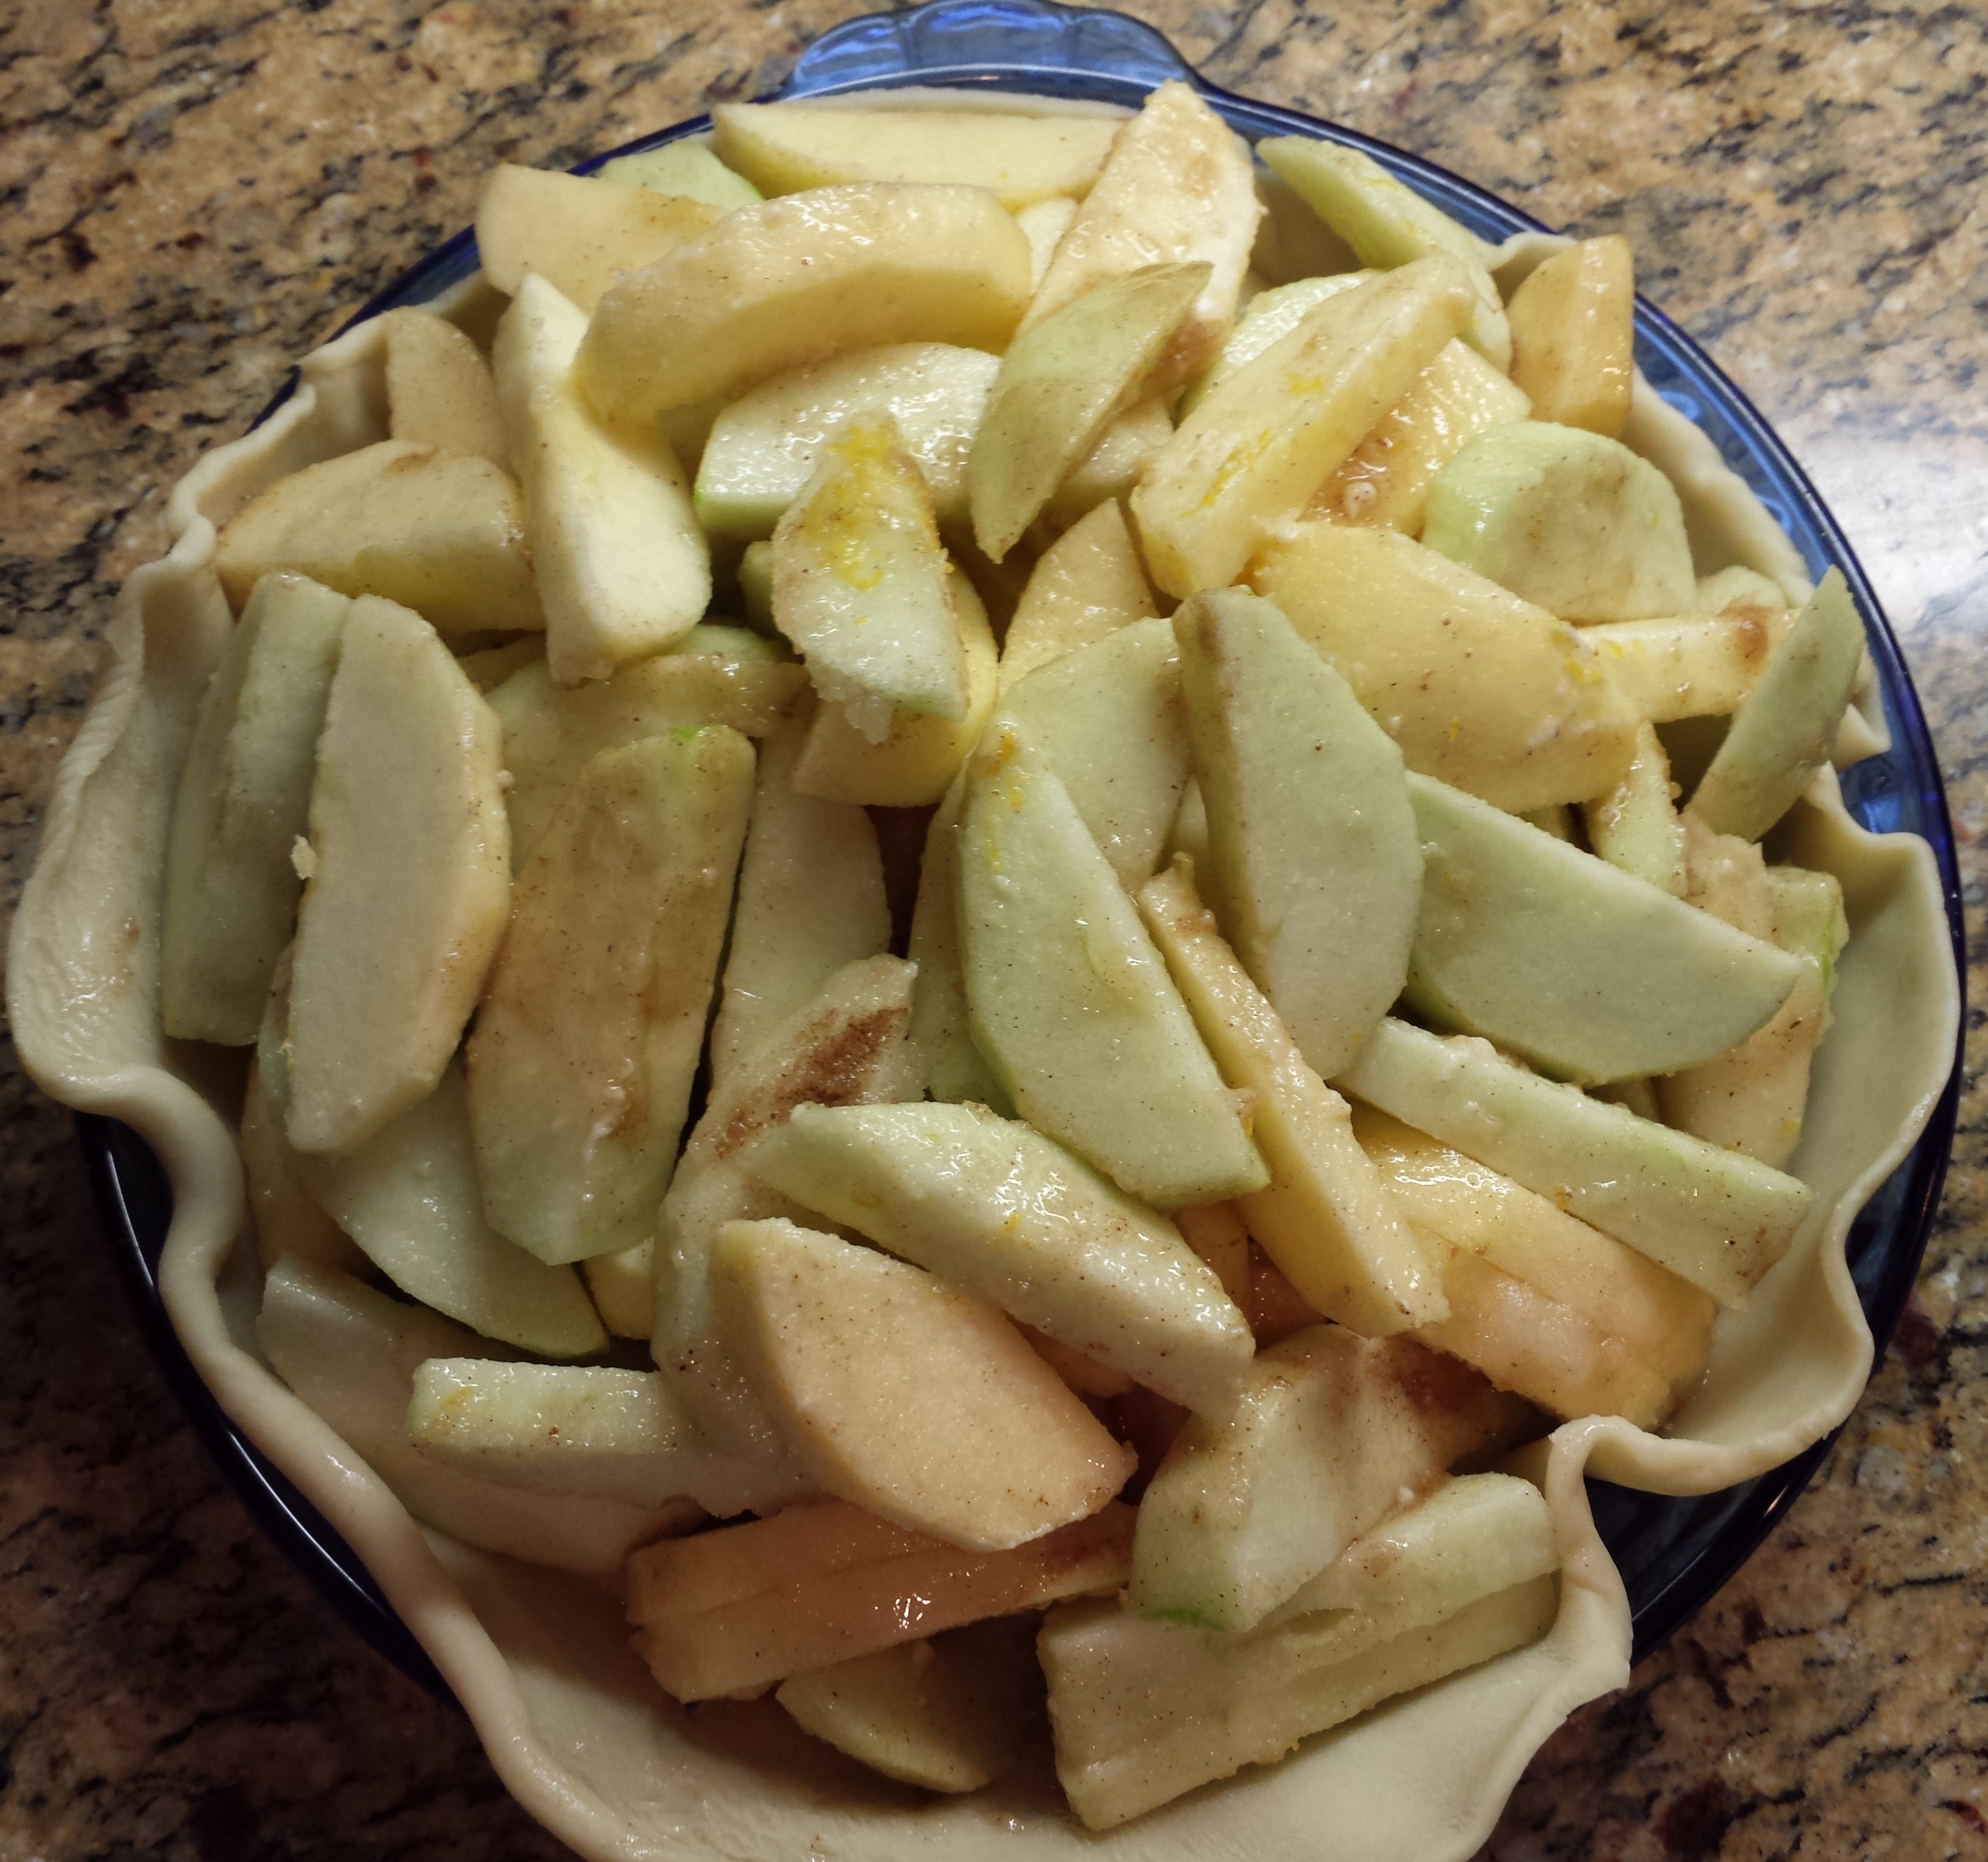
  • Place one crust into the bottom of a standard pie plate.
  • Spread the apples into the plate. Do not be afraid to pile these nice and high. Ensure that the different varieties are present in all sections of the pie.
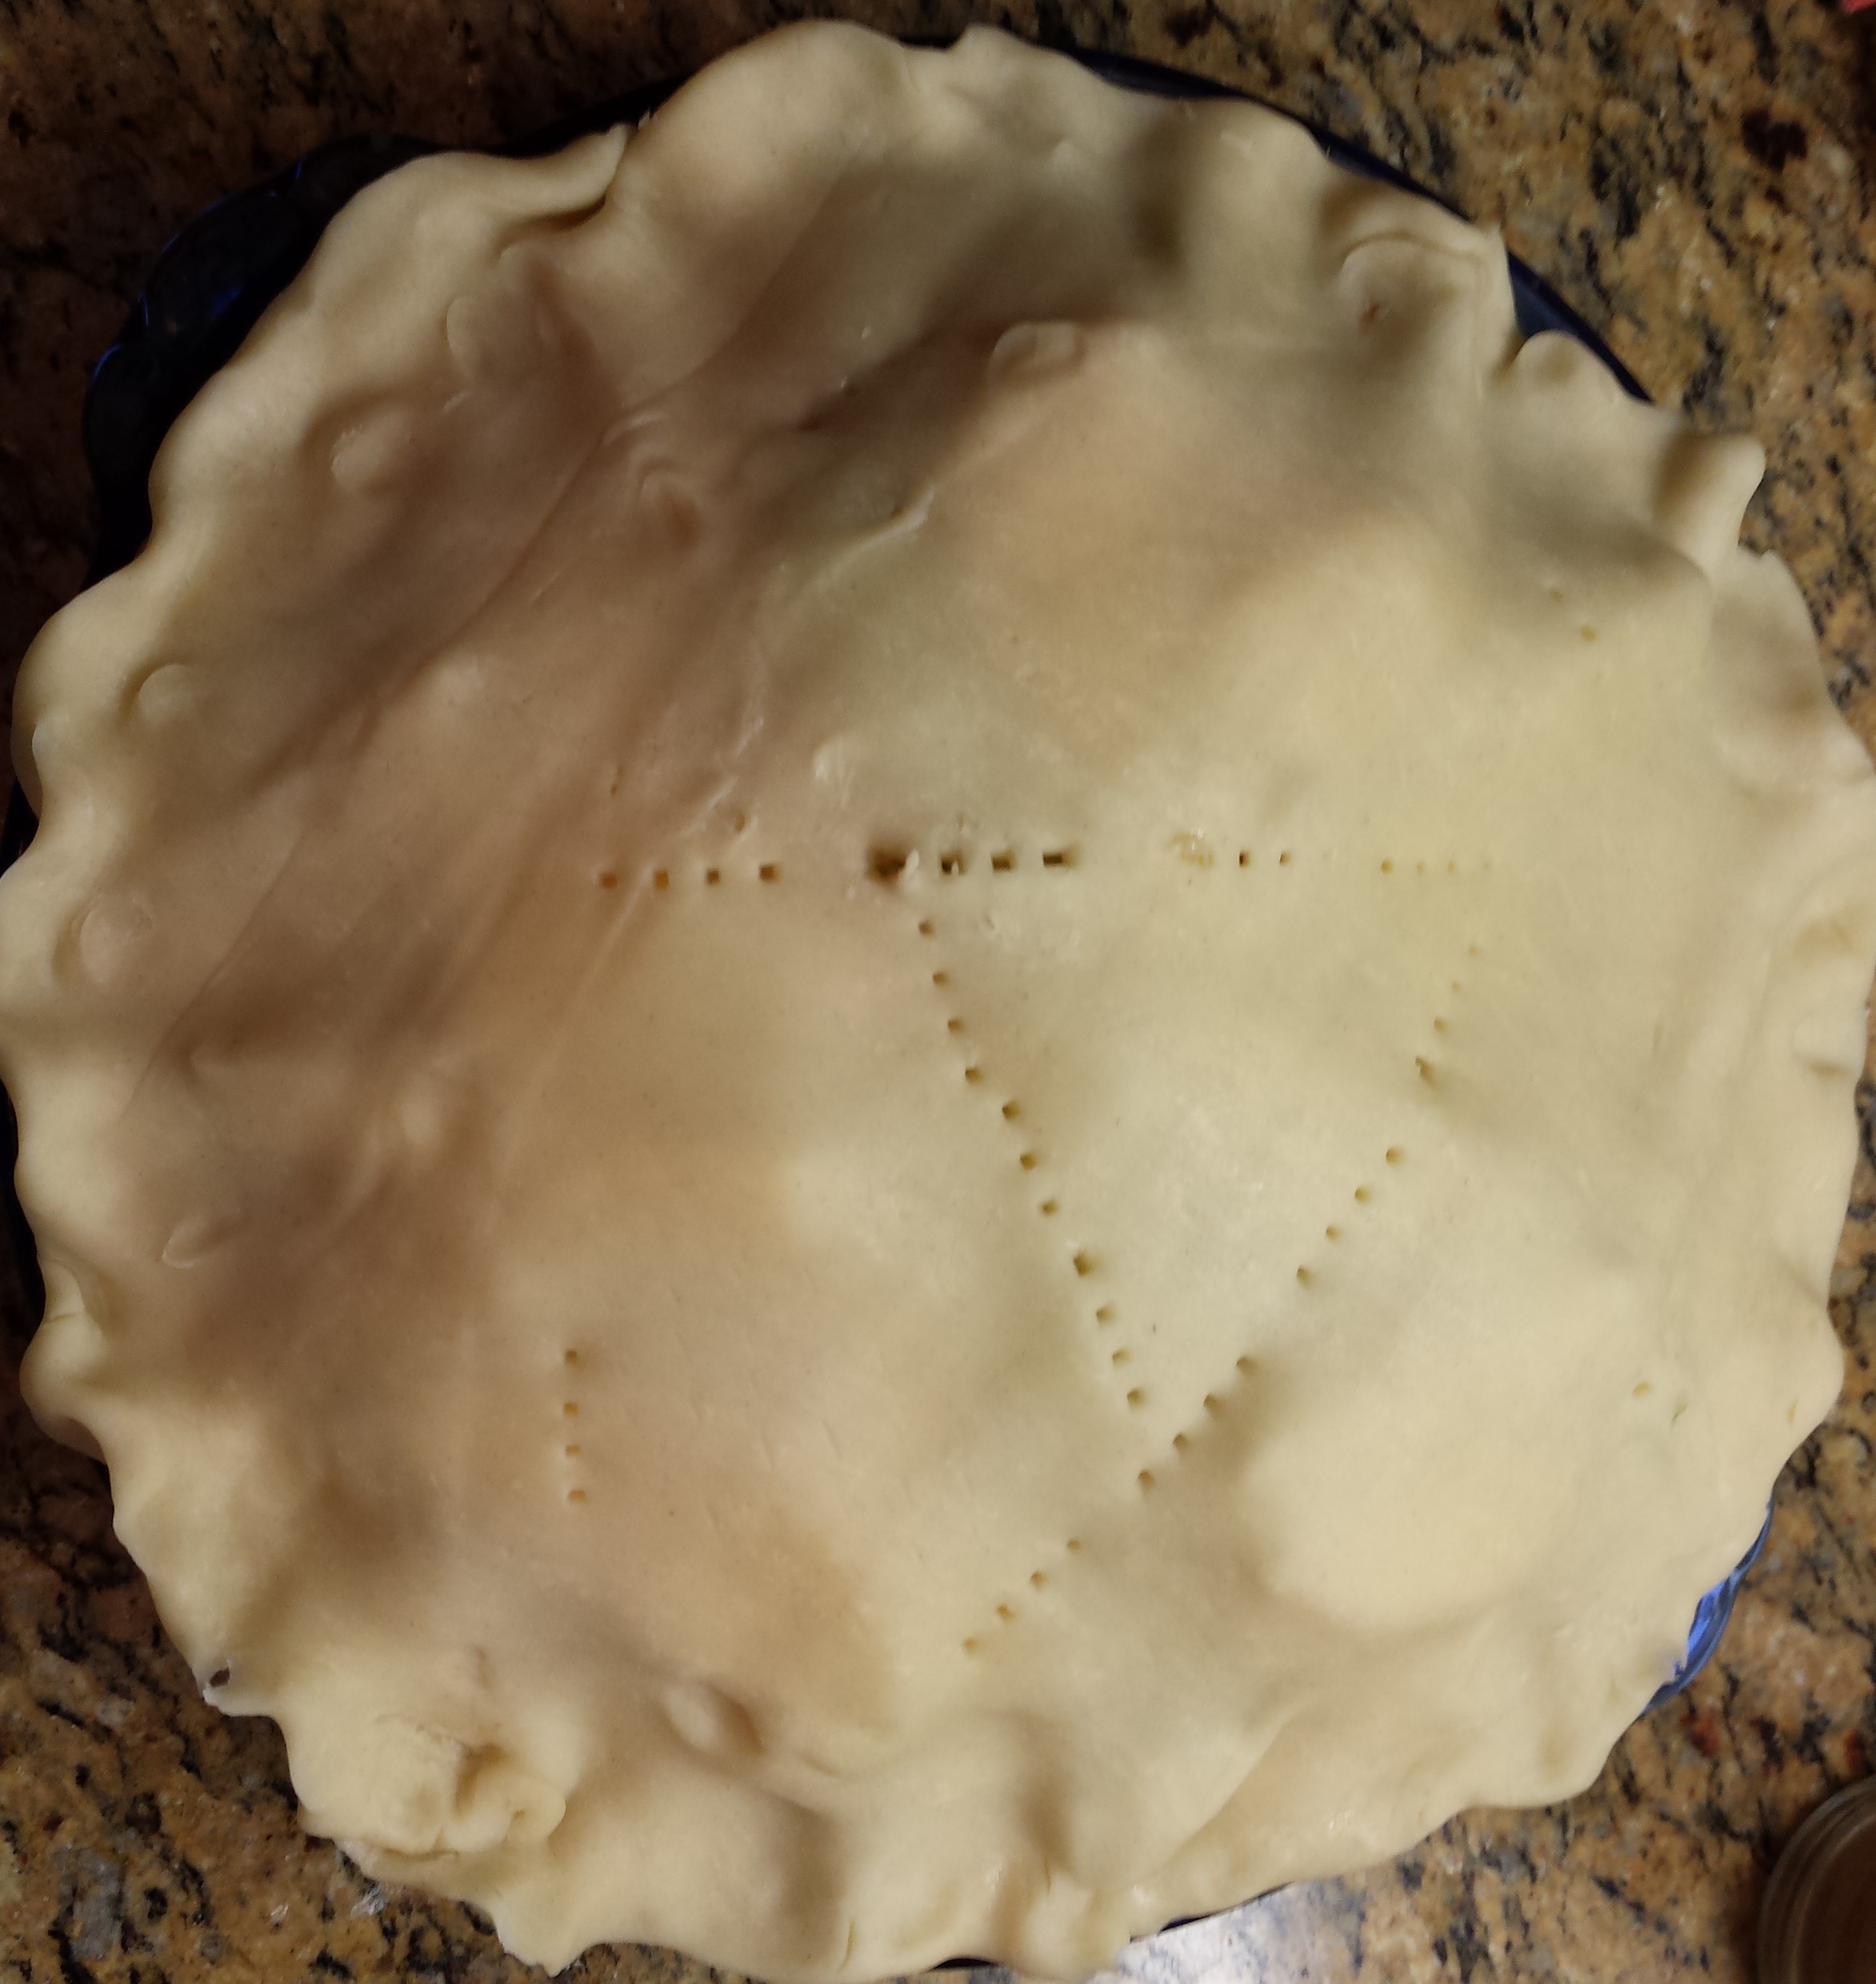
  • Place the other crust on the top and crimp the edges with your fingers.
  • Cut vent holes into the top with a knife or using the tines of a fork create a pattern in the middle of the pie crust.

20151125_171136  20151125_171419

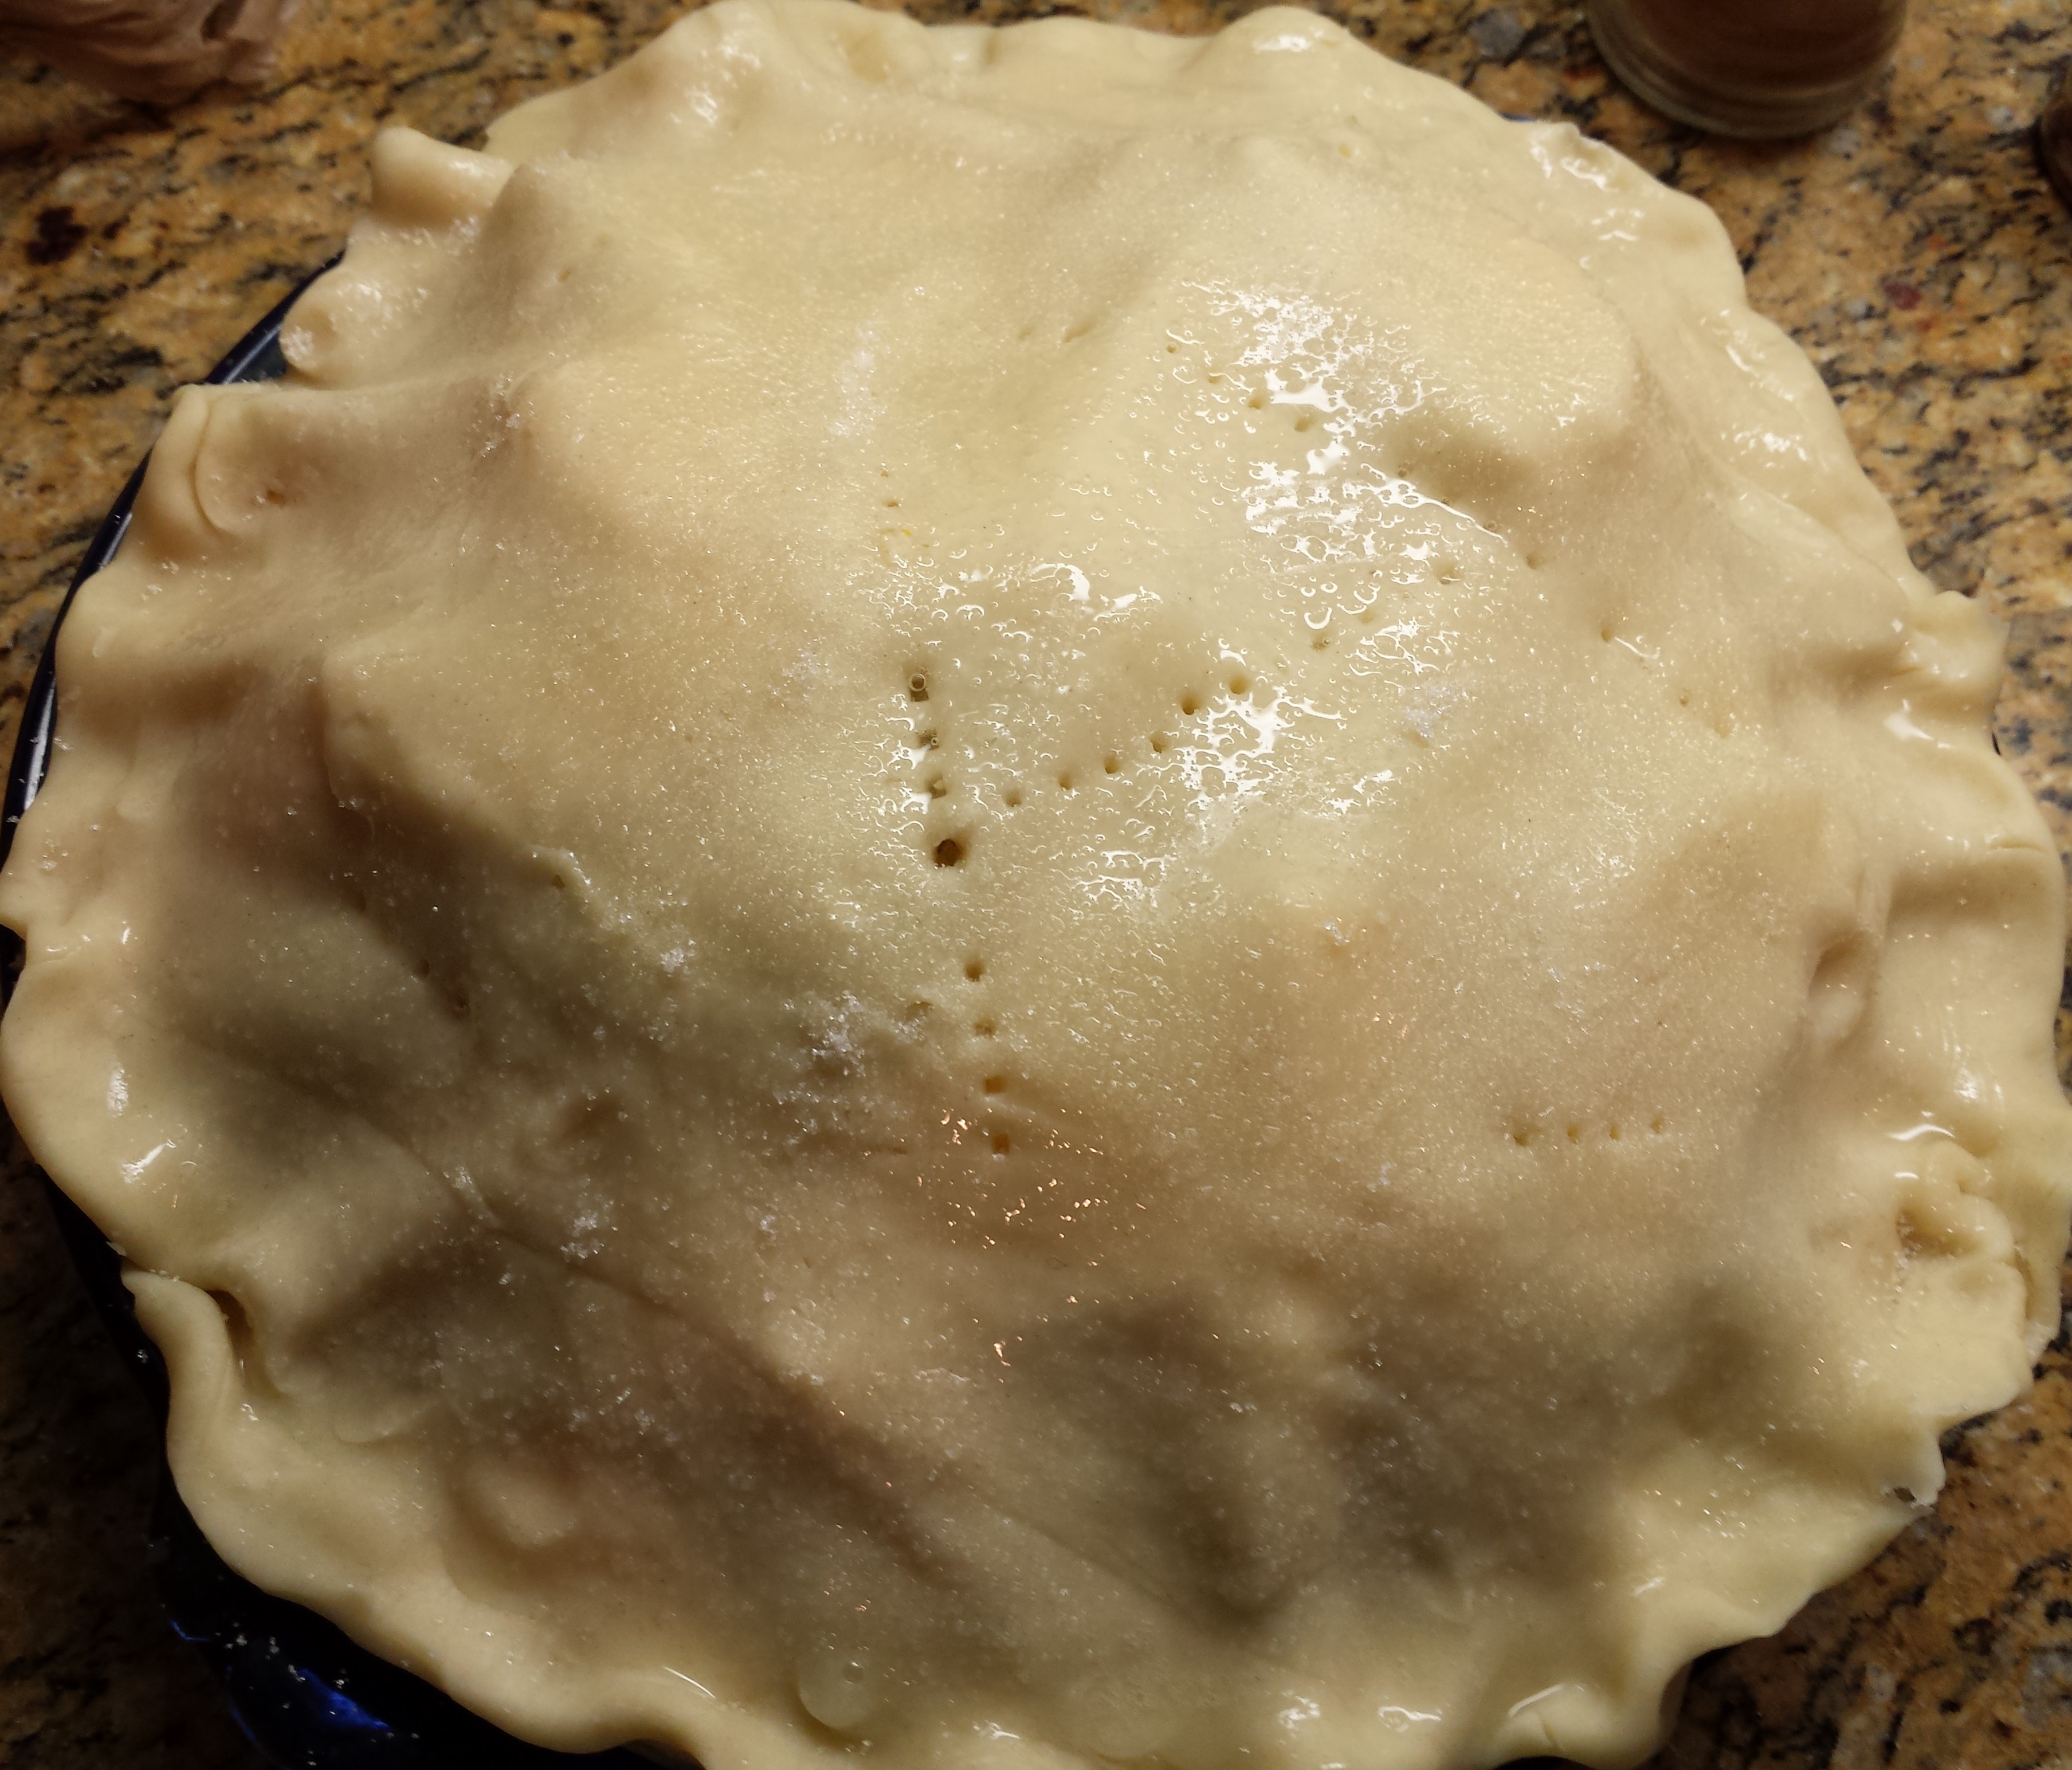
  • Brush the crust with the egg whites and sprinkle sugar over the crust.

20151125_171600  20151125_171620  20151125_171713

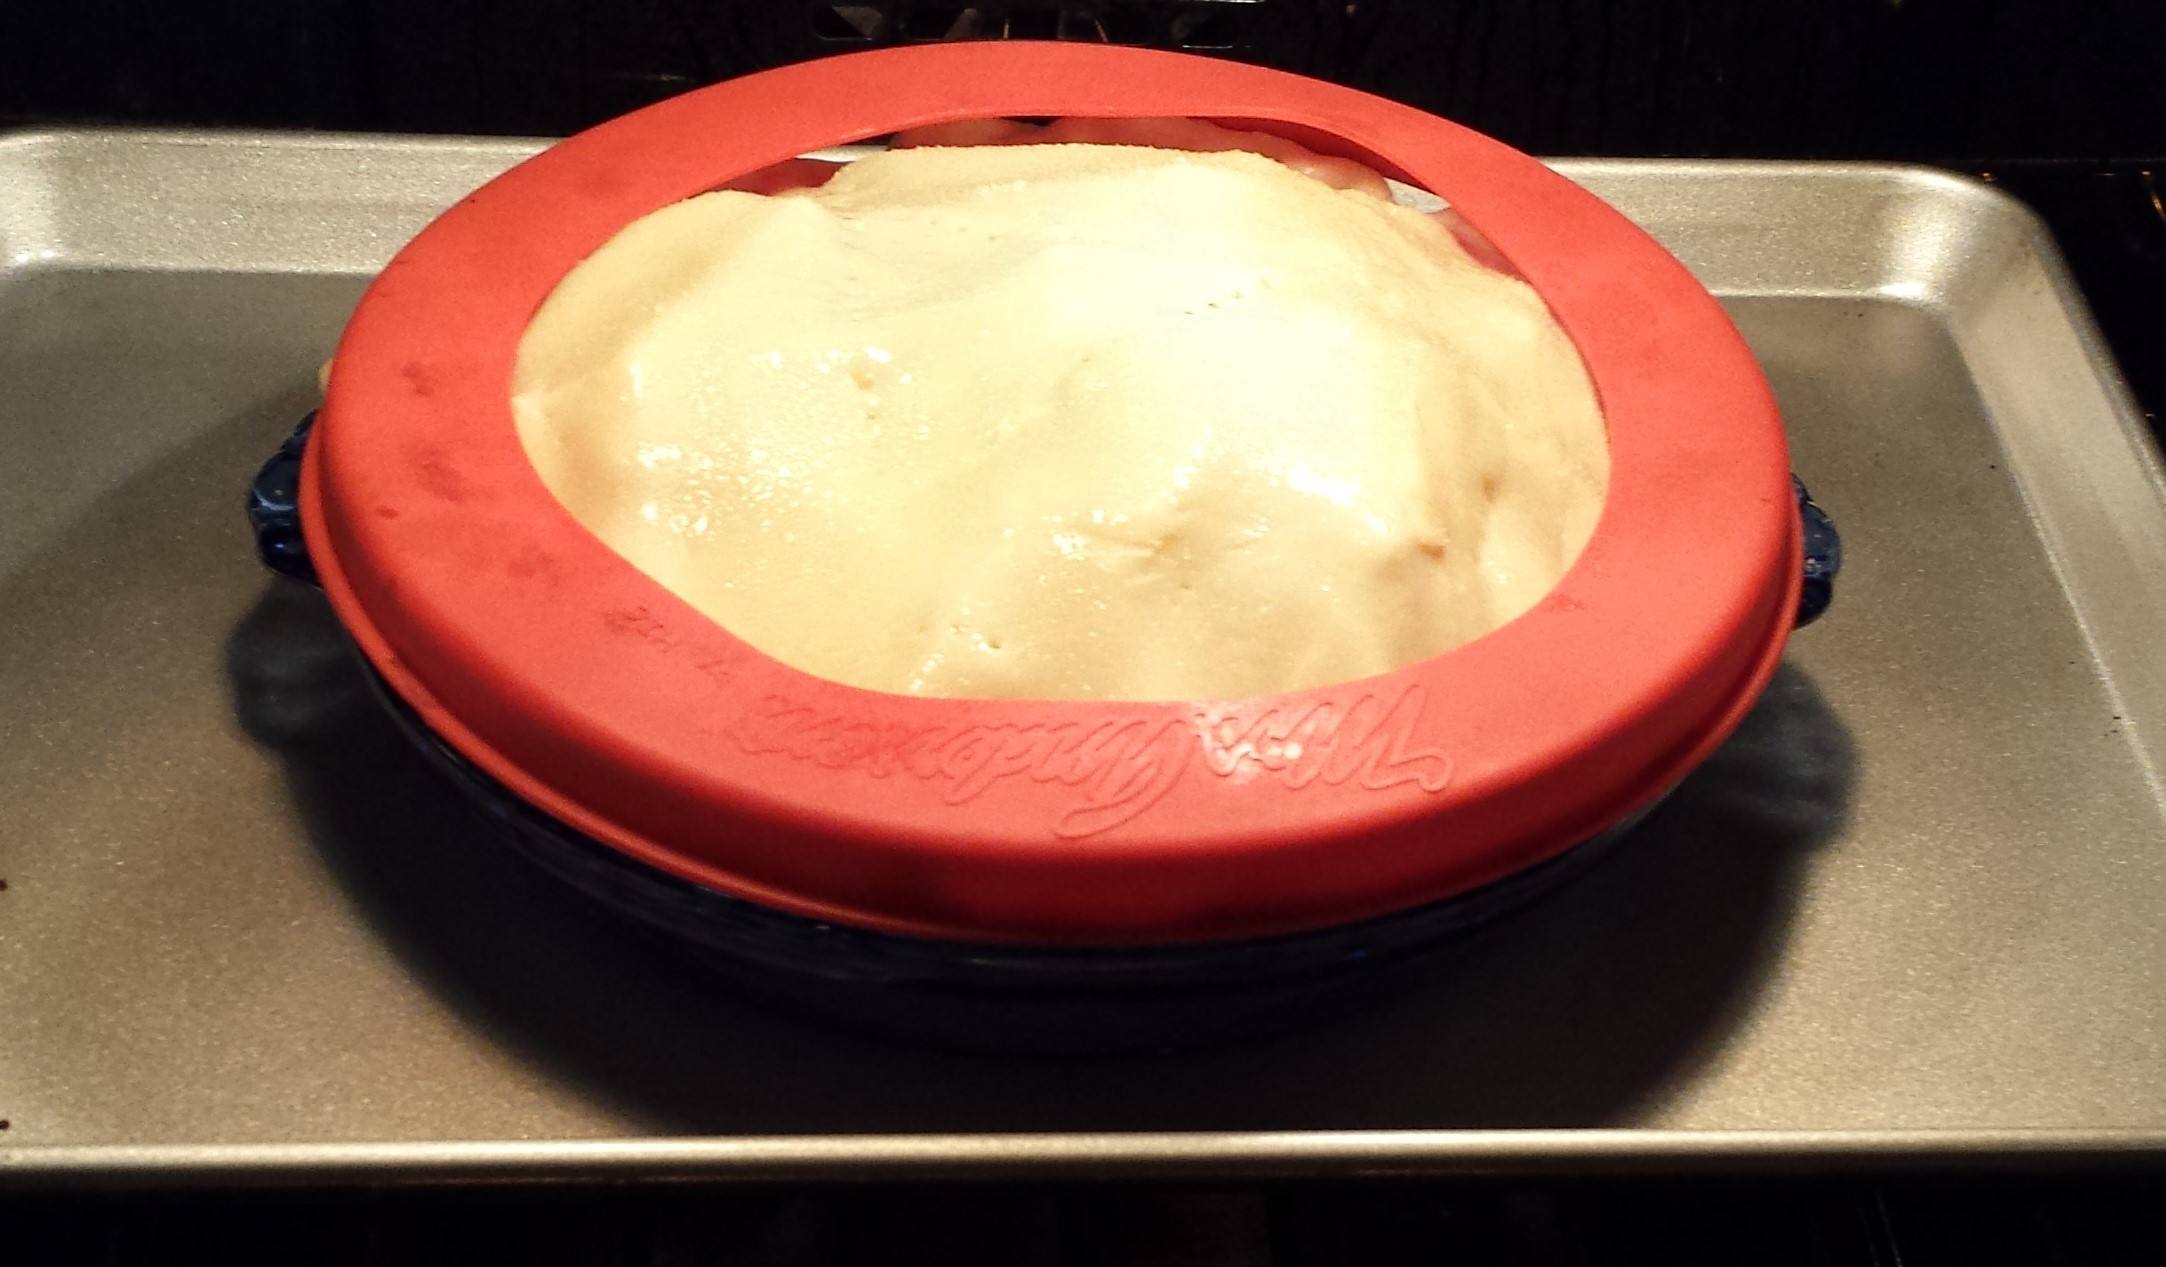
  • Protect the crust edges with aluminum foil or a pie crust protector (as I’ve used).
  • Place pie onto the pre-heated baking sheet and turn over temperature down to 425 degrees.
  • Bake for 25 minutes.

20151125_171731  20151125_171848

  • Turn the baking sheet 180 degrees. Reduce the oven temperature to 375 degrees and back another 30-35 minutes.
  • If using tin foil to protect the crust edges, remove now.
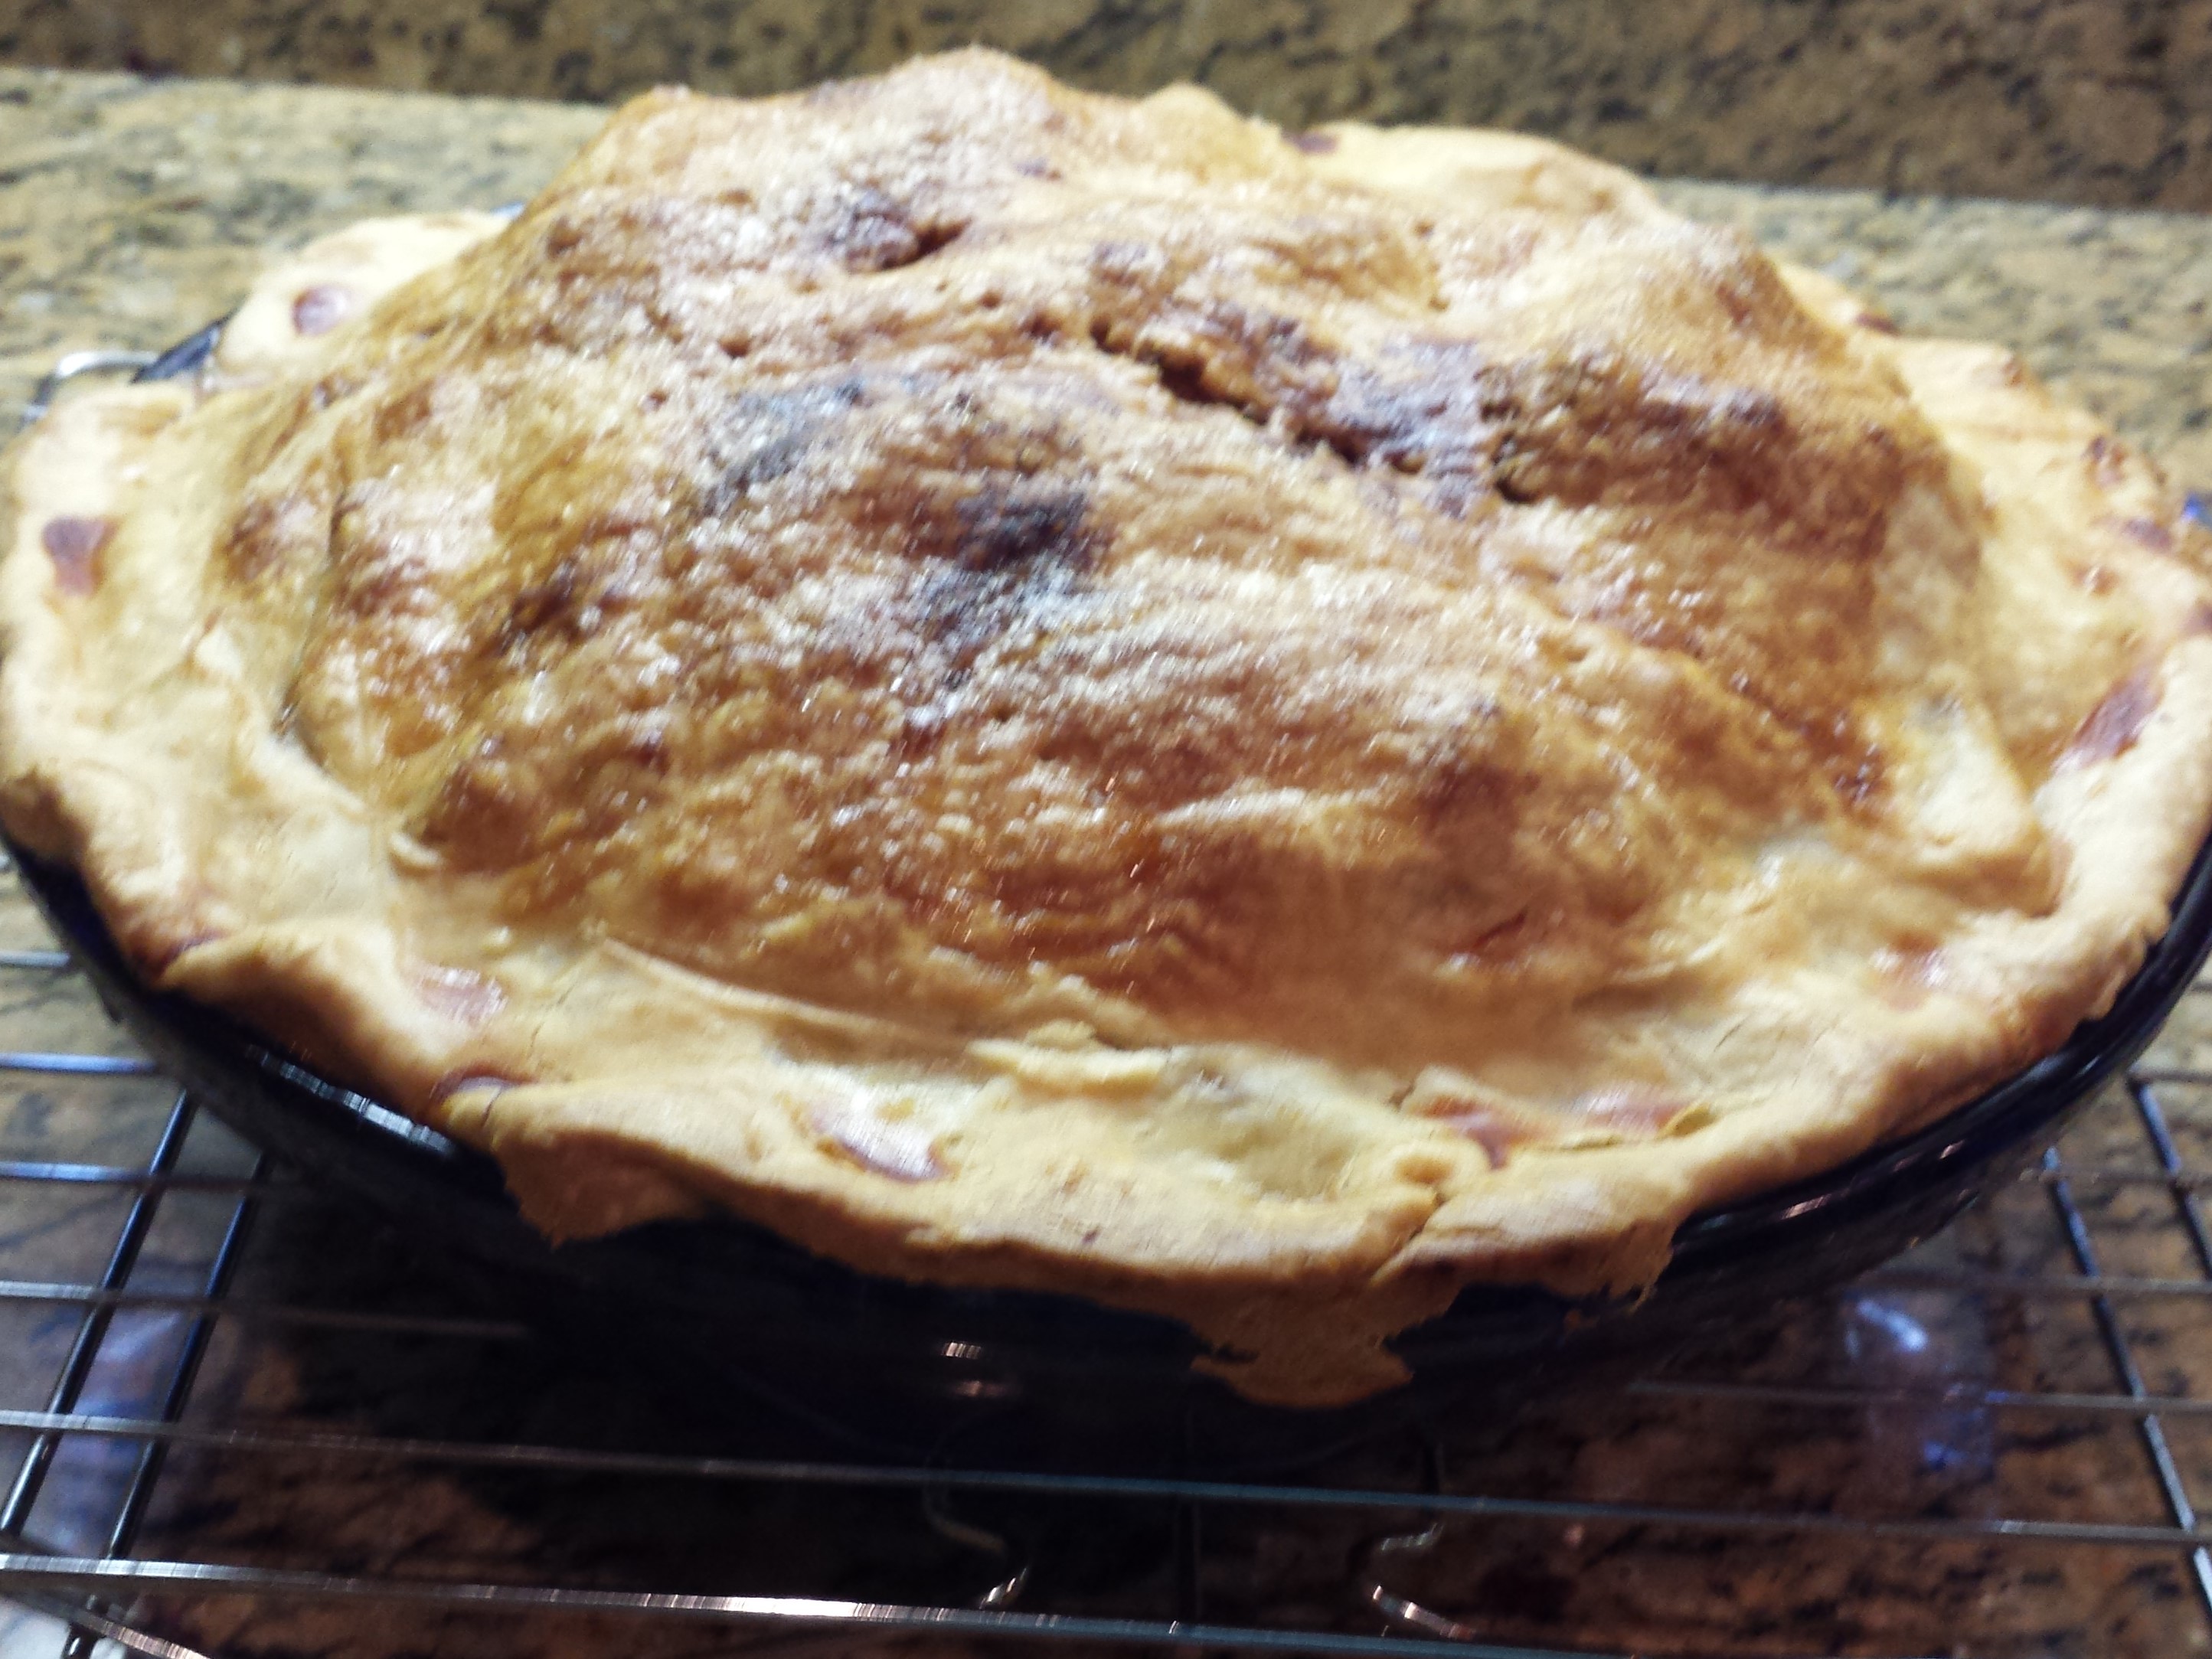
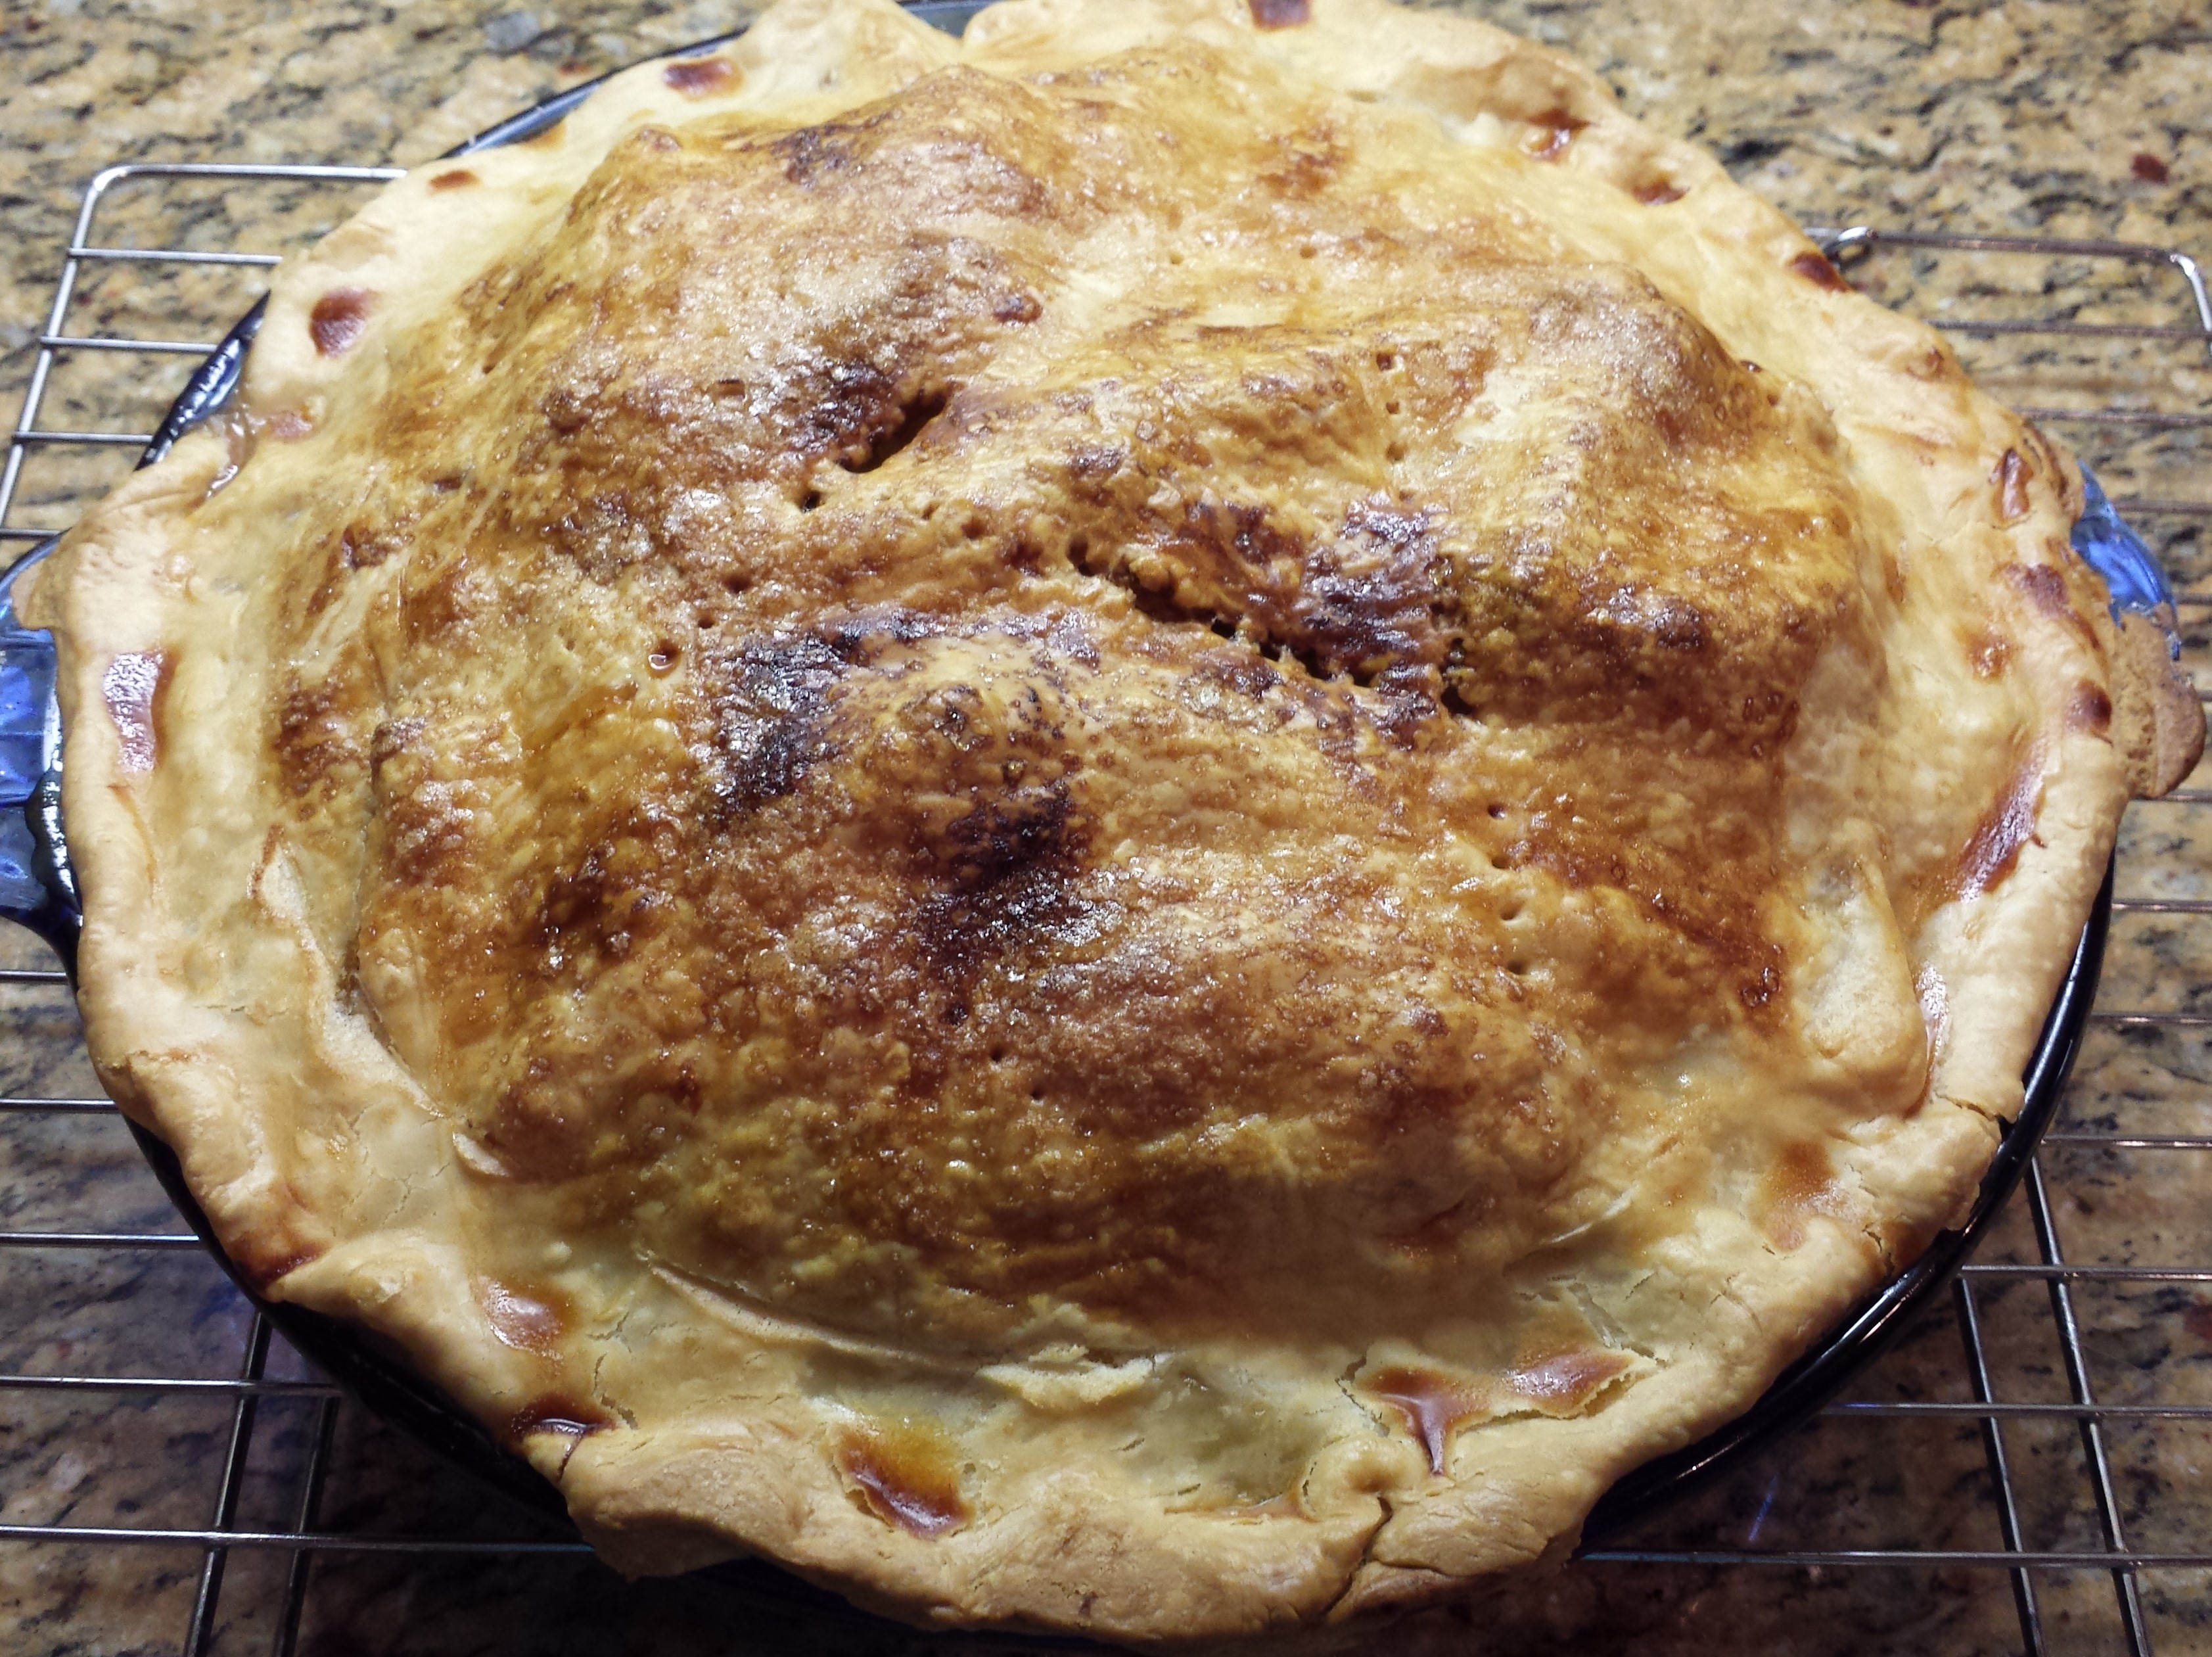
  • Pie is done when the juices are bubbling and the crust is a deep golden brown.

20151125_174736  20151125_182250

  • Remove from oven and move pie to a wire rack for cooling.
  • Serve cool or reheat and add ice cream for apple pie a la mode.

20151125_182323  20151125_182318

Ideas

  • Apples – most recipes will mention using two types of apples in your pie and while that is better than one, my recommendation is to use three types of apples. One of your apples should be granny smith, but feel free to experiment. In the pie you see here, I used golden delicious and fiji apples as well. Why? Different types of apples will yield a variety of different textures and flavors to your pie.
  • Amount of apples to use – I can’t say this enough, do not be afraid to pile them high.
  • Feel free to add other items to your pie like raisins, craisins, fresh cranberries, strawberries or plums. If you add any of these items, don’t add more than 1 cup full. You want this to be primarily an apple pie.
  • Do not forget to use and pre-heat the baking sheet. This is what helps the bottom crust cook and helps to minimize any sogginess of the lower part of your pie.
  • Pie crust – absolutely, make your own crust if you have the time and the inclination. Homemade, fresh pie crust is generally best.

Go back

Your message has been sent

Warning
Warning
Warning

Warning.

Cranberry Relish

Thanksgiving is just two days away and I’m preparing for a big day in the kitchen. There are only a couple of items that I can make ahead and cranberry relish is one of those items. Cranberries… yummy! I think people either really like them or really do not. Assuming you really like them (or why would you be reading my post about cranberry relish), I have a great recipe for you that yields just the right amount of tart and just the right amount of sweet.

But before we get to the recipe, did you grow up eating canned cranberry jelly or did someone in your family make a cranberry sauce or relish? I was lucky enough to have both as my father preferred the jelly and my mom the relish. To this day, I will happily eat both varieties but my favorite is cranberry relish. It’ll probably be your favorite as well. Happy eating!

Ingredients

  • 1 bag (12 oz.) fresh cranber20151124_183907ries
  • 3/4 cup light brown sugar
  • 1/2 cup orange juice
  • 1 tsp ground cinnamon
  • 1/4 tsp salt
  • 1/8 tsp ground pepper
  • 2-4 clementines/mandarin oranges or 1 small orange
  • 1/2 cup coarsely chopped walnuts (optional)

Instructions

  • In a medium-sized saucepan, over medium heat, cook cranberries, brown sugar, orange juice, cinnamon, salt and pepper. Stir occasionally. Cook time approximately 15 minutes or until cranberries pop and mixture thickens.

20151124_184105  20151124_184439

20151124_184520  20151124_184616

  • While cranberries are cooking, cut up the oranges.

20151124_185113  20151124_185509

20151124_190006  20151124_190021

  • Remove from heat and stir in orange pieces and walnuts.
  • Place into container, cover and chill in refrigerator at least 2 hours.
  • Serve.

20151124_190044  20151124_19011020151124_190247

Ideas

  • My version does not have walnuts in it because my husband is allergic. If there are no allergy issues in your family, I highly recommend adding them. Of course, you do not need to stick to walnuts, if you prefer hazelnuts, pecans almonds, pistachios, by all means, add them to your relish.
  • Oranges, clementines, etc. Any of these are fine.
  • Alternative fruits – I used to put pineapple in my cranberry relish and it was amazing, but unfortunately, I developed a pineapple allergy. Stinks to be me, but you can still enjoy. If you do use pineapple, 8 oz should do it. Fresh or canned, but canned is actually better.
  • Spices. My favorite to use is cinnamon but be adventurous. If you like allspice, ginger, nutmeg or cloves, substitute them. Same quantity of 1 tsp.

Go back

Your message has been sent

Warning
Warning

Warning.

Awesome Kitchen Shears

Kuhn Rikon S/4 Ultimate Kitchen/Multi Use Shears with Gift Boxes

My mom got me these shears 2 years ago and I use them almost every day. If you need a multi-tool kitchen shear/carpet cutter/etc. they cannot be beat. I’m buying some now with this great closeout deal so friends, beware… you may be getting some for Christmas!

And a great shear is a must have in everyone’s kitchen!

http://www.qvc.com/Kuhn-Rikon-S4-Ultimate-KitchenMulti-Use-Shears-with-Gift-Boxes.product.K42900.html?sc=K42900-&cm_sp=VIEWPOSITION-_-14-_-K42900&catentryImage=http://images.qvc.com/is/image/k/00/k42900.001?$uslarge$

Caprese Salad

OK, so it’s November and in most of the country you no longer have the luxury of fresh vegetables from your garden. I know, but… I woke up this morning to just a small amount of rain and was nostalgic for my Summer garden. While I live in Southern California and still have fresh basil and a few tomatoes in my garden, it’s not enough to make this dish without supplementing from the farmers market or the organic section of the grocery store, I still had to have some caprese salad. Sometimes we have to go out of our way to remind ourselves that Summer will be back and we will be wondering what to do with all of those tomatoes then anyway. And, of course, if you didn’t come across this post outside of fresh vegetable season where you live, then great. Ignore my earlier ramble.  Happy Eating!

Ingredients

  • 3-5 tomatoes20150728_185244
  • 1 small red onion
  • mozzarella cheese
  • 1.2 – 2/3 cup of fresh basil
  • balsamic vinegar
  • olive oil
  • orange juice
  • salt
  • pepper

Instructions

  • Wash tomatoes, remove the greens/core, and slice into 1/4″ thick pieces.
  • Arrange slices in a layer on a large plate.
  • Slice mozzarella cheese into 1/4″ thick pieces and arrange on top of tomatoes.

20150728_185718  20150728_190818

  • Cut red onion into small, bite size slices and place around tomatoes.
  • Wash and press dry (with a paper towel) the basil. Separate pieces and arrange around the tomatoes and onions.
  • In a separate bowl, make approximately 1/3 cup of dressing.
    • Fill glass measuring cup to a little below 1/3 cup line with about 1/2 of this height coming from olive oil and half from balsamic vinegar.
    • Add 3 T of orange juice.
    • Add salt and pepper amounts to your preference. About 1/2 tsp each minimum.
    • Mix well.
  • Pour dressing over plate with tomatoes, cheese, onions and basil.
  • Serve now or chill in the refrigerator for at least 30 minutes

20150728_191417  20150728_190510

20150728_190519  20150728_191532

And your final plate should look something like:

20150809_173037


Ideas

  • Orange juice – If you have fresh oranges, this is even tastier when you squeeze them for your juice. You could (and should) add some orange zest (up to 1 T) to the dressing mix.
  • Tomatoes – for an even more beautiful display and extra flavor, use different colored tomatoes like yellow and orange or heirloom tomatoes.
  • Salt and Pepper – if you have them, always grind fresh. I use at least 12 revolutions of ground pepper and salt in my dressing.
  • If you chill the plate before serving, the flavors are more pronounced and the tomatoes have had time to absorb more of the dressing… additional flavor. Yum!

Go back

Your message has been sent

Warning
Warning

Warning.

Roasted Tomato Salsa

Who doesn’t love a really good salsa? The problem is that it’s not always easy to actually find a really good salsa. Many are pretty good and have good flavor, texture and colors, but many are extremely disappointing to the palate. I had the great good fortune to take a Mexican cooking class while I was on maternity leave. The ladies who taught this class were amazingly talented cooks and their food was phenomenal. However, in typical Cheryl-style, I’ve modified their recipe and have perfected it. This comment isn’t actually mine, but comes from my family, friends and coworkers. Try this recipe and let me know if you too believe that this salsa is close to perfection. Happy eating.

Ingredients20150907_130404

  • 12-14 roma tomatoes
  • 1 bunch of green onions
  • 1/2 tsp crushed garlic
  • 1 T salt
  • 2 limes
  • 1 heaping cup of cilantro
  • 1 hot red pepper

Instructions

  • Place a skillet (cast iron is best) on the stove over medium heat.
  • Rinse the tomatoes and pepper; add to the skillet.
  • Turn the tomatoes occasionally, and cook until the tomato’s skin has split on at least 2 sides.
  • For the pepper, lightly brown on all sides.
  • Once it has split, remove from the skillet and place into a large ziplock bag.
  • Once all the tomatoes are placed in the ziplock bag, seal it and let it sit on the counter for 20-30 minutes.

20150816_161318  20150816_161828  20150816_162121  20150816_162801  20150816_162832

While tomatoes are cooking, prepare the rest of the salsa items.

  • Slice the green onions and add to a glass container.
  • Rinse, dry and mince the cilantro, add to container.

20150816_160550  20150816_160858

  • Add garlic, salt and juice from one lime.
  • Mix well and let sit.

20150816_161610  20150816_161738

Once the tomatoes have cooled down a little:

  • Peel the tomatoes and chop into small pieces.

20150816_171647  20150816_171906  20150816_172035

  • Add to “green” mix. Stir well.
  • Taste.
  • Add additional salt and lime (to taste).
  • Add pepper to taste

20150816_173529  20150816_173600  20150816_173738

  • Chill in refrigerator for at least an hour.
  • Serve.

20150816_174228

Ideas

  • 2 limes should be sufficient, but don’t be afraid to use a good amount of lime.
  • Tomatoes should be medium sized. Use more if they are smaller, less if they are bigger.
  • Pepper – my family likes their salsa mild, I like mine medium. I make one large batch, chill it. Then I put some in a smaller container with the hot pepper and mix for me. It’s important to let it chill all together (if you will separate as I do) to have optimal flavor throughout the batch.

Go back

Your message has been sent

Warning
Warning

Warning.