
Growing up in New England, we had a large garden. My parents used to plant, among many other vegetables, brussels sprouts. We’d pick them in the fall and eat them, but the most delicious sprouts were those we picked after the first frost. That frost was magic in helping the sprouts to be sweet and delicious. I no longer live there and don’t have the luxury of frost. I can only buy my sprouts from the grocery store. No matter, I still know the tricks of getting the most flavor and enjoyment out of eating brussels sprouts and am sharing those with you.
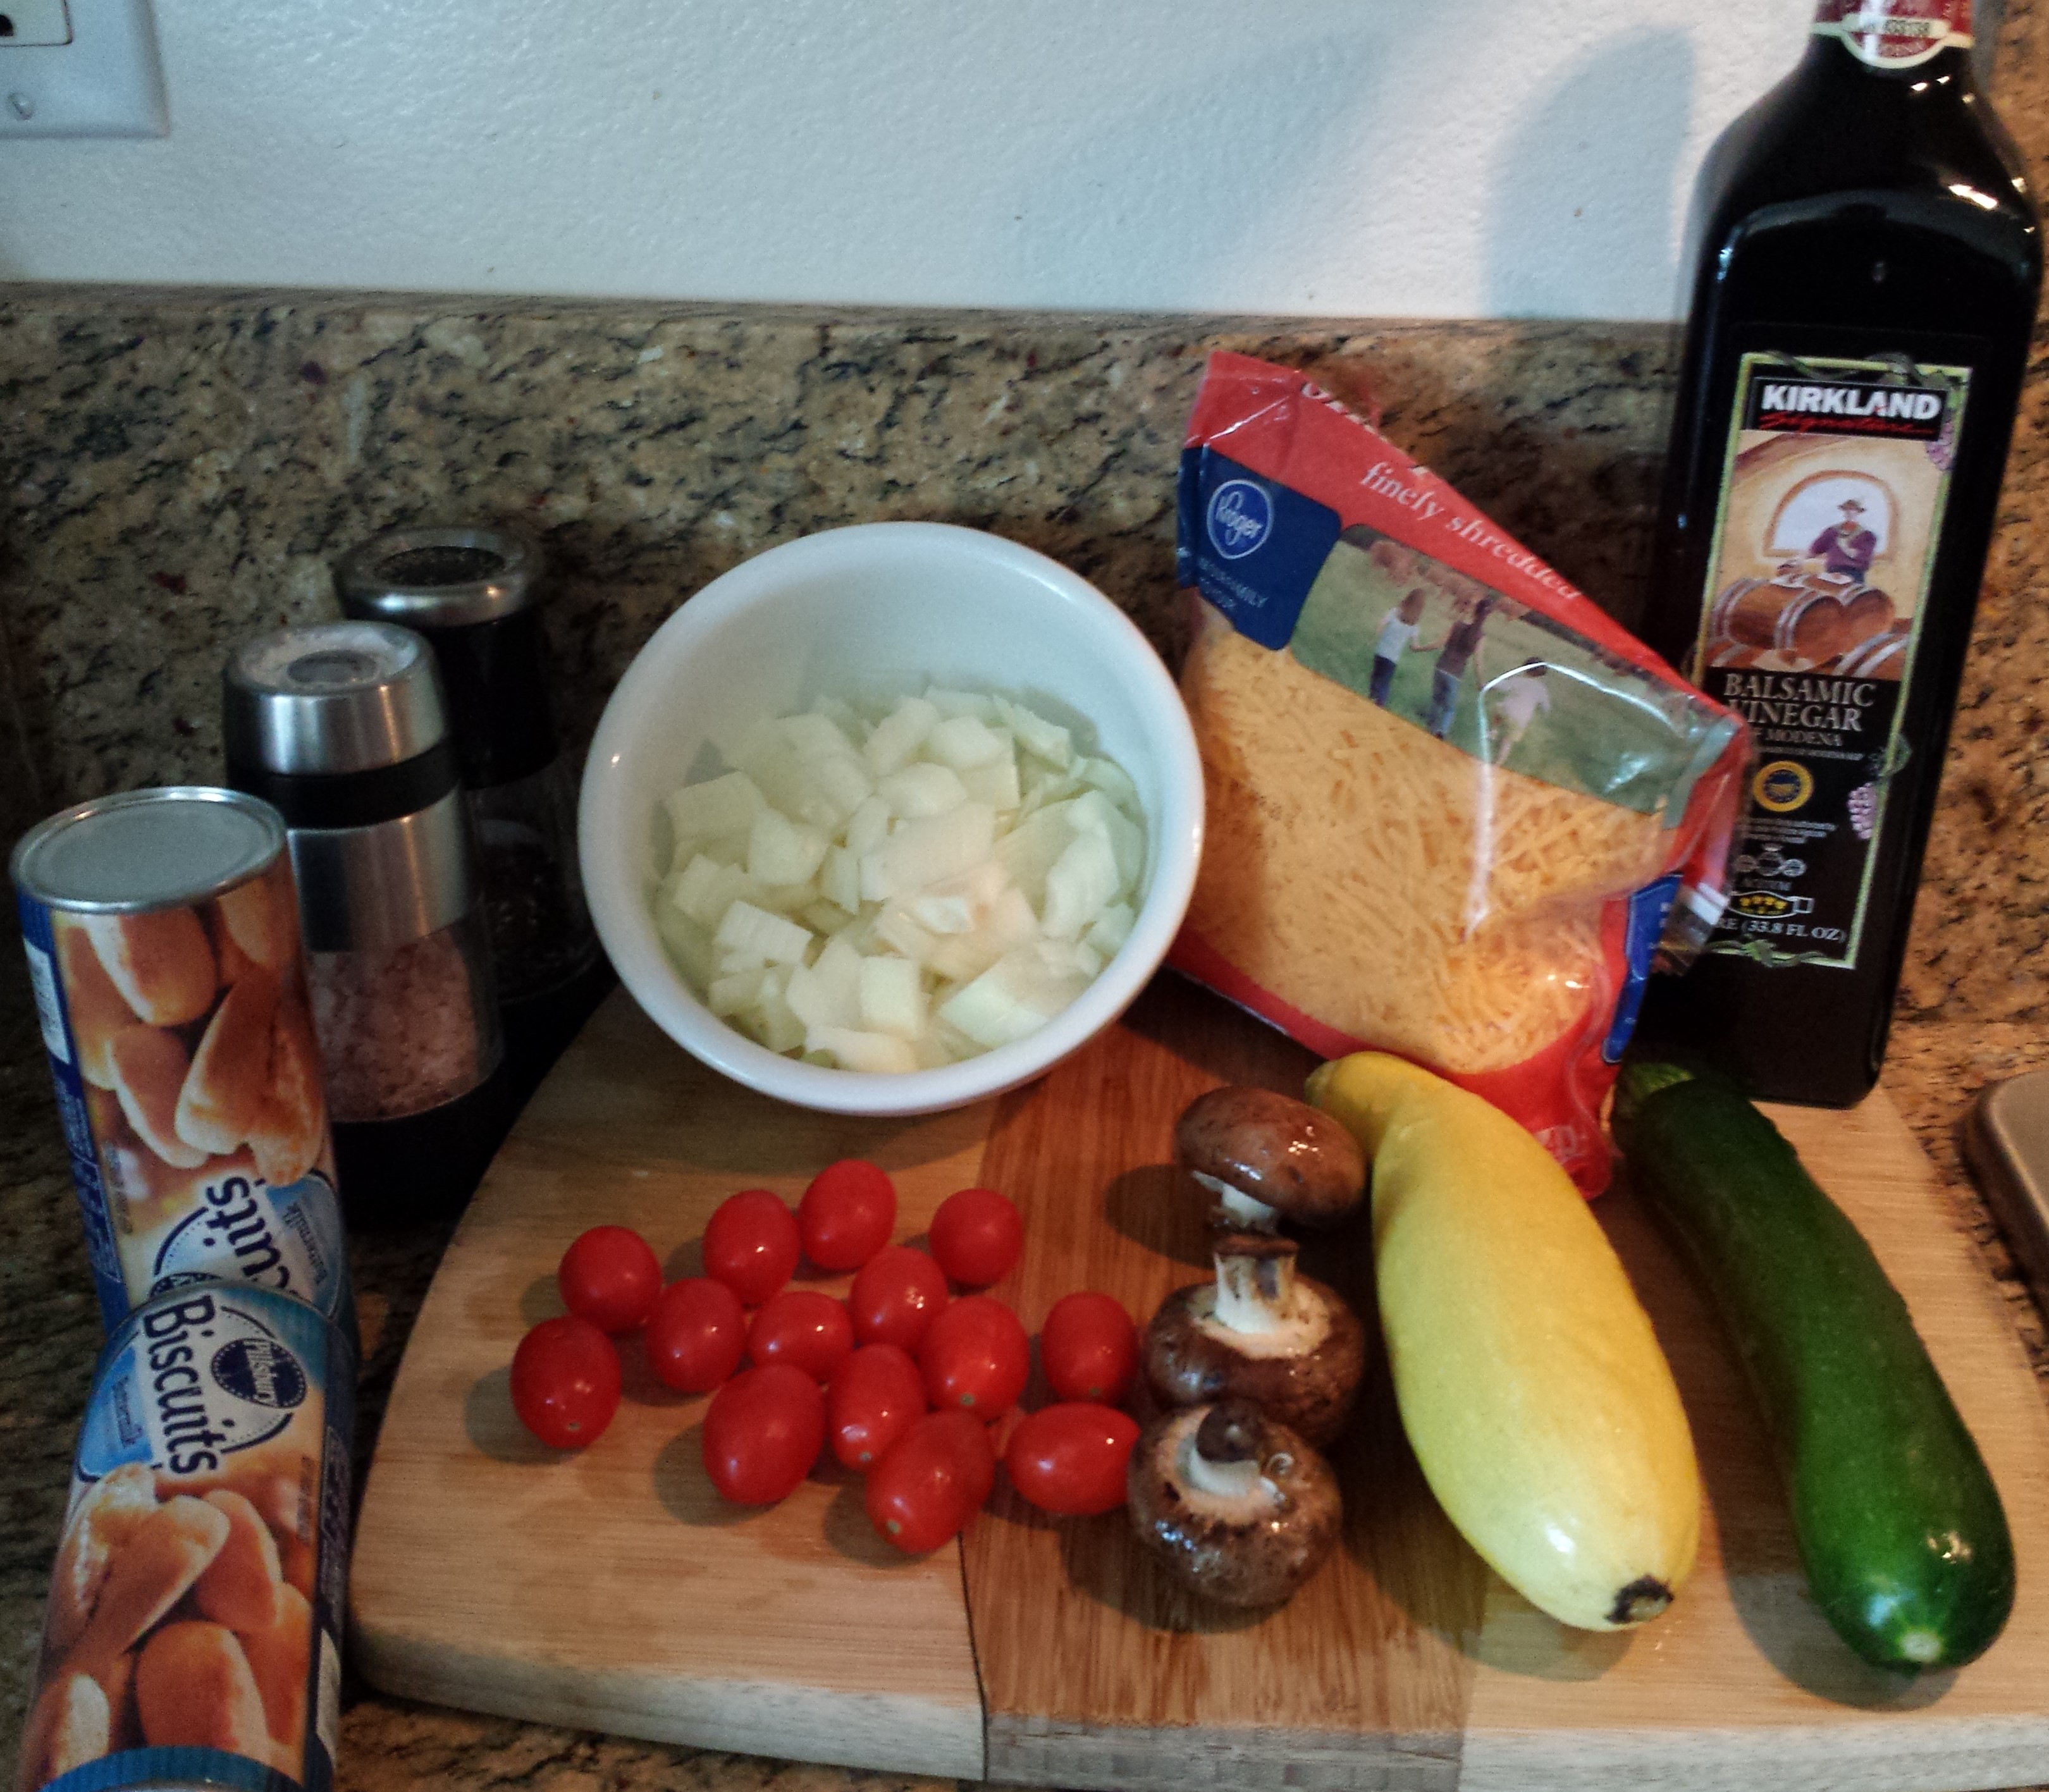
Ingredients
- 1 lb of brussels sprouts
- 4 oz of pancetta
- 1/2 a medium onion, diced
- olive oil
- salt and pepper
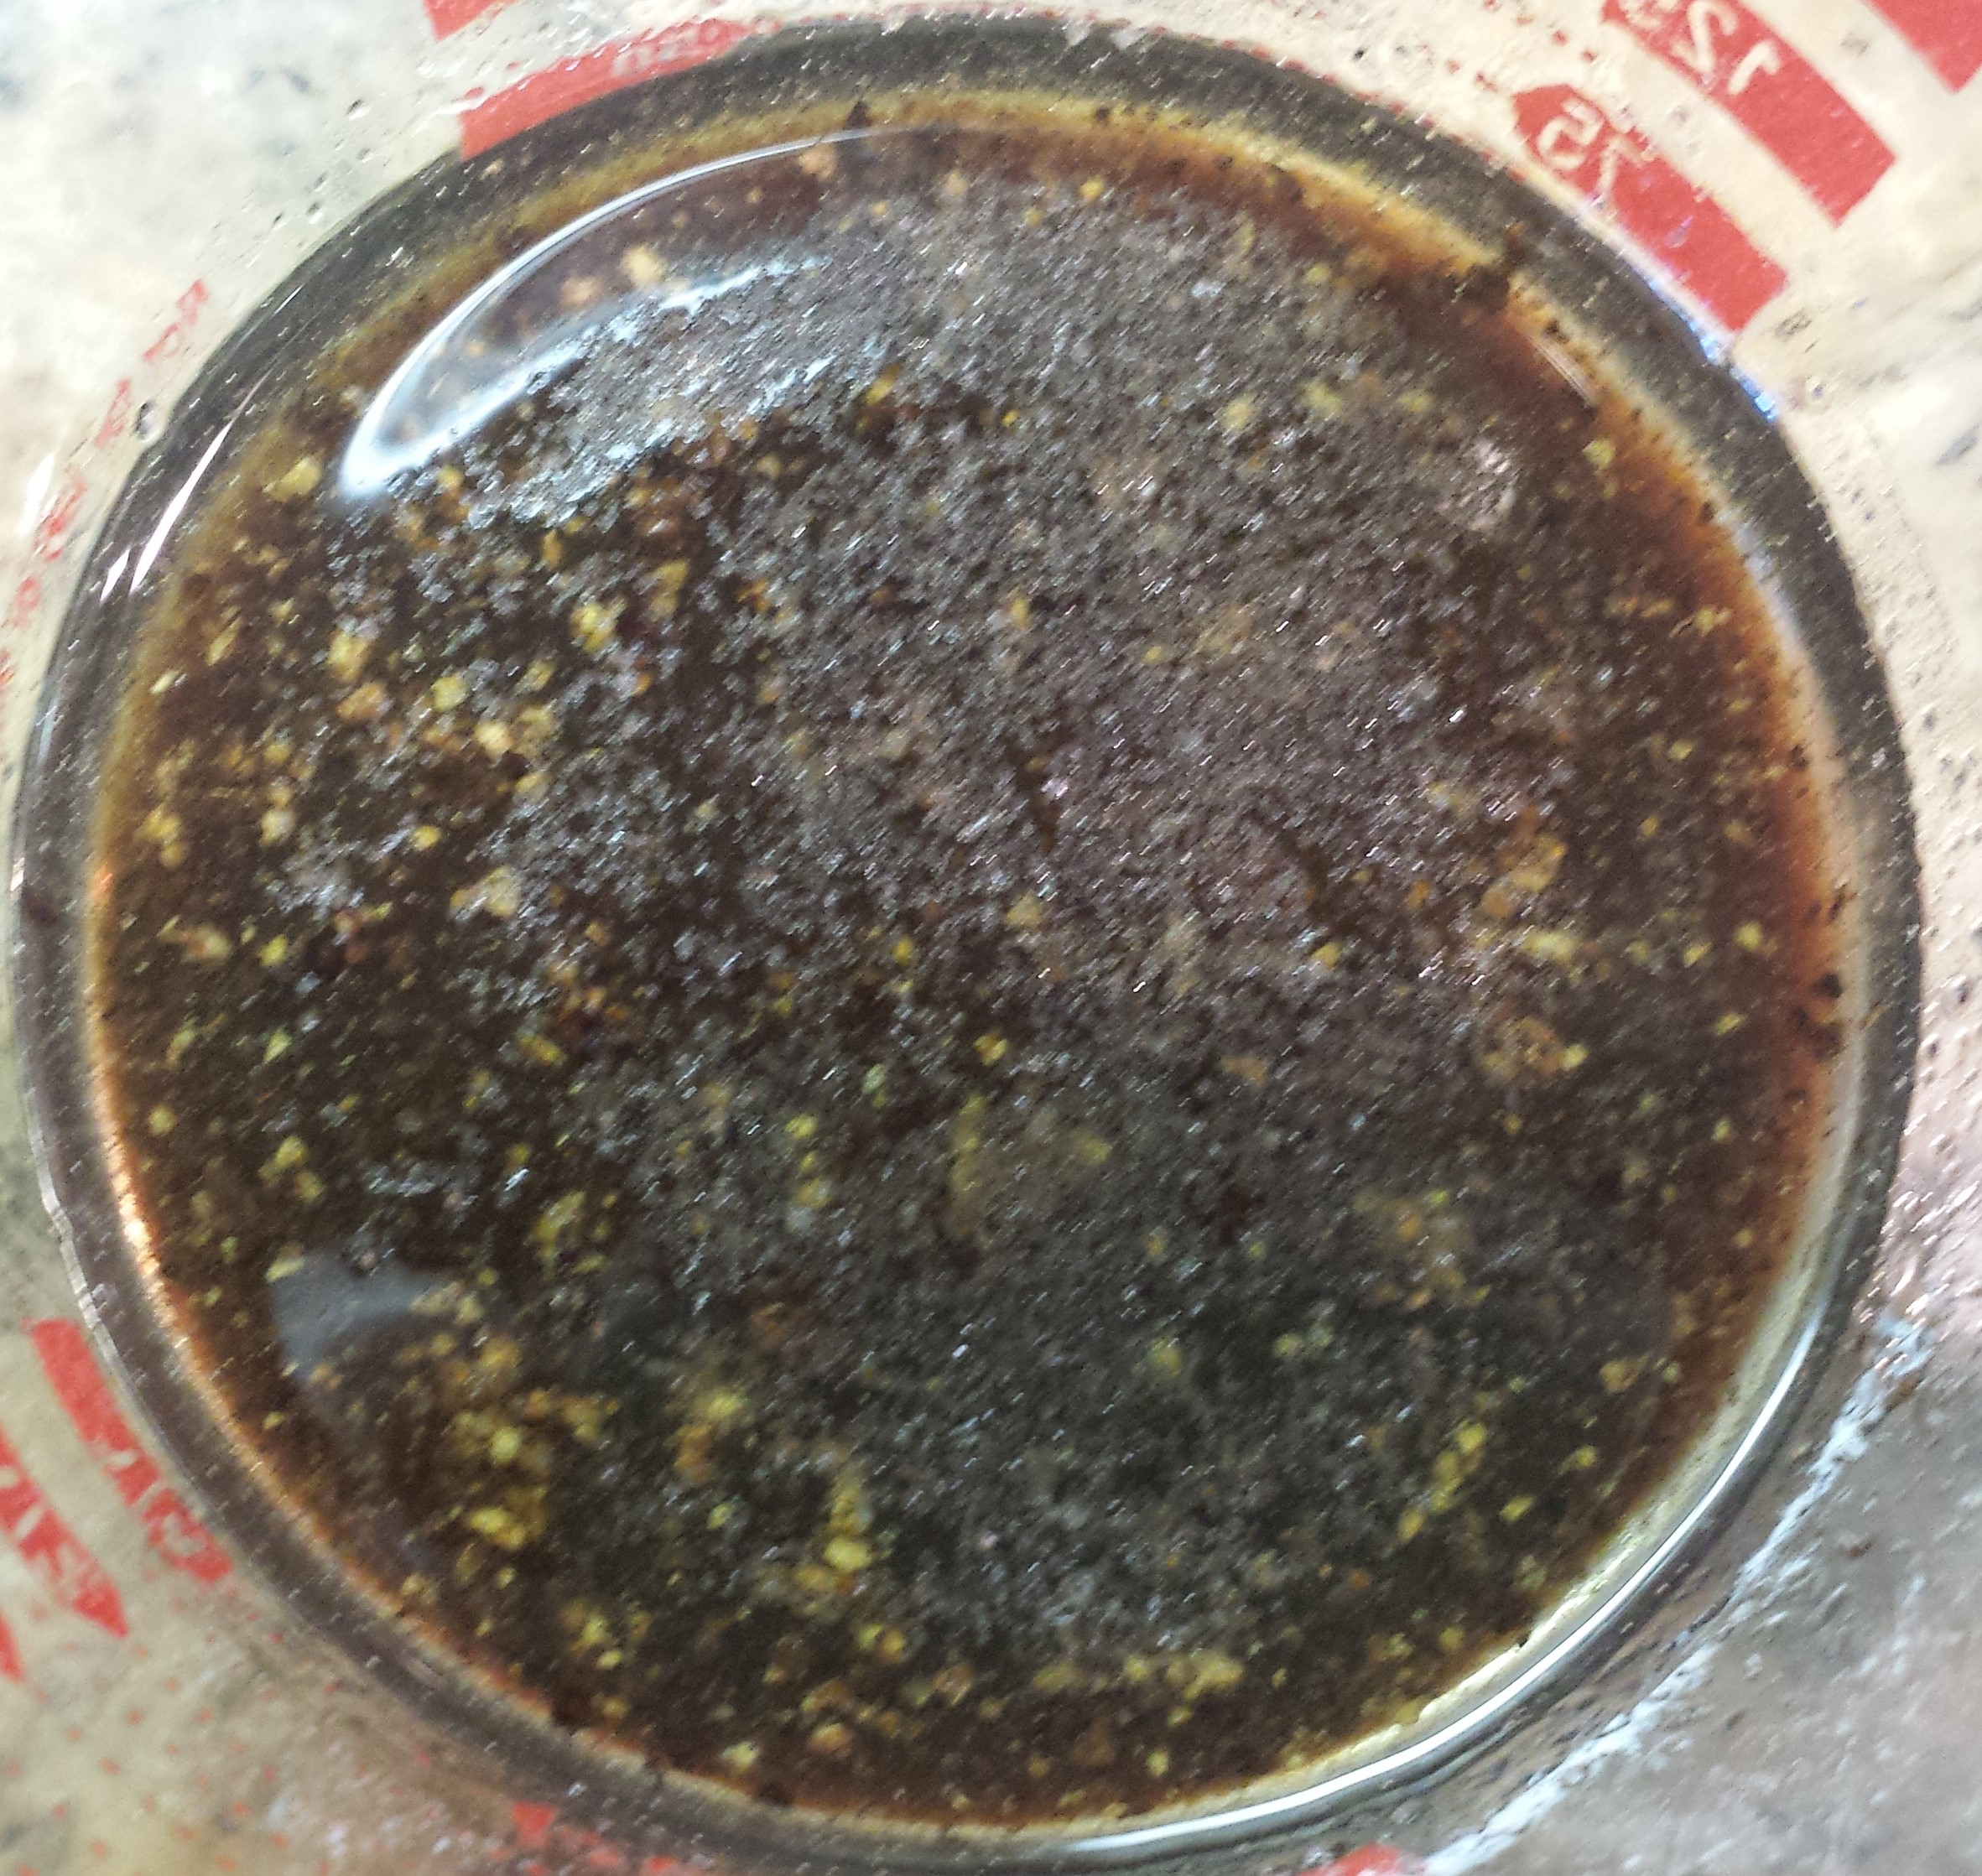
- balsamic glaze
Instructions
- Add water to a medium stock pot and bring to a boil.

- Rinse brussels sprouts and with a small knife, cut an “X” on the top.
- Add to boiling water and cook for 5 minutes.
- Remove from pot and rinse with cold water.
- While brussels sprouts are boiling, in a large saute pan, add pancetta and cook until lightly brown.
- Drain the pancetta as it’s quite greasy, but leave a little extra oil in the pan.
- Add onions and cook for 2-3 minutes.
- While onions are cooking, cut the brussels sprouts in half or quarters (for larger sprouts).
- Add brussels sprouts to frying pan, try to have cut side down.


- Add some salt and pepper and cook until sprouts start to brown.

- Mix sprouts and drizzle with balsamic glaze.
- Cook another 2 minutes and remove from heat.
- Put sprouts in a serving dish and drizzle a little more balsamic glaze on them.
- Serve.

Ideas
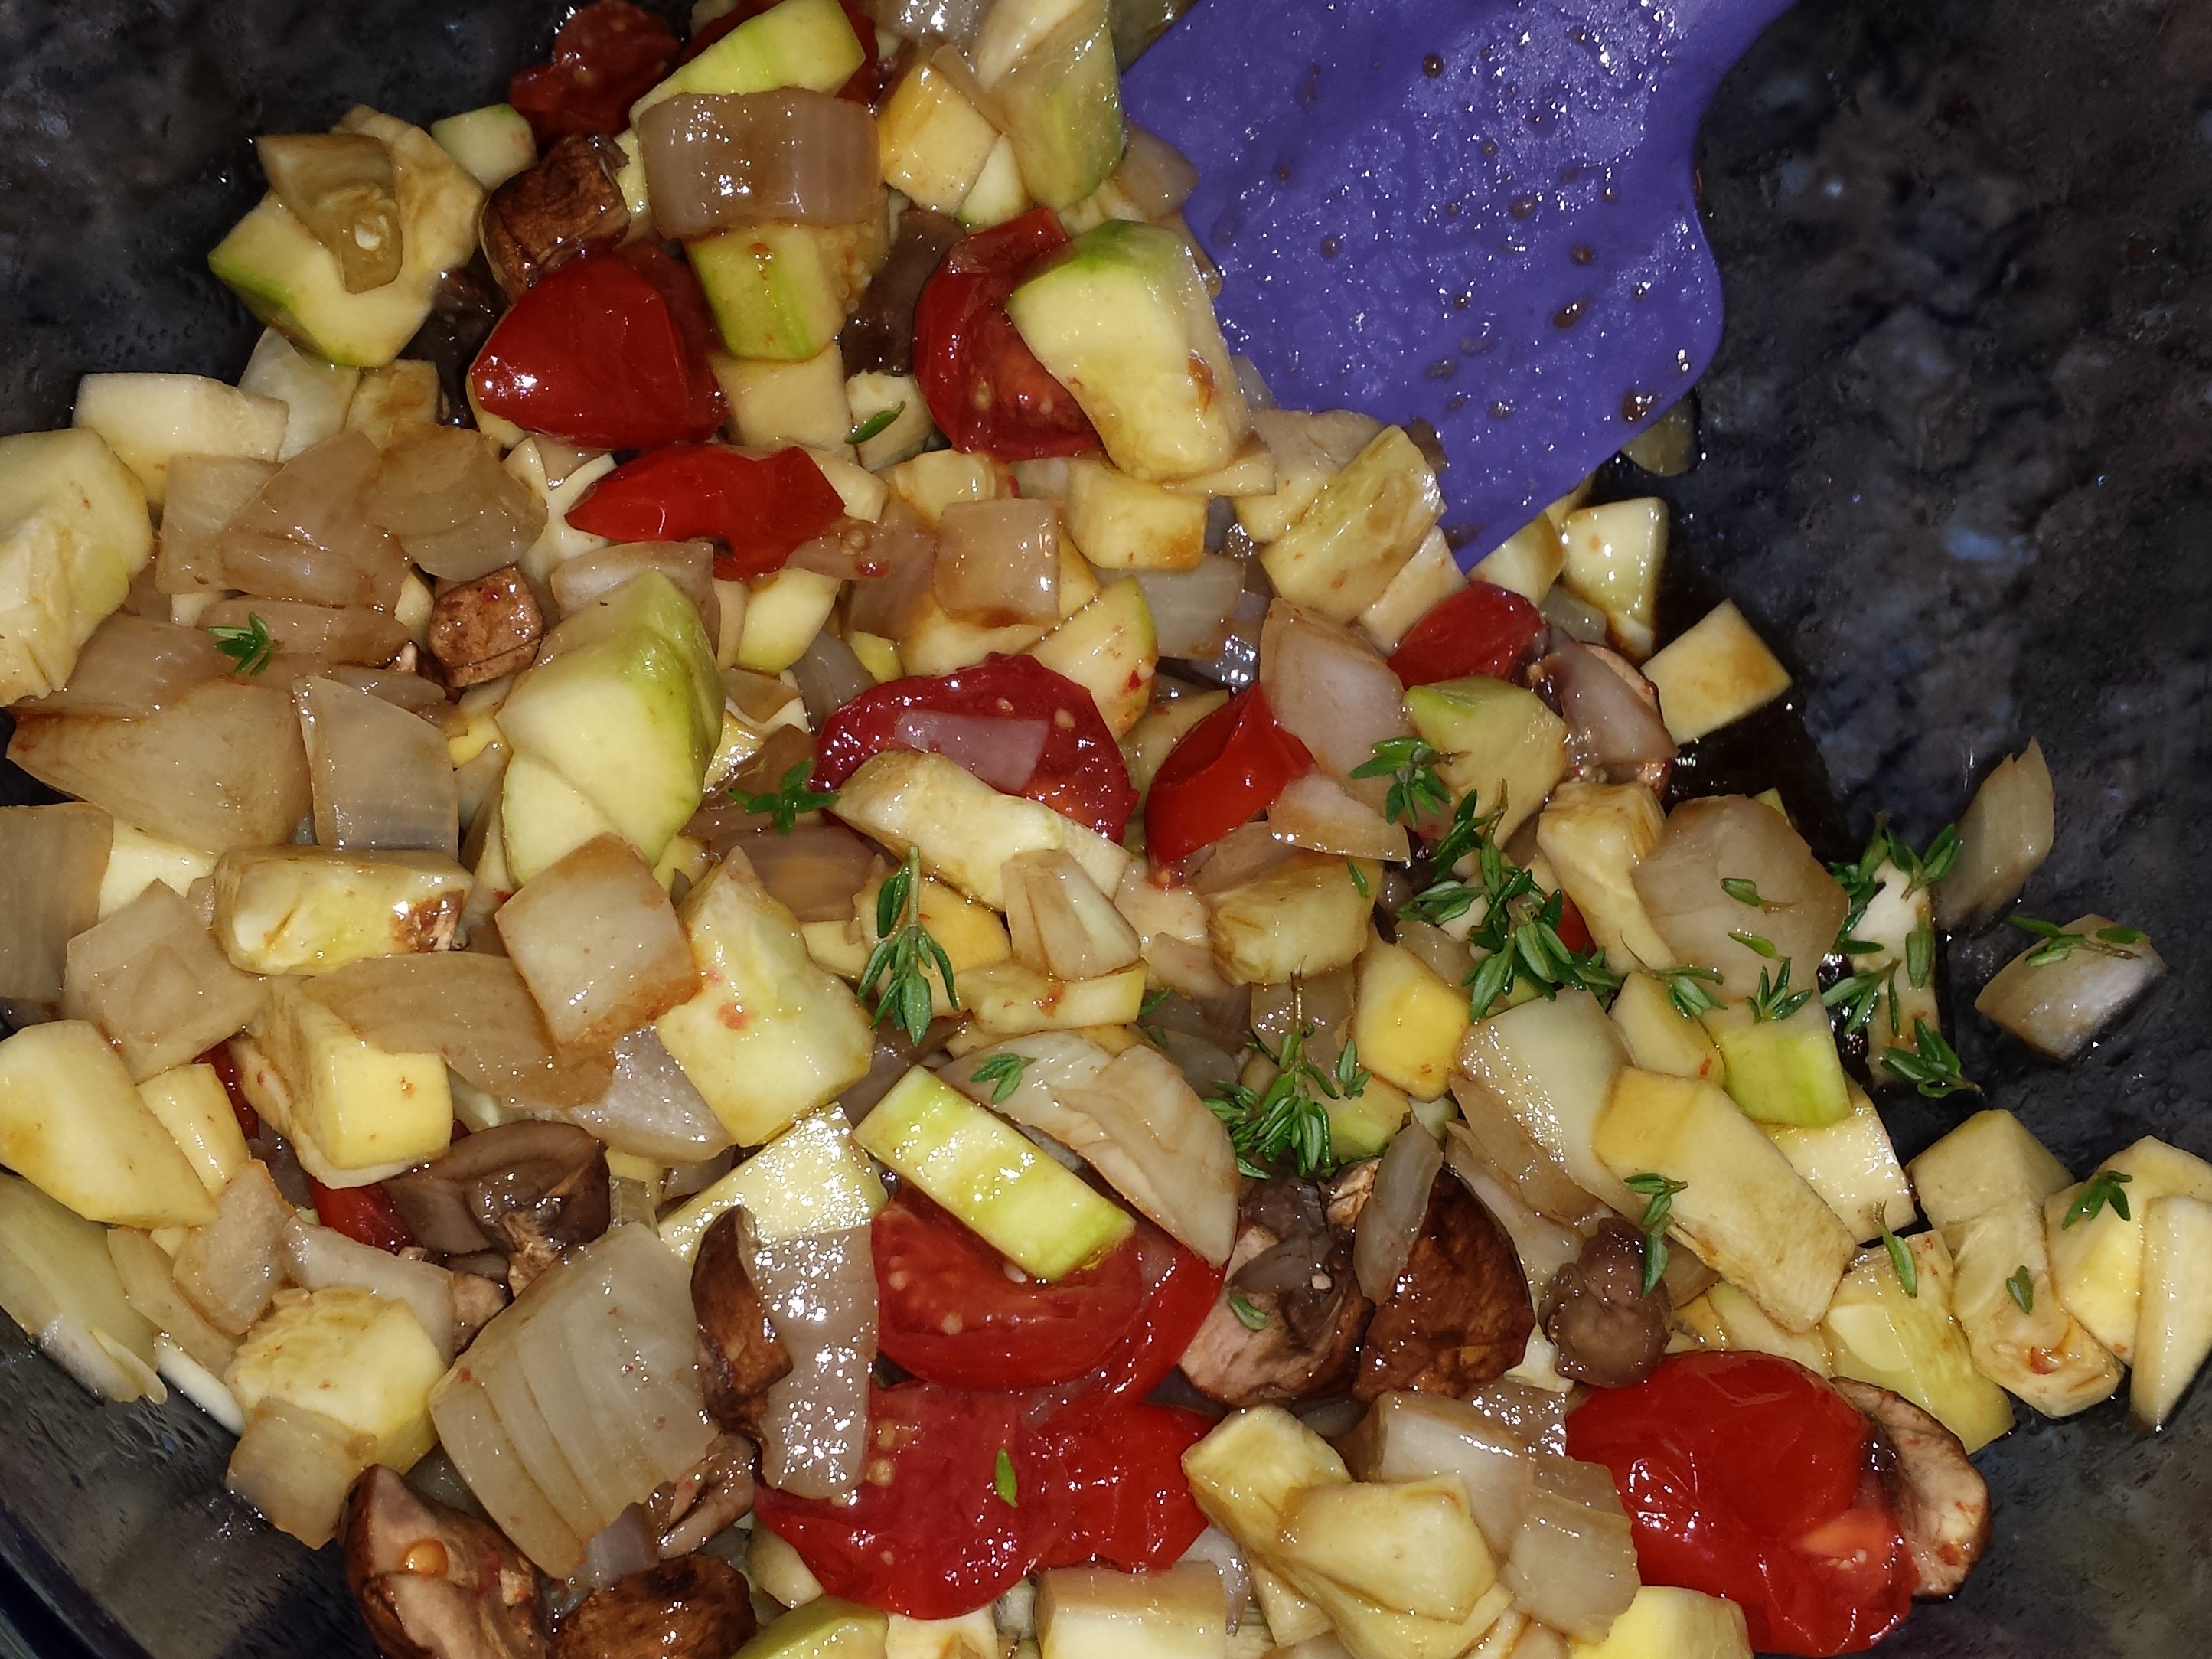
- If you are a vegetarian or do not eat pork, I have found this just as delicious with diced mushrooms and a little extra salt.