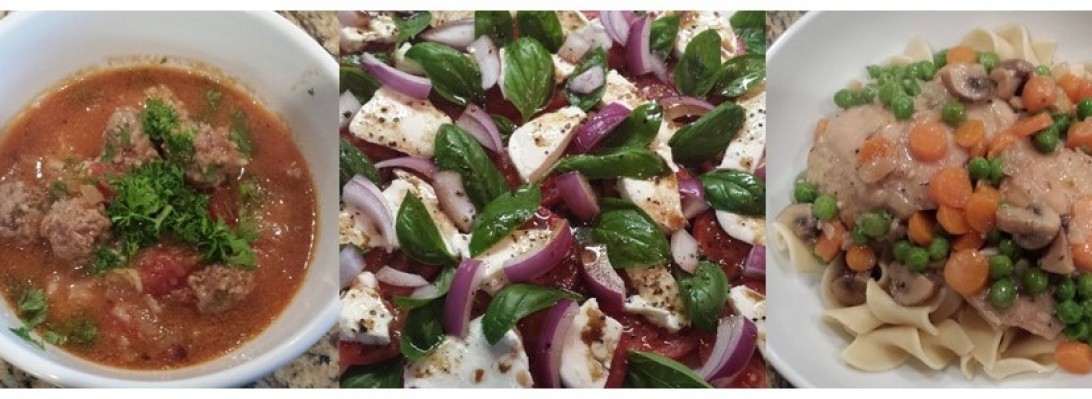
I’ve been thinking about updating my banner image by switching out the middle image and thought I’d get your thoughts on which recipe image should get the honors. See image choices on my Recipe By Picture page: https://notsoscientificgourmet.com/recipes-by-picture/. Vote now.
Chocolate Banana Bread

Who doesn’t love a moist, flavorful slice of bread? This bread can be a dessert or a breakfast item. When it’s warm, you can eat it plain or add butter, your choice. As for me, this is one of my favorites, but I do not make it often as my husband is allergic to bananas. No kidding! Poor guy. My impetus for baking this usually because I bought a bunch of bananas and for one reason or another didn’t get to eat them all. As they are starting to get overripe, I know it’s time to make some bread. Most banana bread or muffin lovers can certainly understand this. So, enough with the introduction already, and on to the recipe.
Ingredients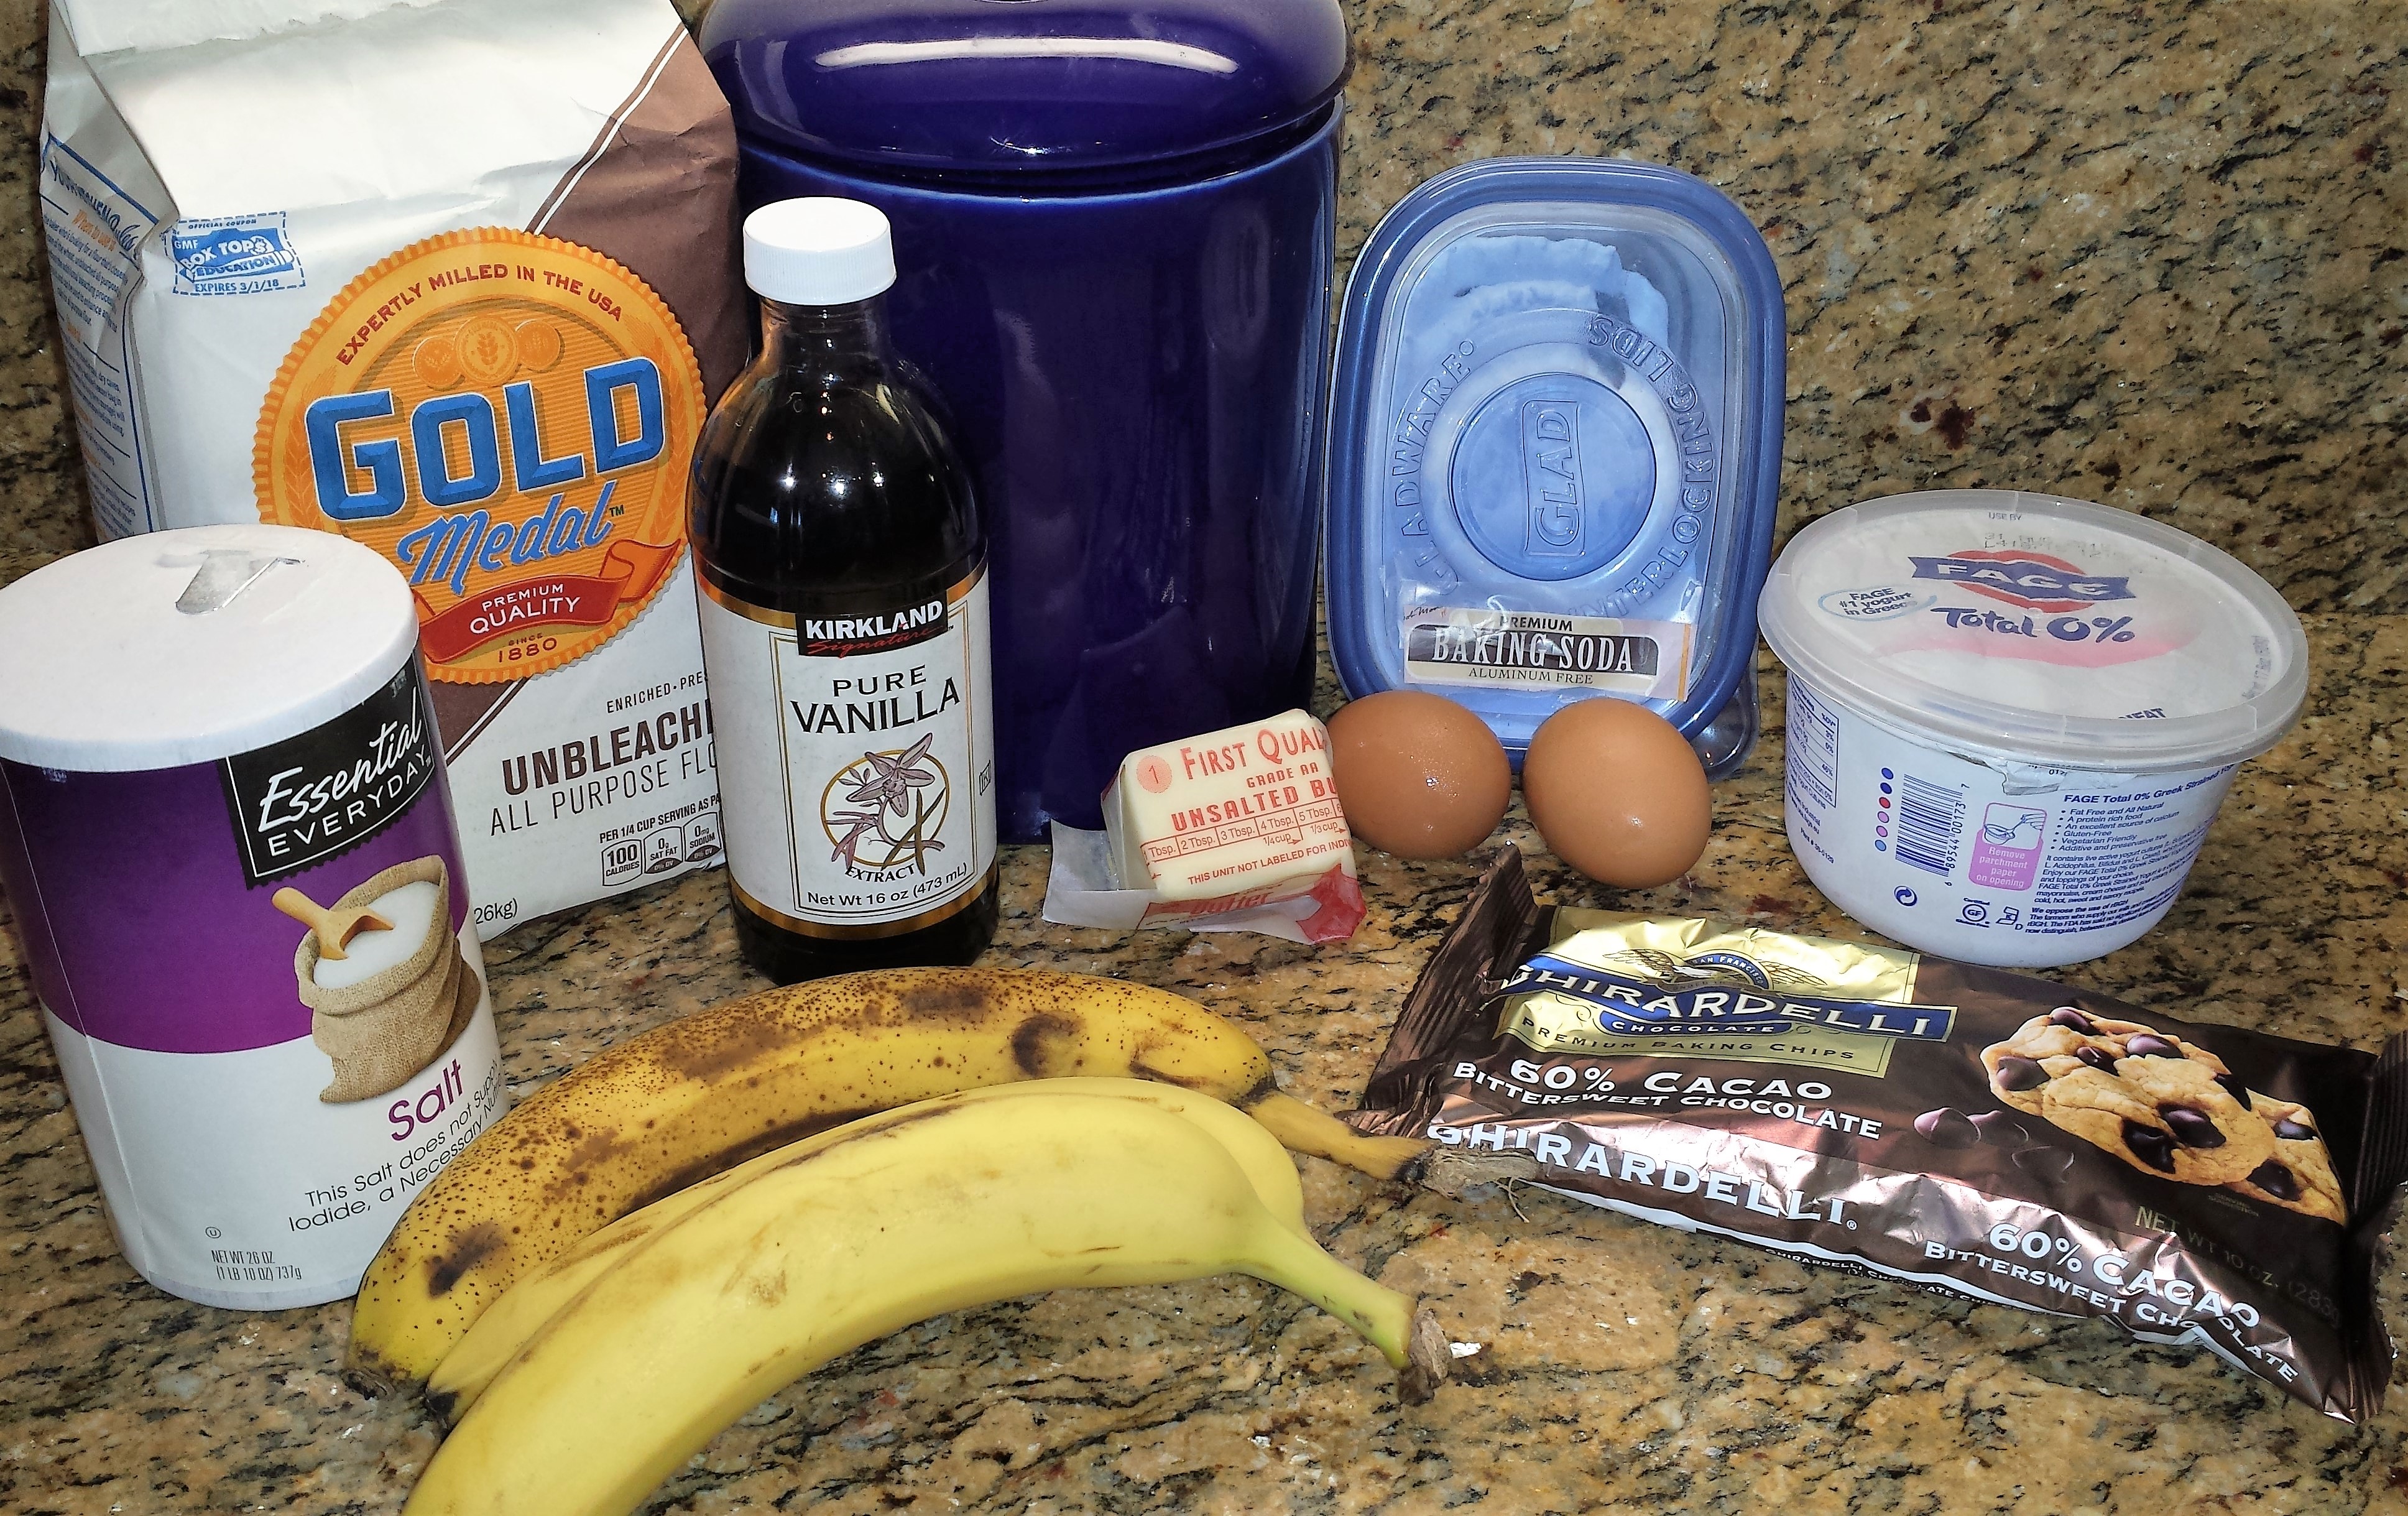
- 2 cups all-purpose flour
- 3/4 cup sugar (minus 2 T)
- 3/4 tsp baking soda
- 1/2 tsp salt
- 6 T unsalted butter, melted and cooled
- 2 large eggs, lightly beaten
- 1/4 cup plain yogurt
- 1 tsp vanilla extract
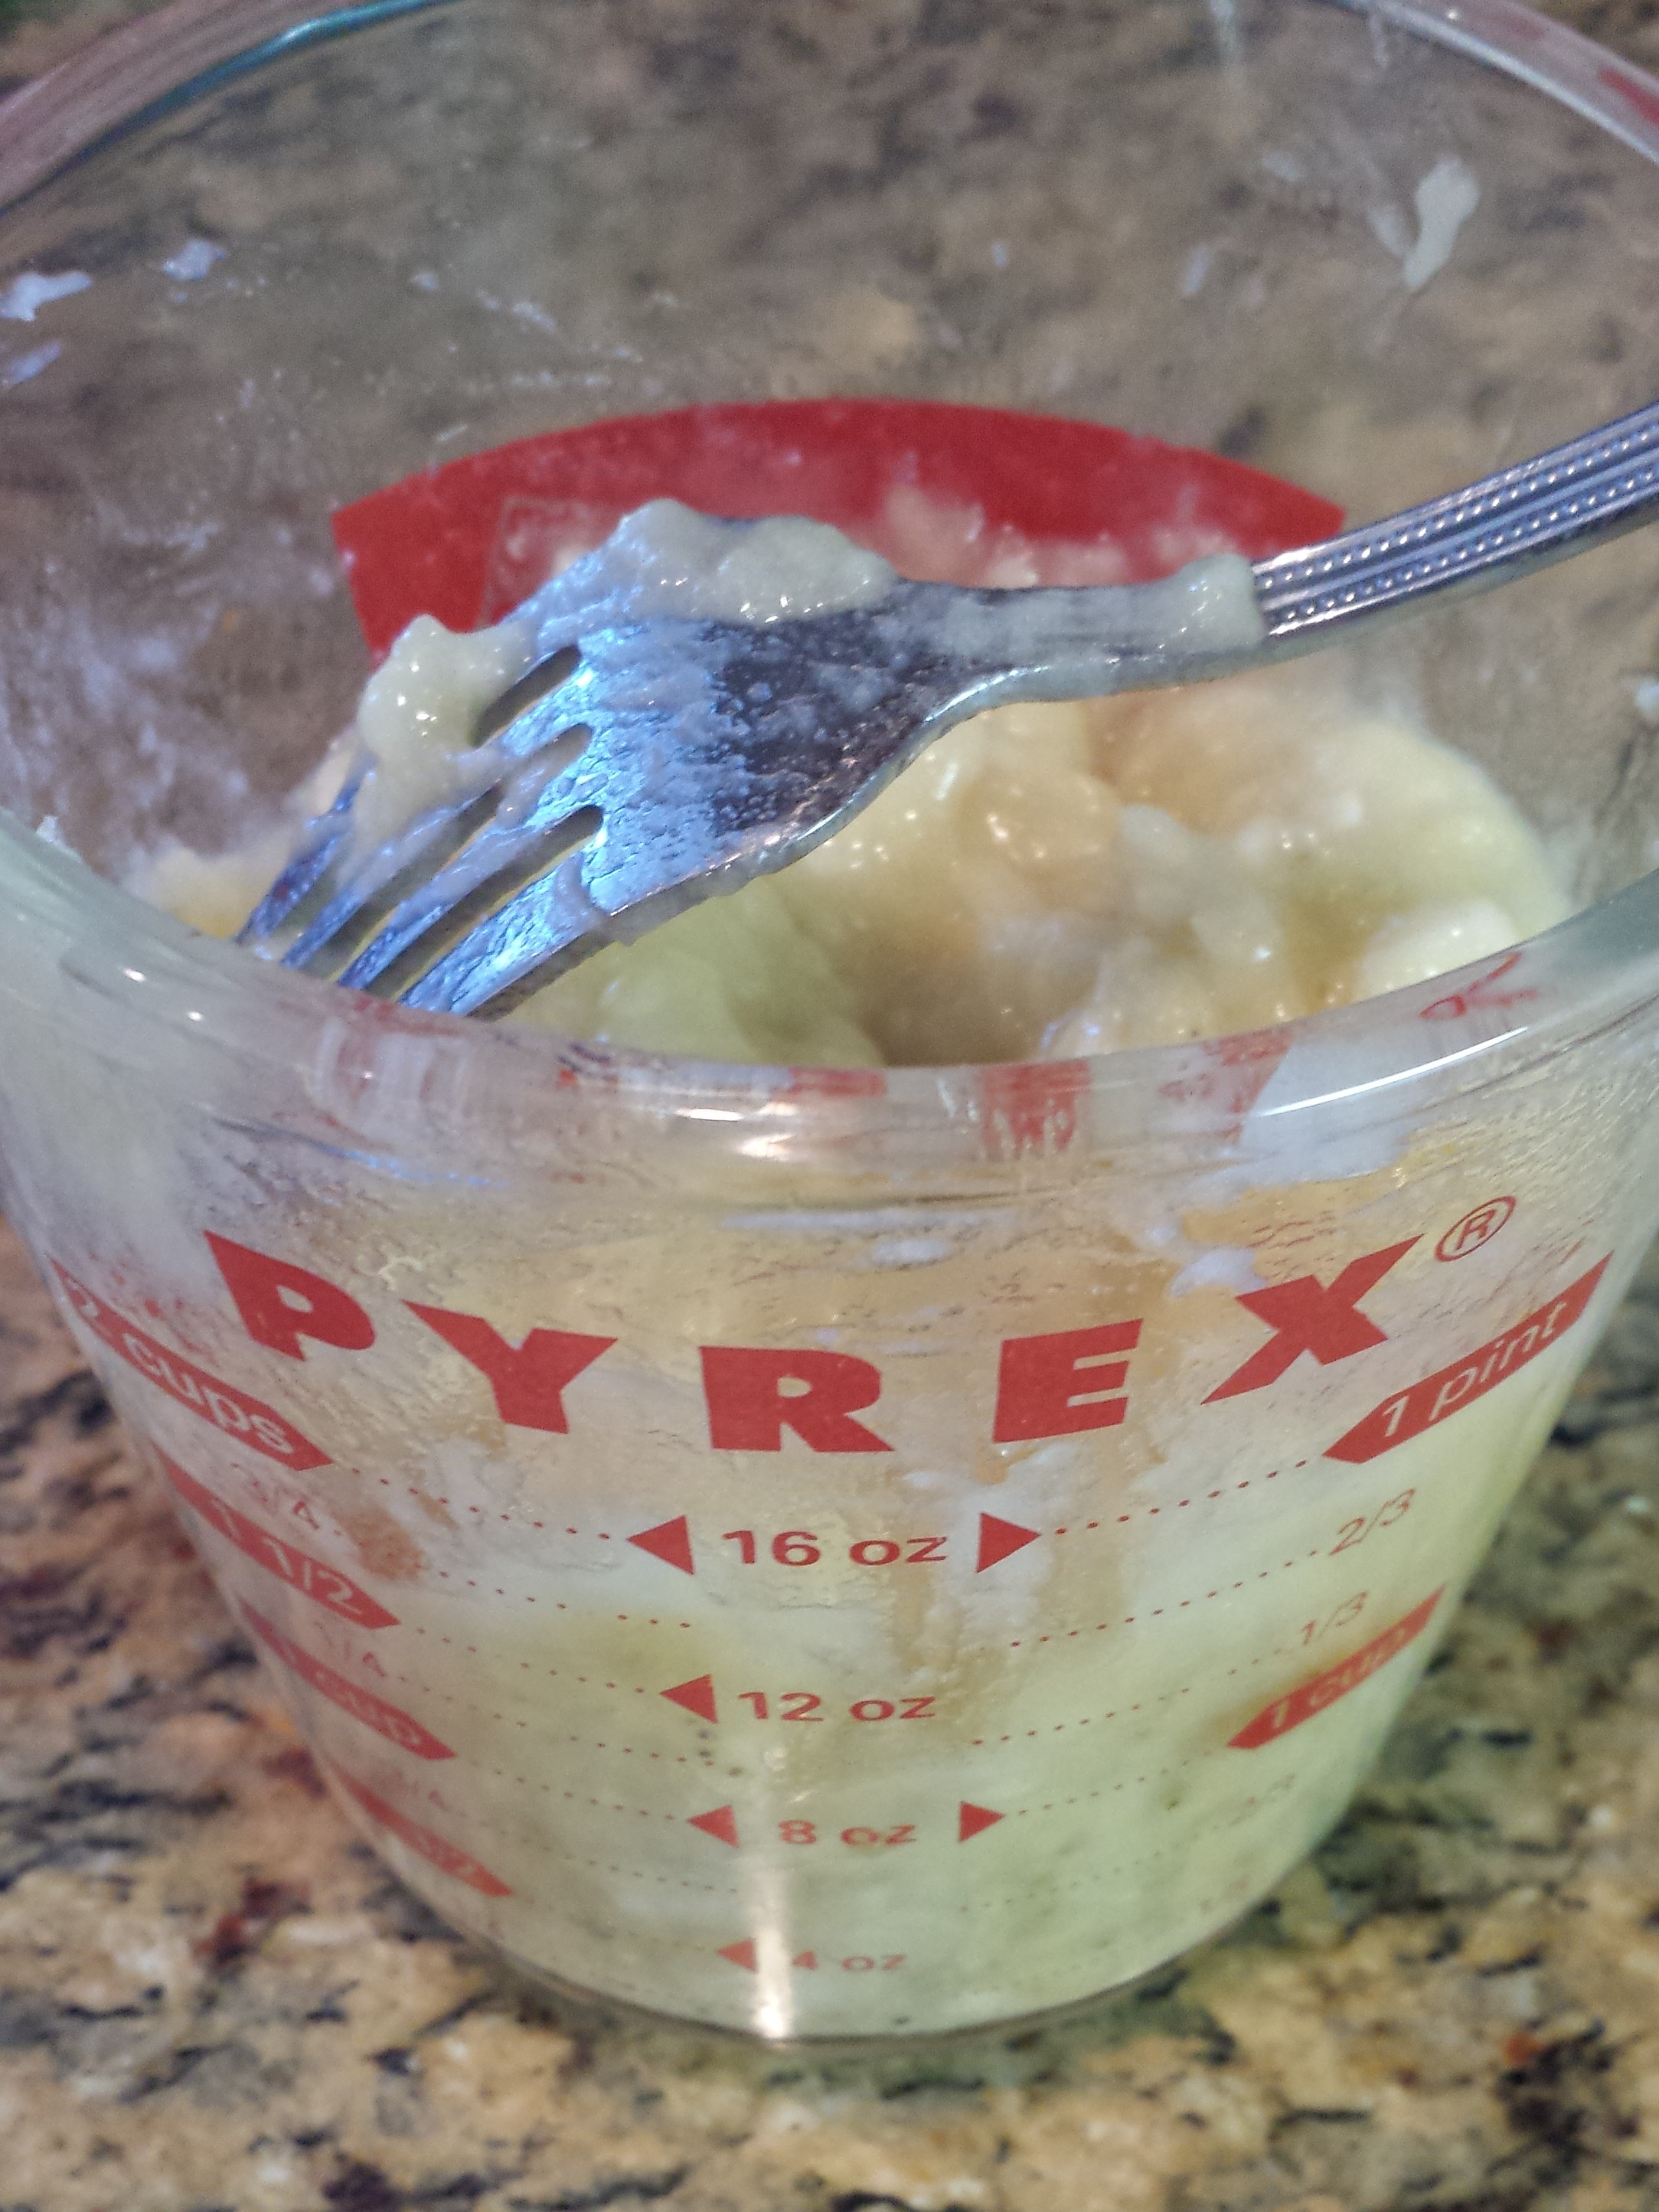
- 3 very ripe bananas, mashed well (yielding ~1-1/2 cups)
- 1-1/2 ounces (1/2 cup) bittersweet chocolate bits

Instructions
- Adjust an oven rack to the lower-middle position. Pre-heat oven to 350 degrees.
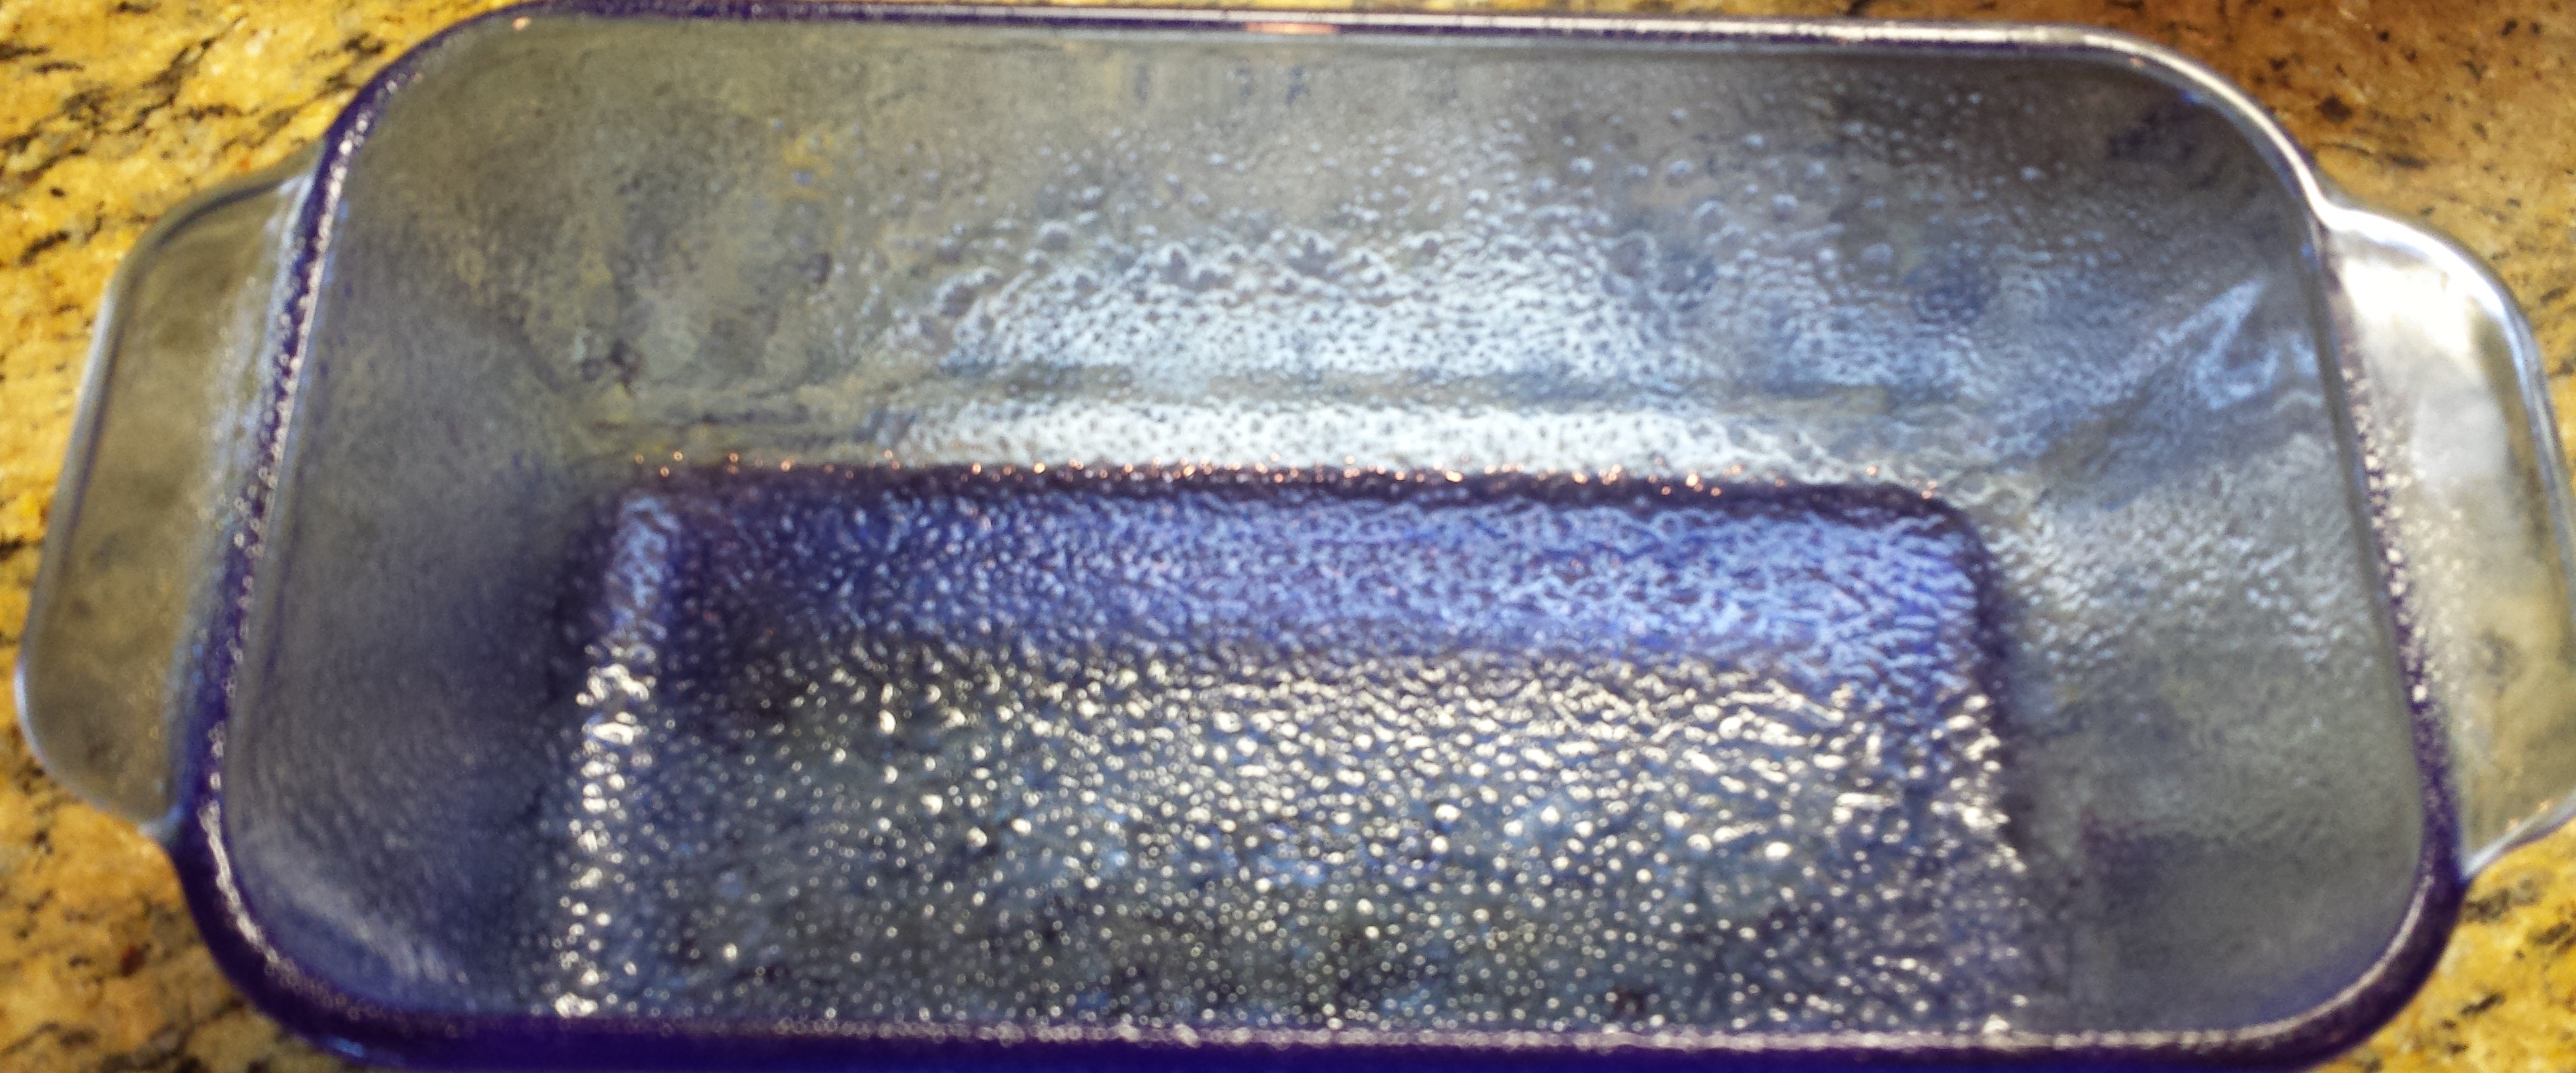
- Spray a 9×5″ loaf pan with non stick vegetable spray.
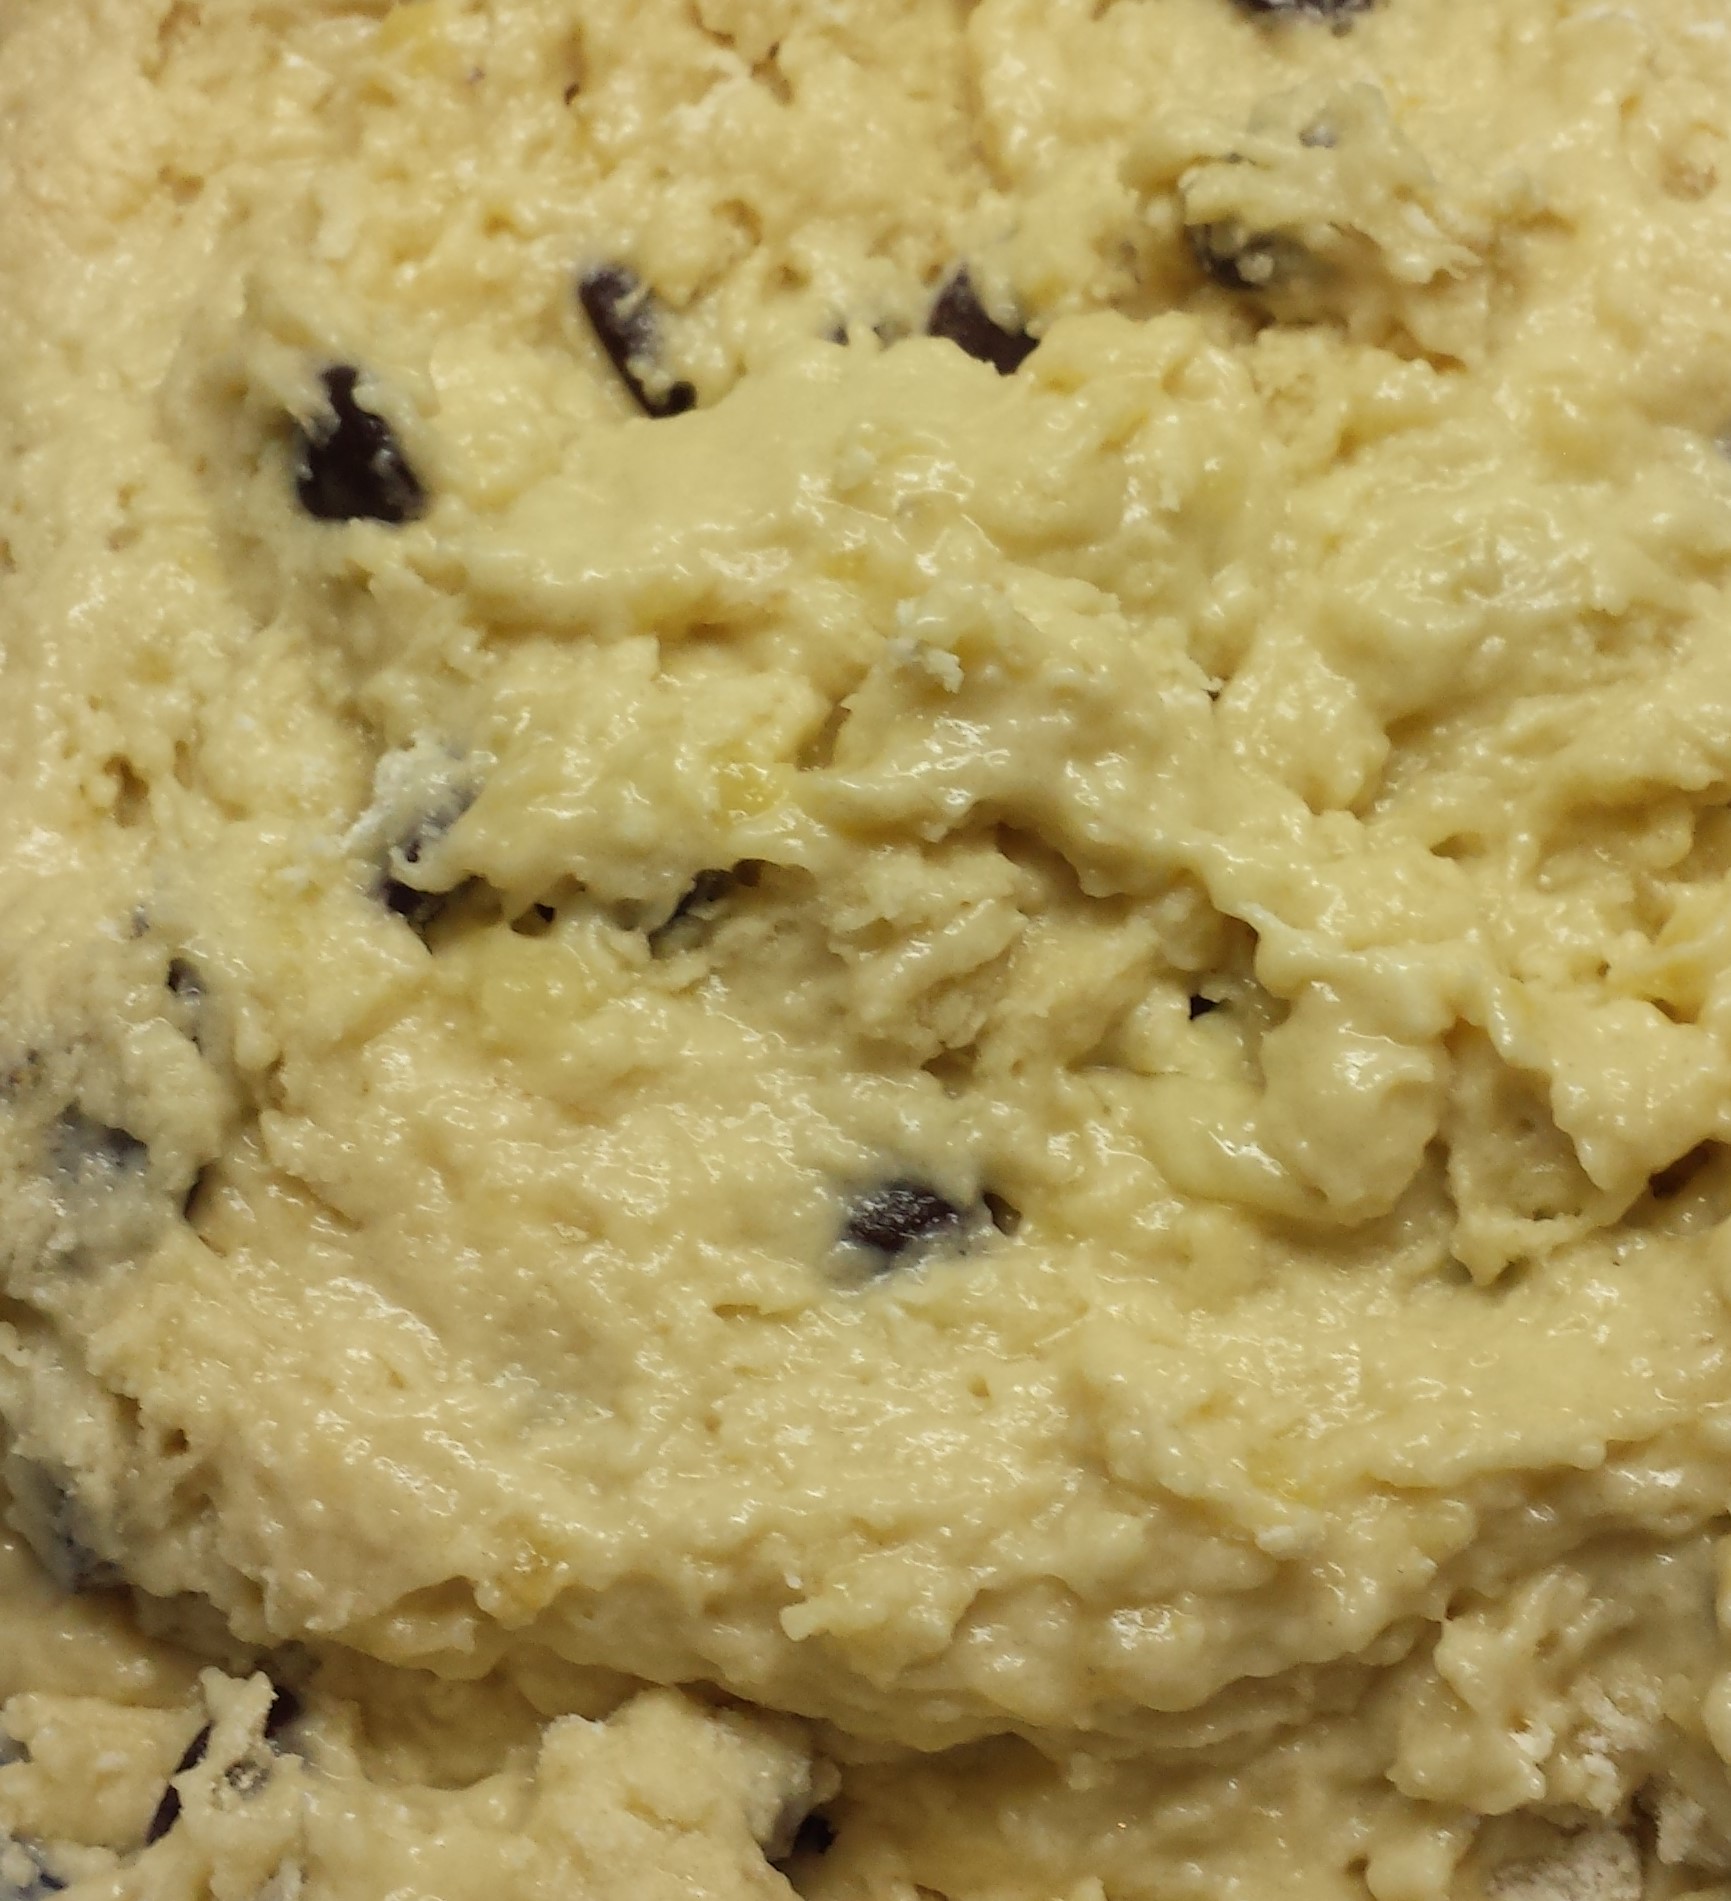
Use 2 separate bowls, one for dry ingredients, one for wet.
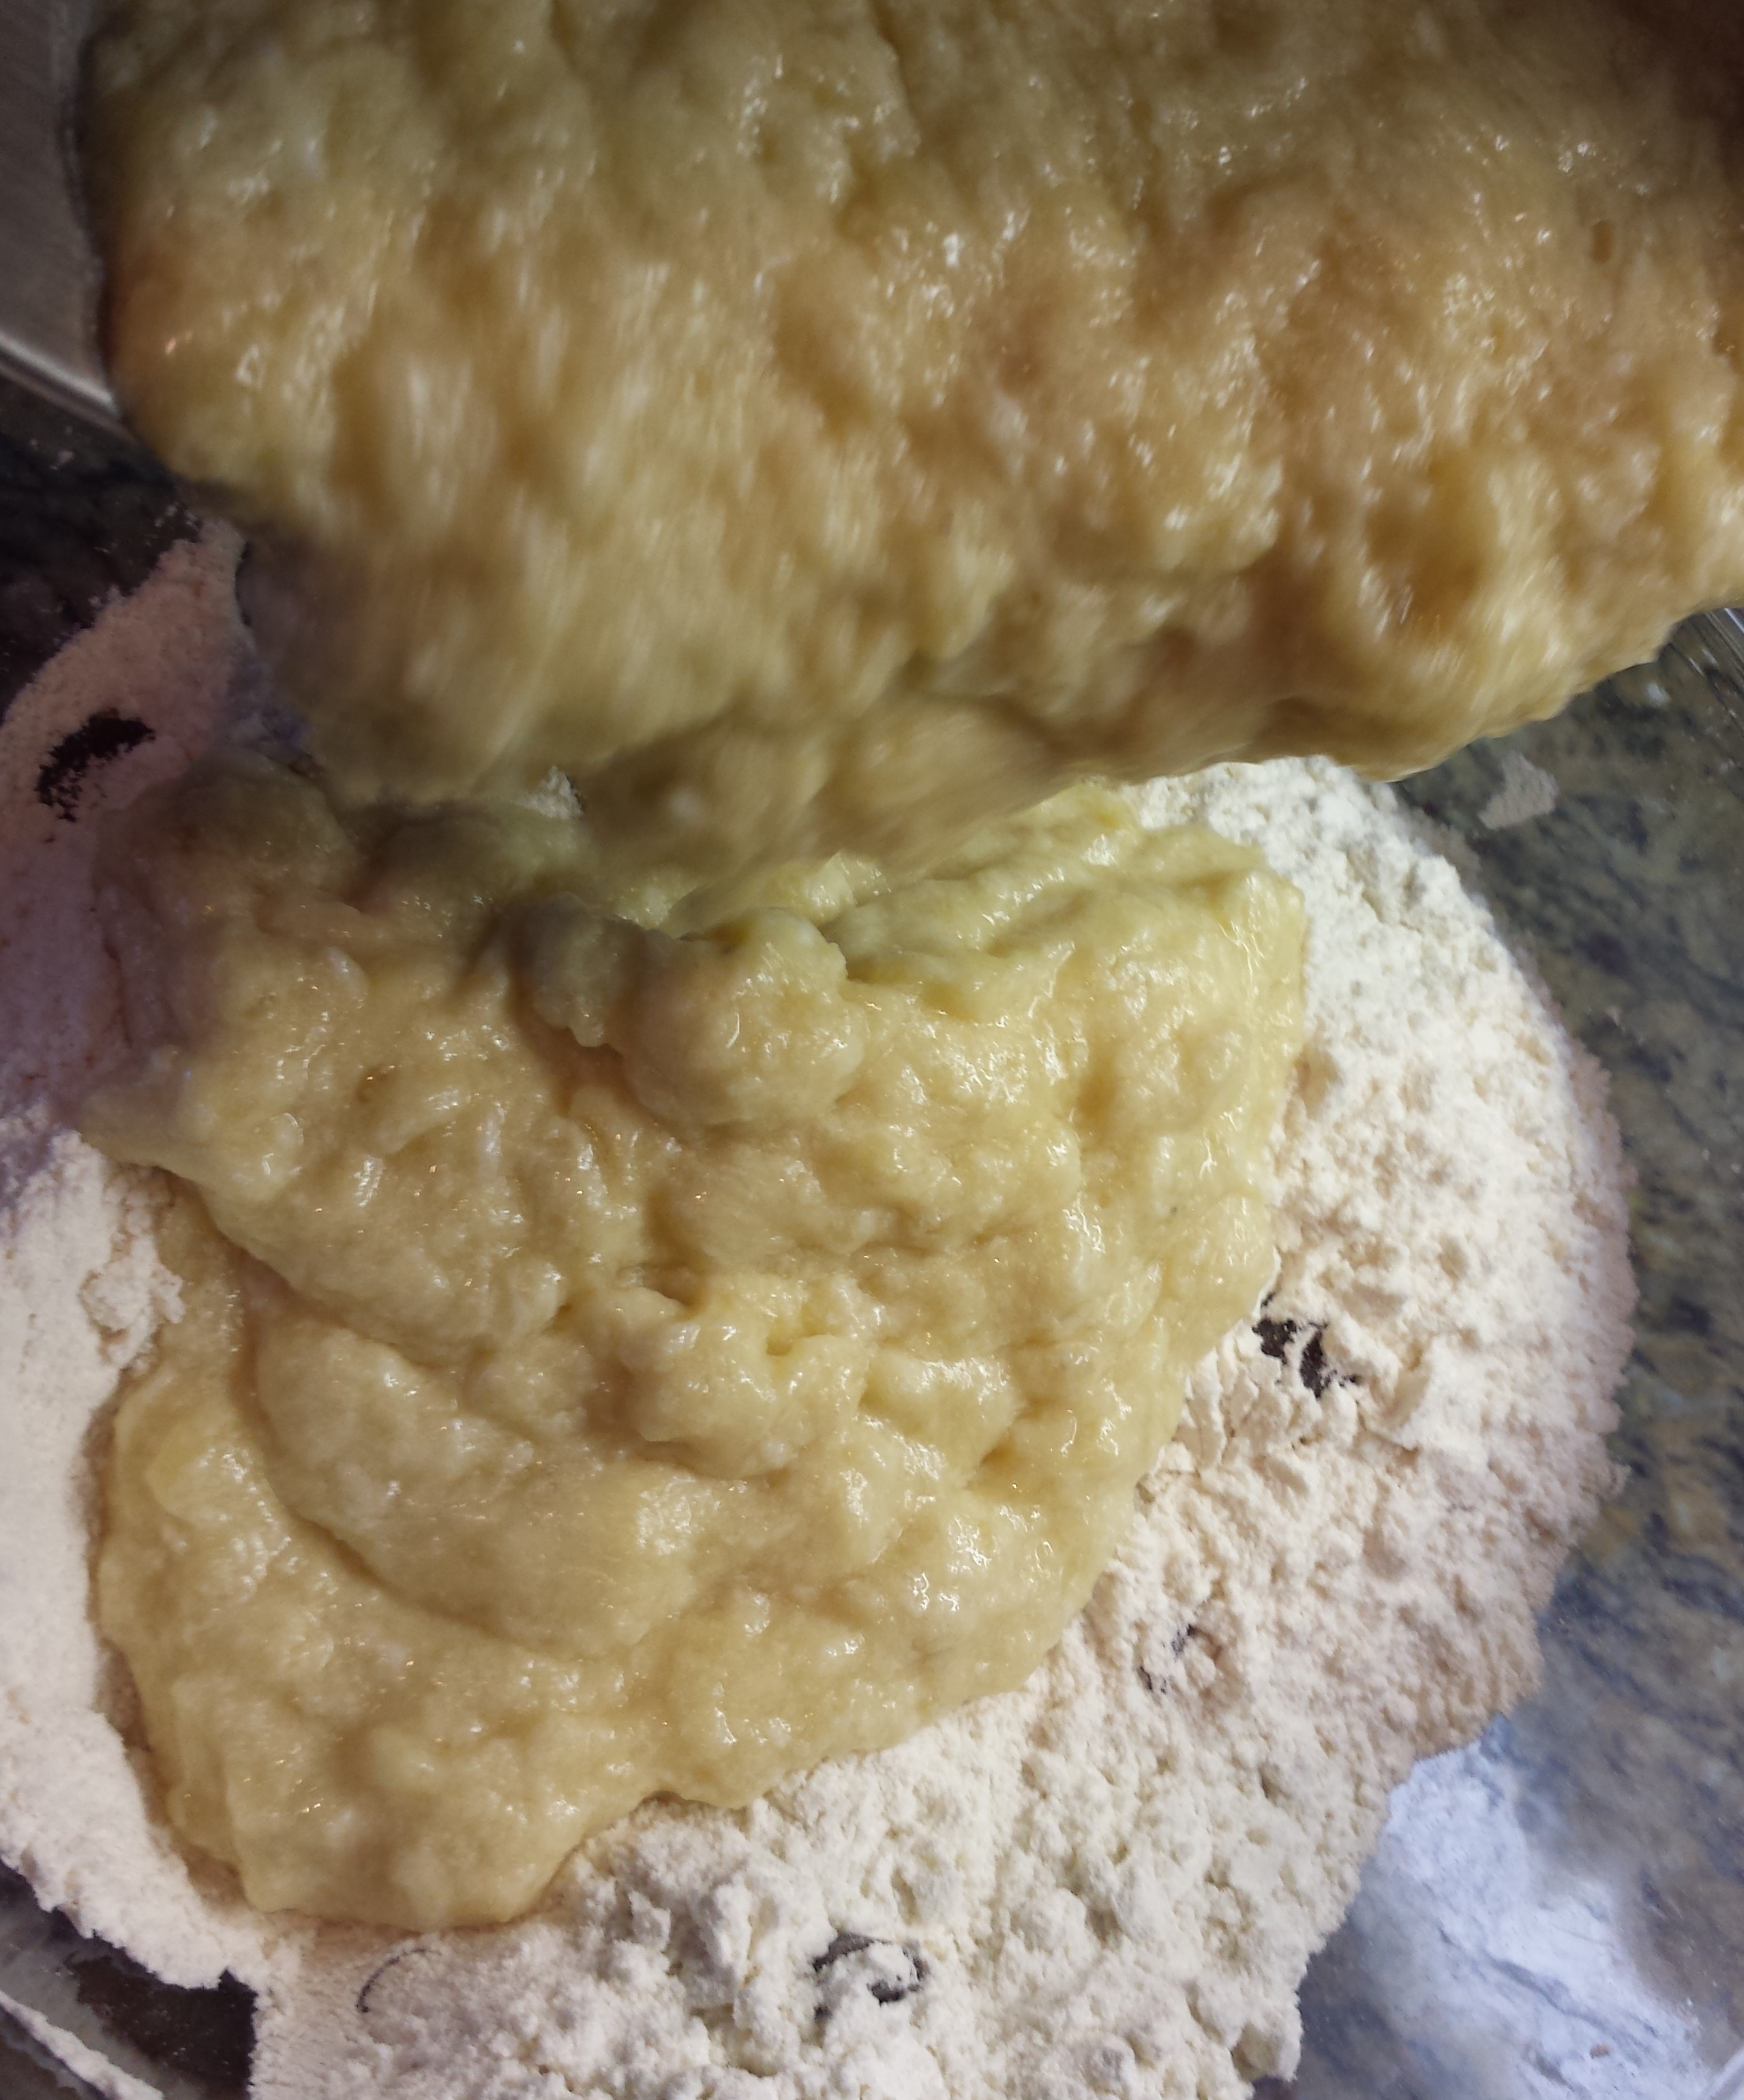
- Mix the flour, sugar, baking soda, chocolate and salt together in one bowl.
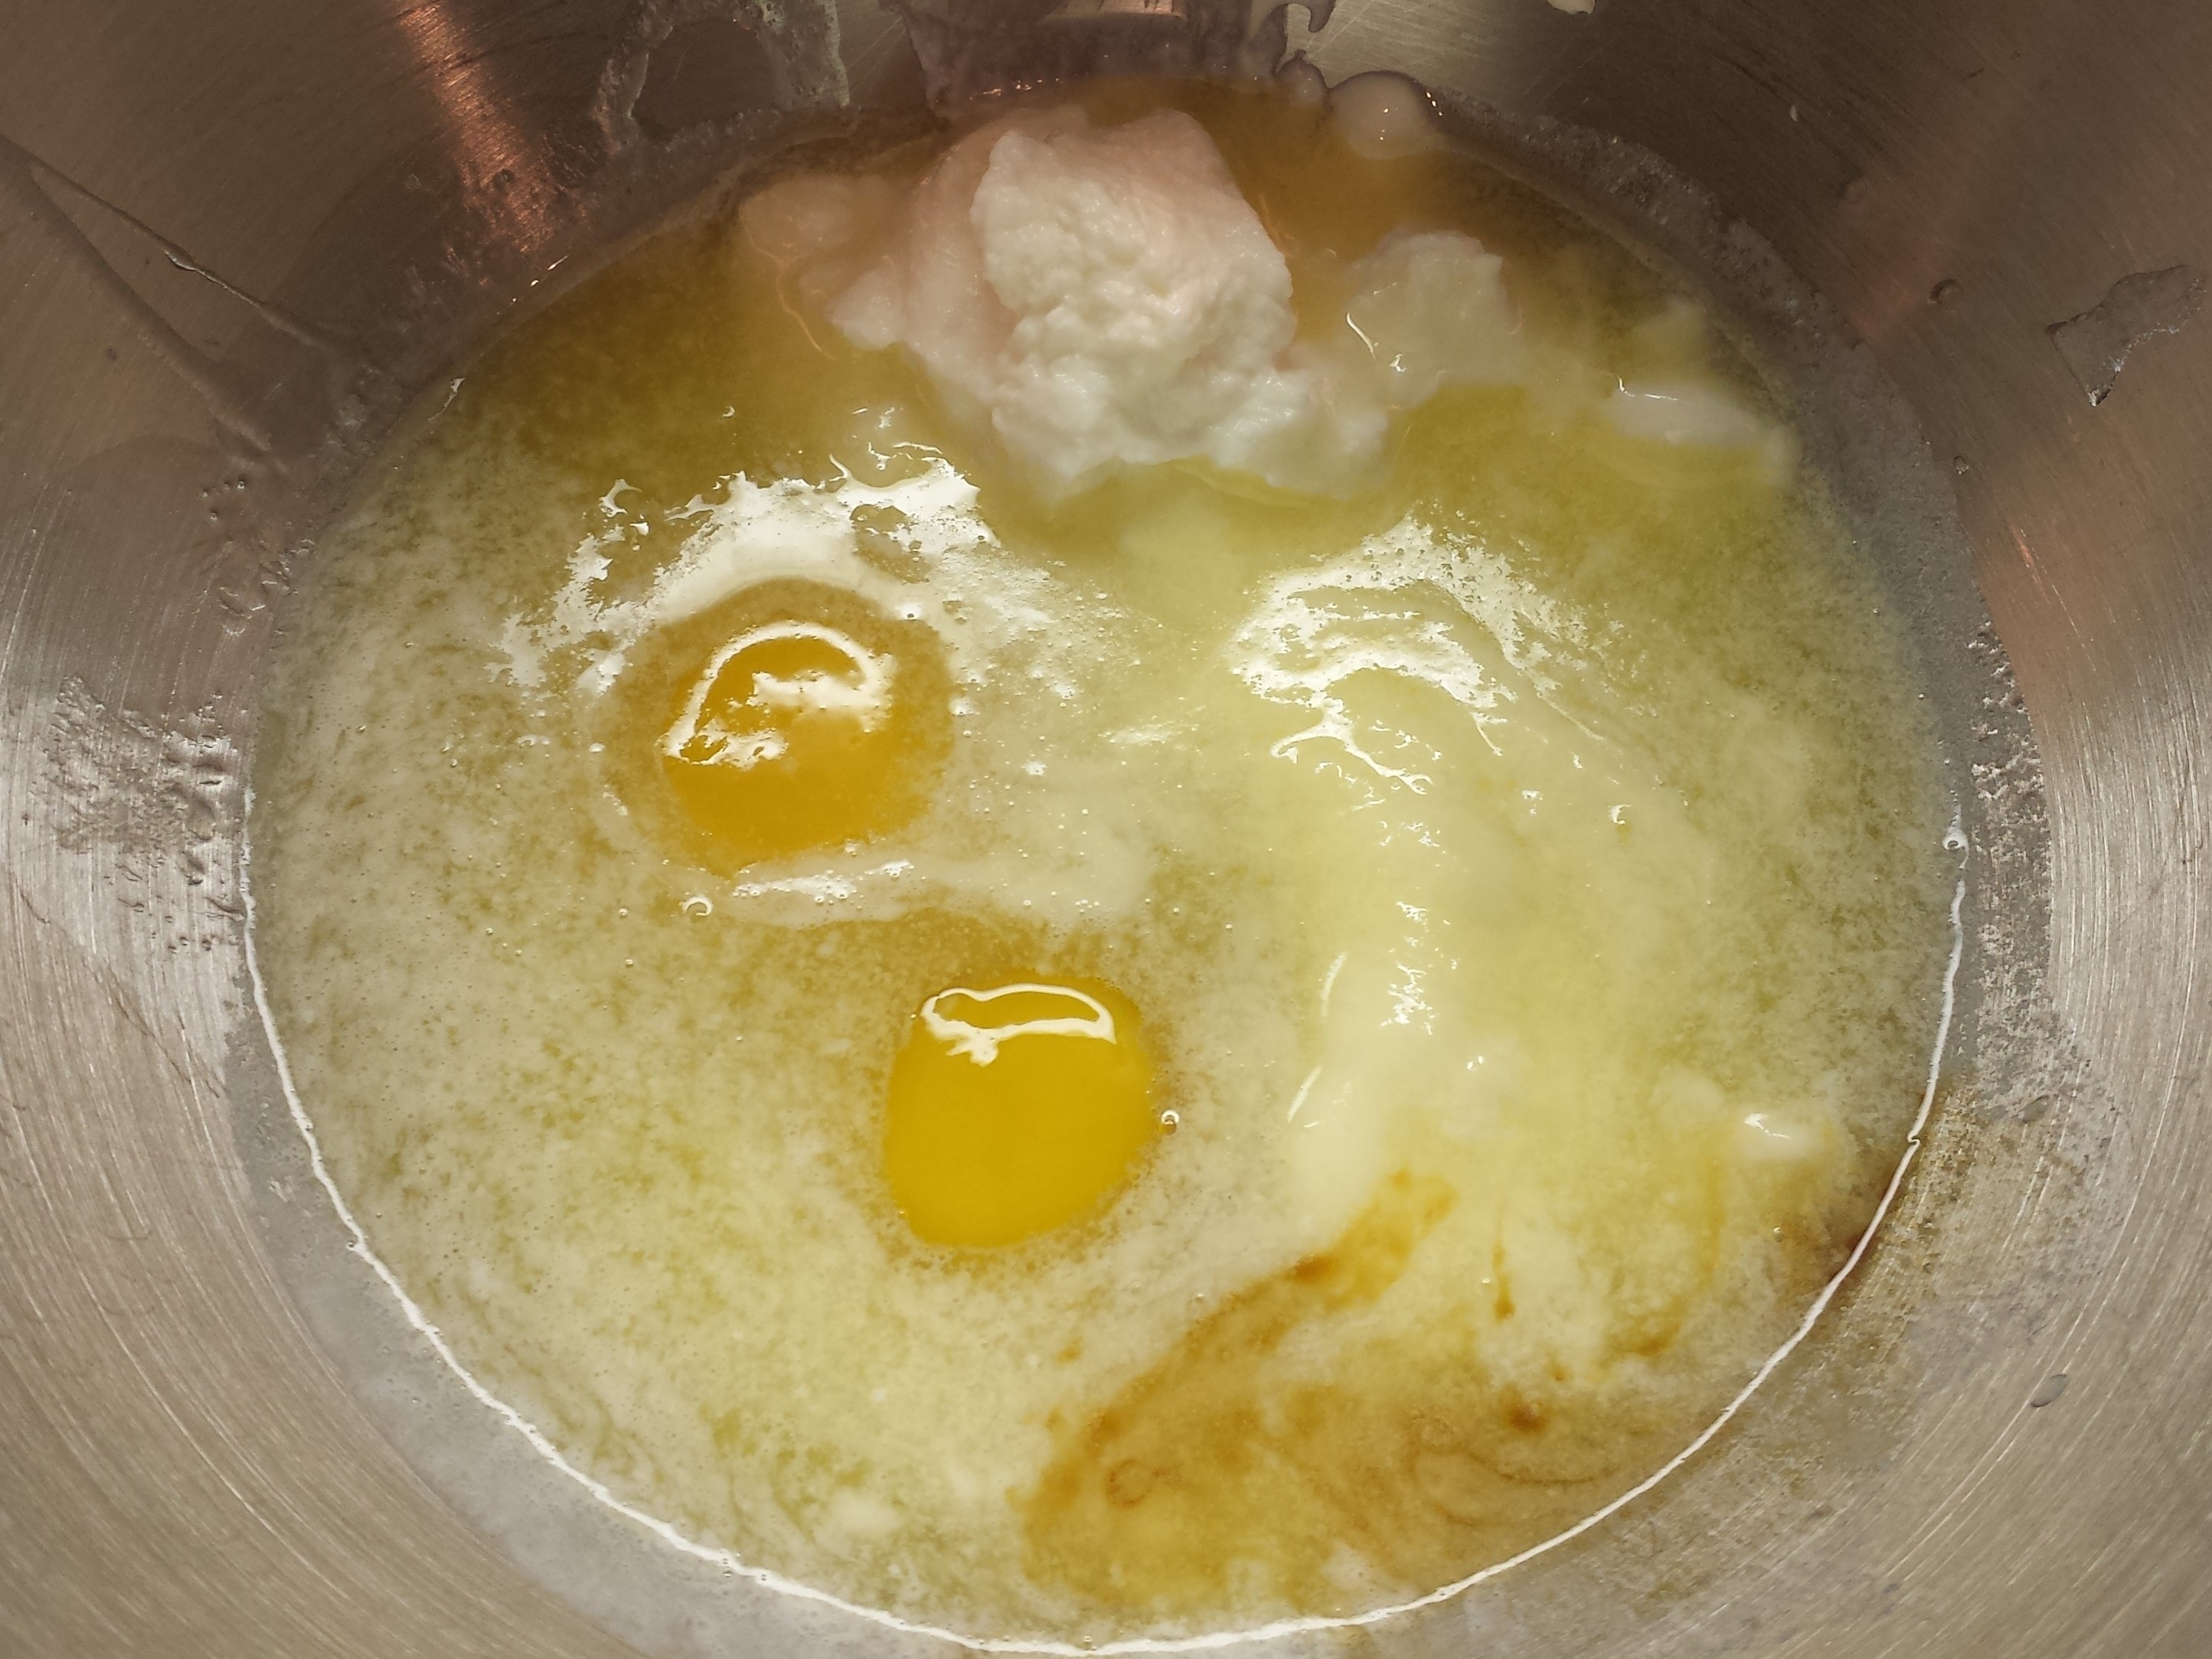
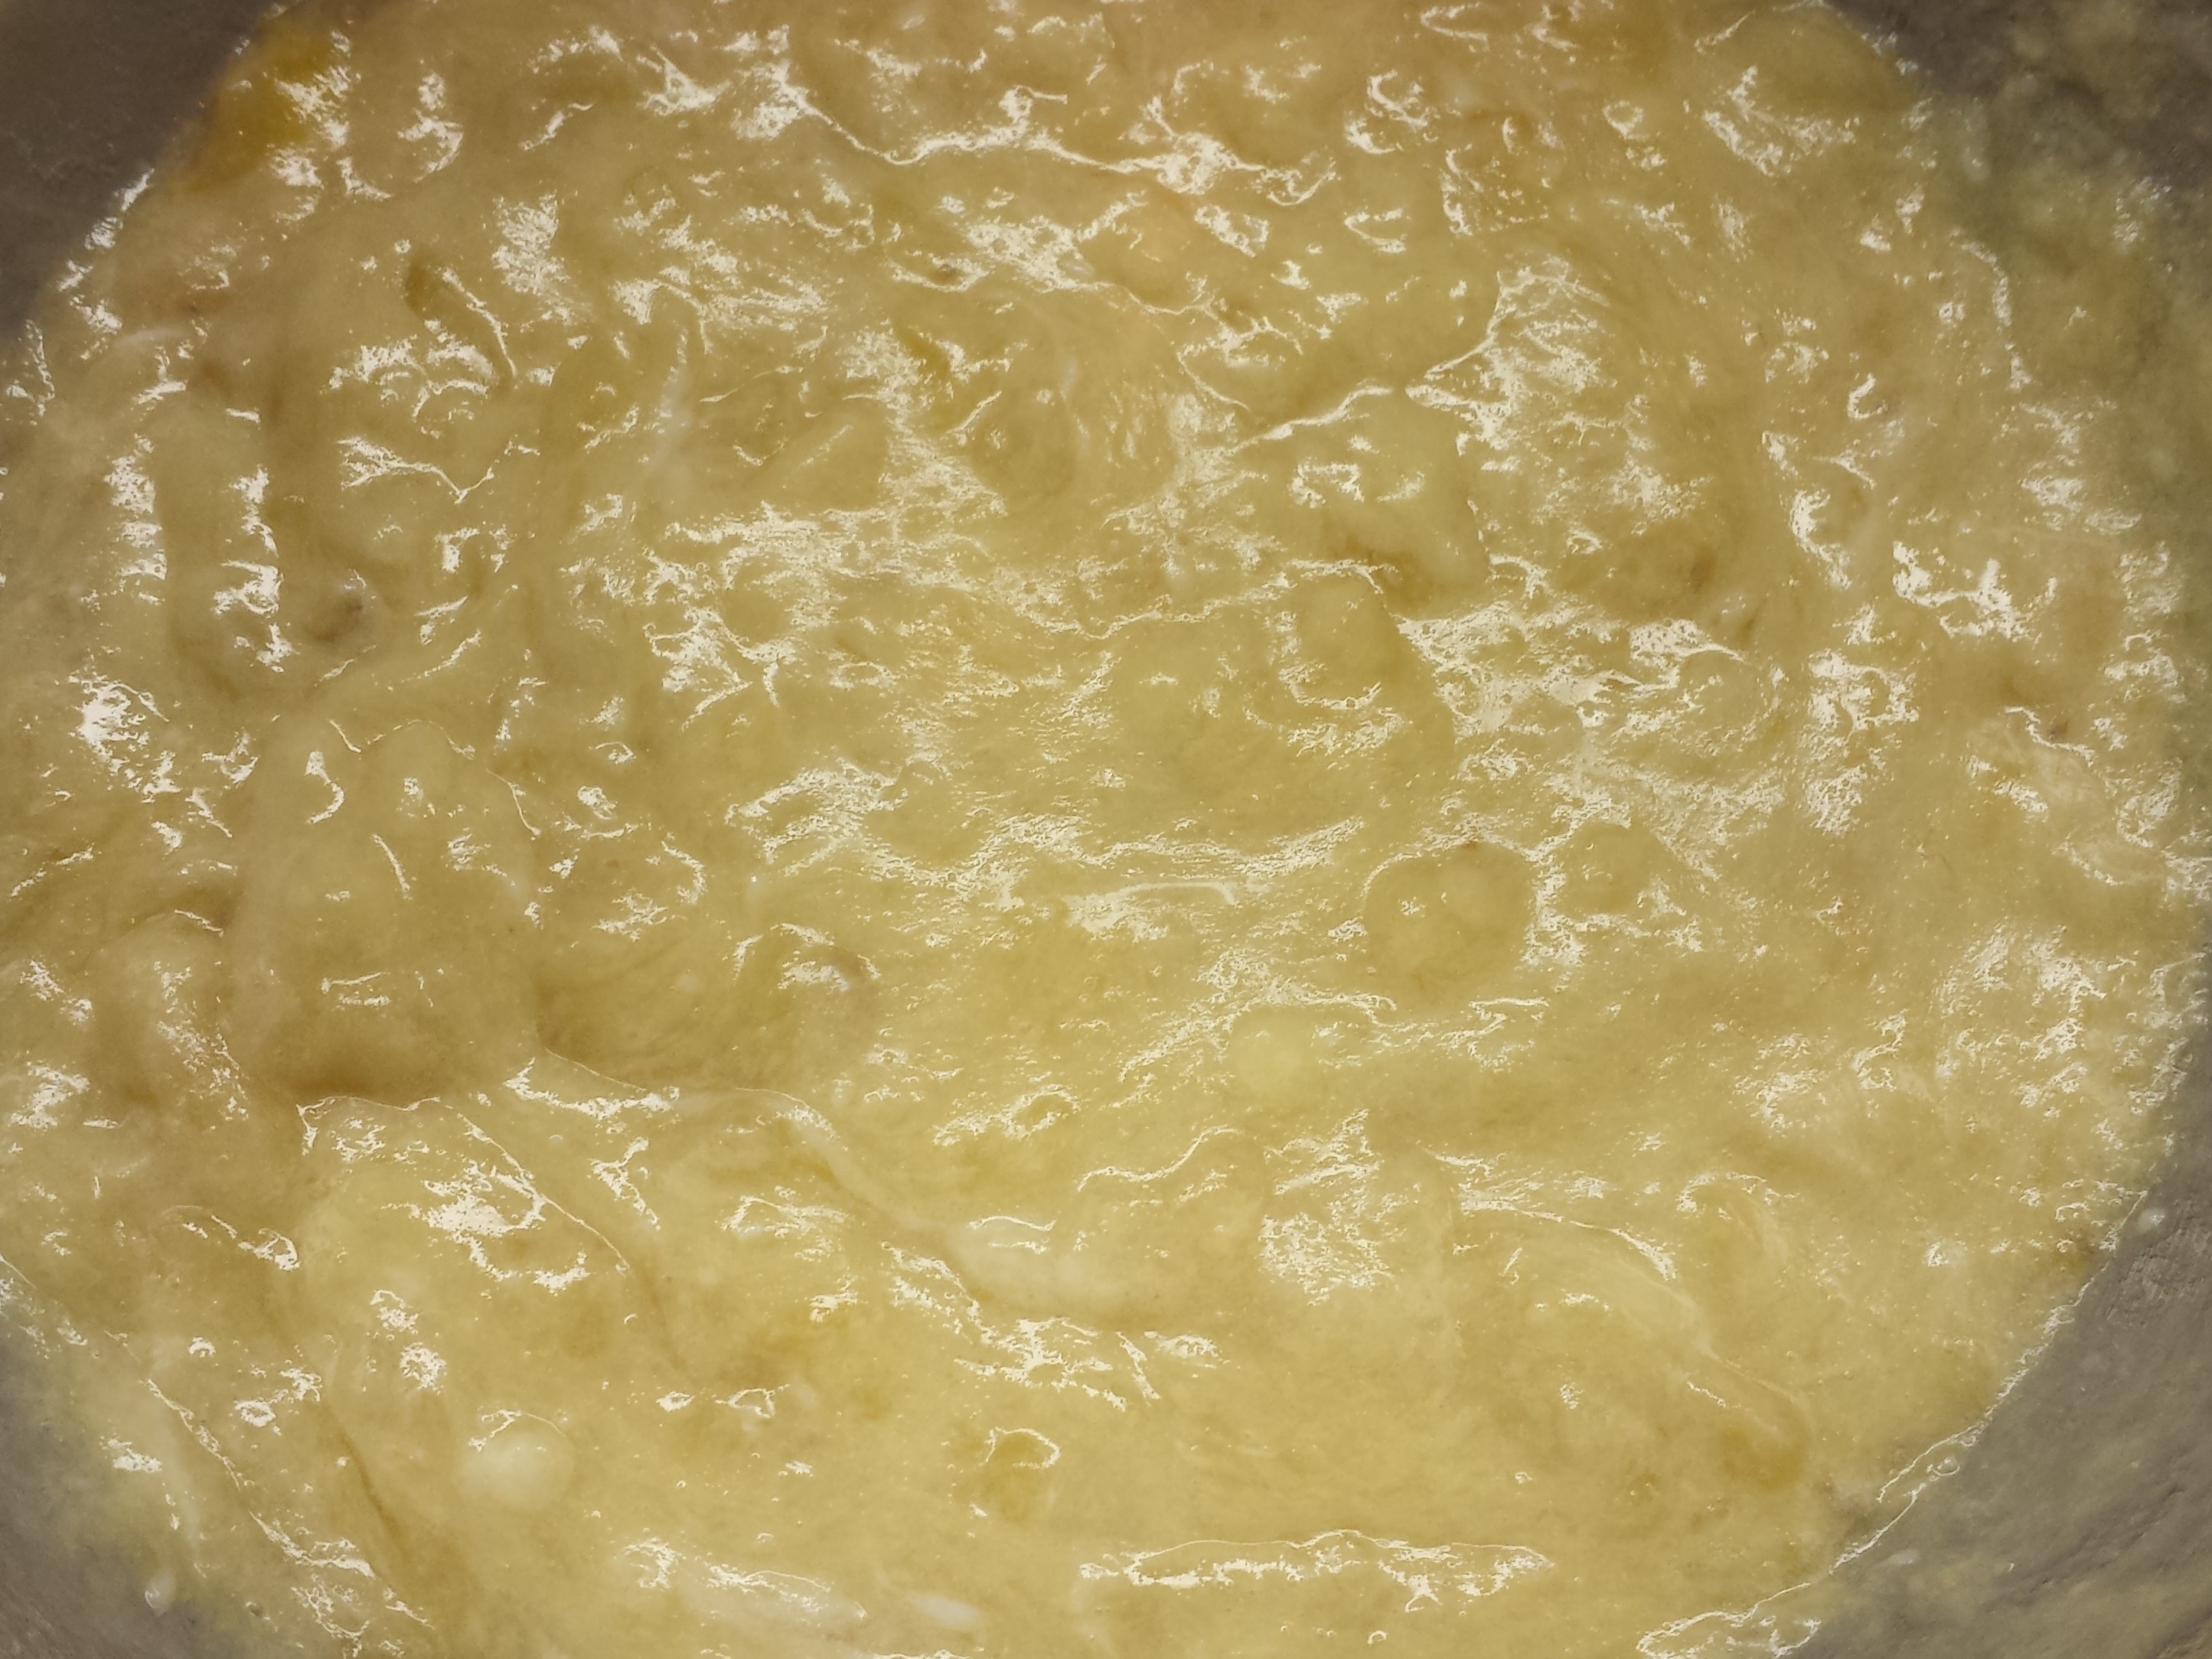
- Mix the mashed bananas, melted butter, eggs, yogurt and vanilla in the second bowl.

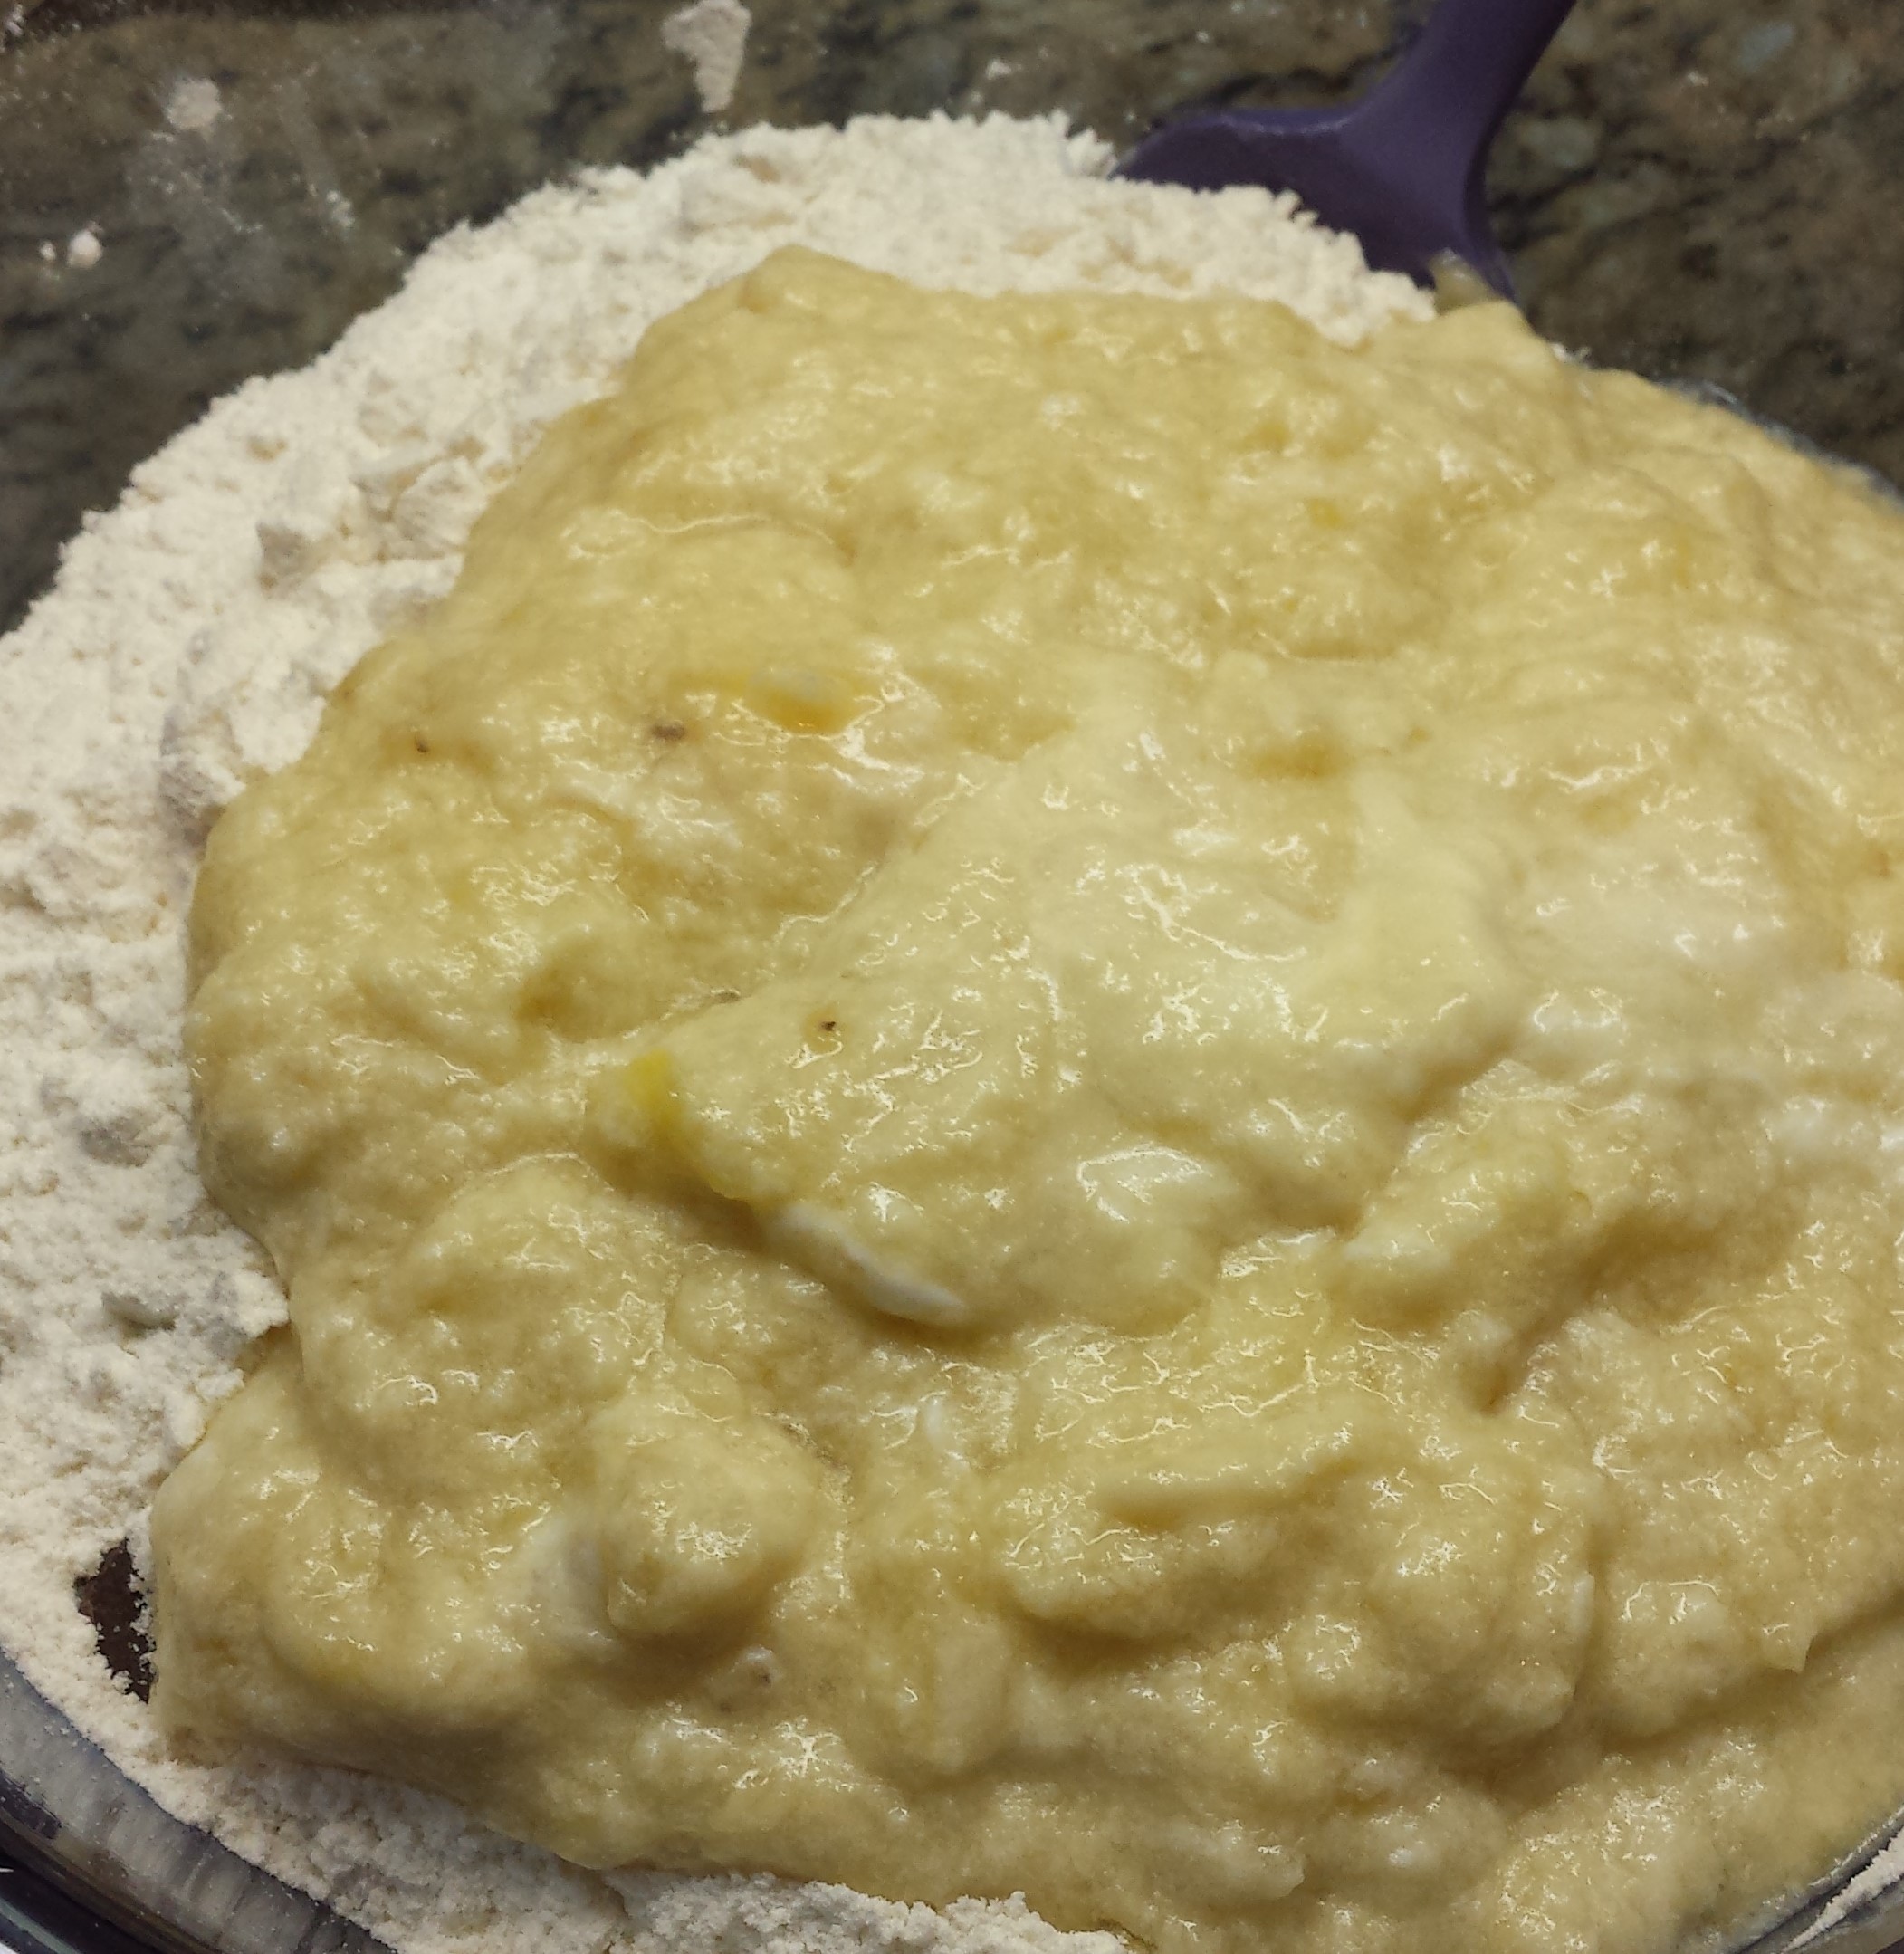
- Gently fold the banana mix into the flour mix with a rubber spatula. Mix until just combined.
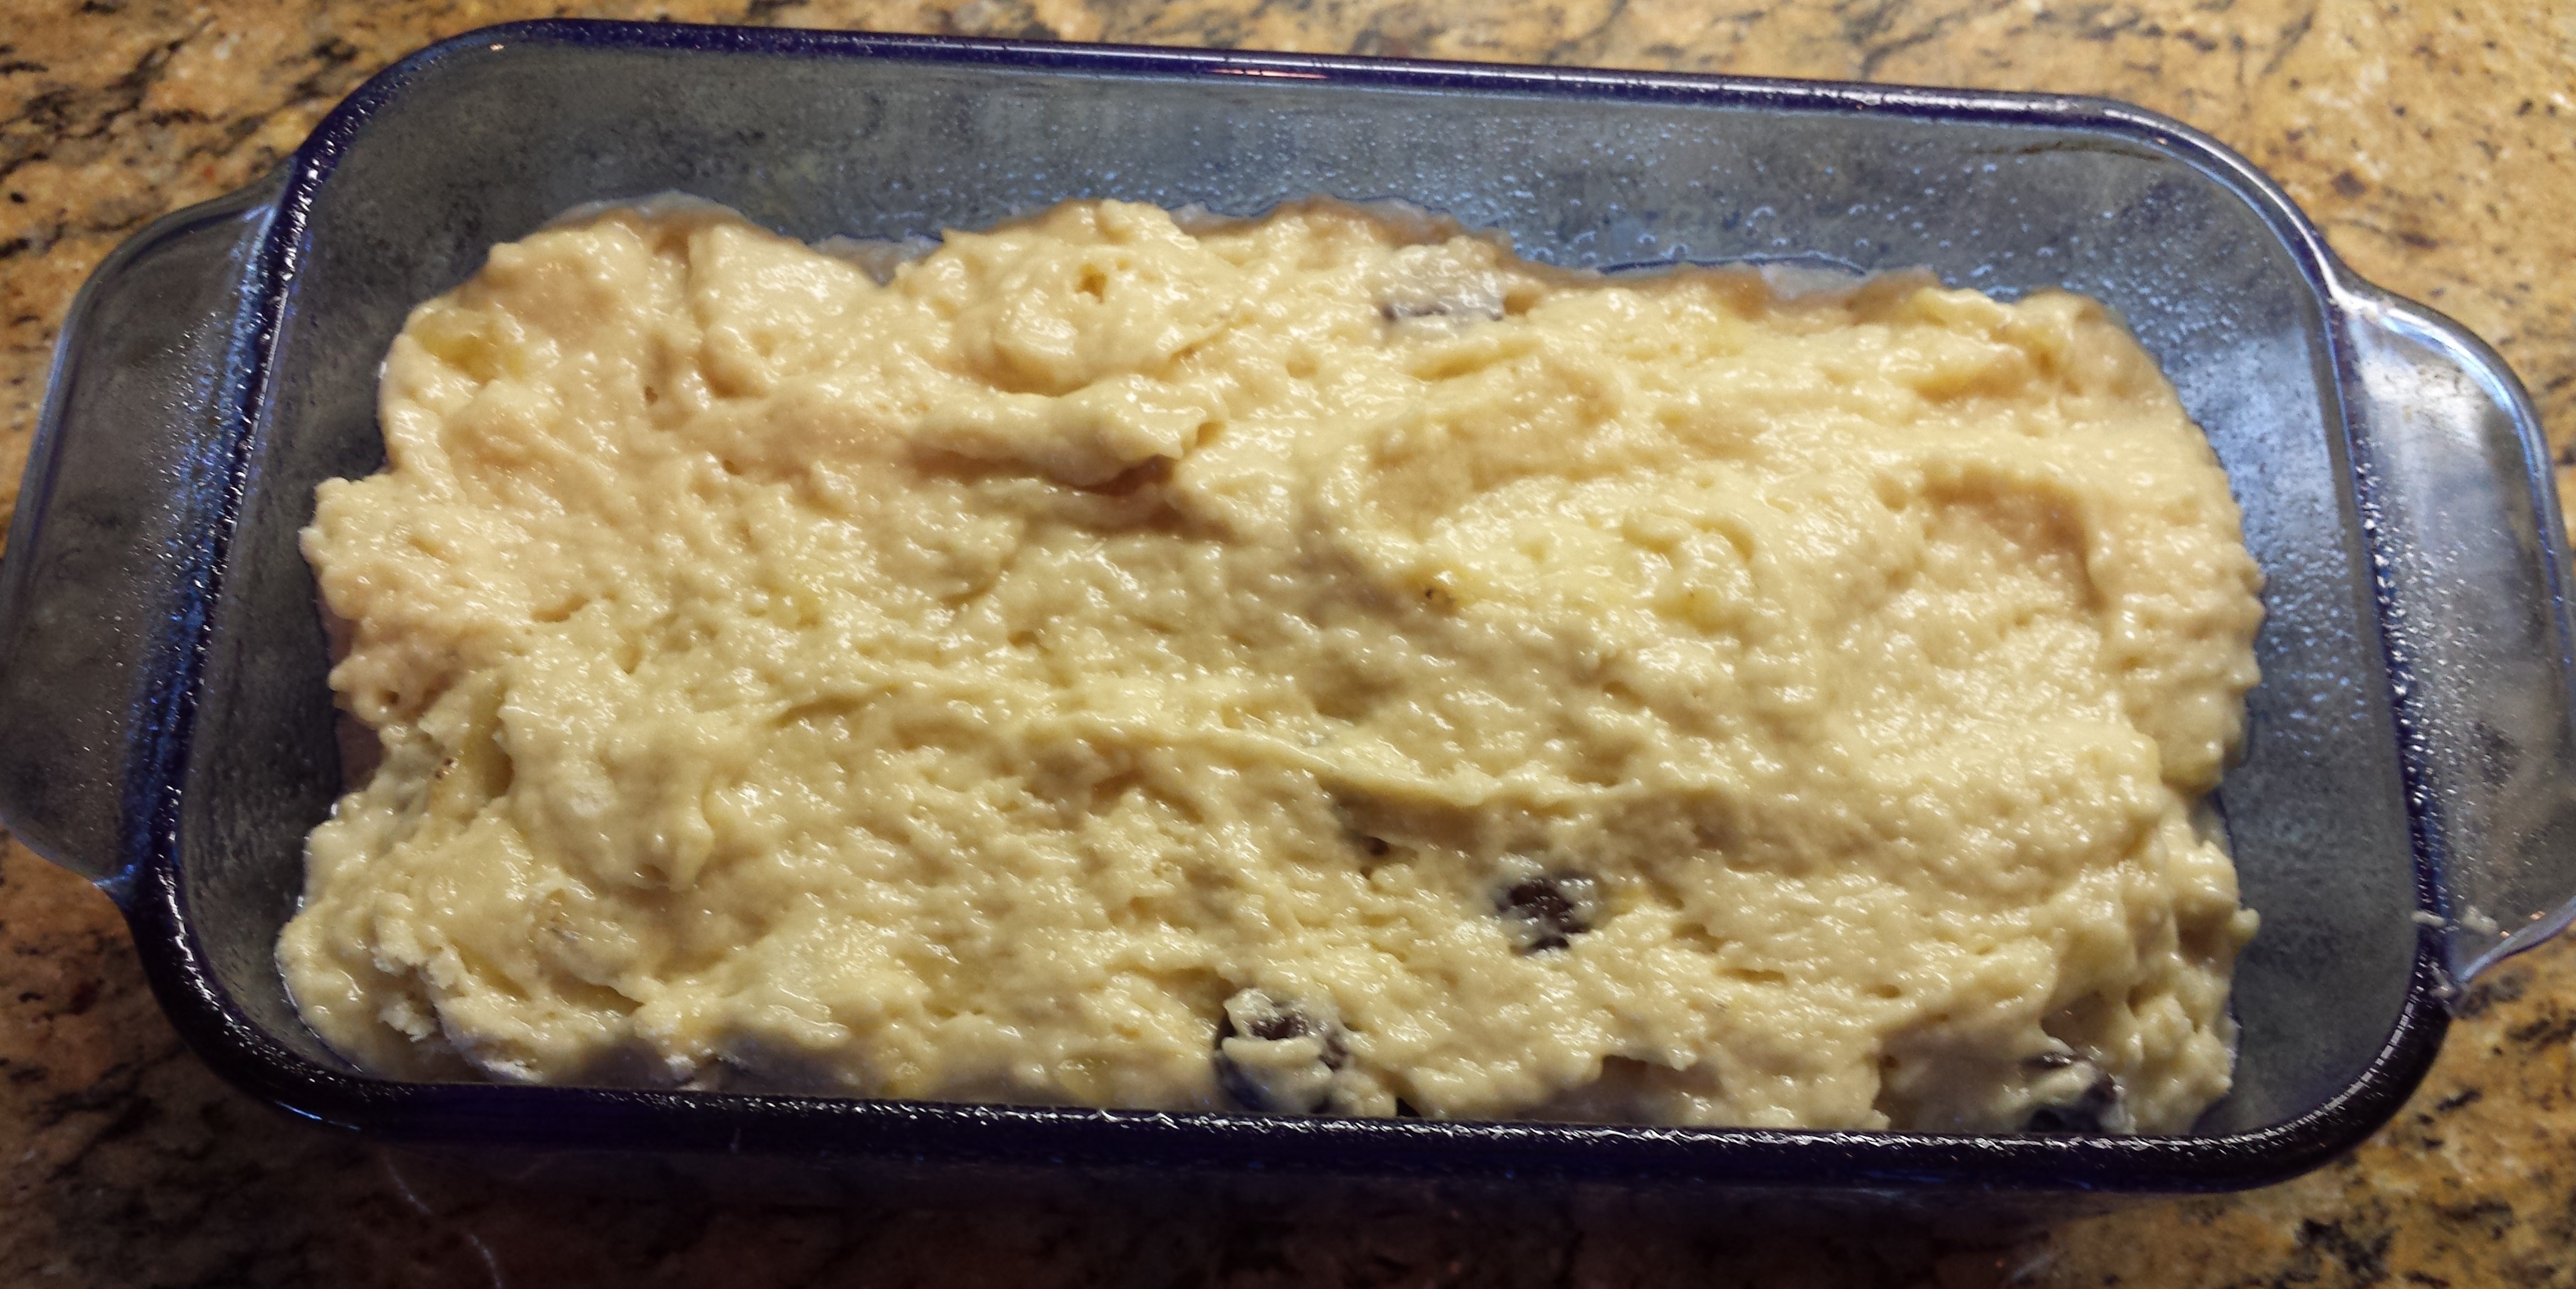
- Using a rubber spatula, scrape the batter into the prepared loaf pan and smooth.
- Give the loaf pan a firm shake to help the mix settle and smooth.
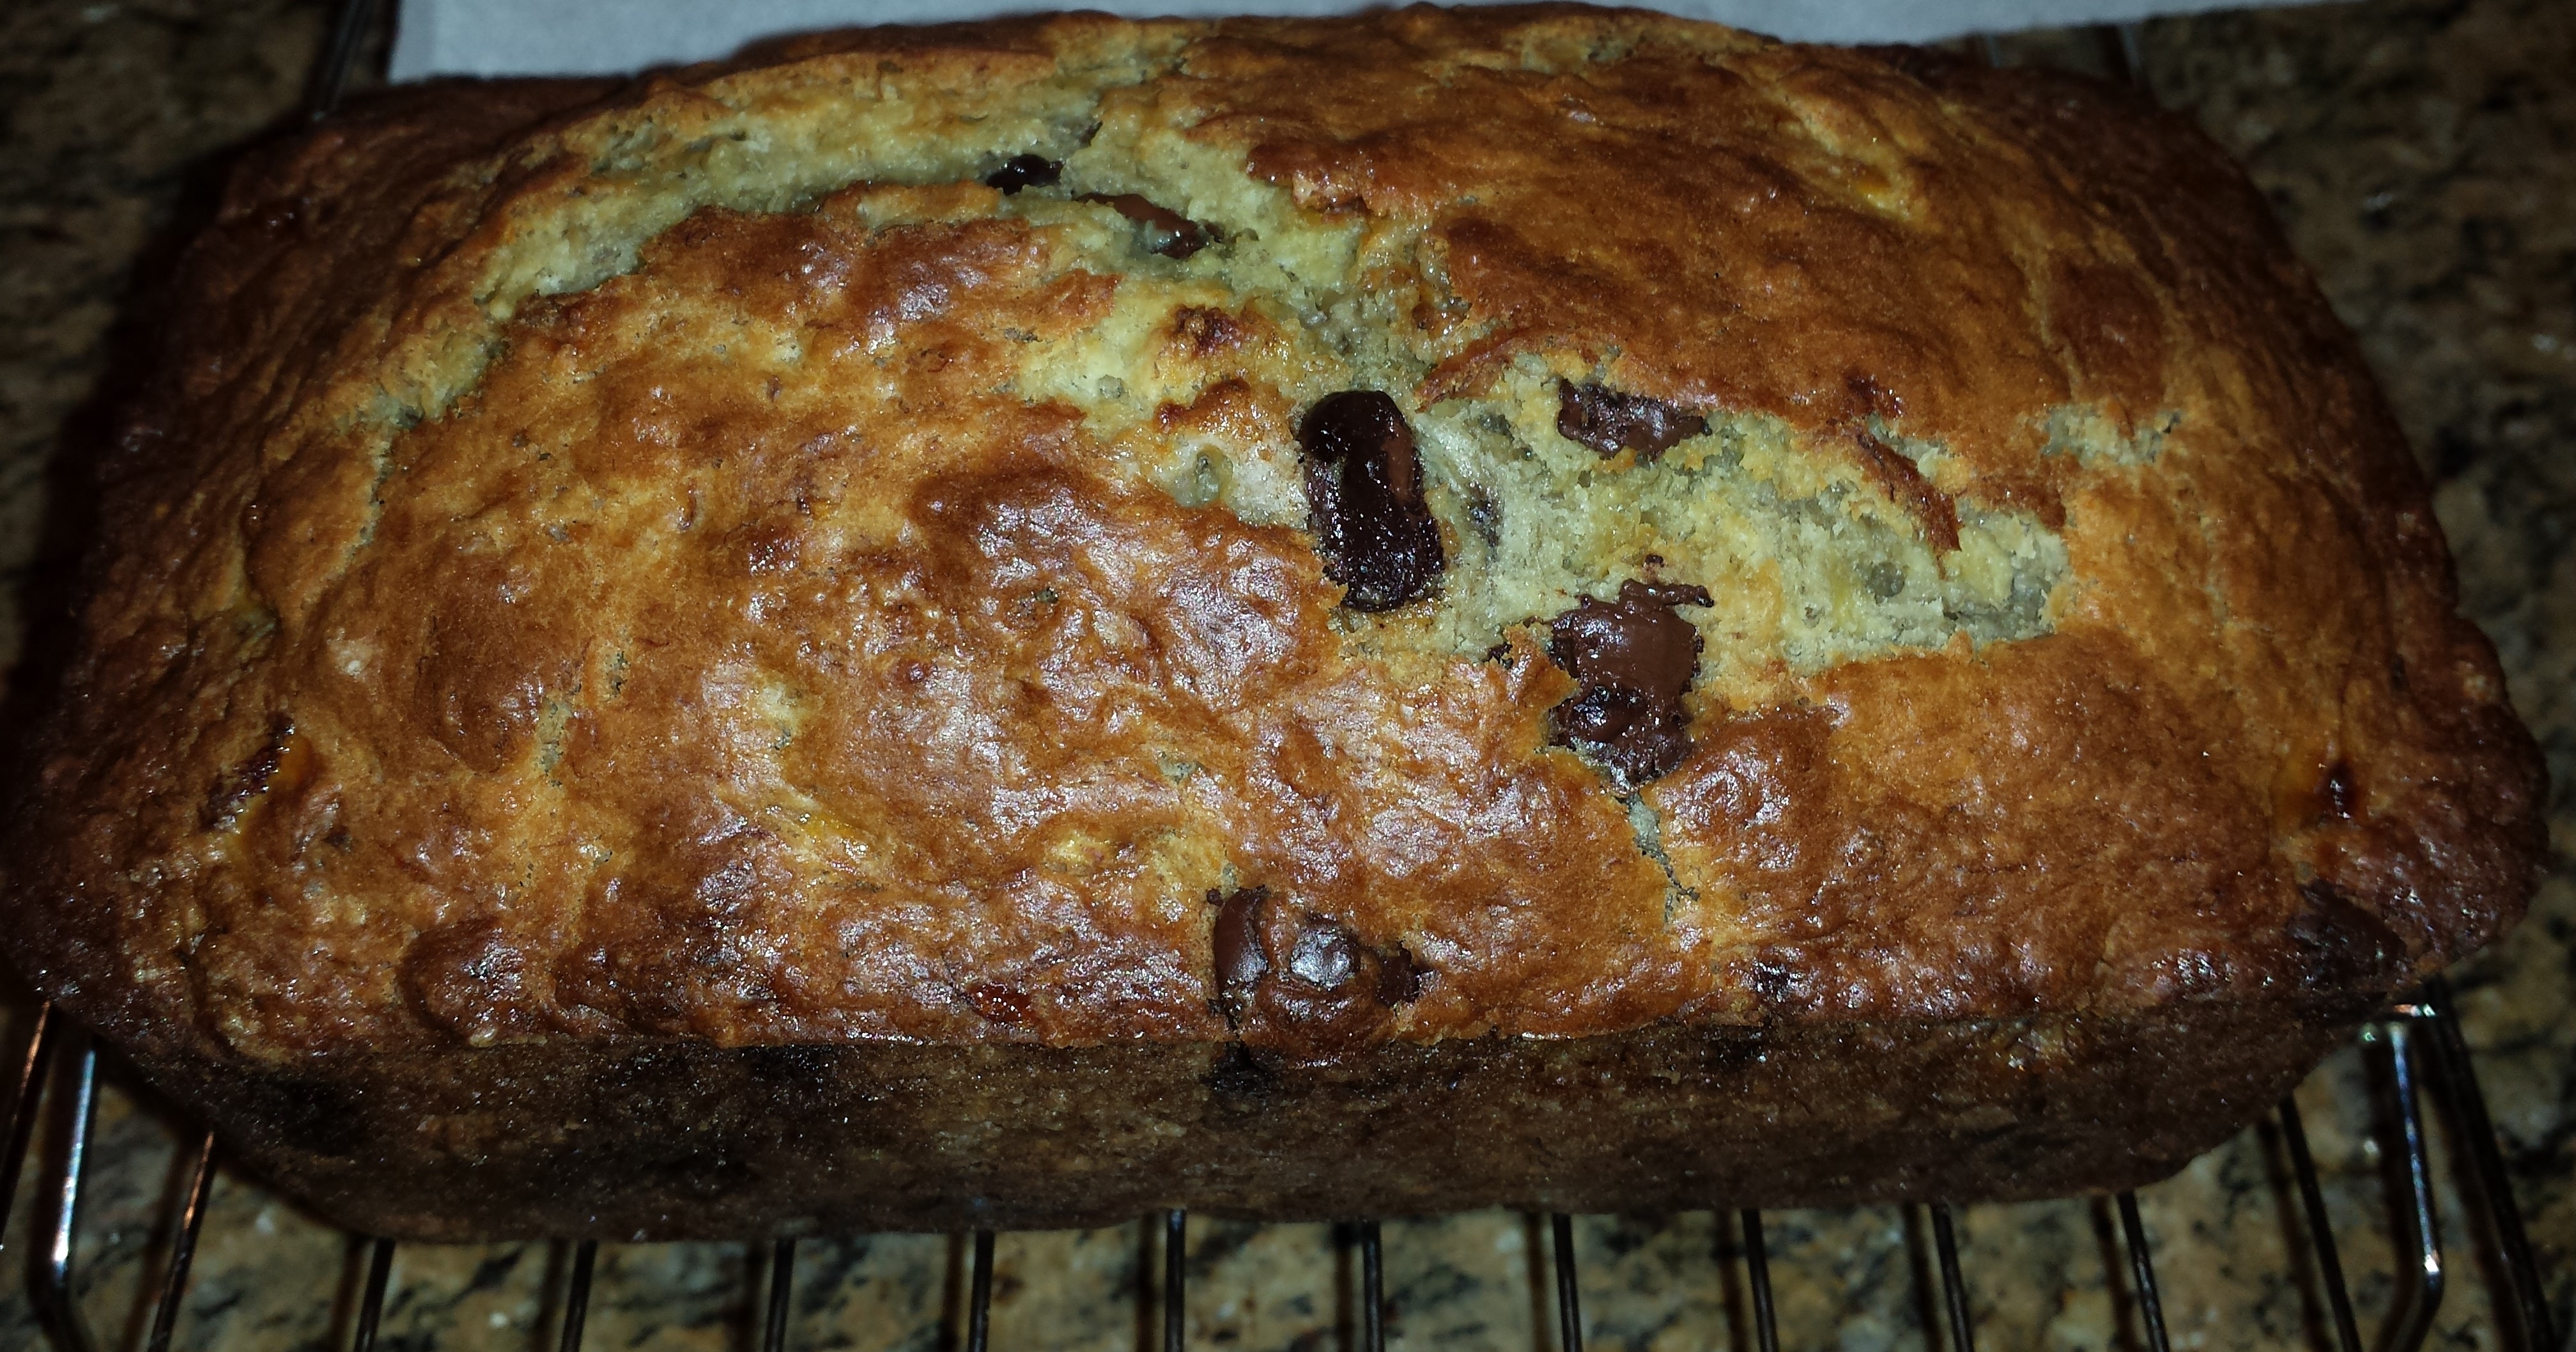
- Bake about 55 minutes, until golden brown and toothpick inserted into the center comes out with just a few crumbs attached.
- Remove from oven and cool for 10 minutes.
- Remove from loaf pan and cool on a wire rack for at least one hour.

Ideas
- If you can find some banana yogurt, use it as a substitute for plain yogurt for an even more banana flavor.
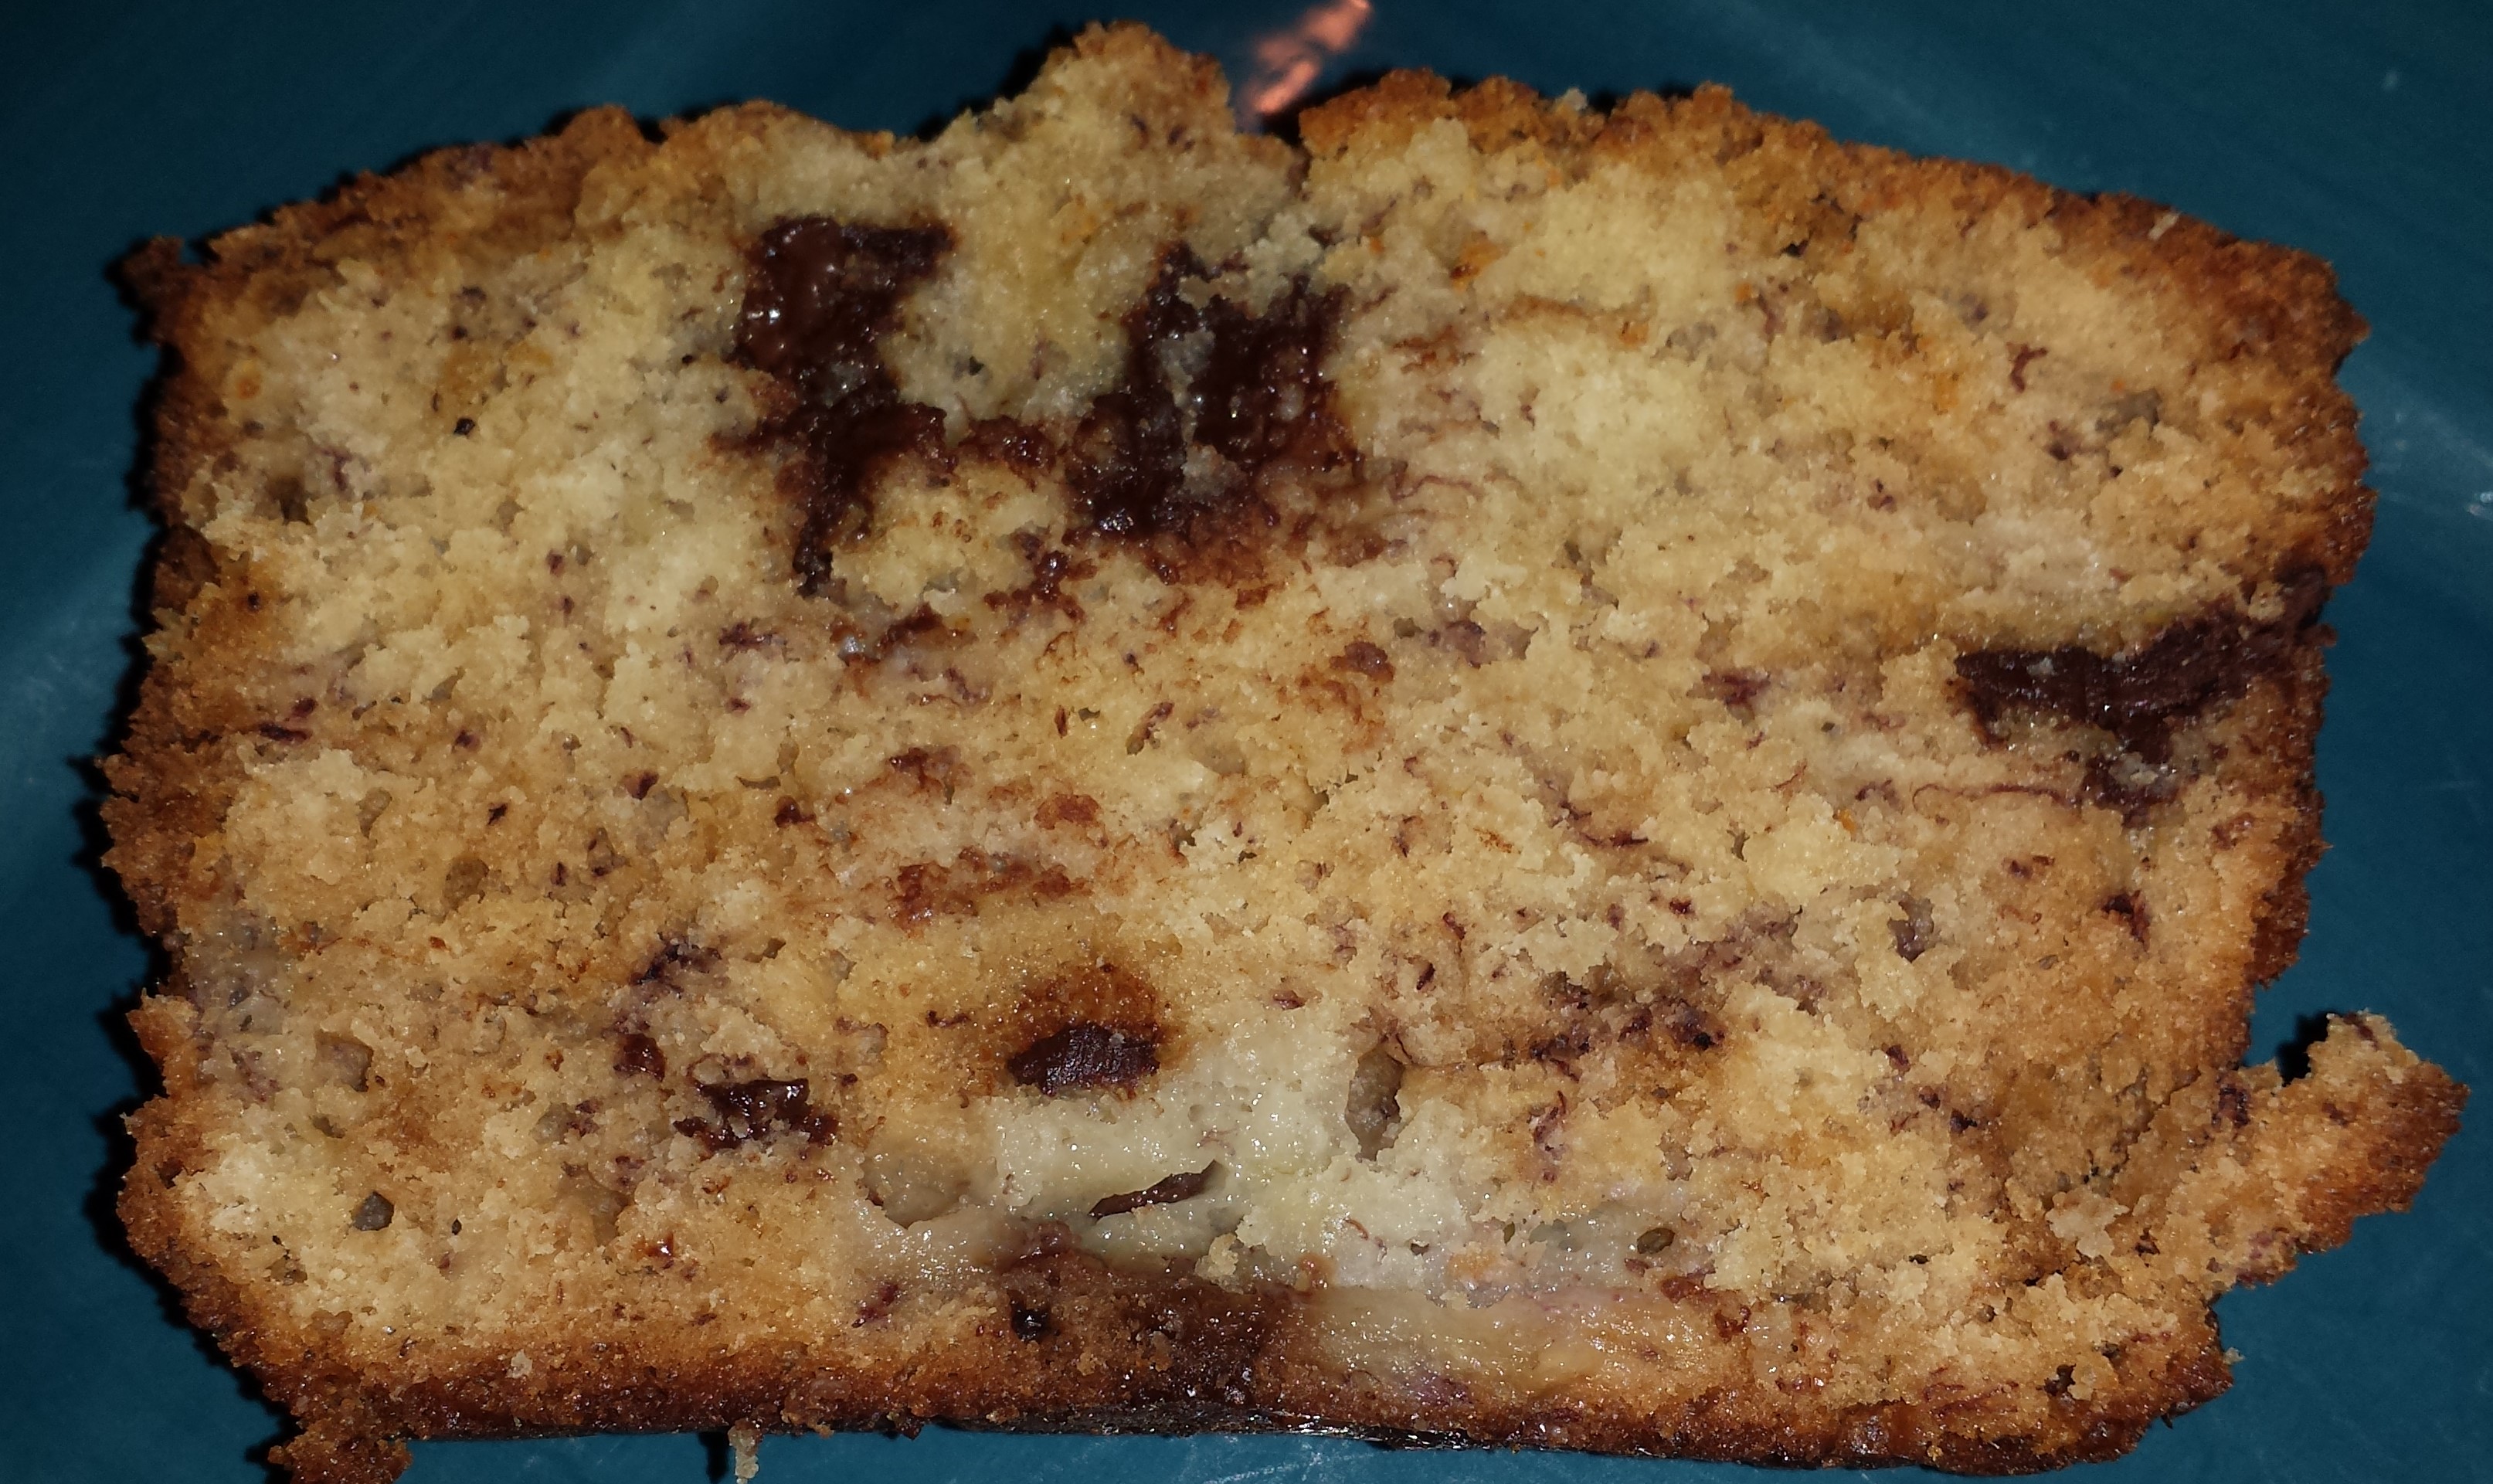
- Some recipes recommend shaving the chocolate instead of using chips. This gives more uniform chocolate coverage throughout the bread. I like the chips as I prefer to have more concentrated chocolate sections in my bread, but your choice.
Sorry for the delay
Hello all. I know it’s been a while since I’ve posted anything. Just wanted you to know that doesn’t mean I haven’t been cooking and taking pictures. Over the next week, I will have several new posts to make up for this. Thank you for your patience and you continued following of my blog.
Preview – chocolate banana bread, wonton soup, yummy brussell sprouts.
My “Secret” Spices
We all have some spices that we cannot do without. I’m not talking about the standards like salt, pepper, garlic powder, thyme, etc.; which I absolutely cannot cook without. What I mean are those special items that you use to add an extra zing or special flavor, you know the ones I mean. For me, there are three. The first, you’ve seen in some of my recipes already, Lawry’s Season Salt. It’s a true recipe flavor adder. If you don’t have any in your cupboard, I highly recommend that you pick some up. The other two are spices I found over ten years ago on a trip to New Mexico and I use them all the time. Tia Rita’s Jalapeno Salt Blend and Green Chile Salt Blend are the bomb! The labels on the back of the bottles will give you ideas on how or when to use them. As for me, I haven’t had corn-on-the-cob for years without a sprinkling of Jalapeno Salt Blend. For the best breakfast eggs you’ve ever had, sprinkle with the Green Chile Salt Blend. Of course, try them on anything you like, you won’t be disappointed.
For those of you who like or want to limit salt in your diet, they have salt free blends of these spices. I haven’t tried them myself, but am sure they are delicious.
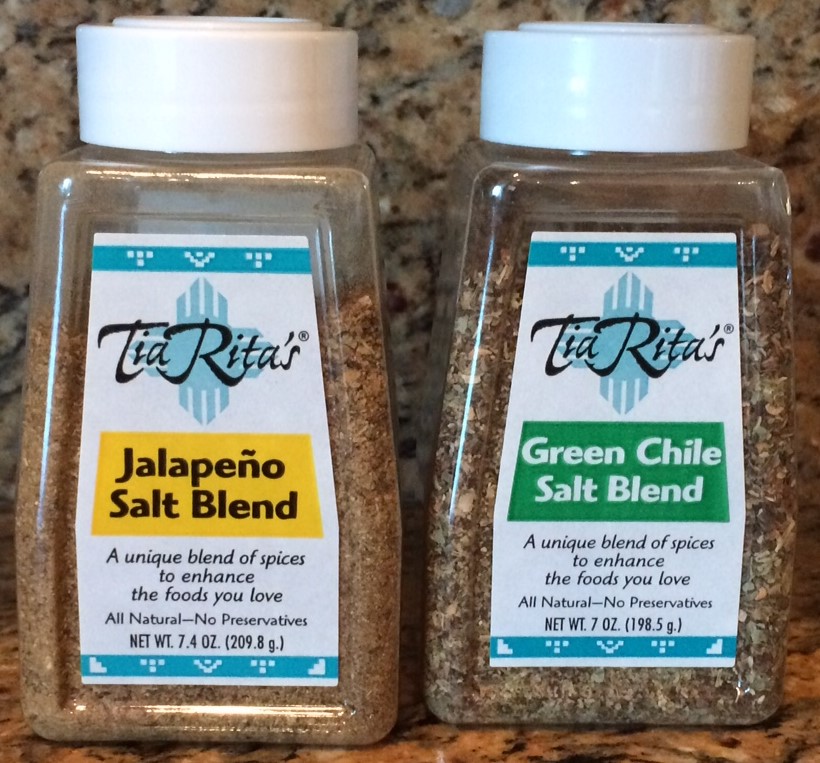
Get your own without a trip to New Mexico, by doing a Google search for Tia Rita’s. Several places sell it online.
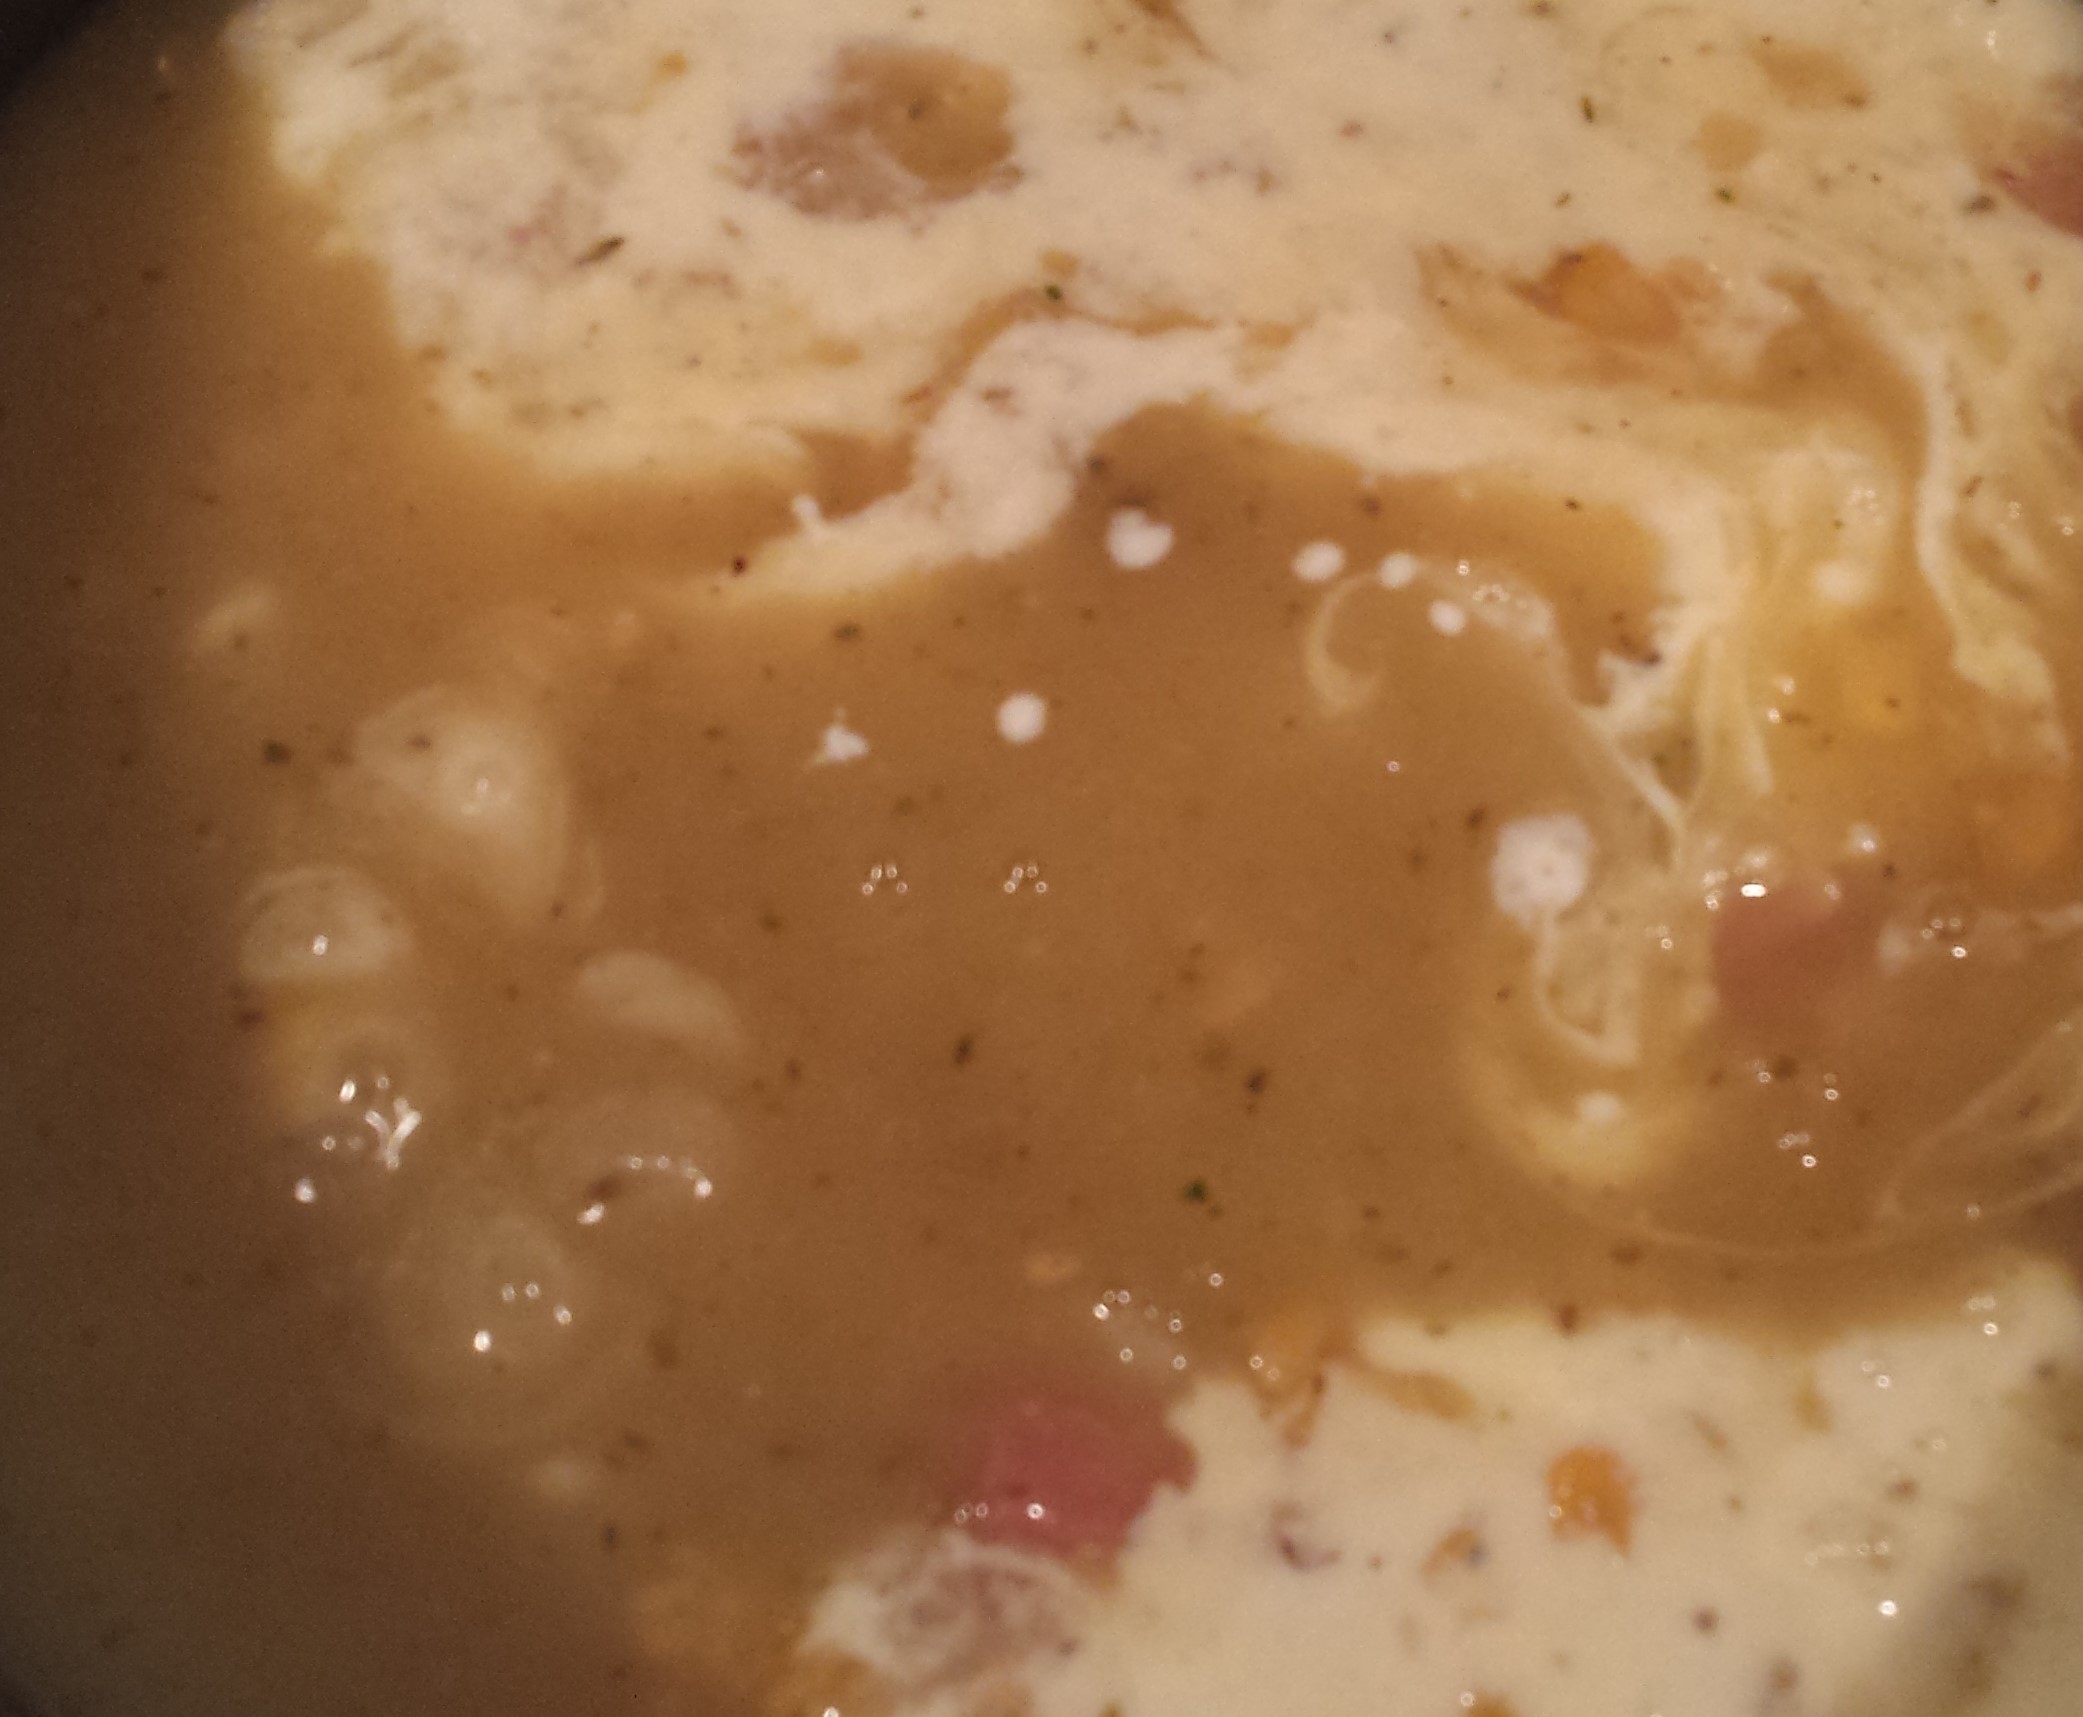
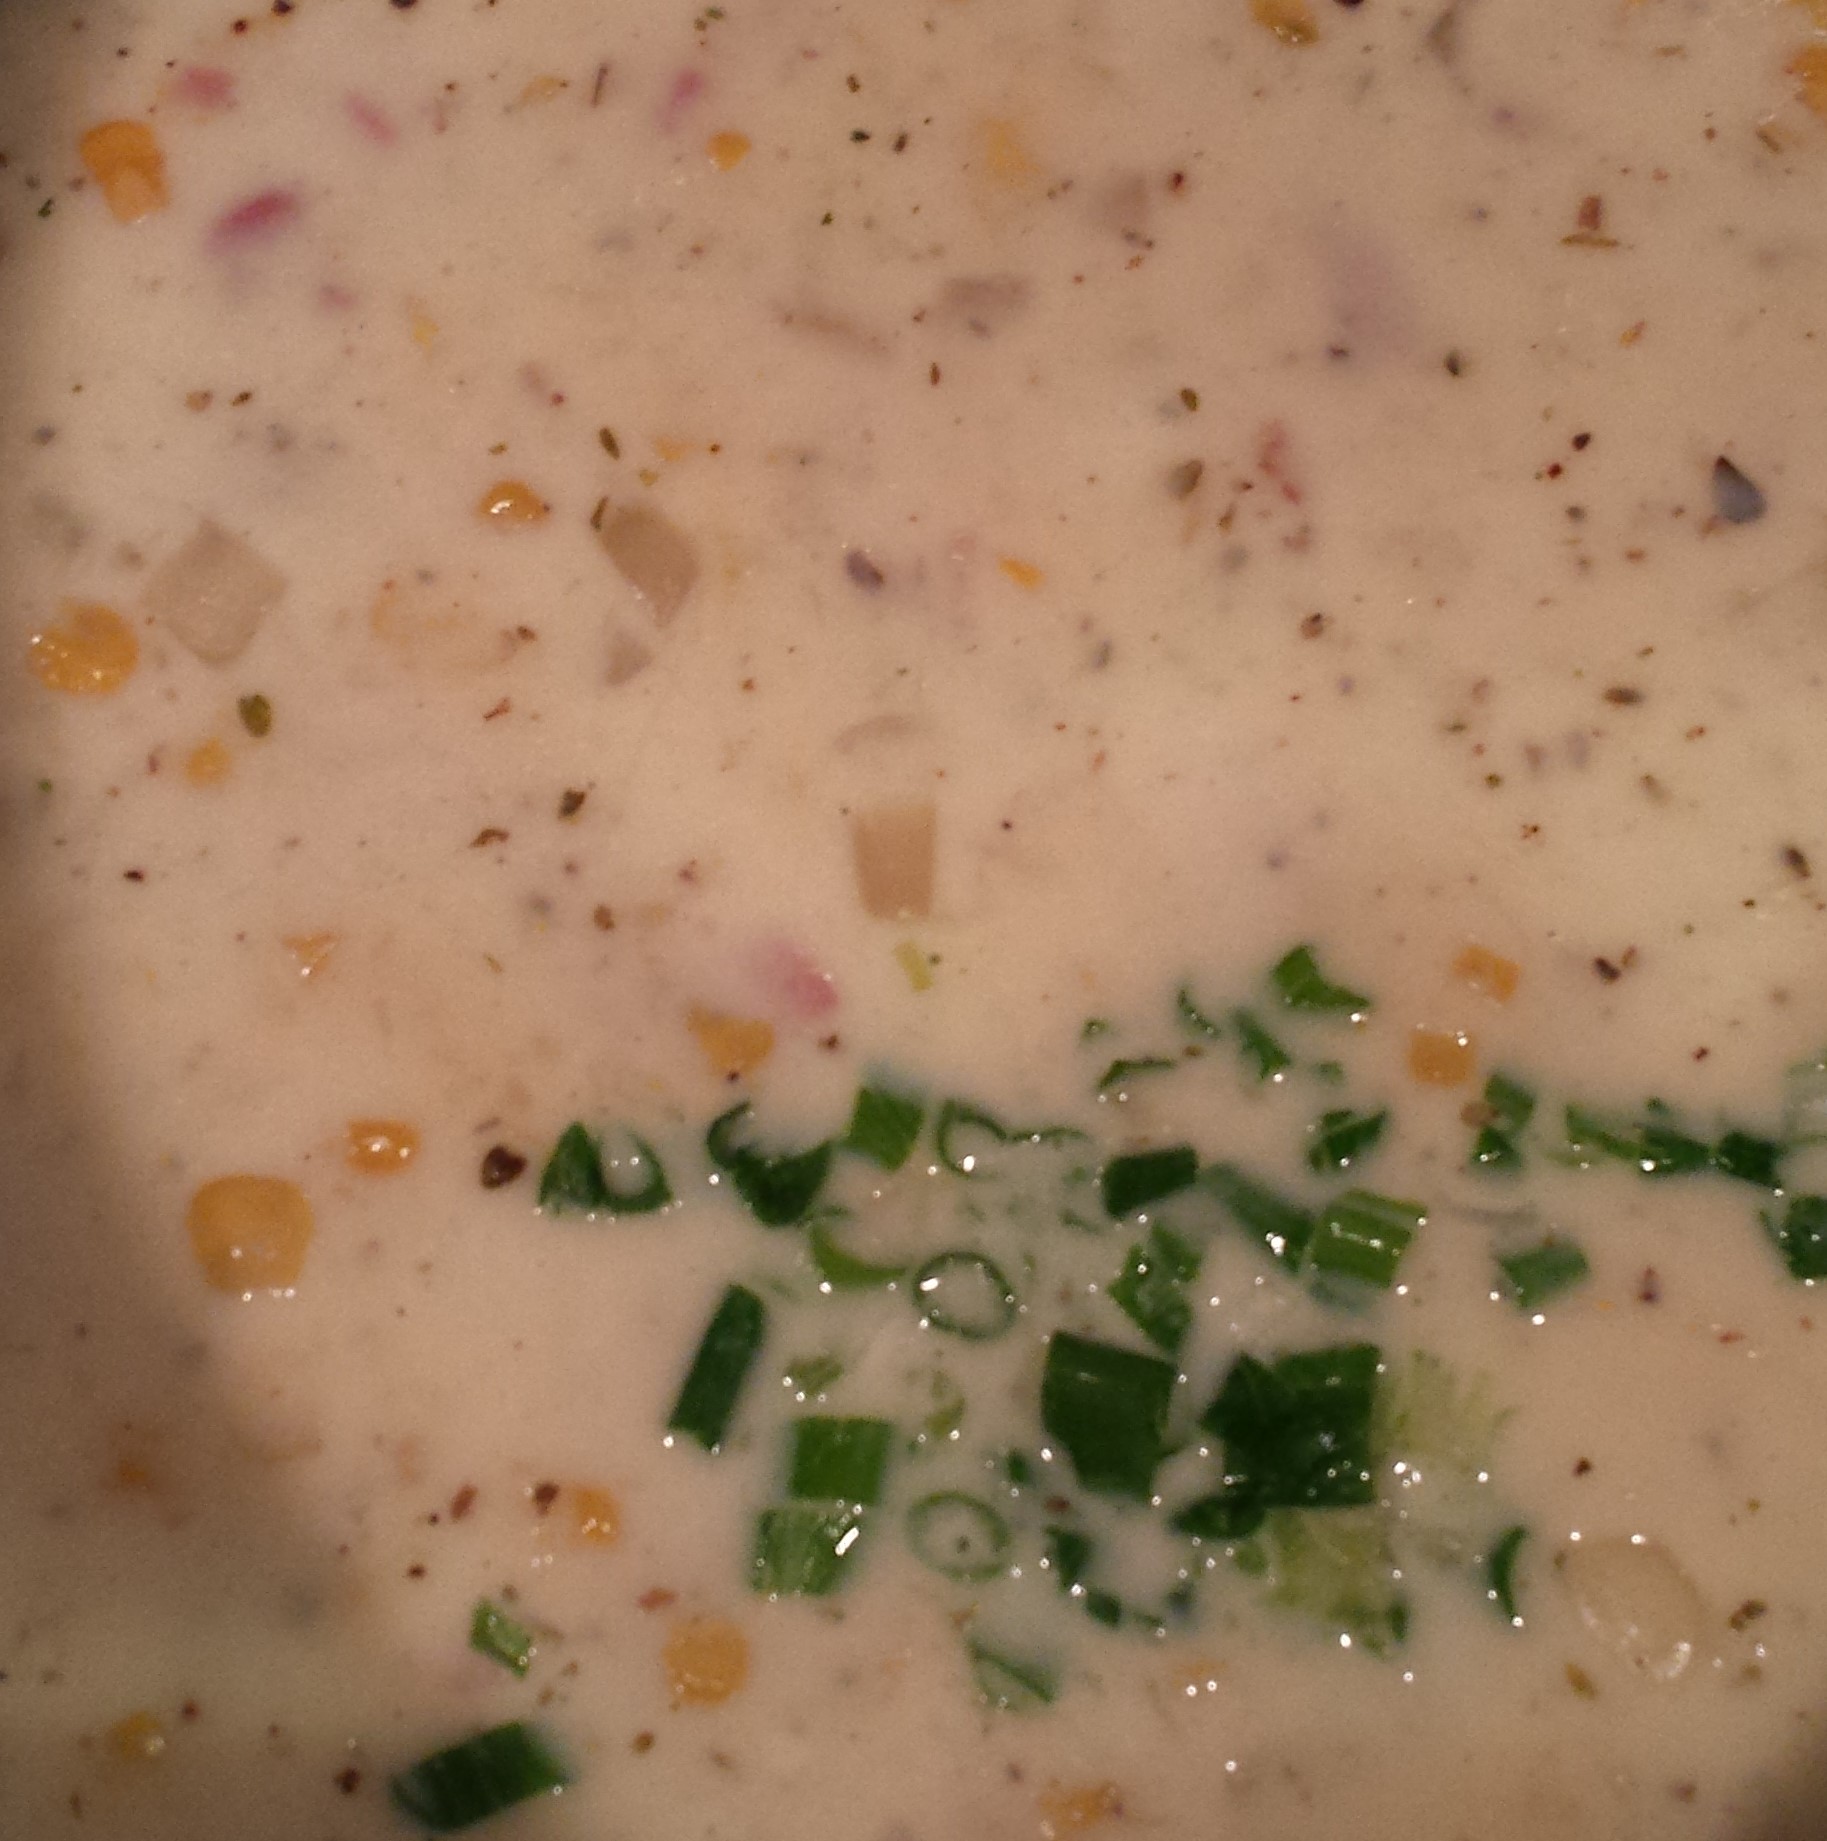
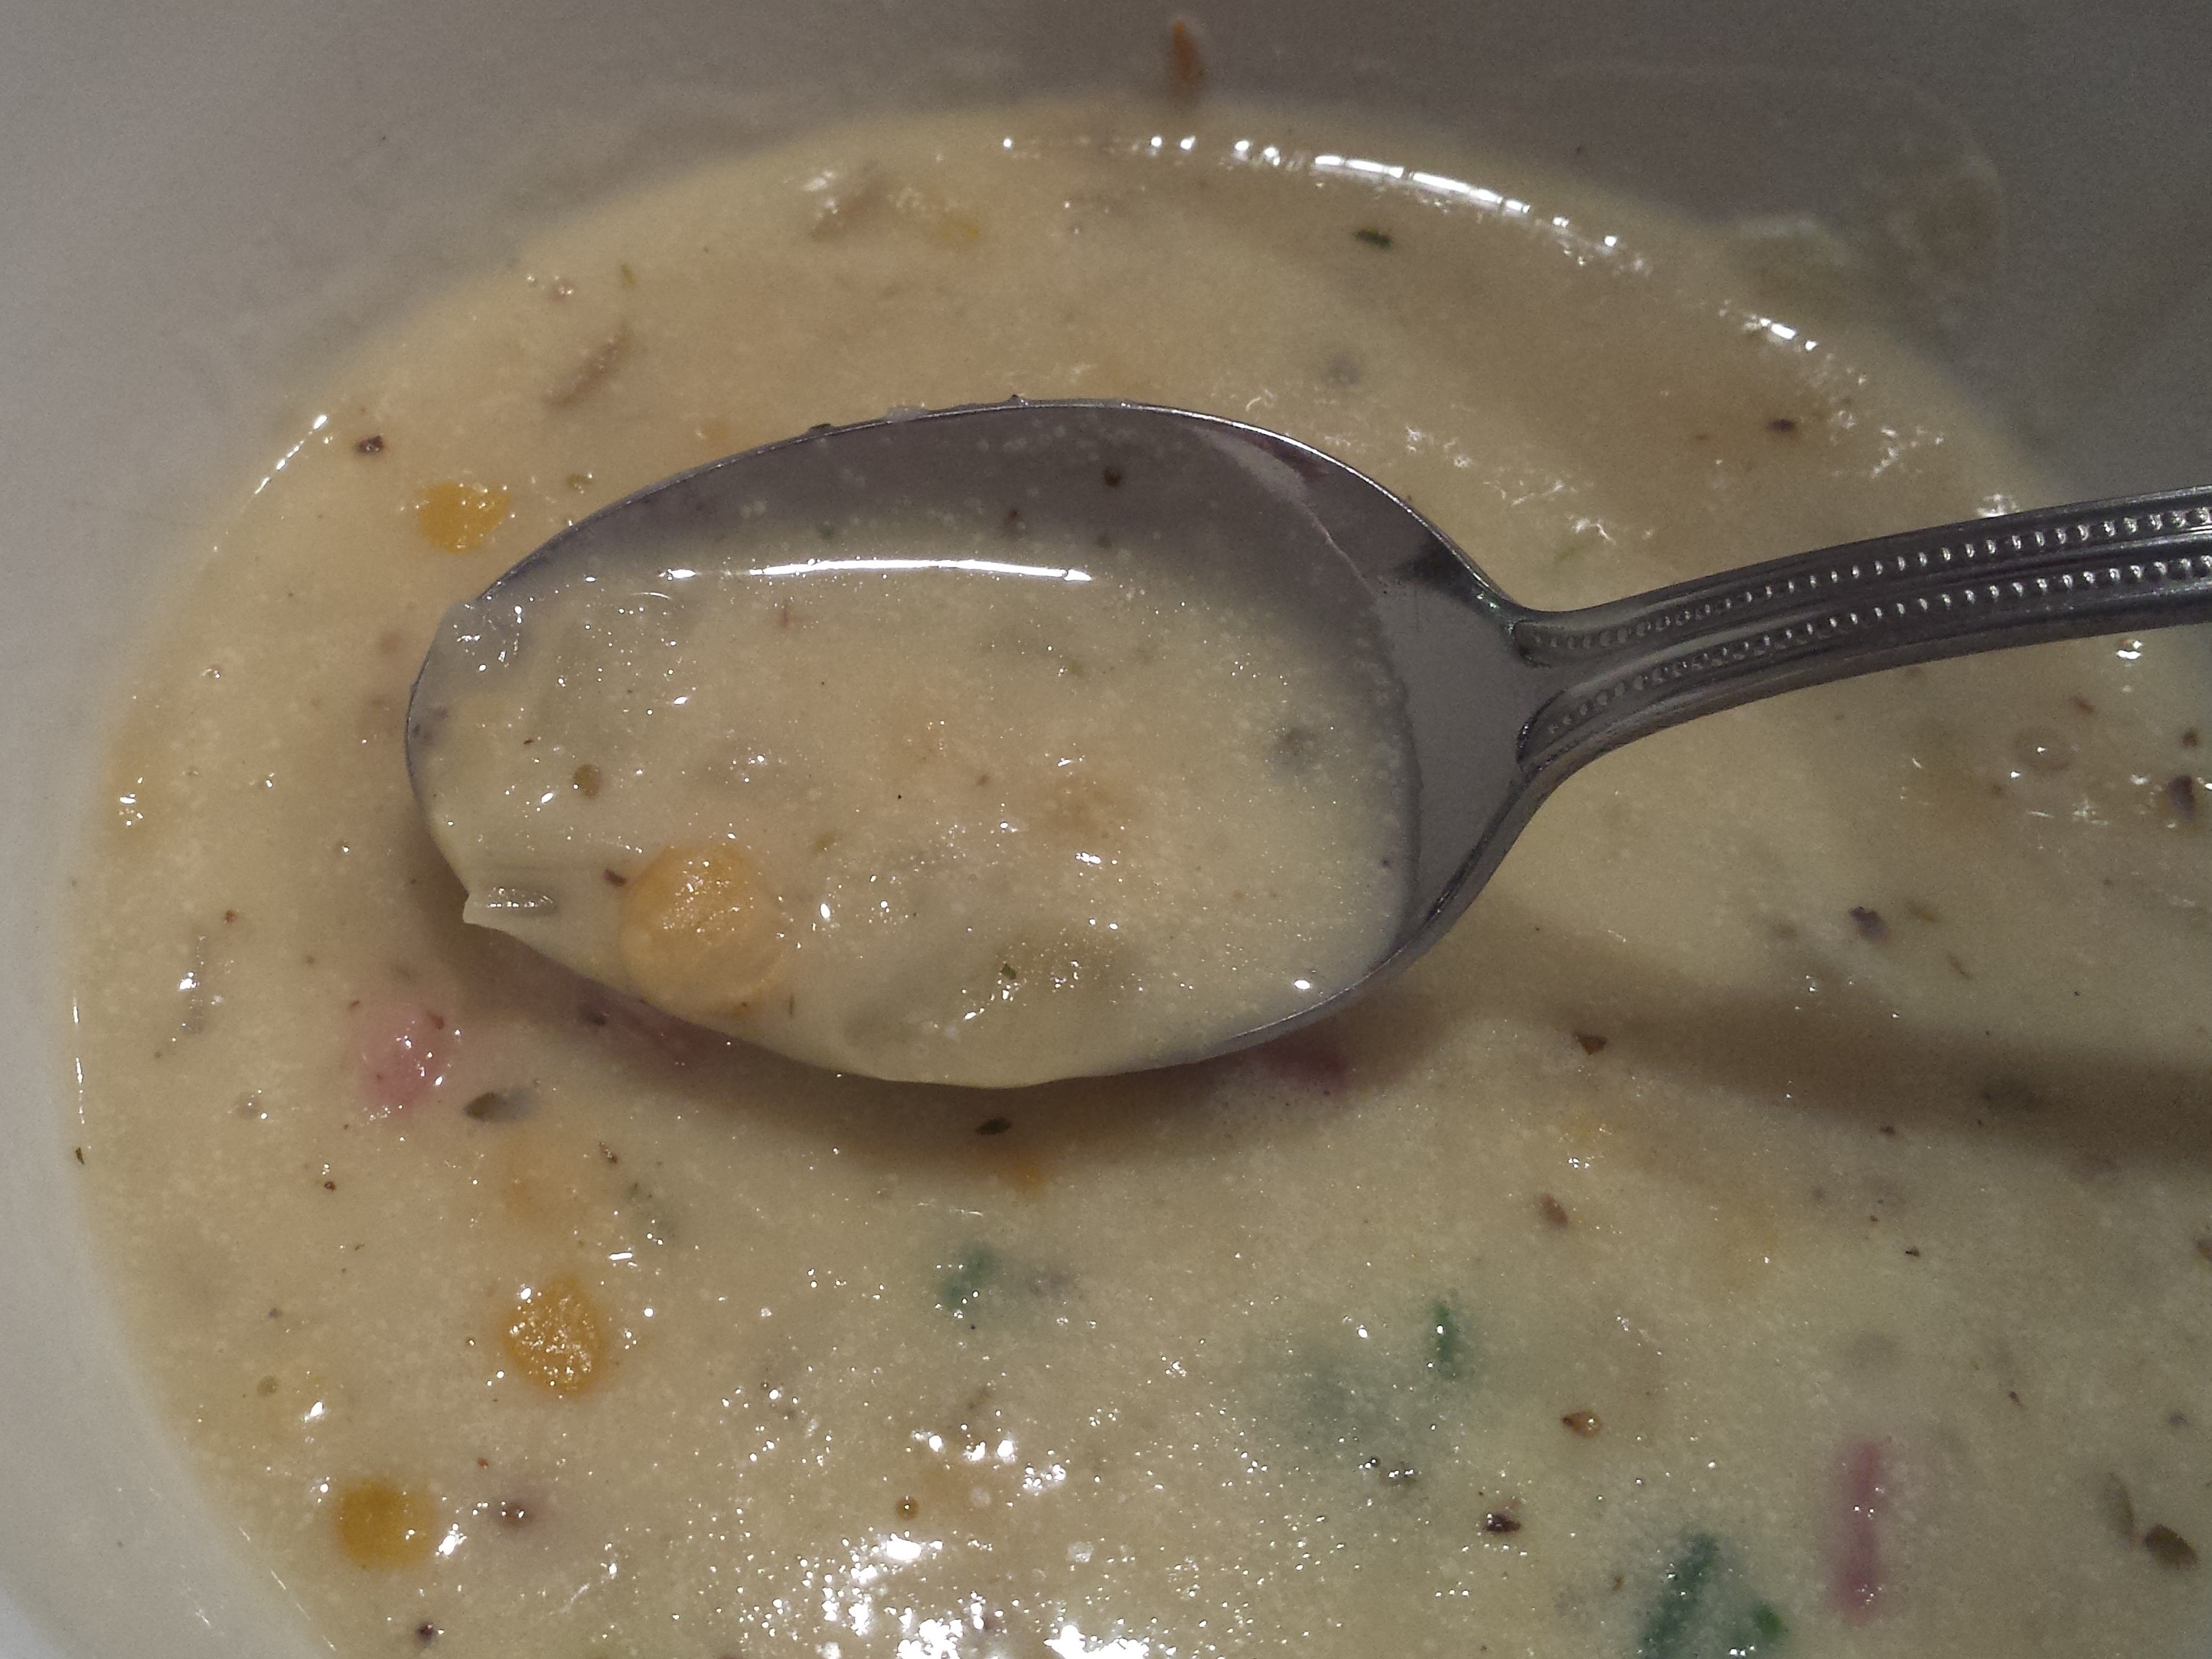
Soupy Corn Chowder

The winter time always makes me yearn for soups, but I get tired of making and eating the same ones again and again. After Christmas this year, I had some leftover ham and thought about this delicious corn chowder recipe I have. Most chowders are very thick, the true sign of a chowder and that’s great. For me, I prefer more broth. I’ve made some modifications to a hearty corn and potato soup I’ve made many times in the past so it would be simple, delicious and more soup than chowder. I hope you like it.
Ingredients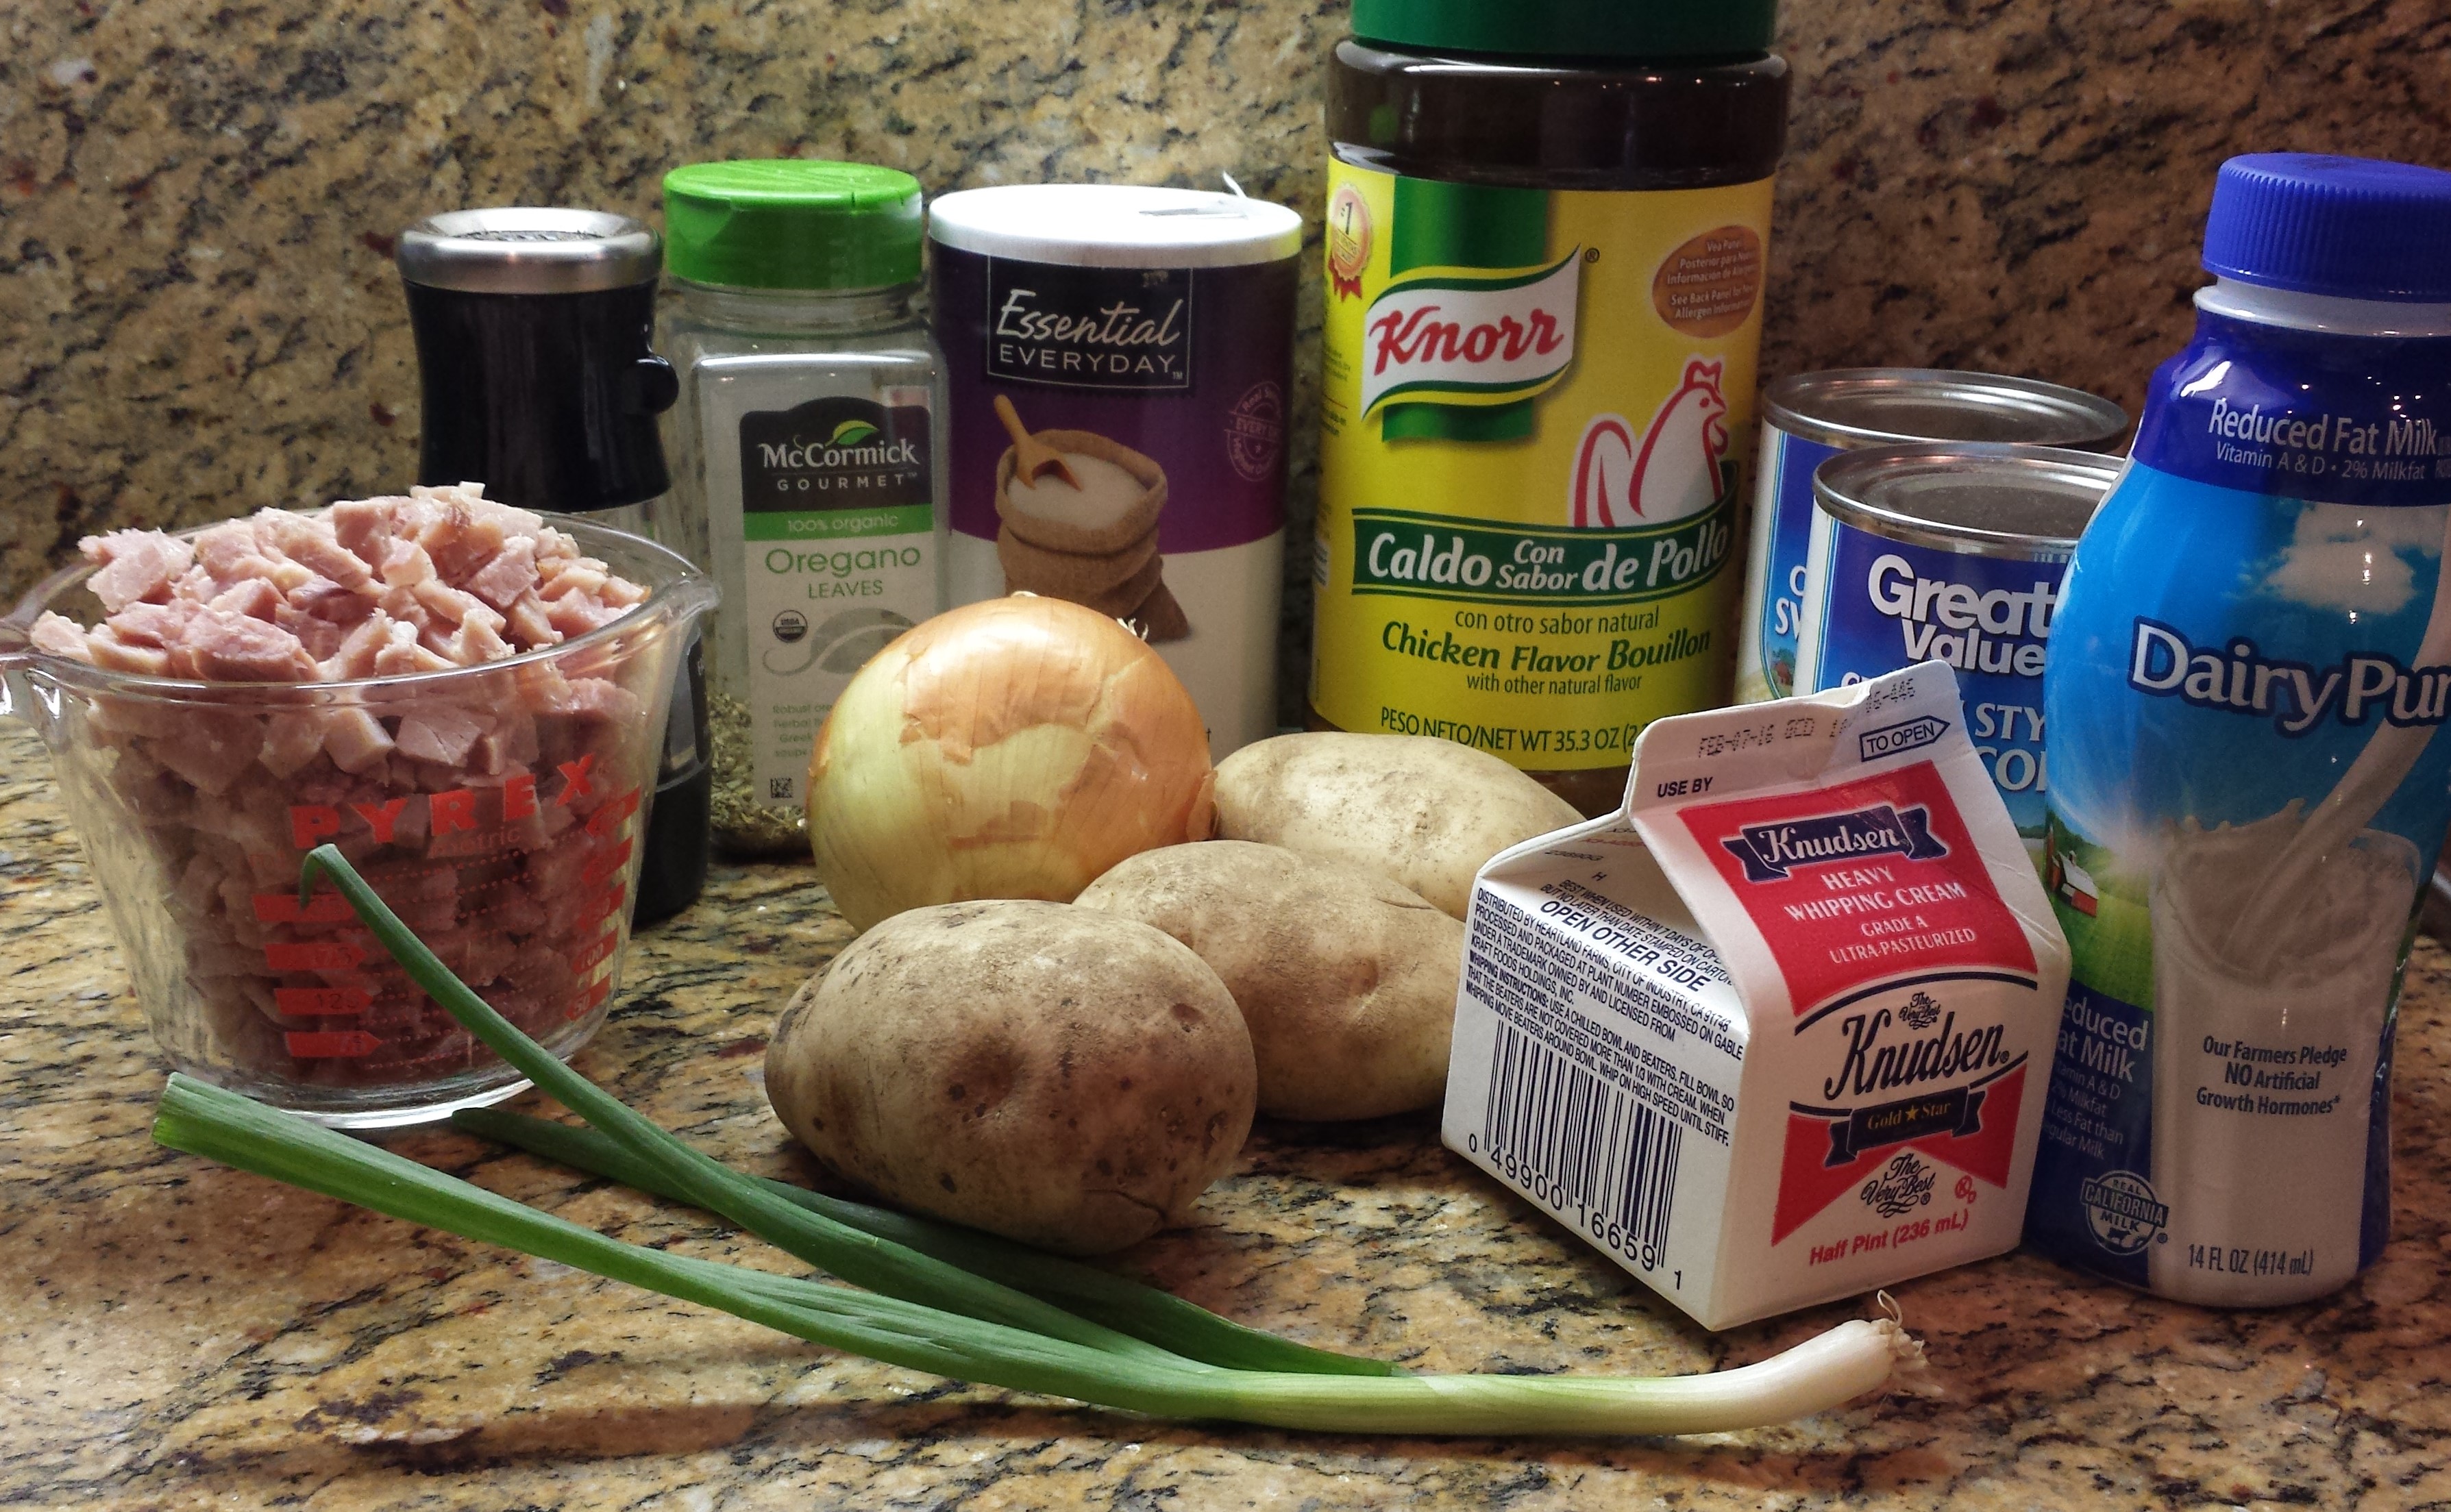
- 2-1/2 cups of diced ham
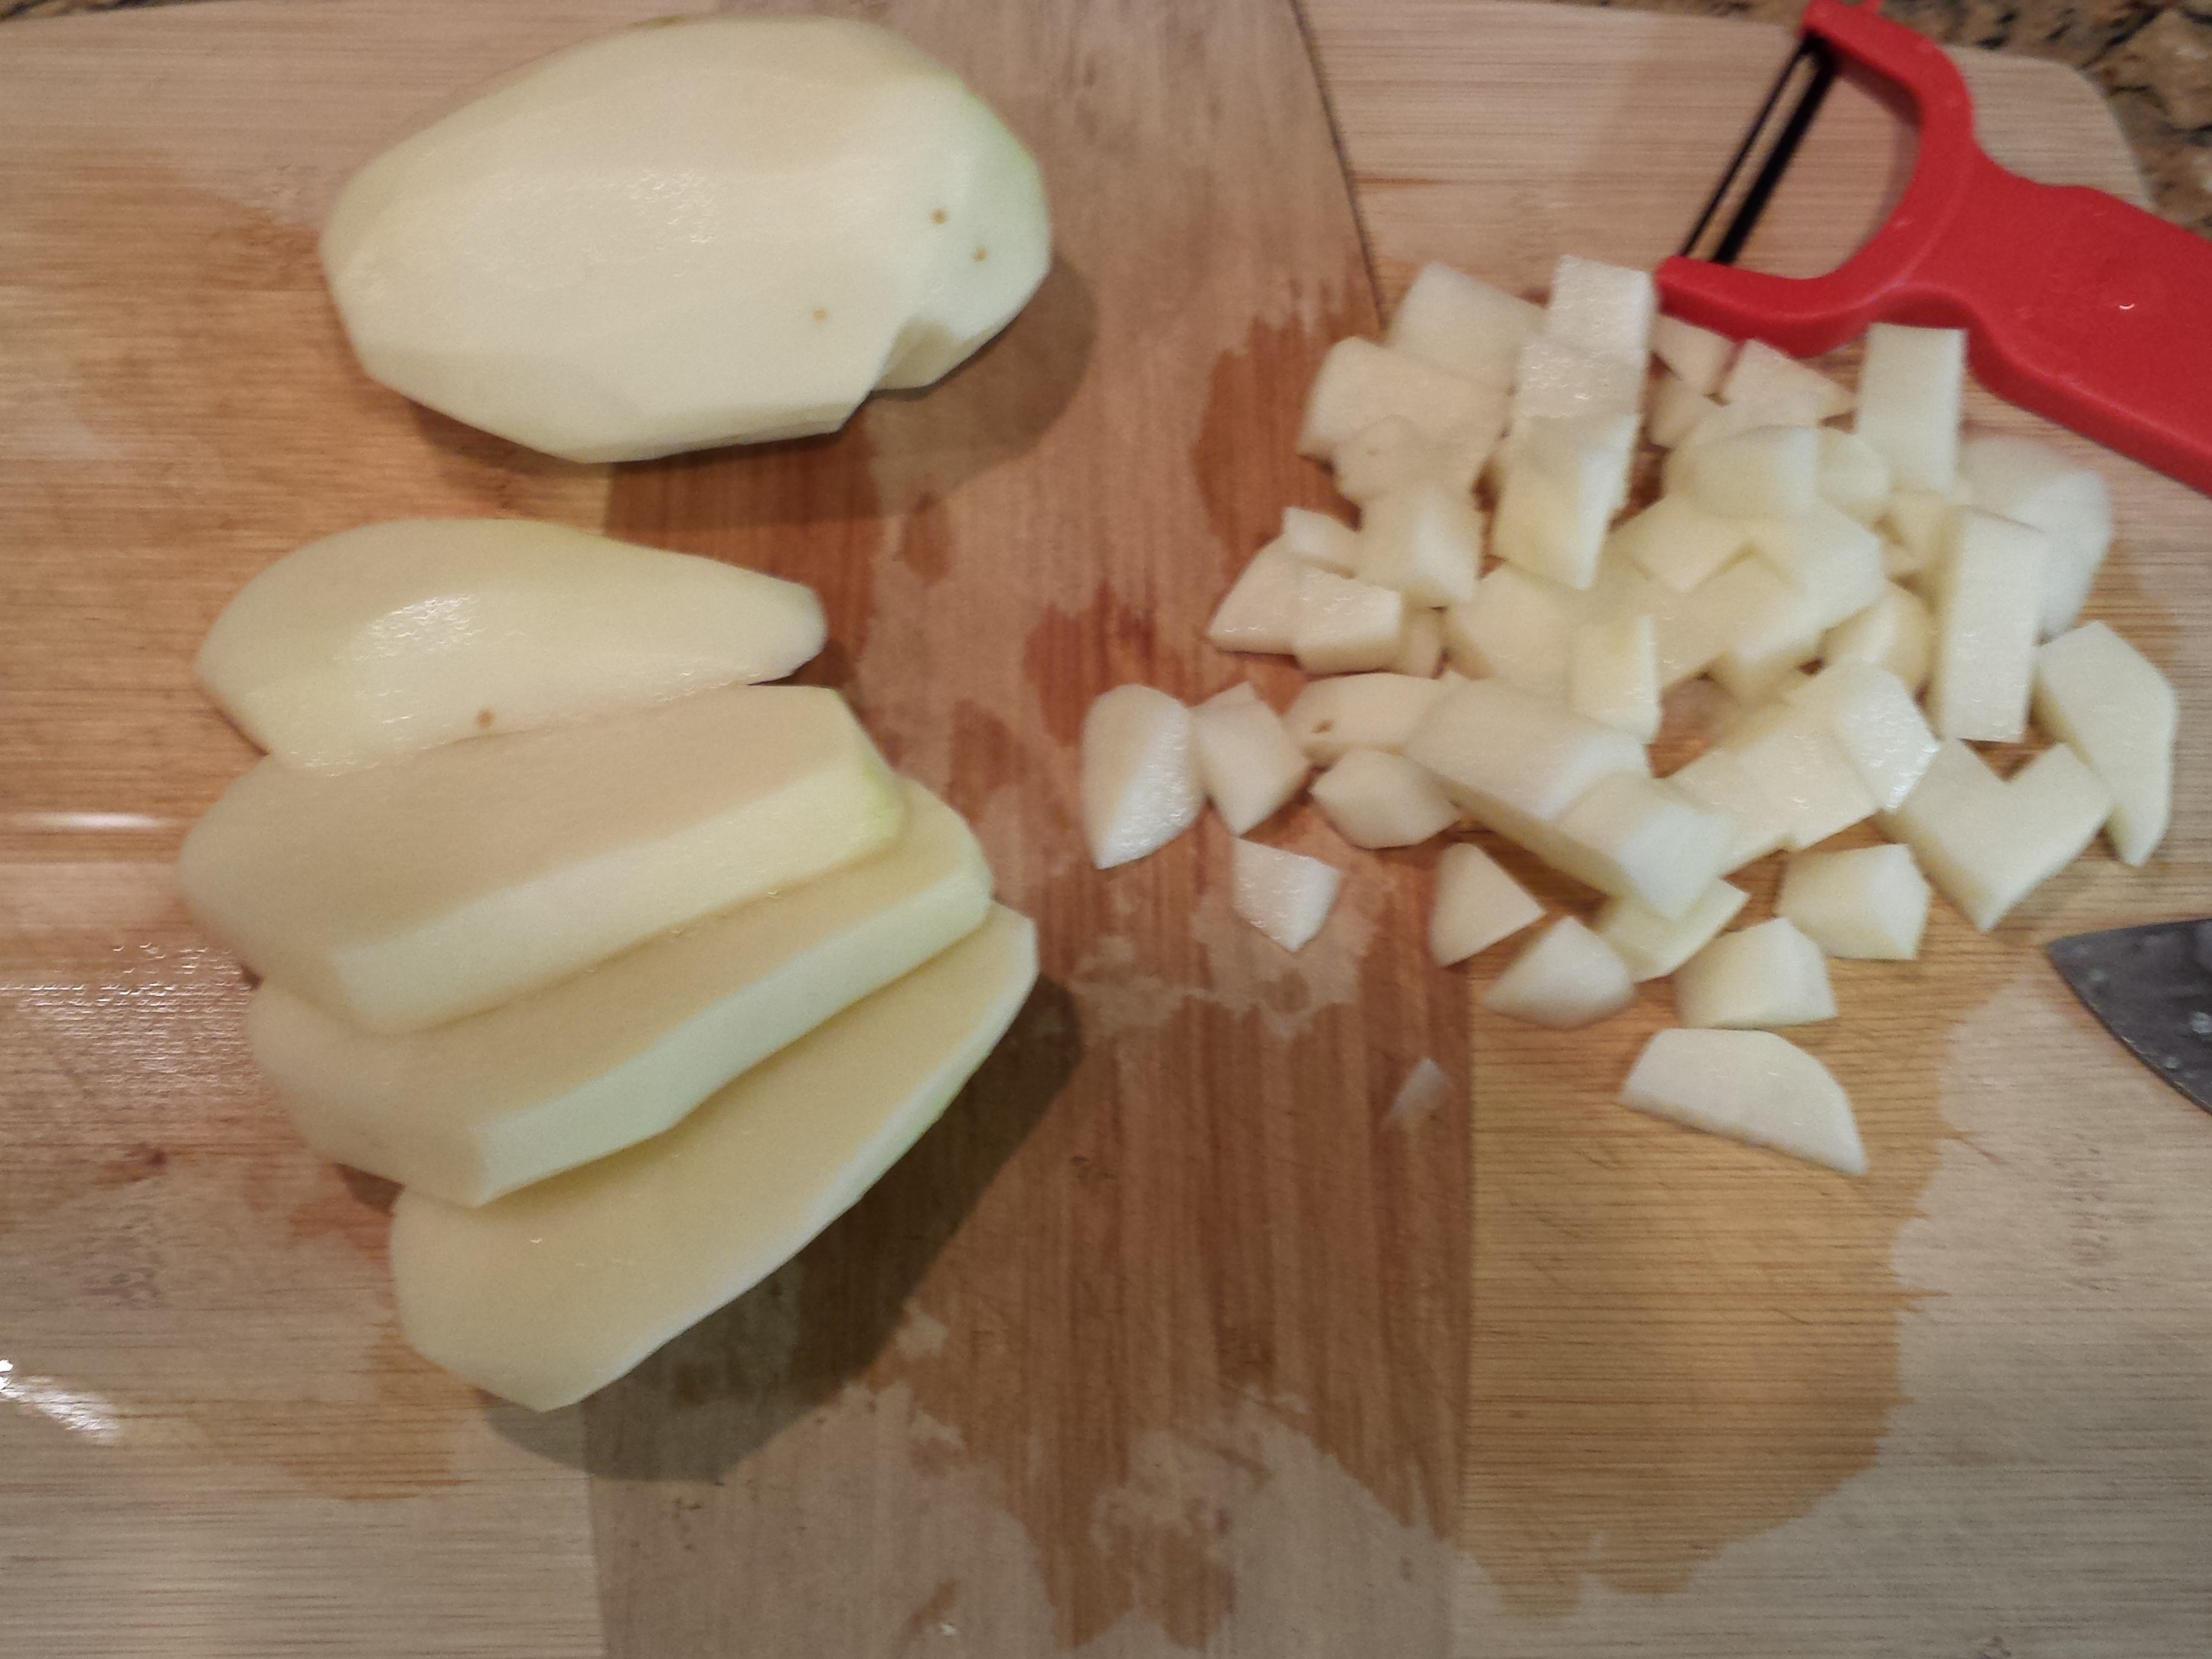
- 3 medium russet potatoes, chopped
- 2 T olive oil
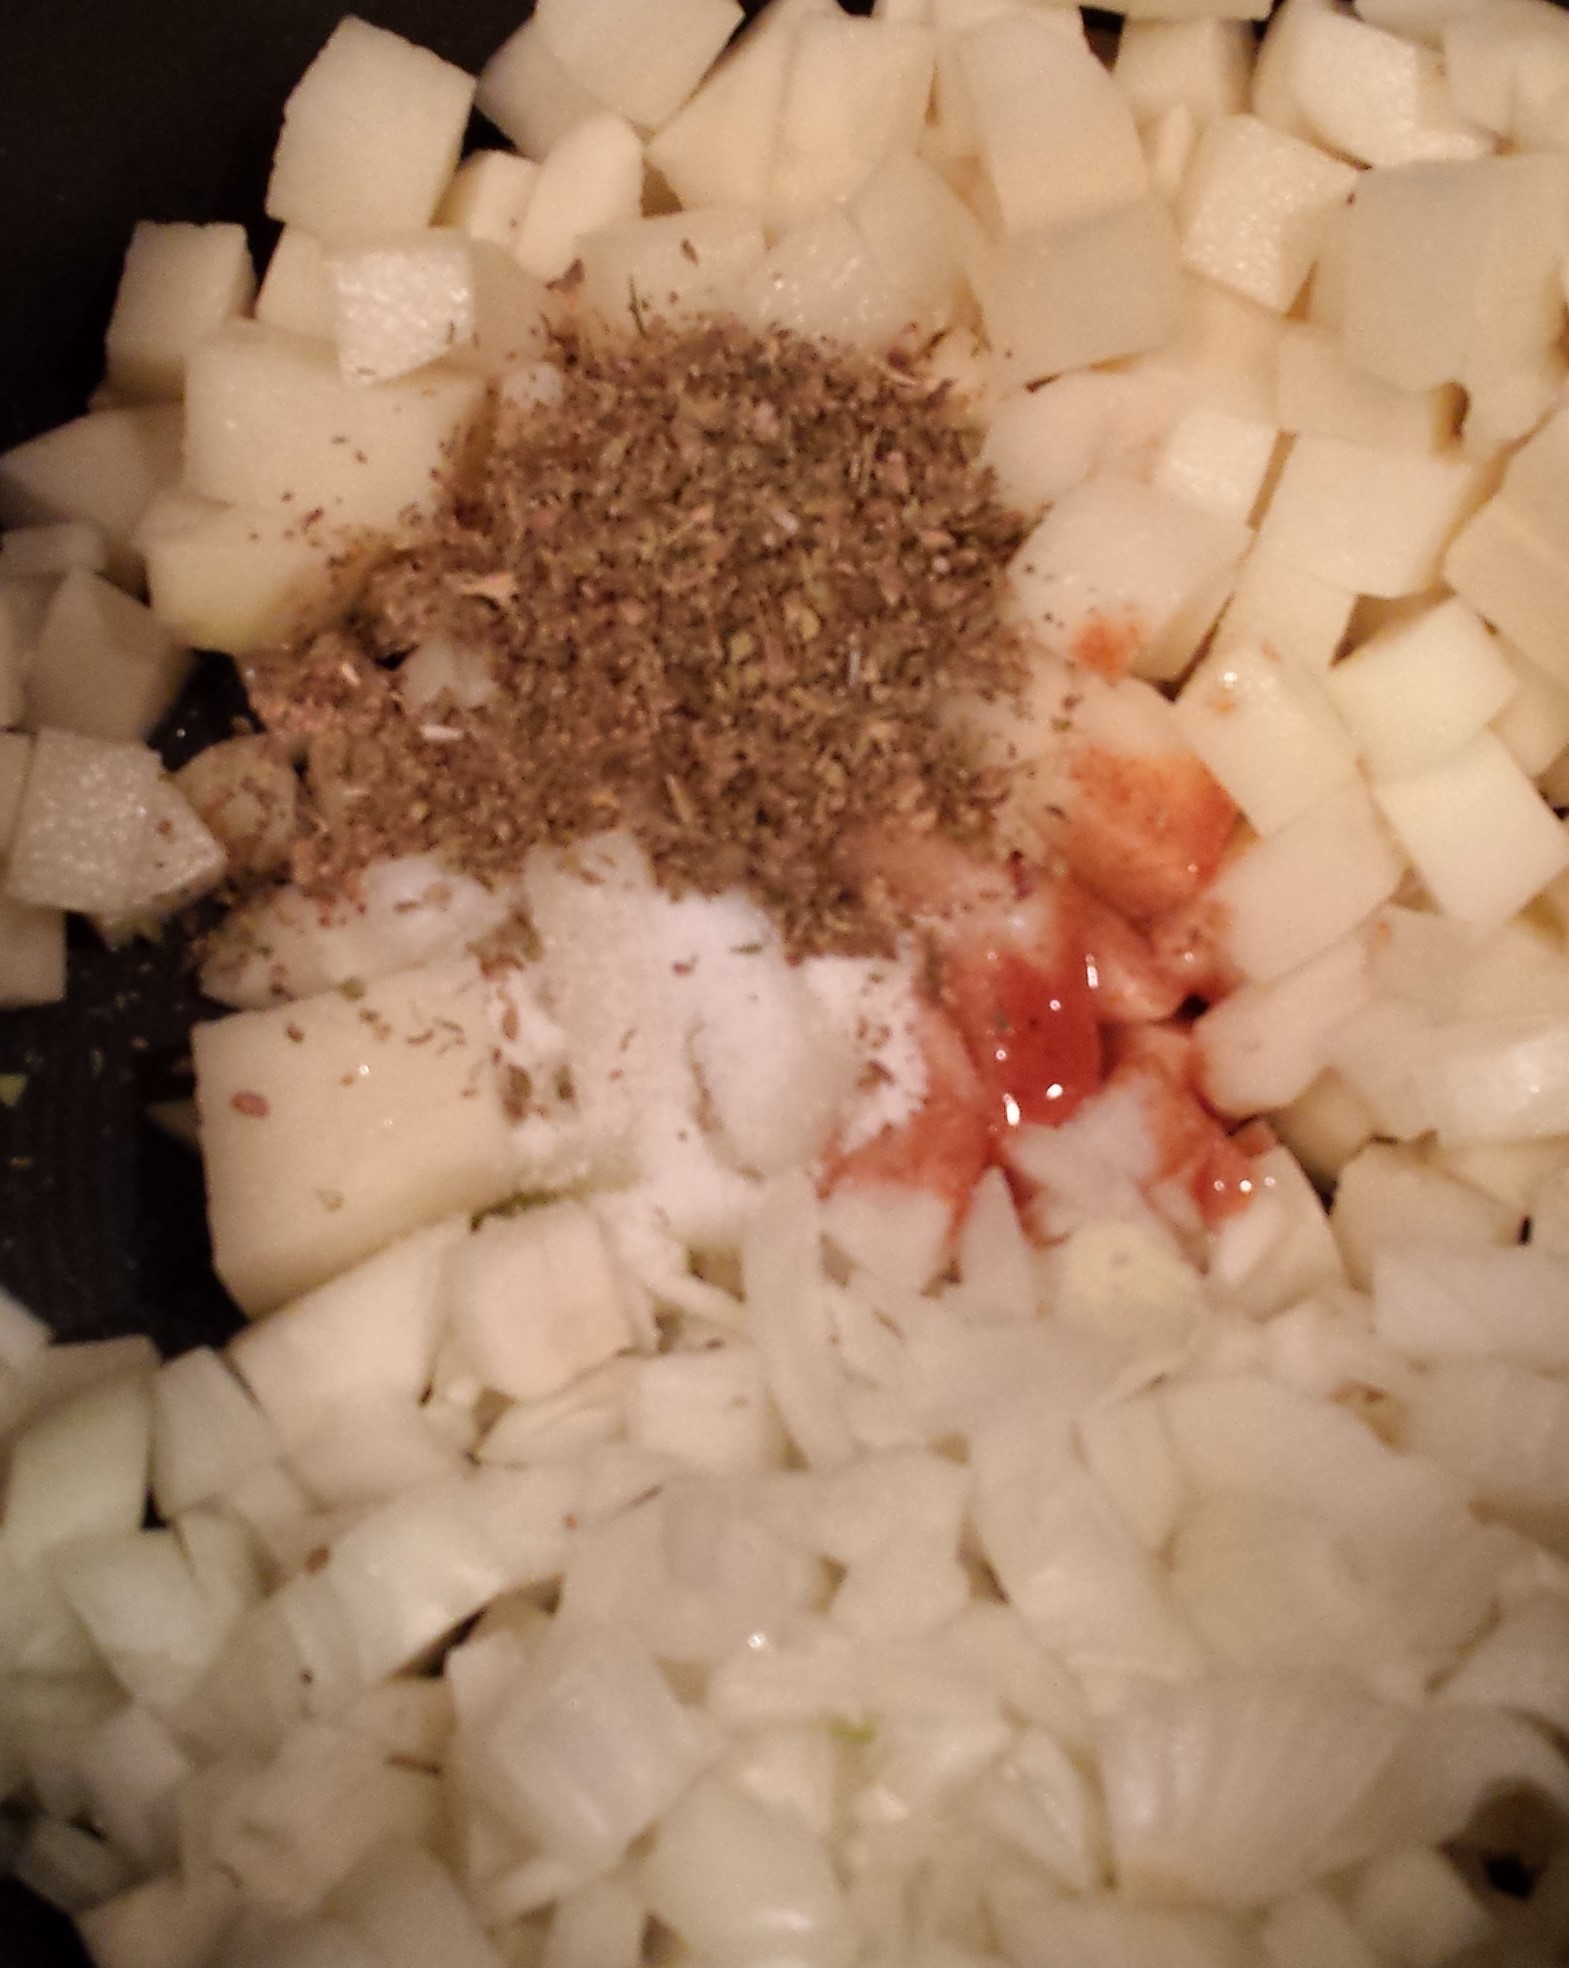
- 1 medium yellow onion, chopped
- 2 tsp dried oregano
- 2 dashes of hot sauce
- 2 cups chicken stock
- 3 cups cream-style corn
- 1/2 tsp salt
- 1/2 tsp pepper
- 3/4 cup heavy cream
- 1-1/2 cup milk
- chives or green onion, chopped
Instructions
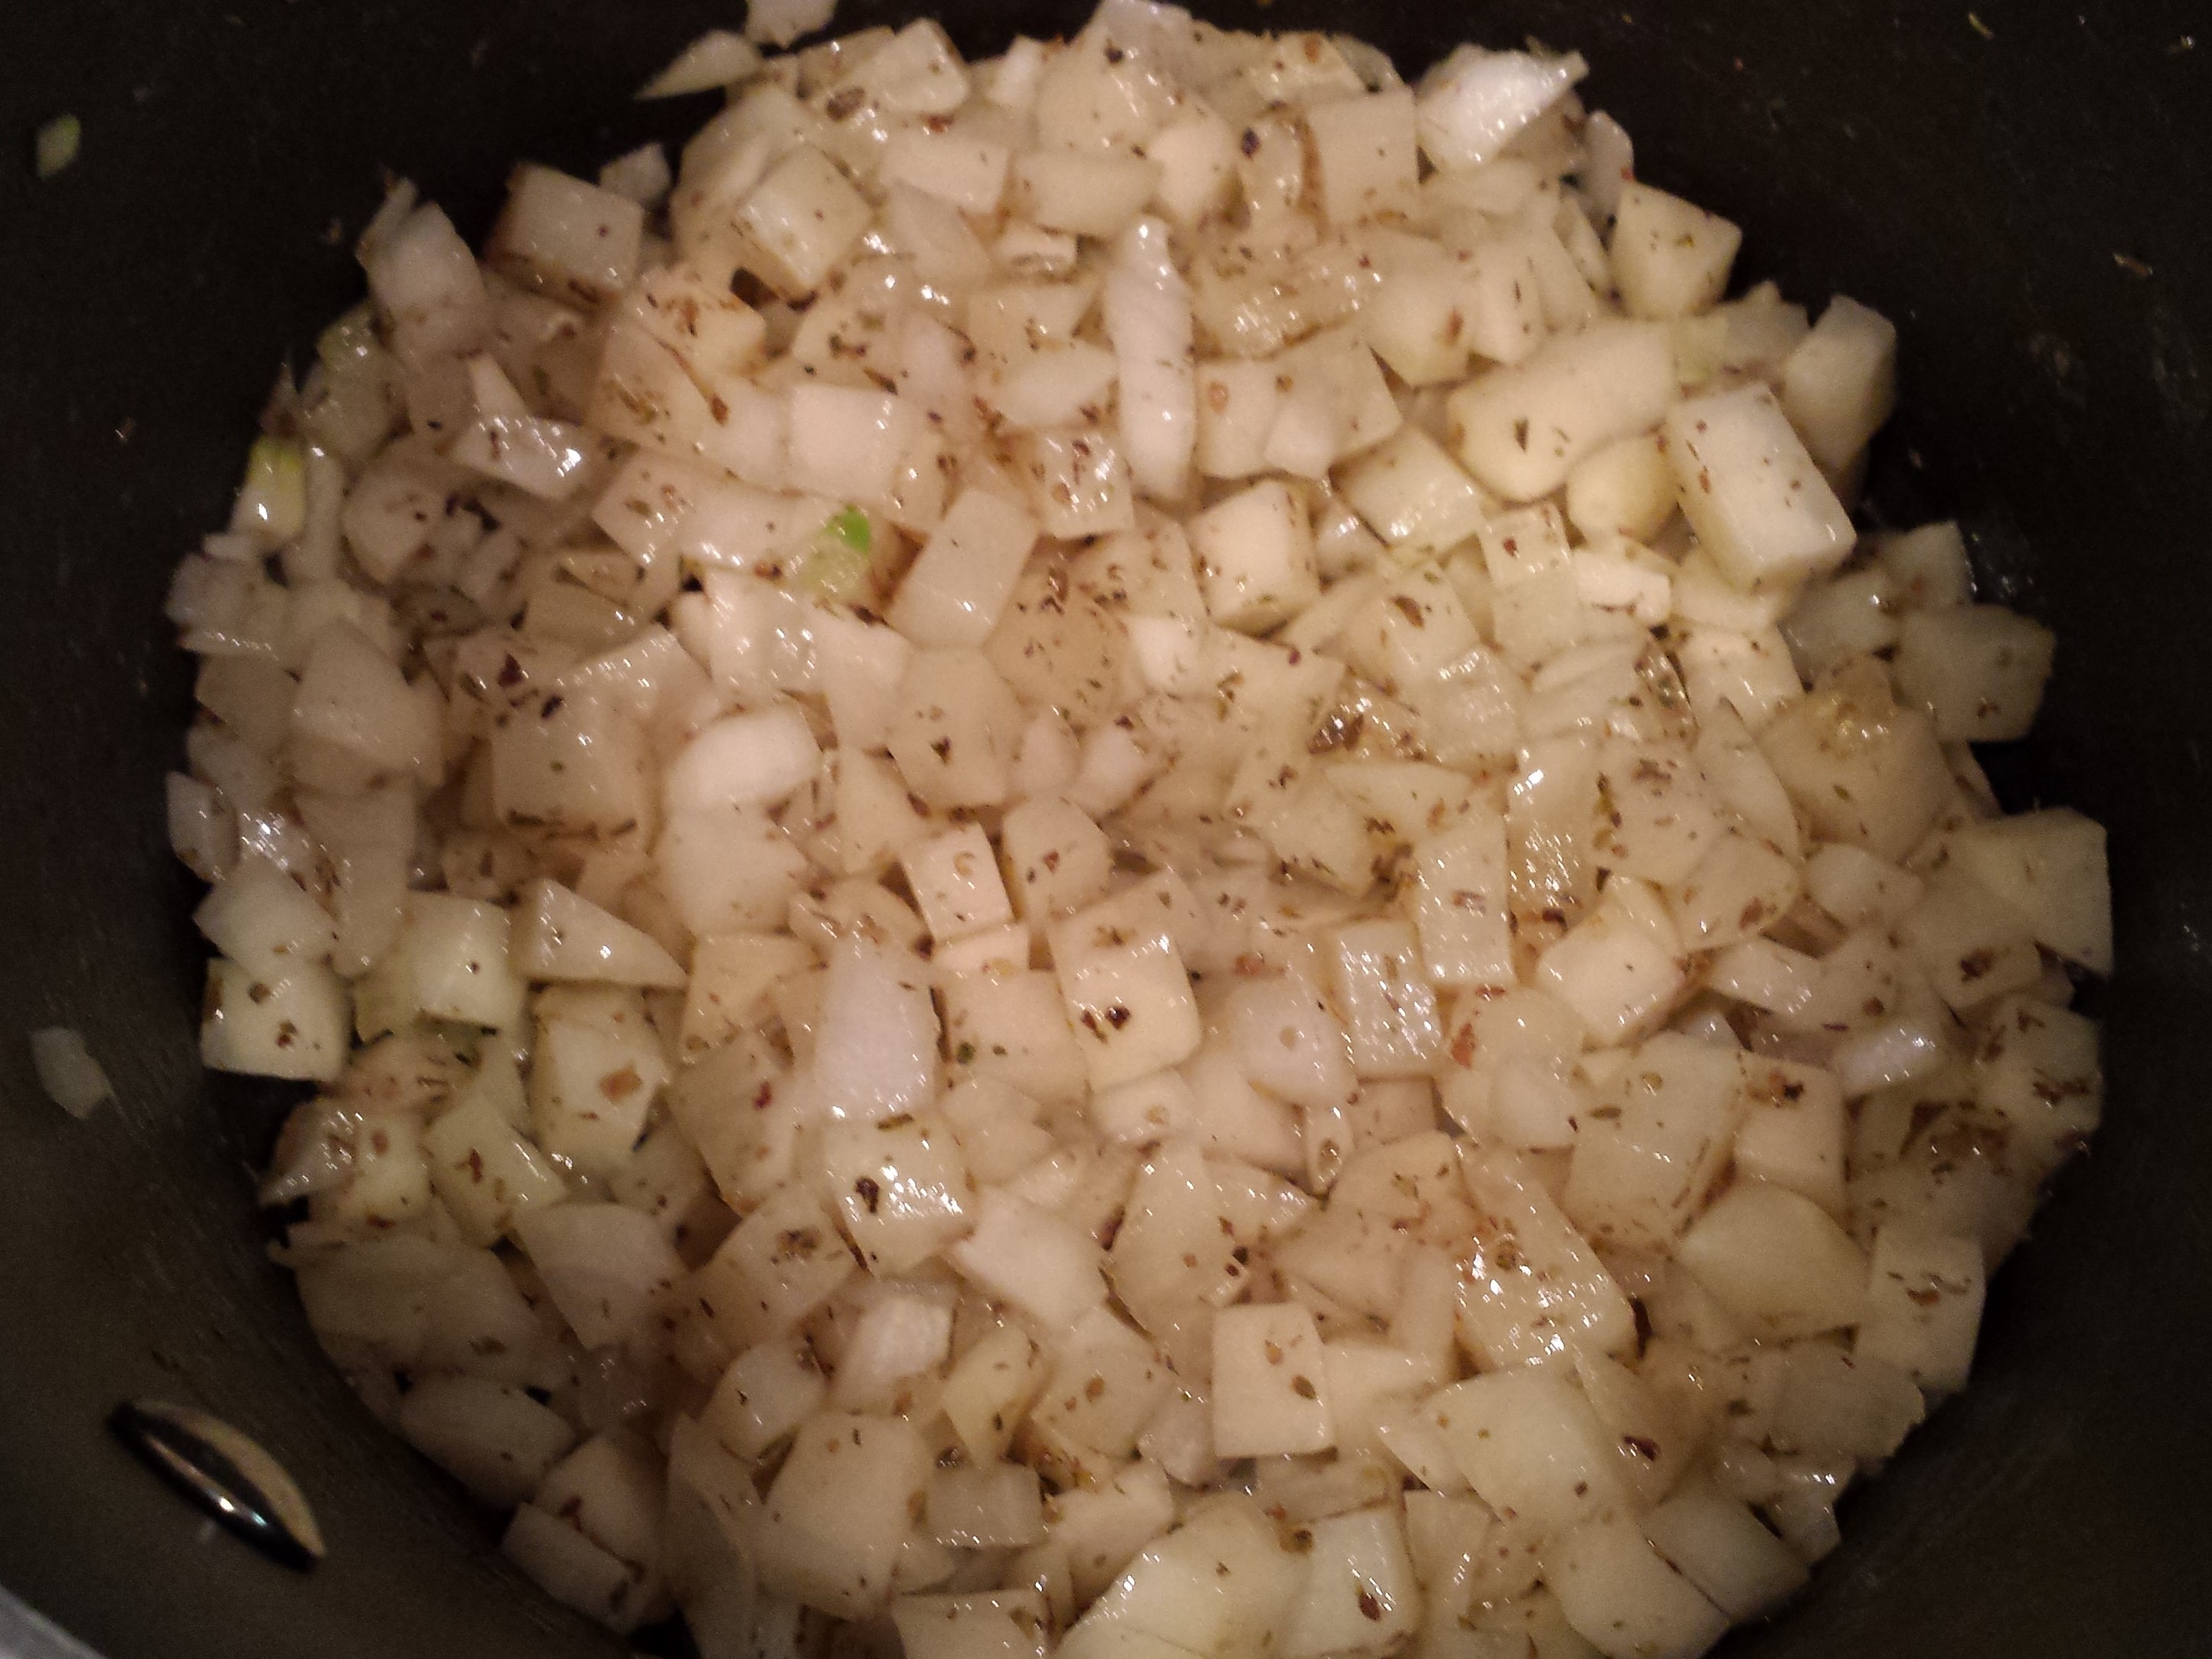
- Prepare potatoes and onions.
- In a medium stock pot, add olive oil, potatoes, oregano, and hot sauce.
- Cook over medium-low heat until onions are translucent.
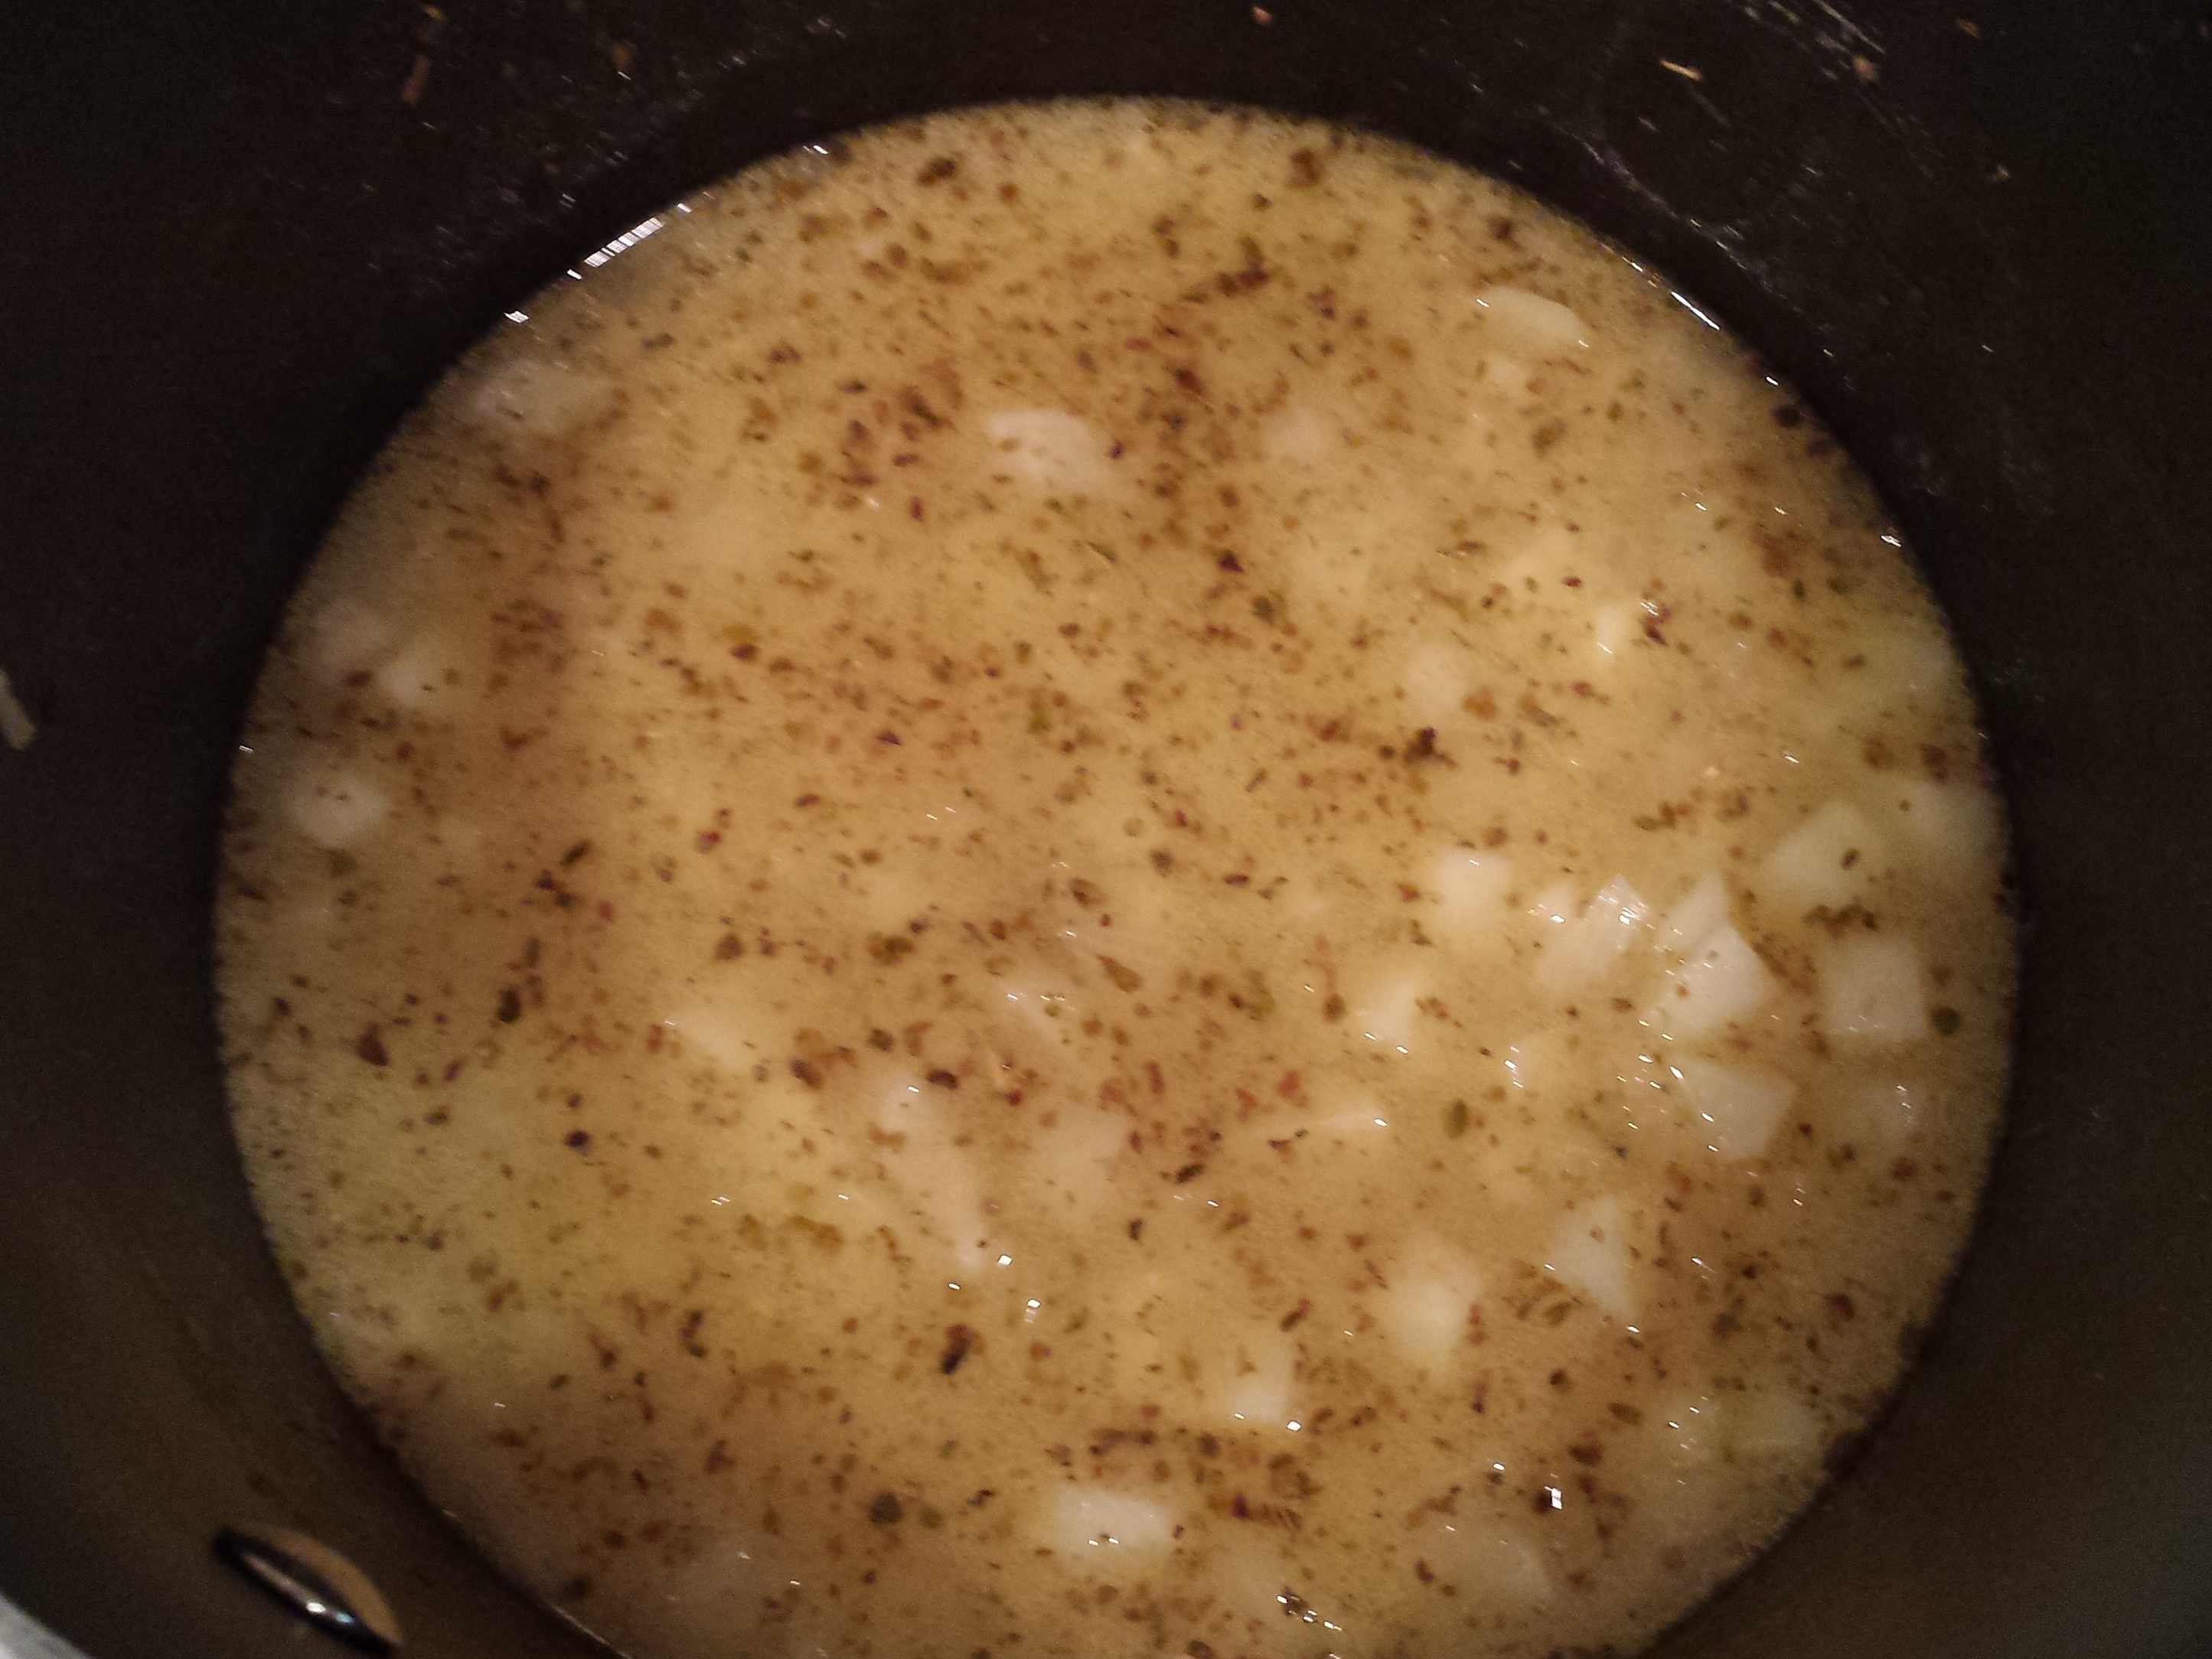
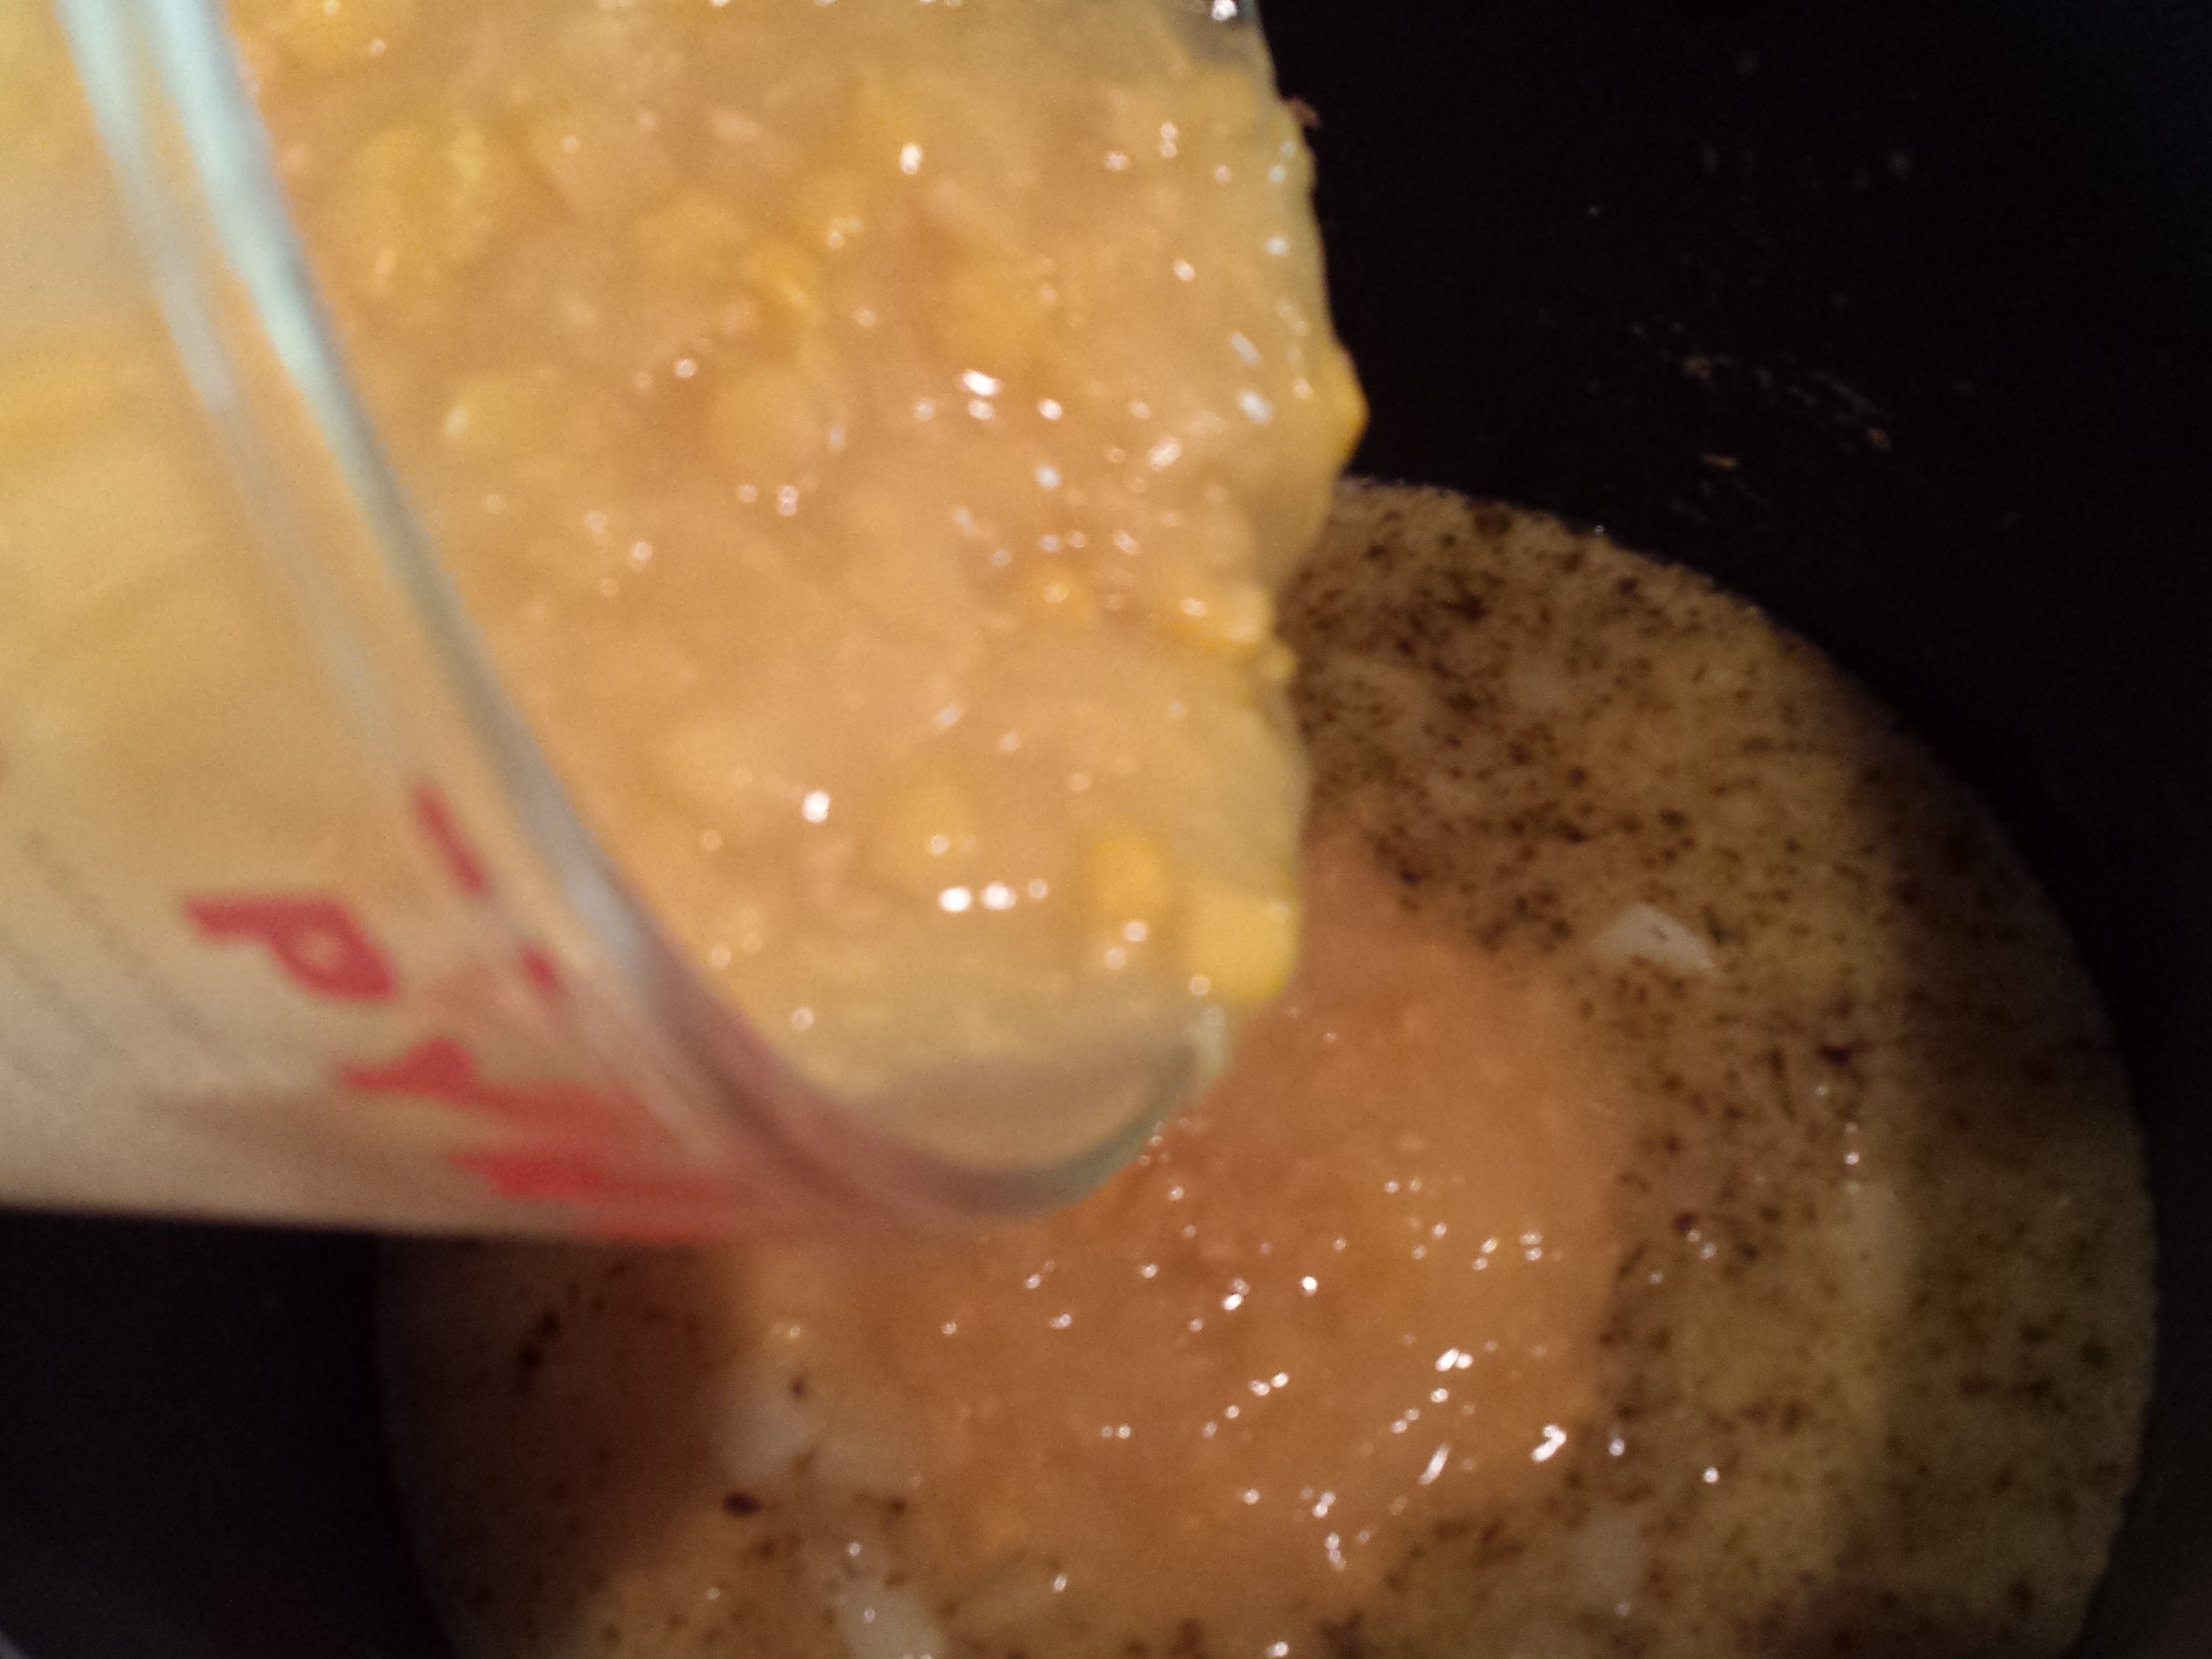
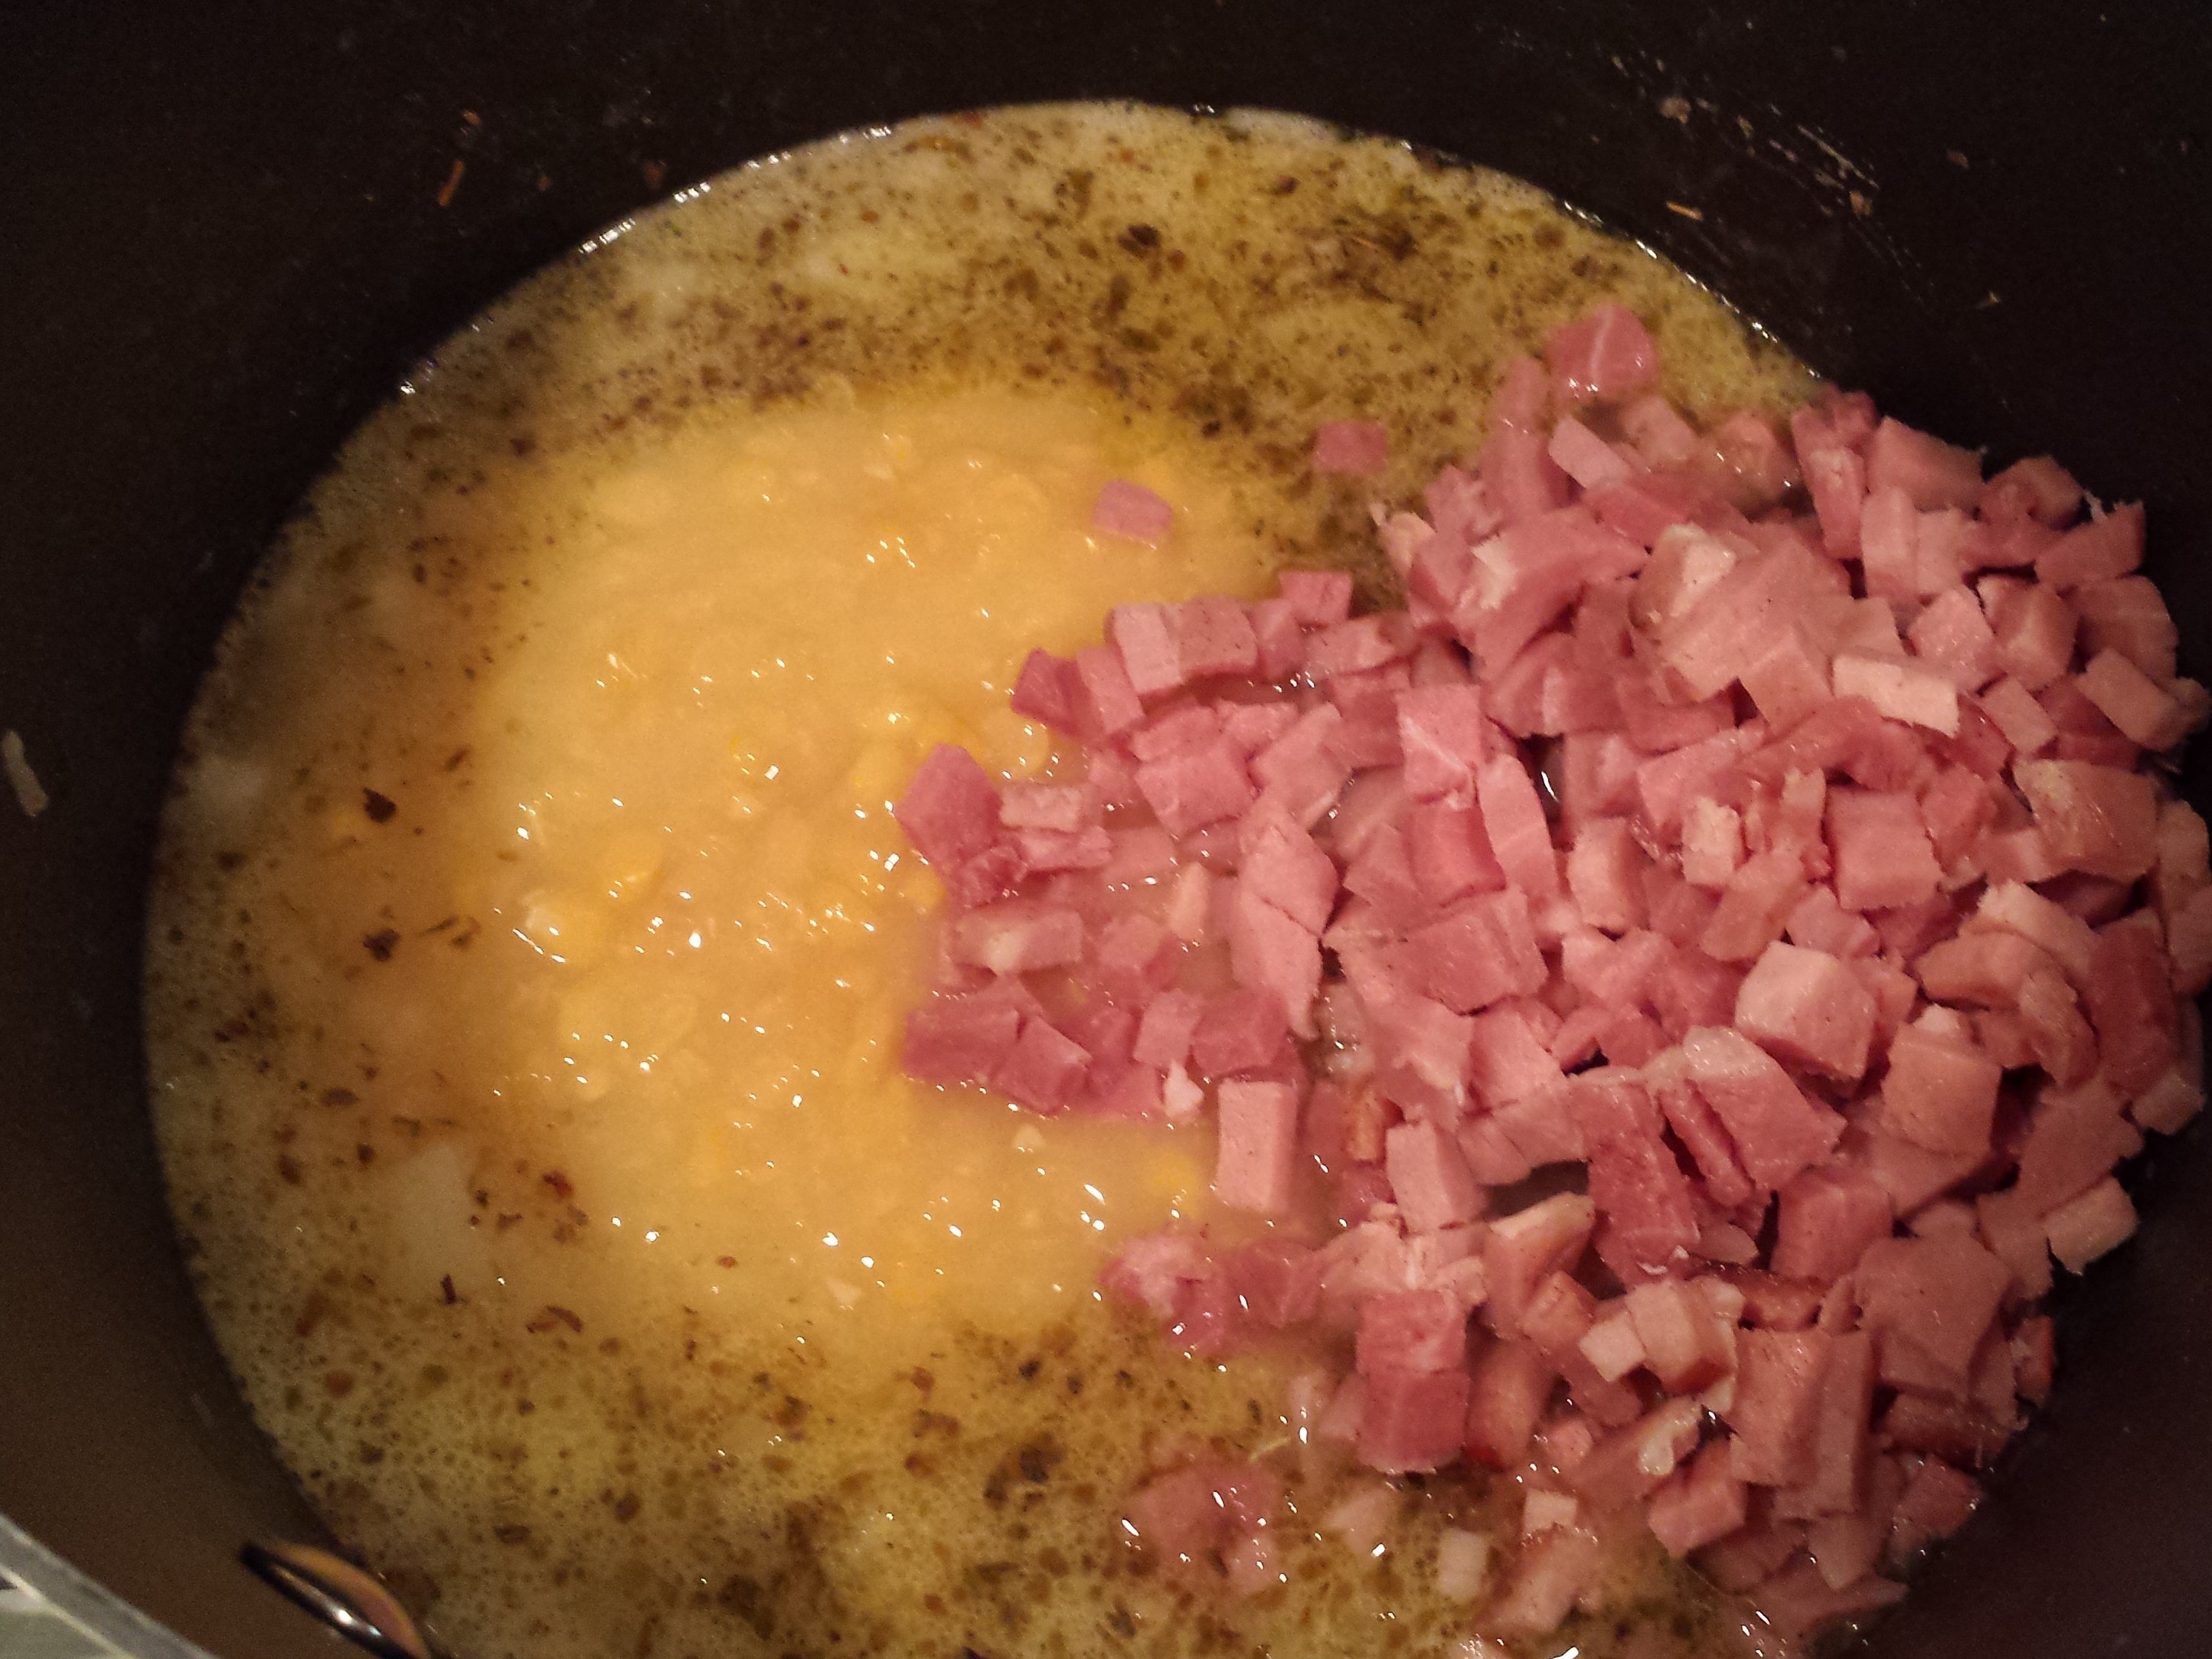
- Pour in the chicken stock, corn and ham.
- Season with salt and pepper.
- Bring to a boil, then reduce heat to low and cover pot.
- Simmer 20 minutes. Stir frequently.

- When the potatoes are tender, add the cream and milk to the chowder.
- Add chives or green onion. Mix well.
- Serve.
Ideas
- Ham – feel free to use turkey ham, but you may need to add some additional salt.
- Milk – I prefer 2%, but you can use 1% or whole milk; Half-half is also an option, but then replace entire cream/milk quantity with it.
- Potatoes – red potatoes also work well.
- Soup versus chowder – if you want this to be thicker, replace more of the milk with heavy cream.
- Serve with bread or crackers.


Stuffed Mushrooms

For the mushroom lover, stuffed mushrooms can be the ideal appetizer just about any time. As for me, I love to get the cremini mushroom container from Costco at least once a month. Usually, I’m planning to make some pasta sauces, chicken fricasse or maybe a chicken marsala. Every so often though, I just want to have some stuffed mushrooms. For instance, today is Christmas and my mother was over. She loves mushrooms as much as I do. Our menu was light on vegetables so this was the perfect excuse (as if I really need one) for stuffed mushrooms. There is nothing difficult about making these tasty tidbits, but they are a little time consuming and do take some work. However, your taste buds will tell you that it’s worth it. Happy eating!
Ingredients 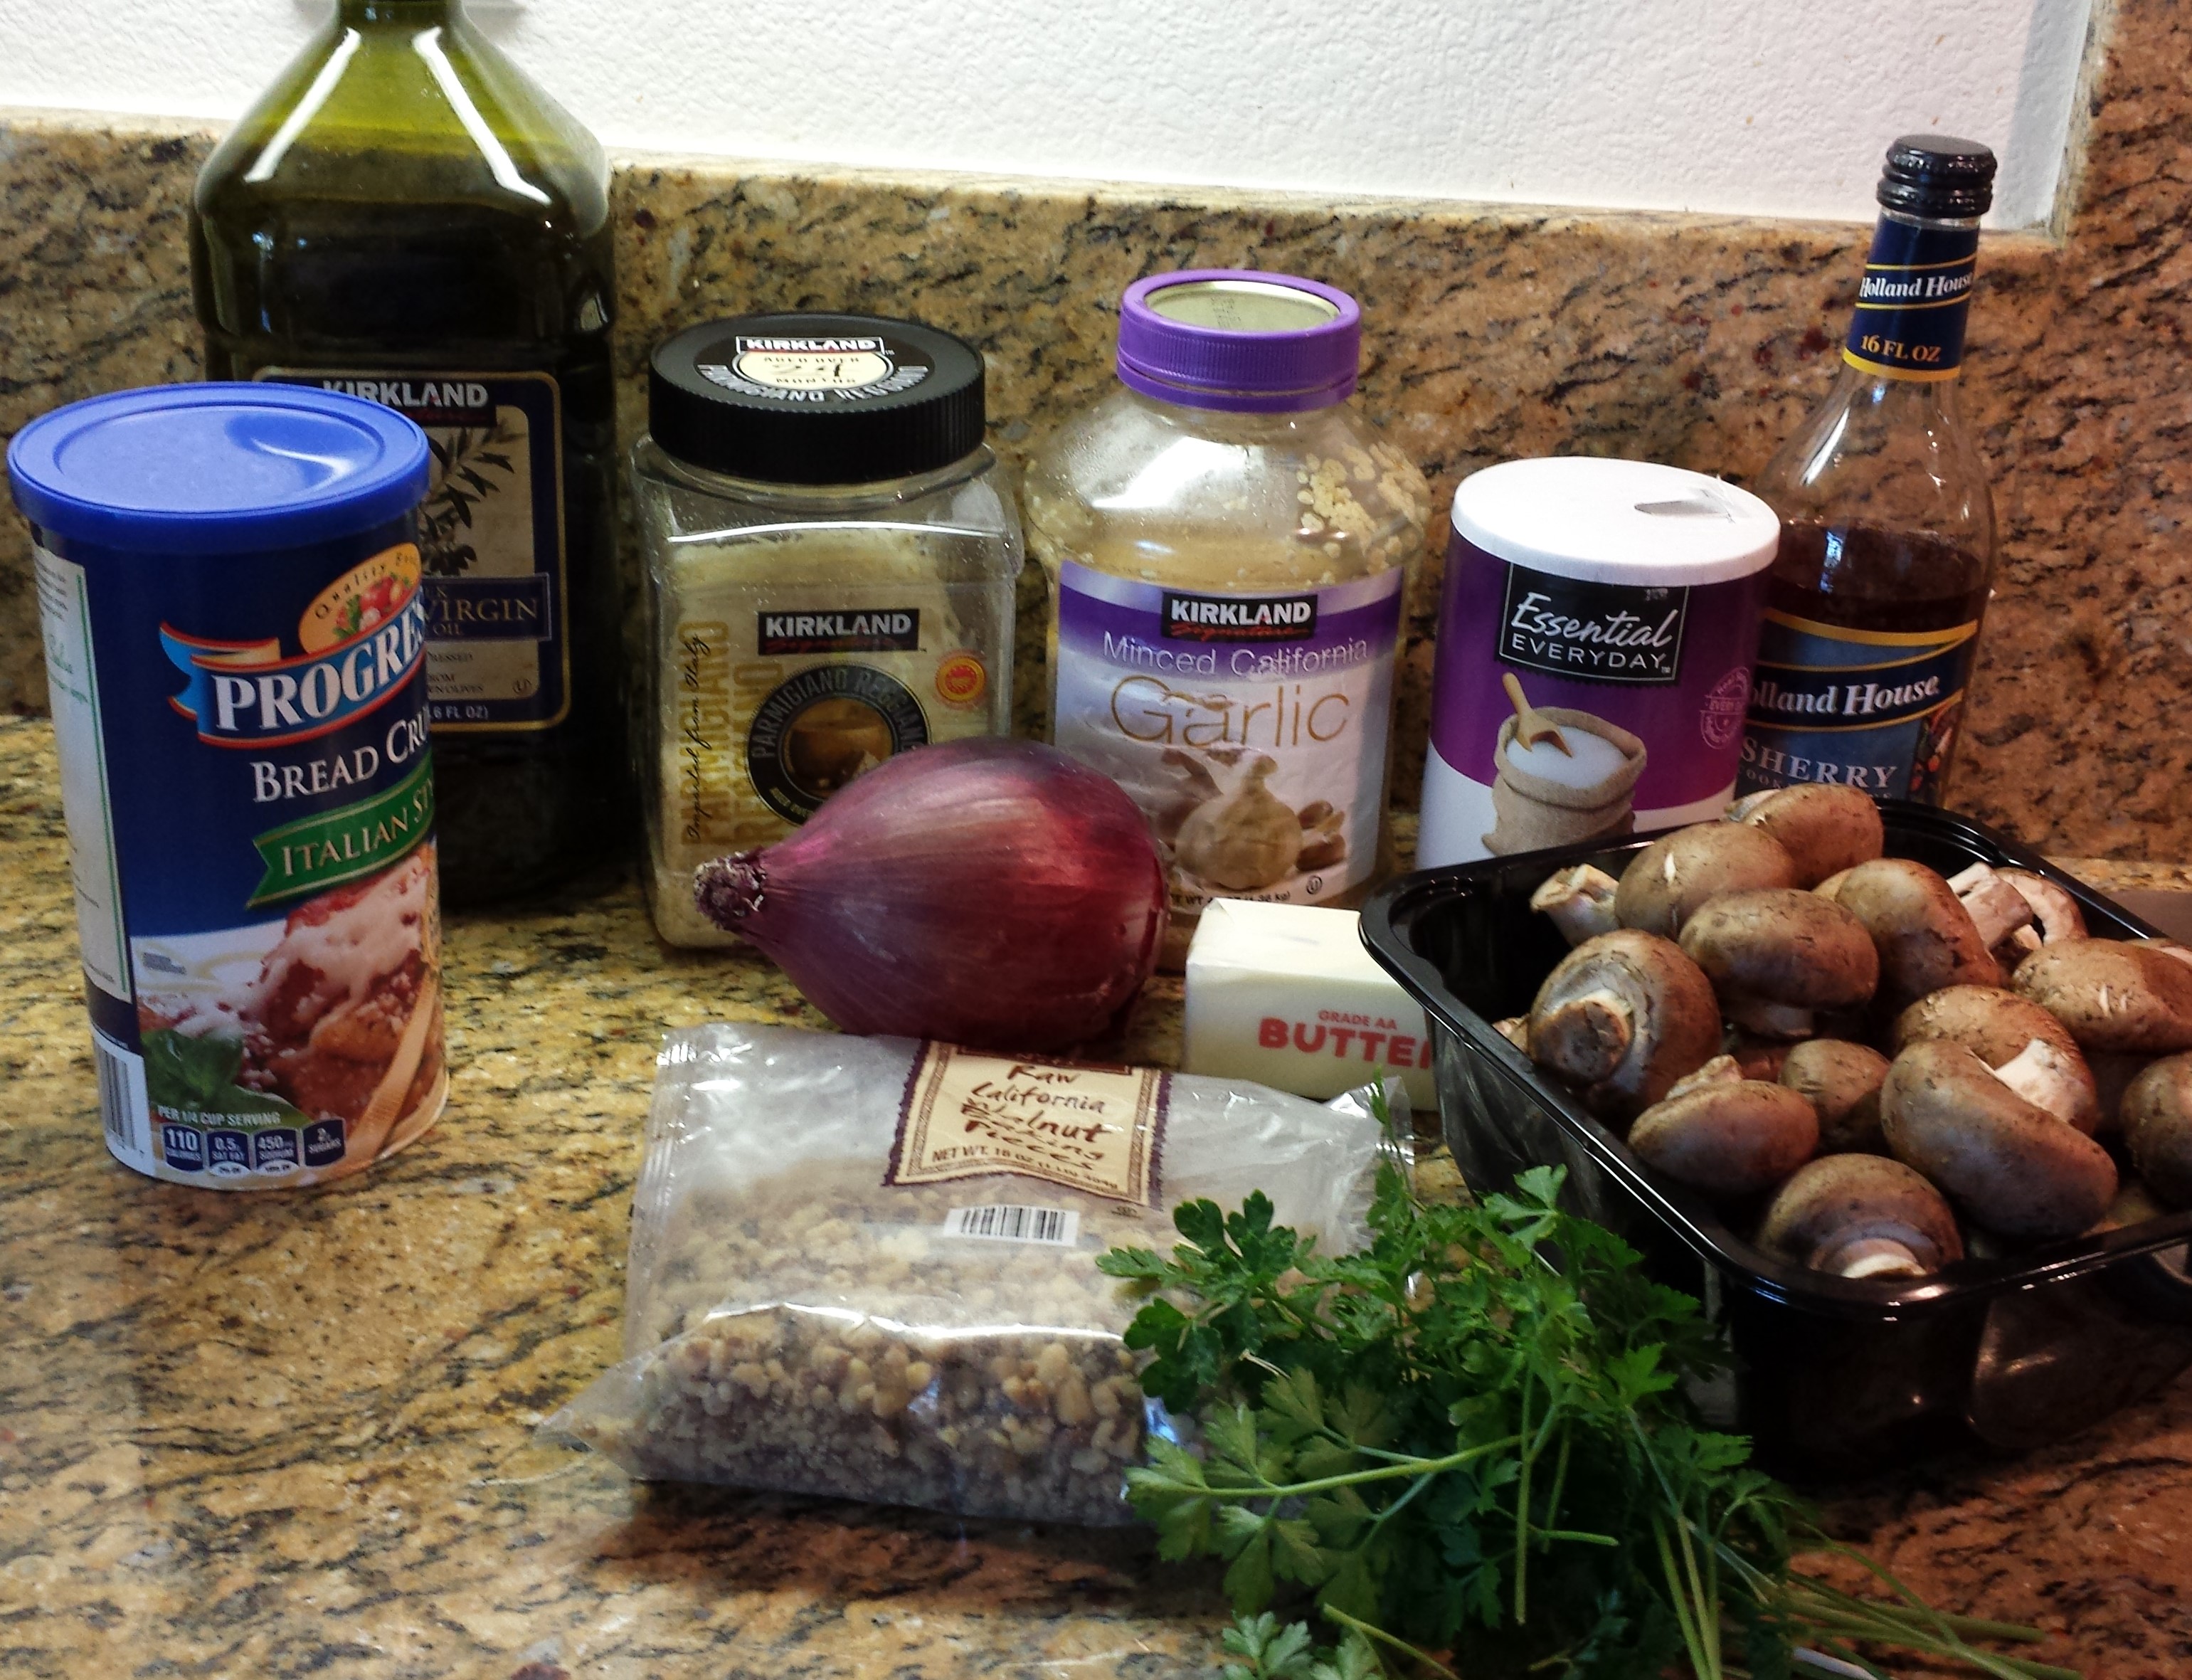
- 20-24 cremini mushrooms, scrubbed clean
- 2 T butter
- 2 T of minced red onion
- 1/2 tsp minced garlic
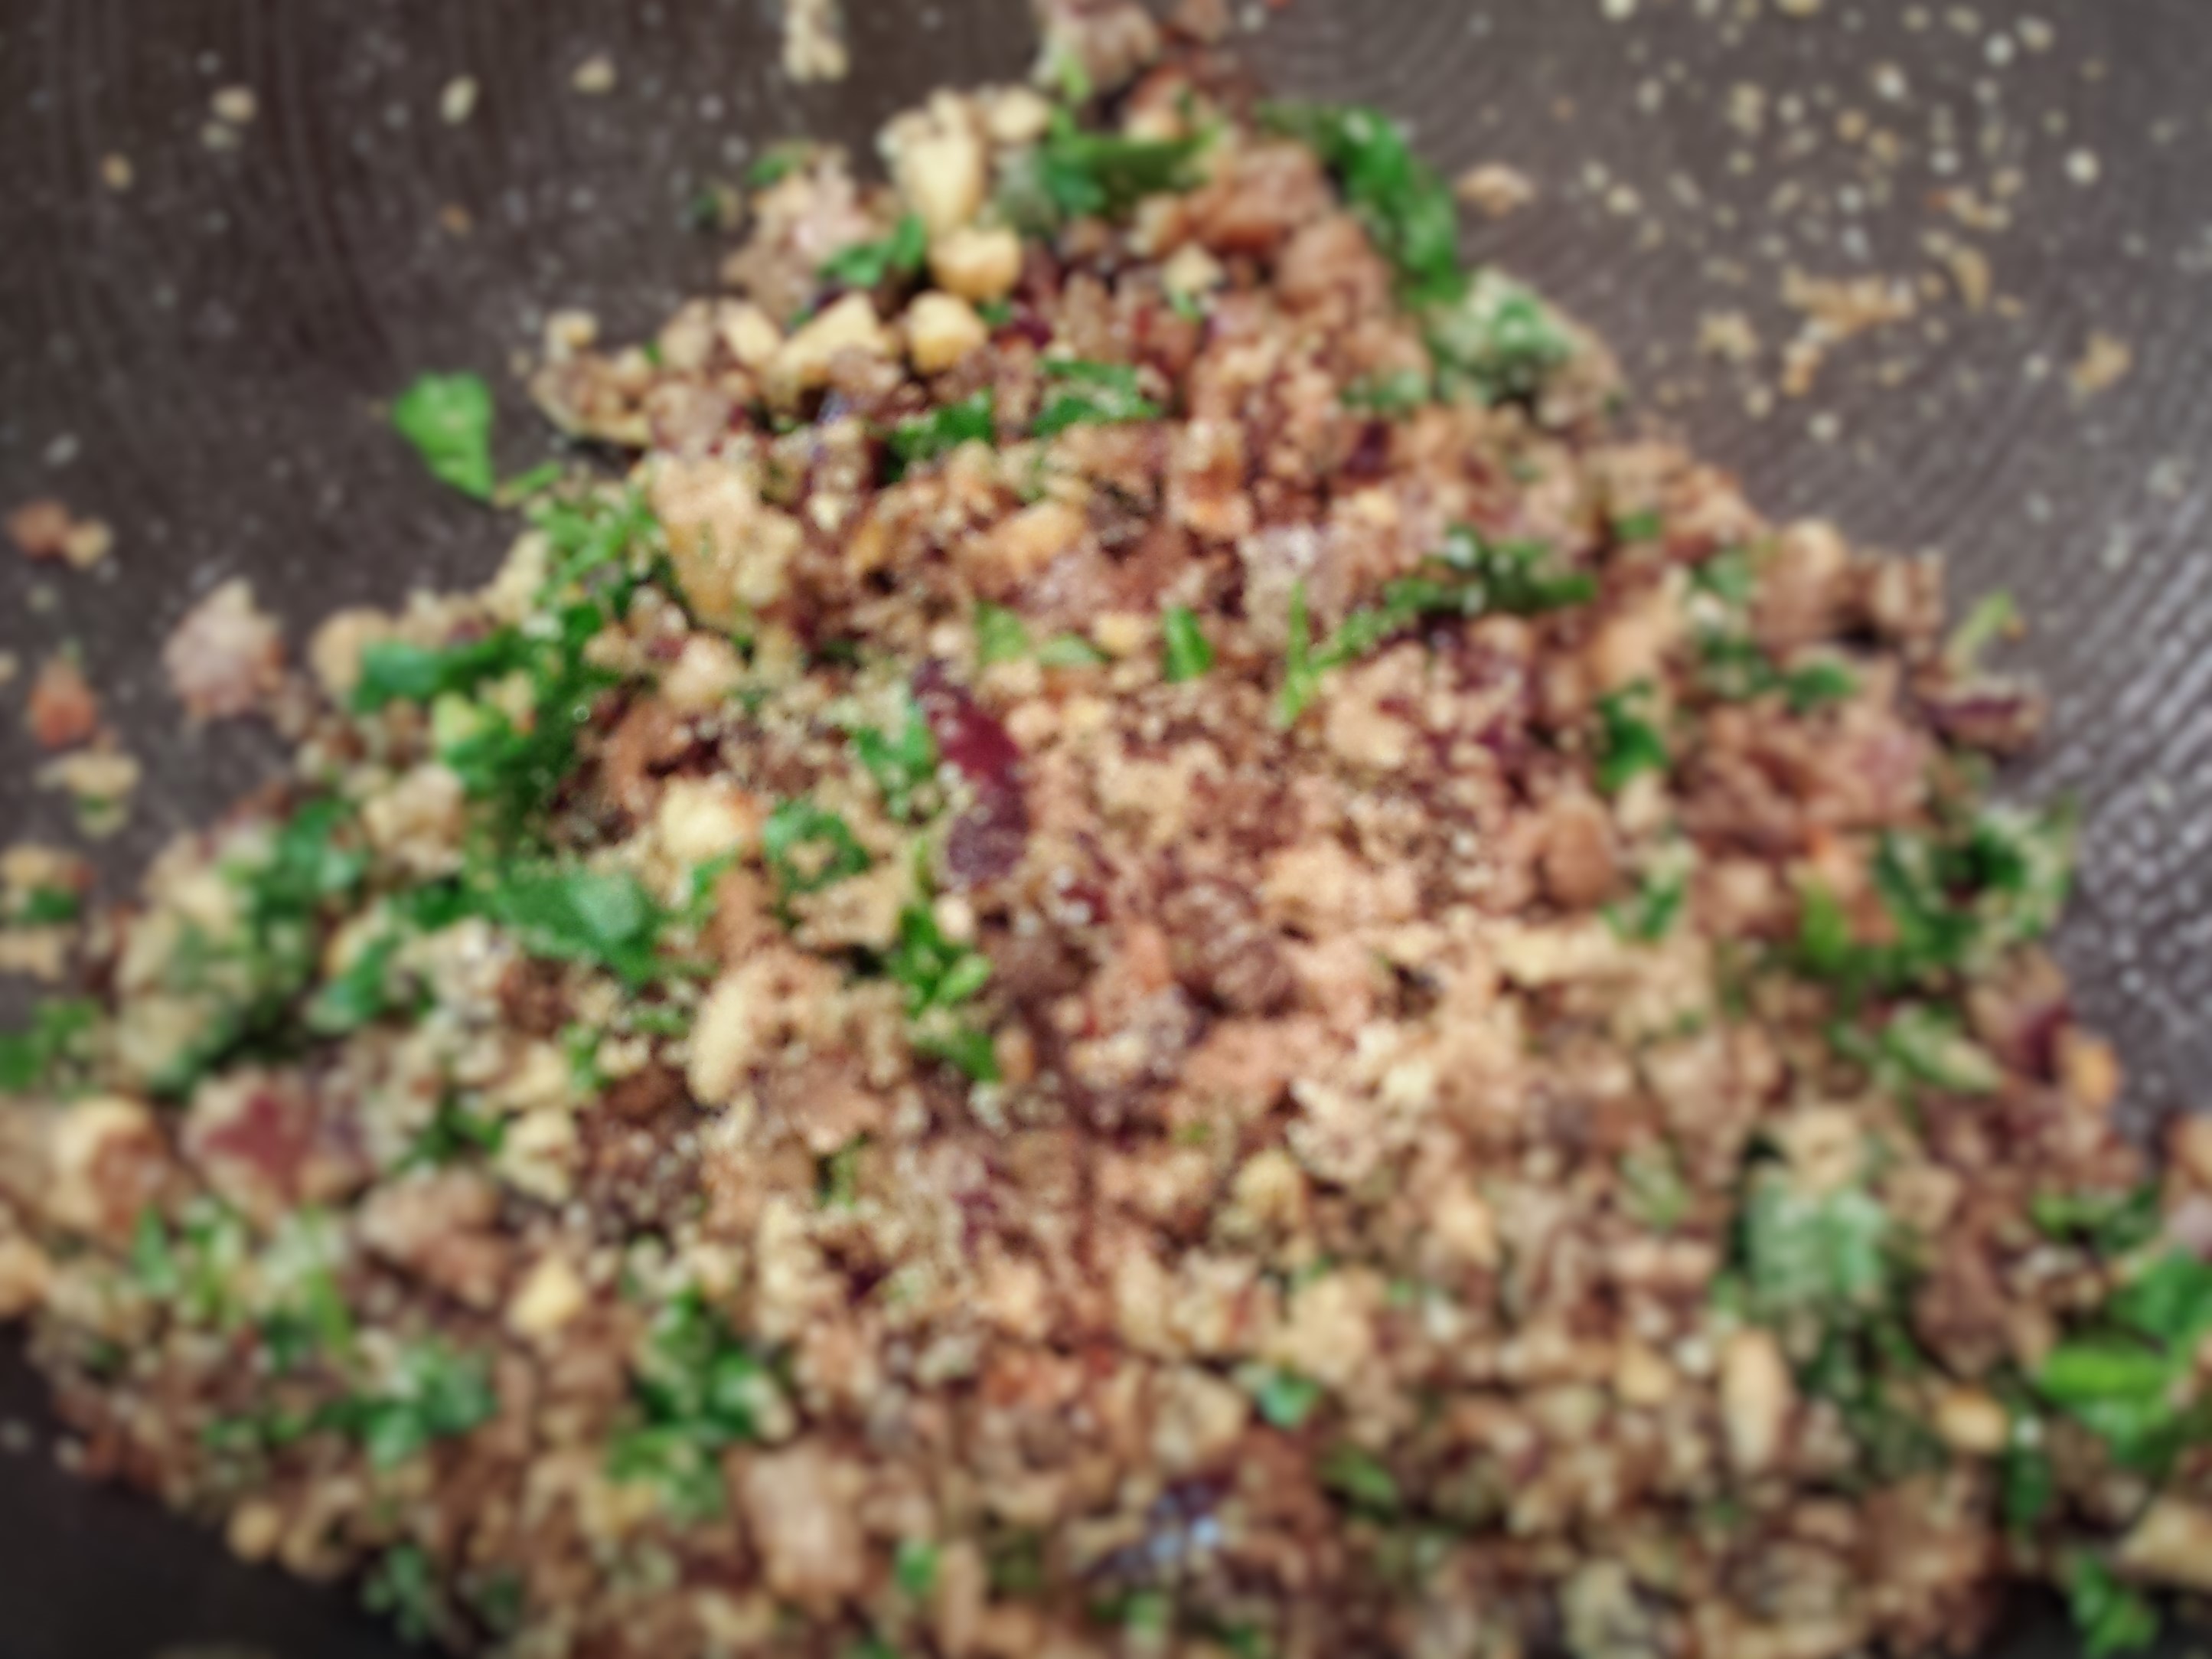
- 2 T finely chopped walnuts
- 1/2 tsp salt
- 2 T chopped fresh parsley
- 1 tsp dried thyme
- 2 T Italian breadcrumbs
- 2 T cooking sherry or chicken stock
- 2 T olive oil
- 2 T grated parmesan cheese
Instructions
- Preheat oven to 375 degrees.
- Separate the stems from the onion caps and finely chop the stems.
- Heat 1 T butter in a frying pan over medium heat.
- Saute the chopped mushroom stems and the red onion about 4 minutes, stirring often.


- Add the remaining 1 T butter.
- Add the garlic, walnuts, and salt. Stir well and cook for about 2 additional minutes.
- Turn off the heat.
- Add the parsley, thyme and breadcrumbs.


- Stir well.
- Add the sherry or chicken stock and mix well.
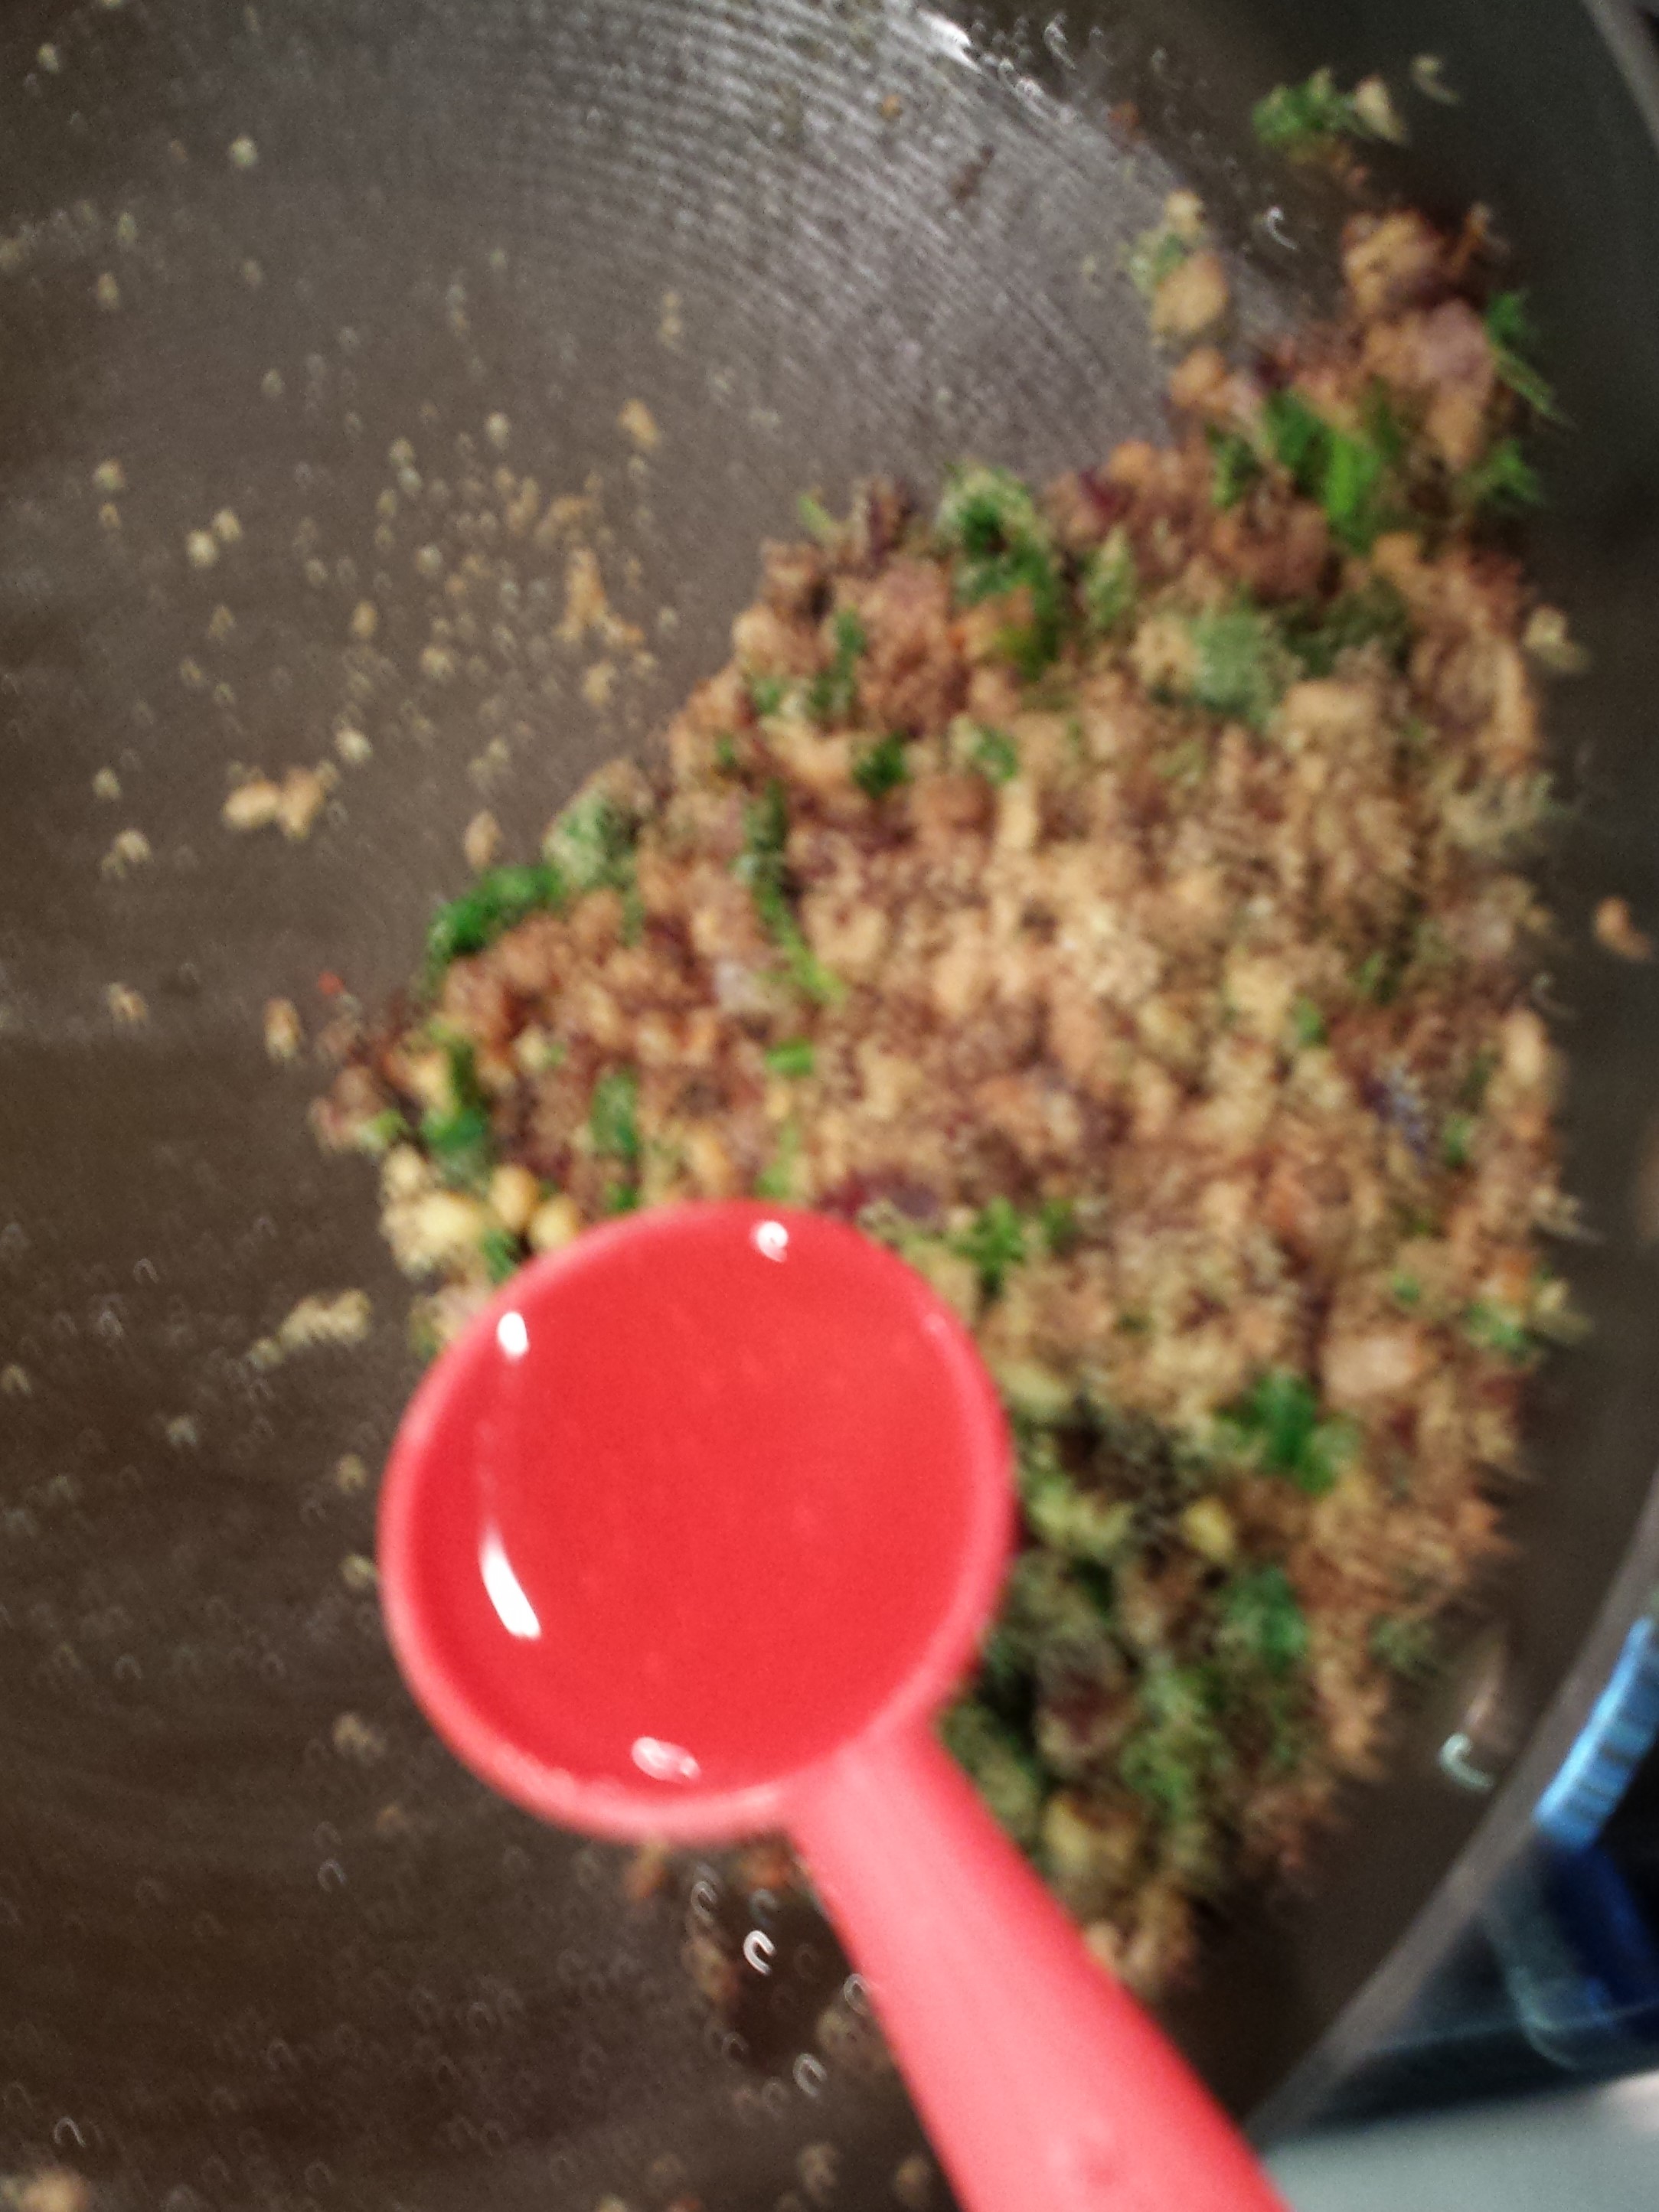
- In a ziplock bag, toss the mushroom caps with olive oil.

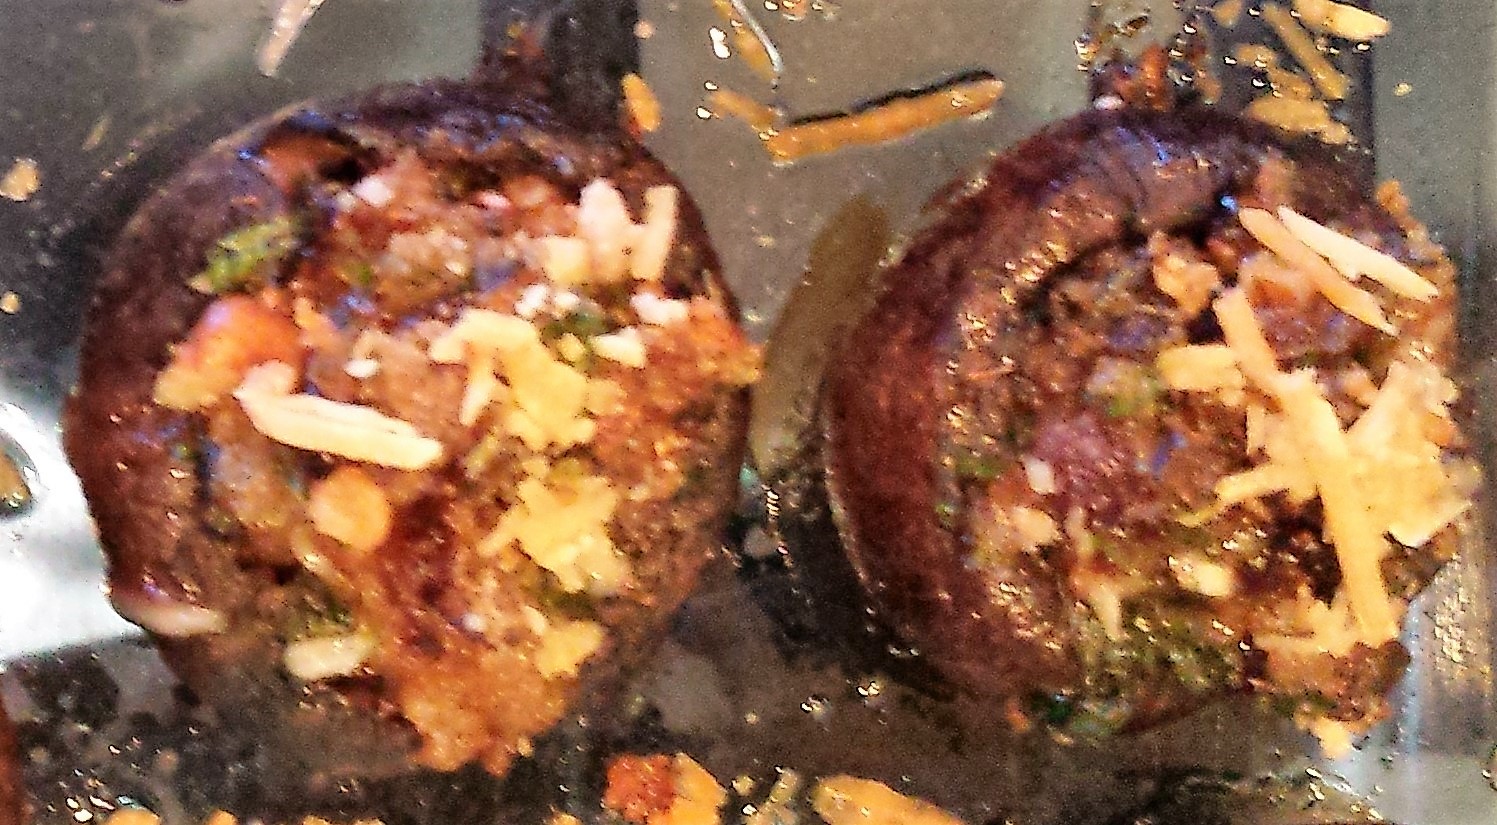
- Fill mushrooms with about 1/2 – 1 tsp of stuffing and place in a baking dish.
- Sprinkle grated parmesan cheese over each mushroom.


- Bake for 20-25 minutes, until cheese browns.
- Cool for about 5 minutes before serving.

Ideas
- Mushrooms – cremini are my favorite, but you can use any button shaped mushroom you like.
- Red onion – you can substitute shallots or sweet onions if you prefer.
- Breadcrumbs – a flavored, finely ground breadcrumb is best, but feel free to experiment.
- If the stuffing is not fine enough for you, place it in a blender before adding the sherry/chicken stock. Pulse it several times so it is almost a paste in consistency.
Mini Lemon Chiffons

If you live in Southern California (like I do) or anywhere else that has an abundance of citrus, this is the time of year when you need to figure out what to do with all the lemons that your tree is producing. Or in my case, my mom’s lemon tree. My friends and coworkers also have lemon trees or their neighbors do, so it’s difficult to give many away. I’ve been making lemonade, freezing lemon juice, and have even made lemon jam – which is super yummy and will be another post soon. Here is a simple, velvety smooth, and not too sweet way to use a couple more lemons.
Ingredients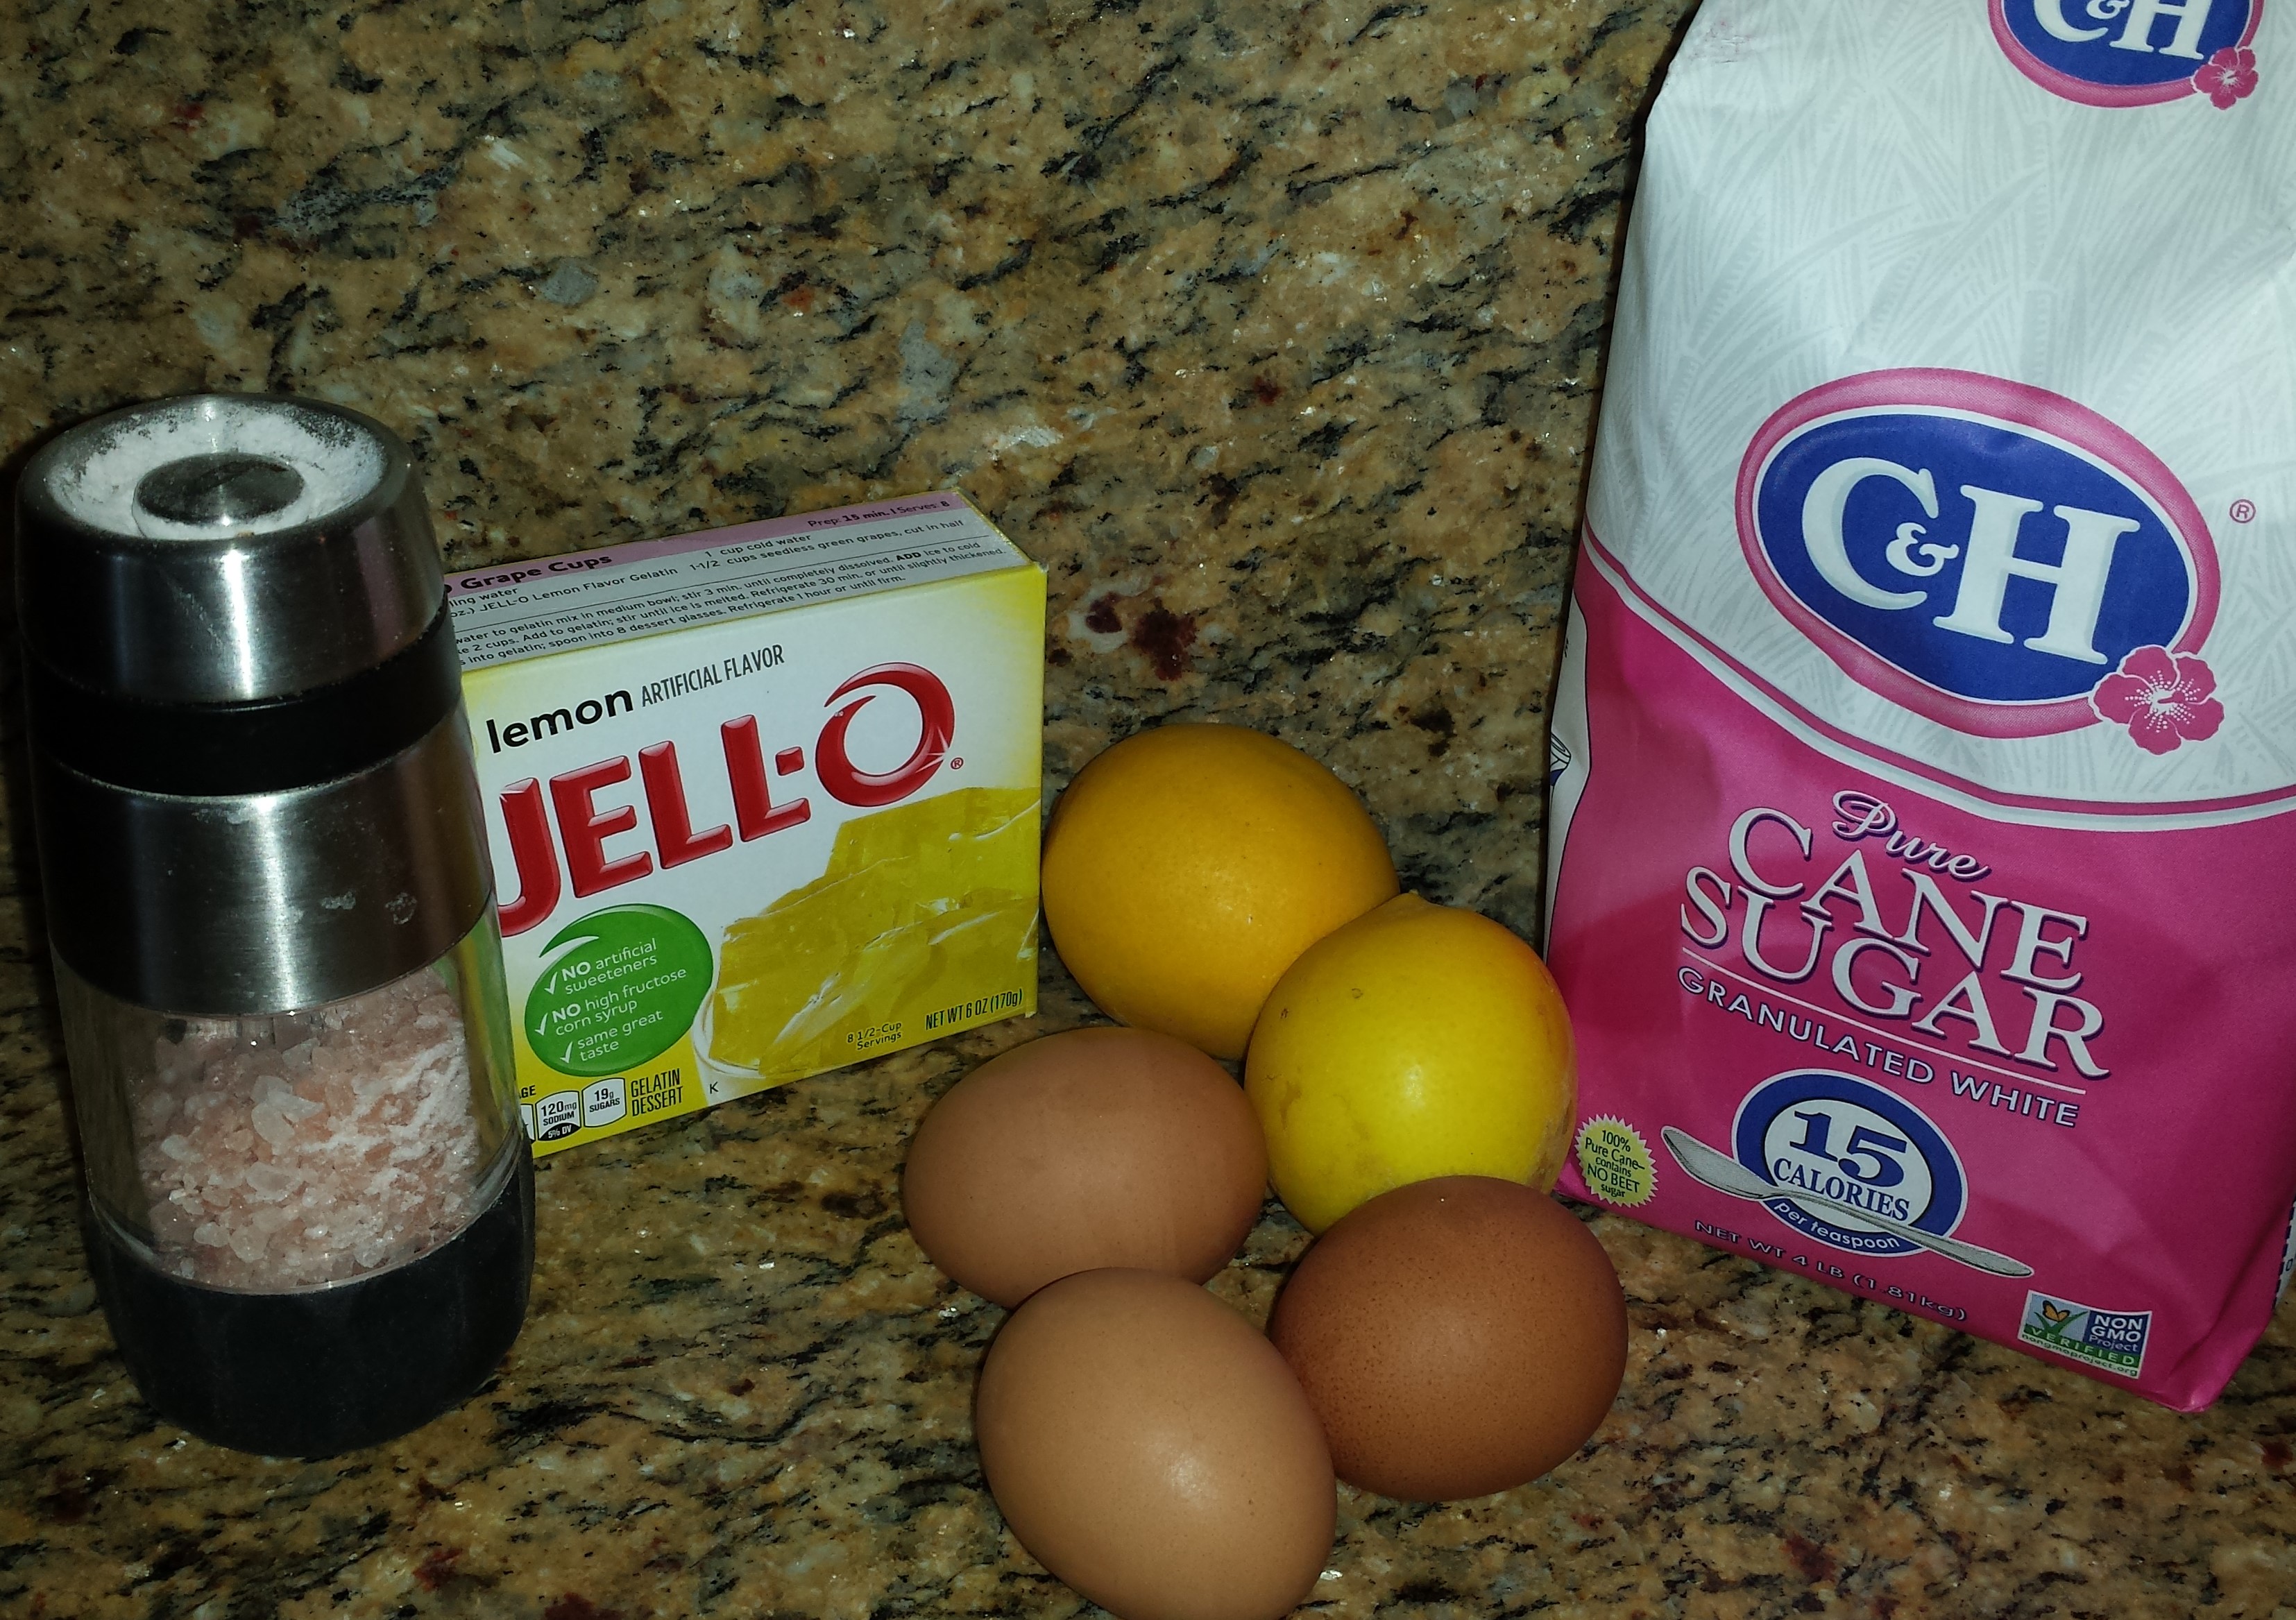
- 3 egg yolks, slightly beaten
- 1 cup water
- 1/4 cup sugar
- 1 pkg (3 oz) lemon gelatin
- 2 T lemon juice
- 1/2 cup water
- 3 egg whites
- dash of salt
- 1/4 cup sugar
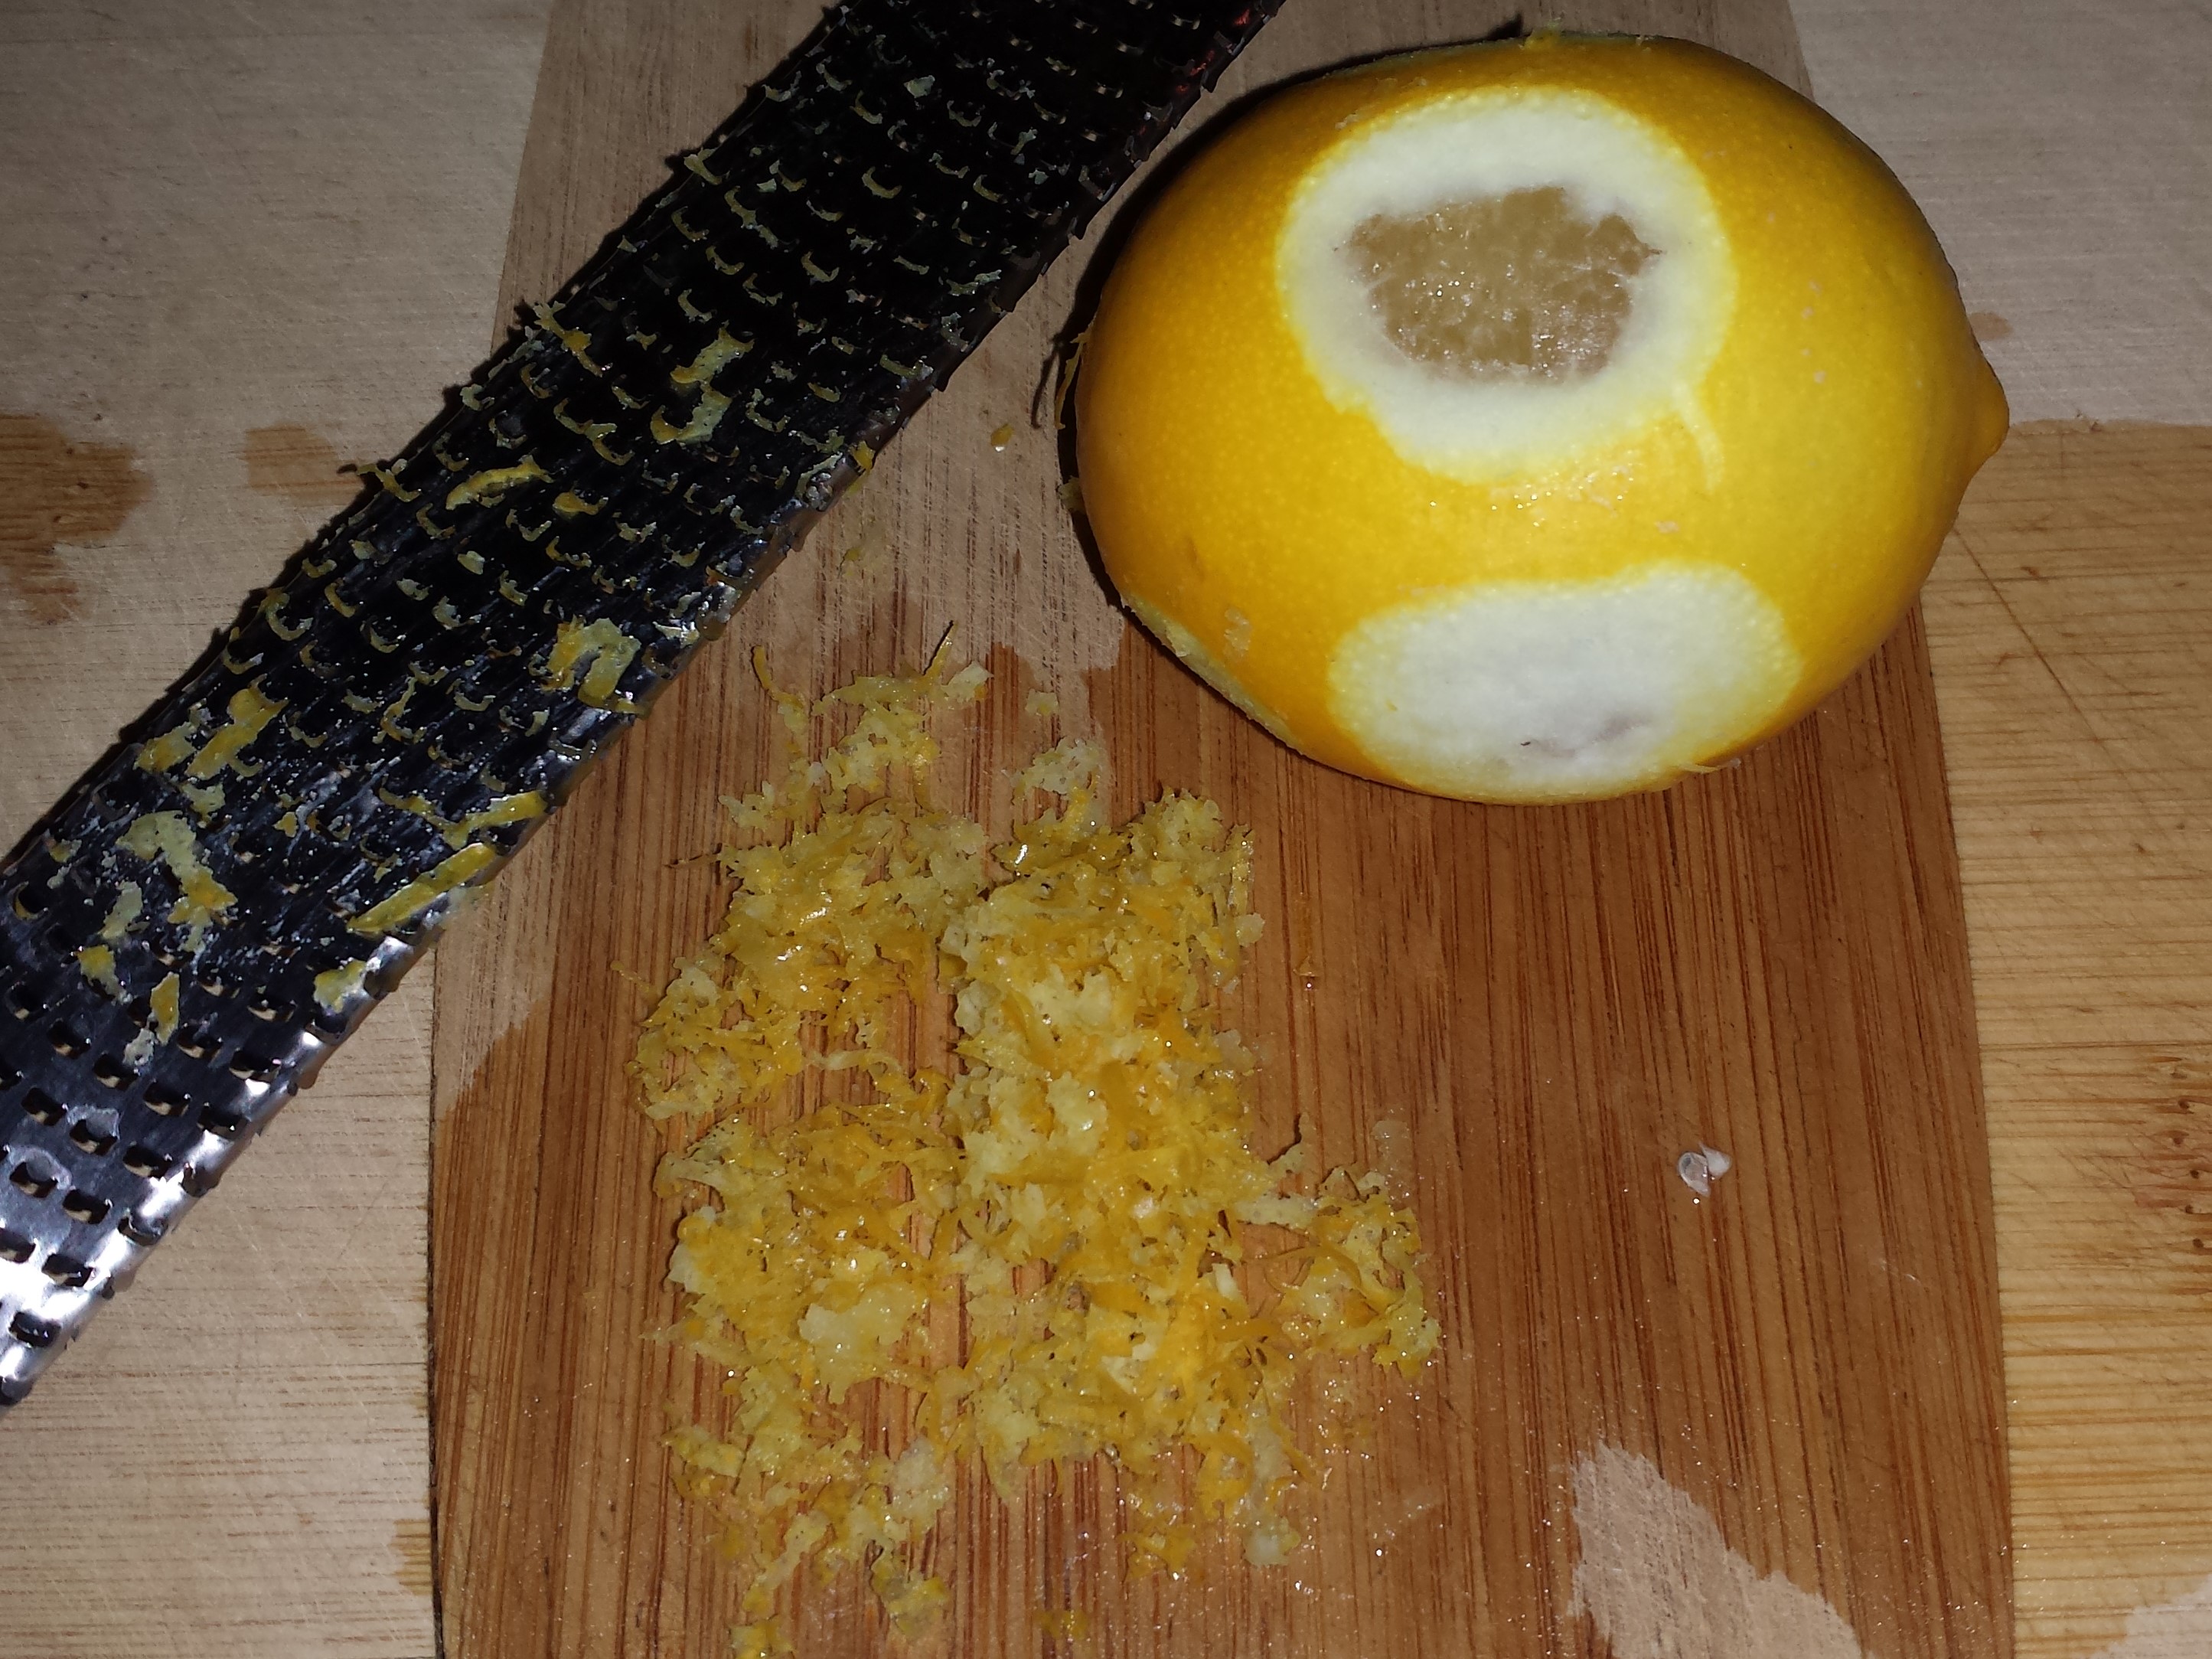
- 4 tsp grated lemon rind
Instructions
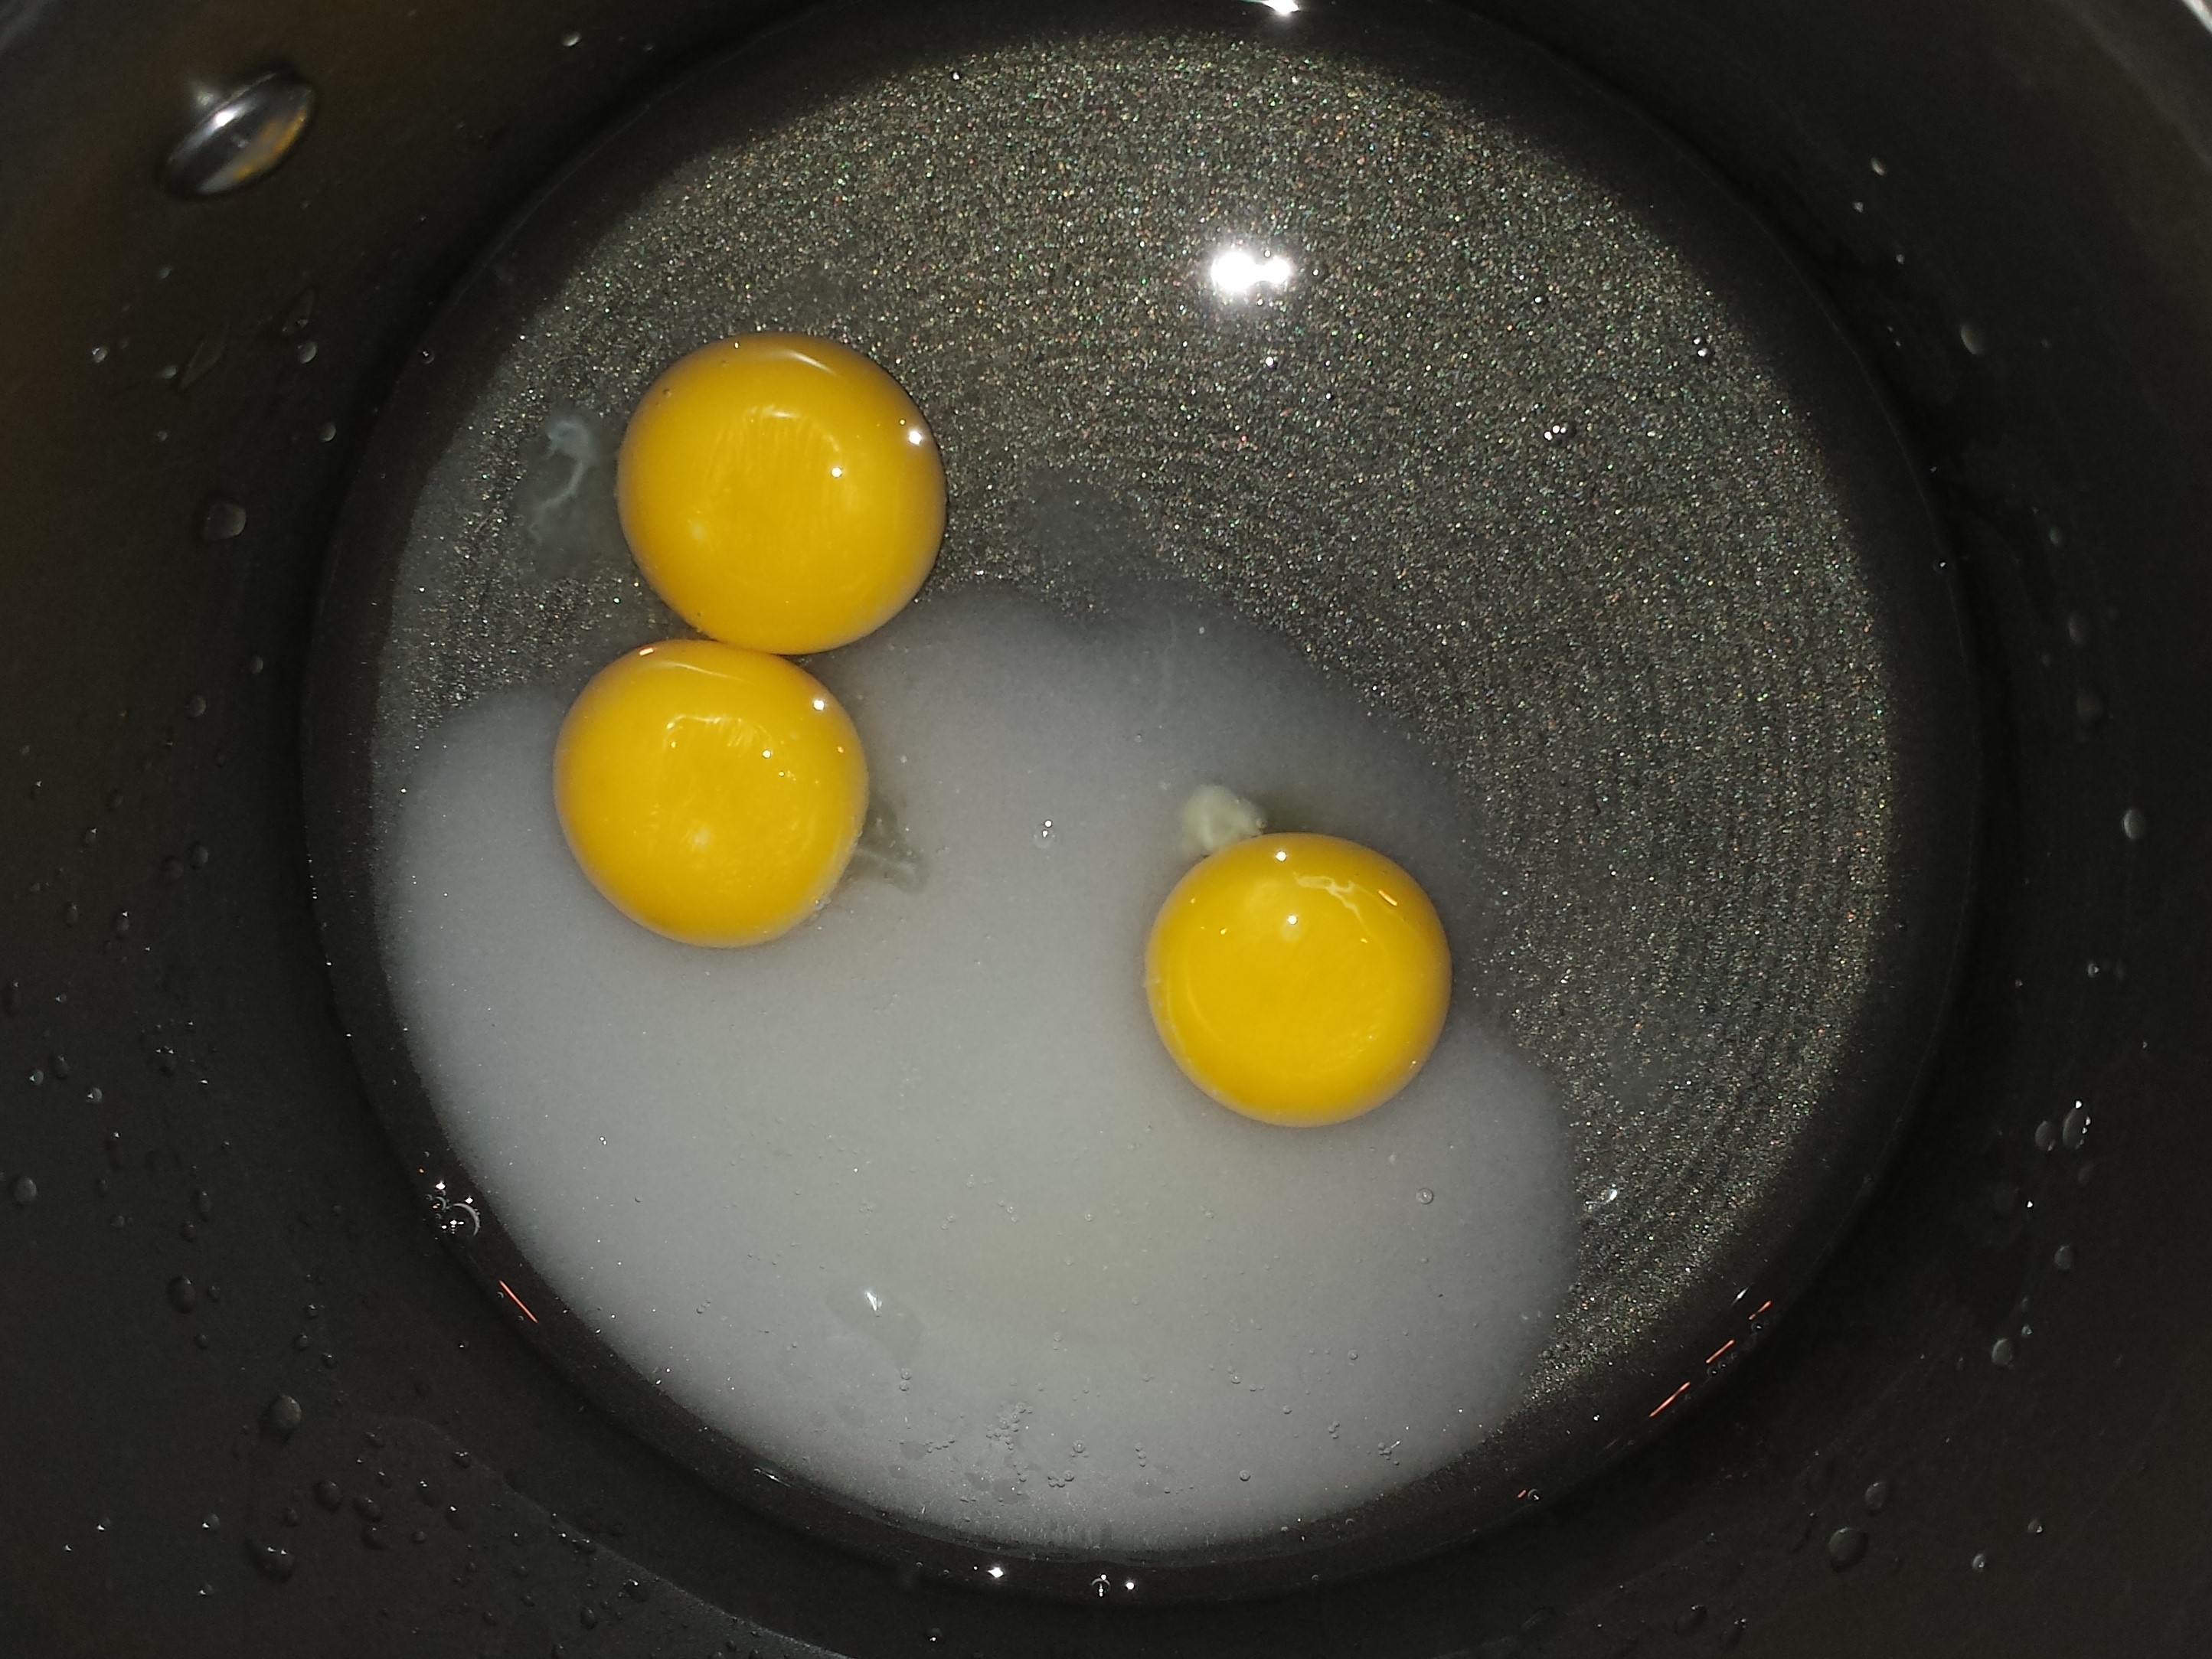
- Combine egg yolks and one cup of water in saucepan. Cook over low heat for about 1 minute.
- Add 1/4 cup sugar and stir until it dissolves.
- Continue cooking over low heat and stir often until mixture slightly thickens and just comes to a boil.
- Remove from heat.
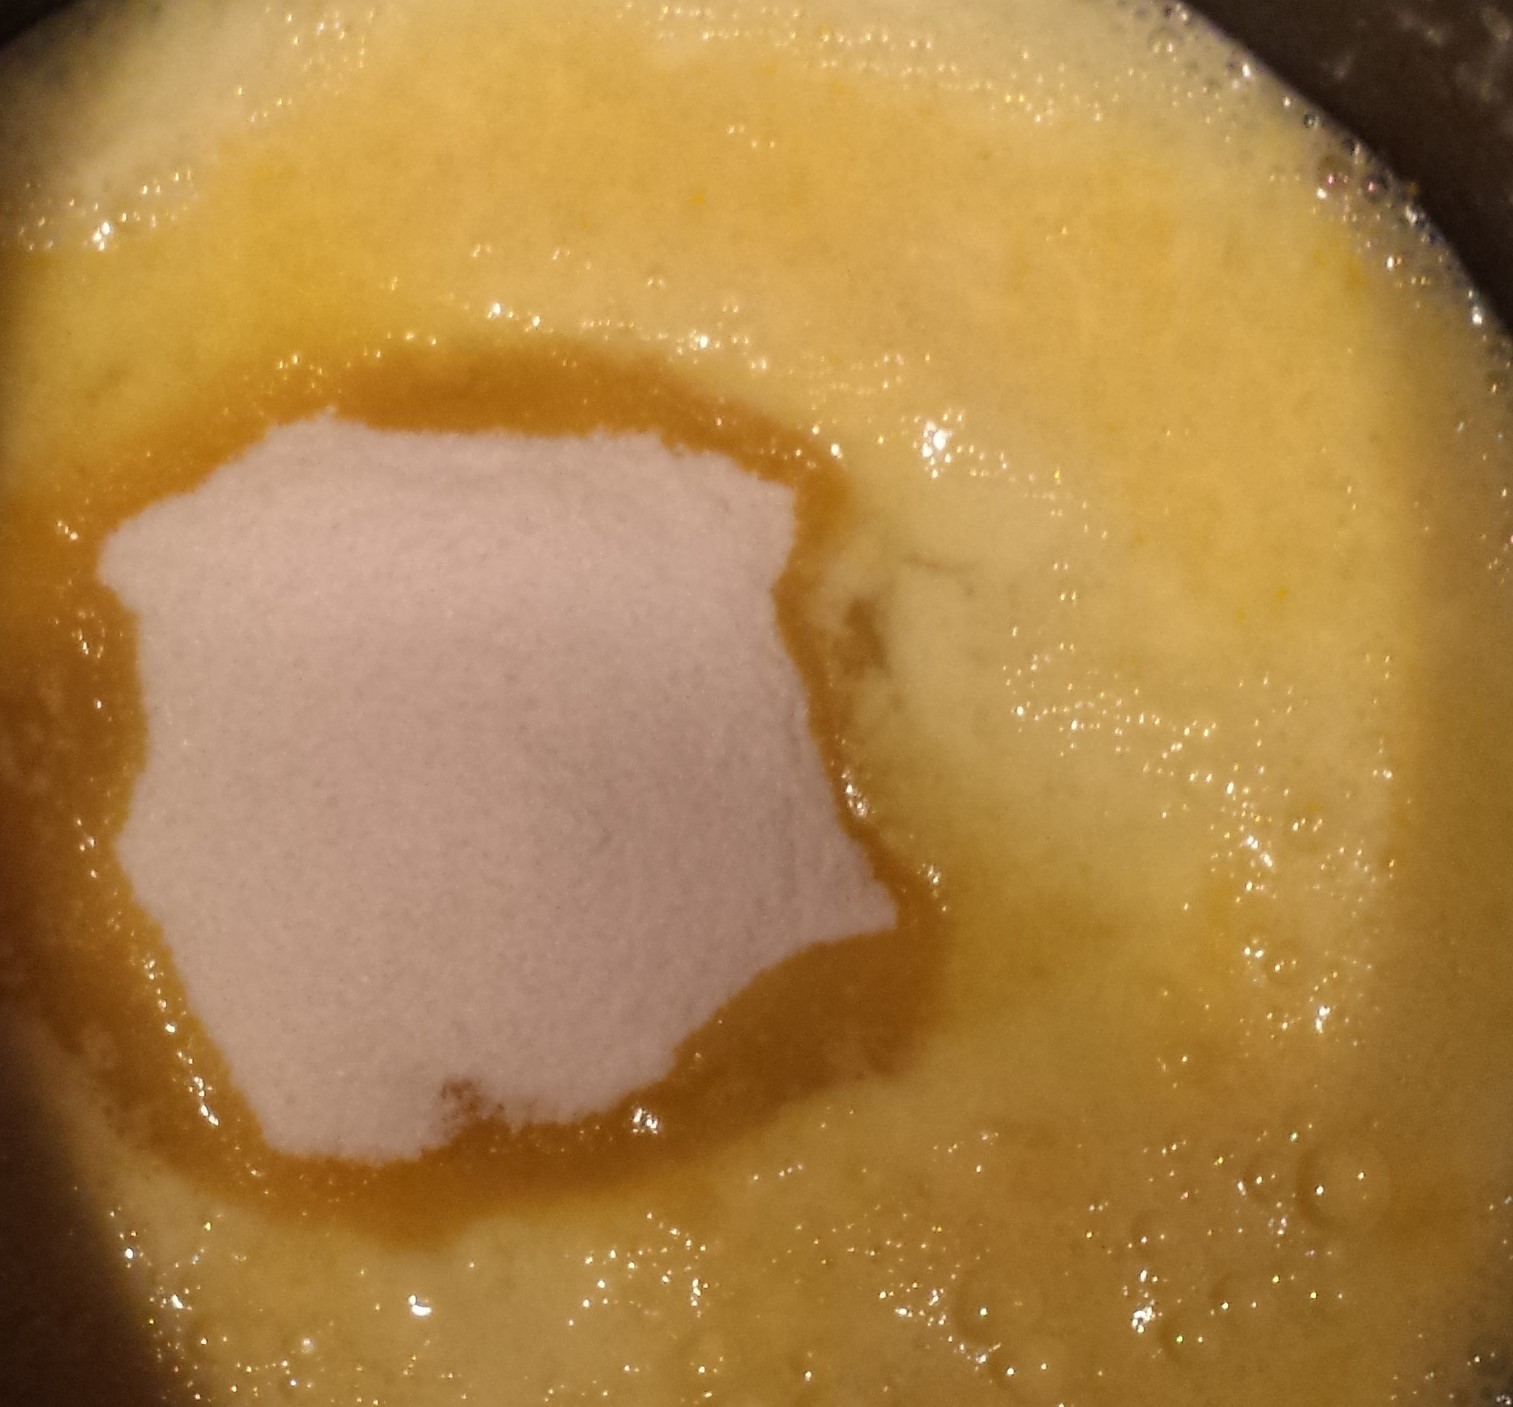
- Add gelatin and stir until dissolved.

- Add 1/2 cup water, lemon juice and 2 tsp lemon rind. Stir thoroughly.
- Pour into another container and place into refrigerator until slightly thickened. Atleast 45 minutes.
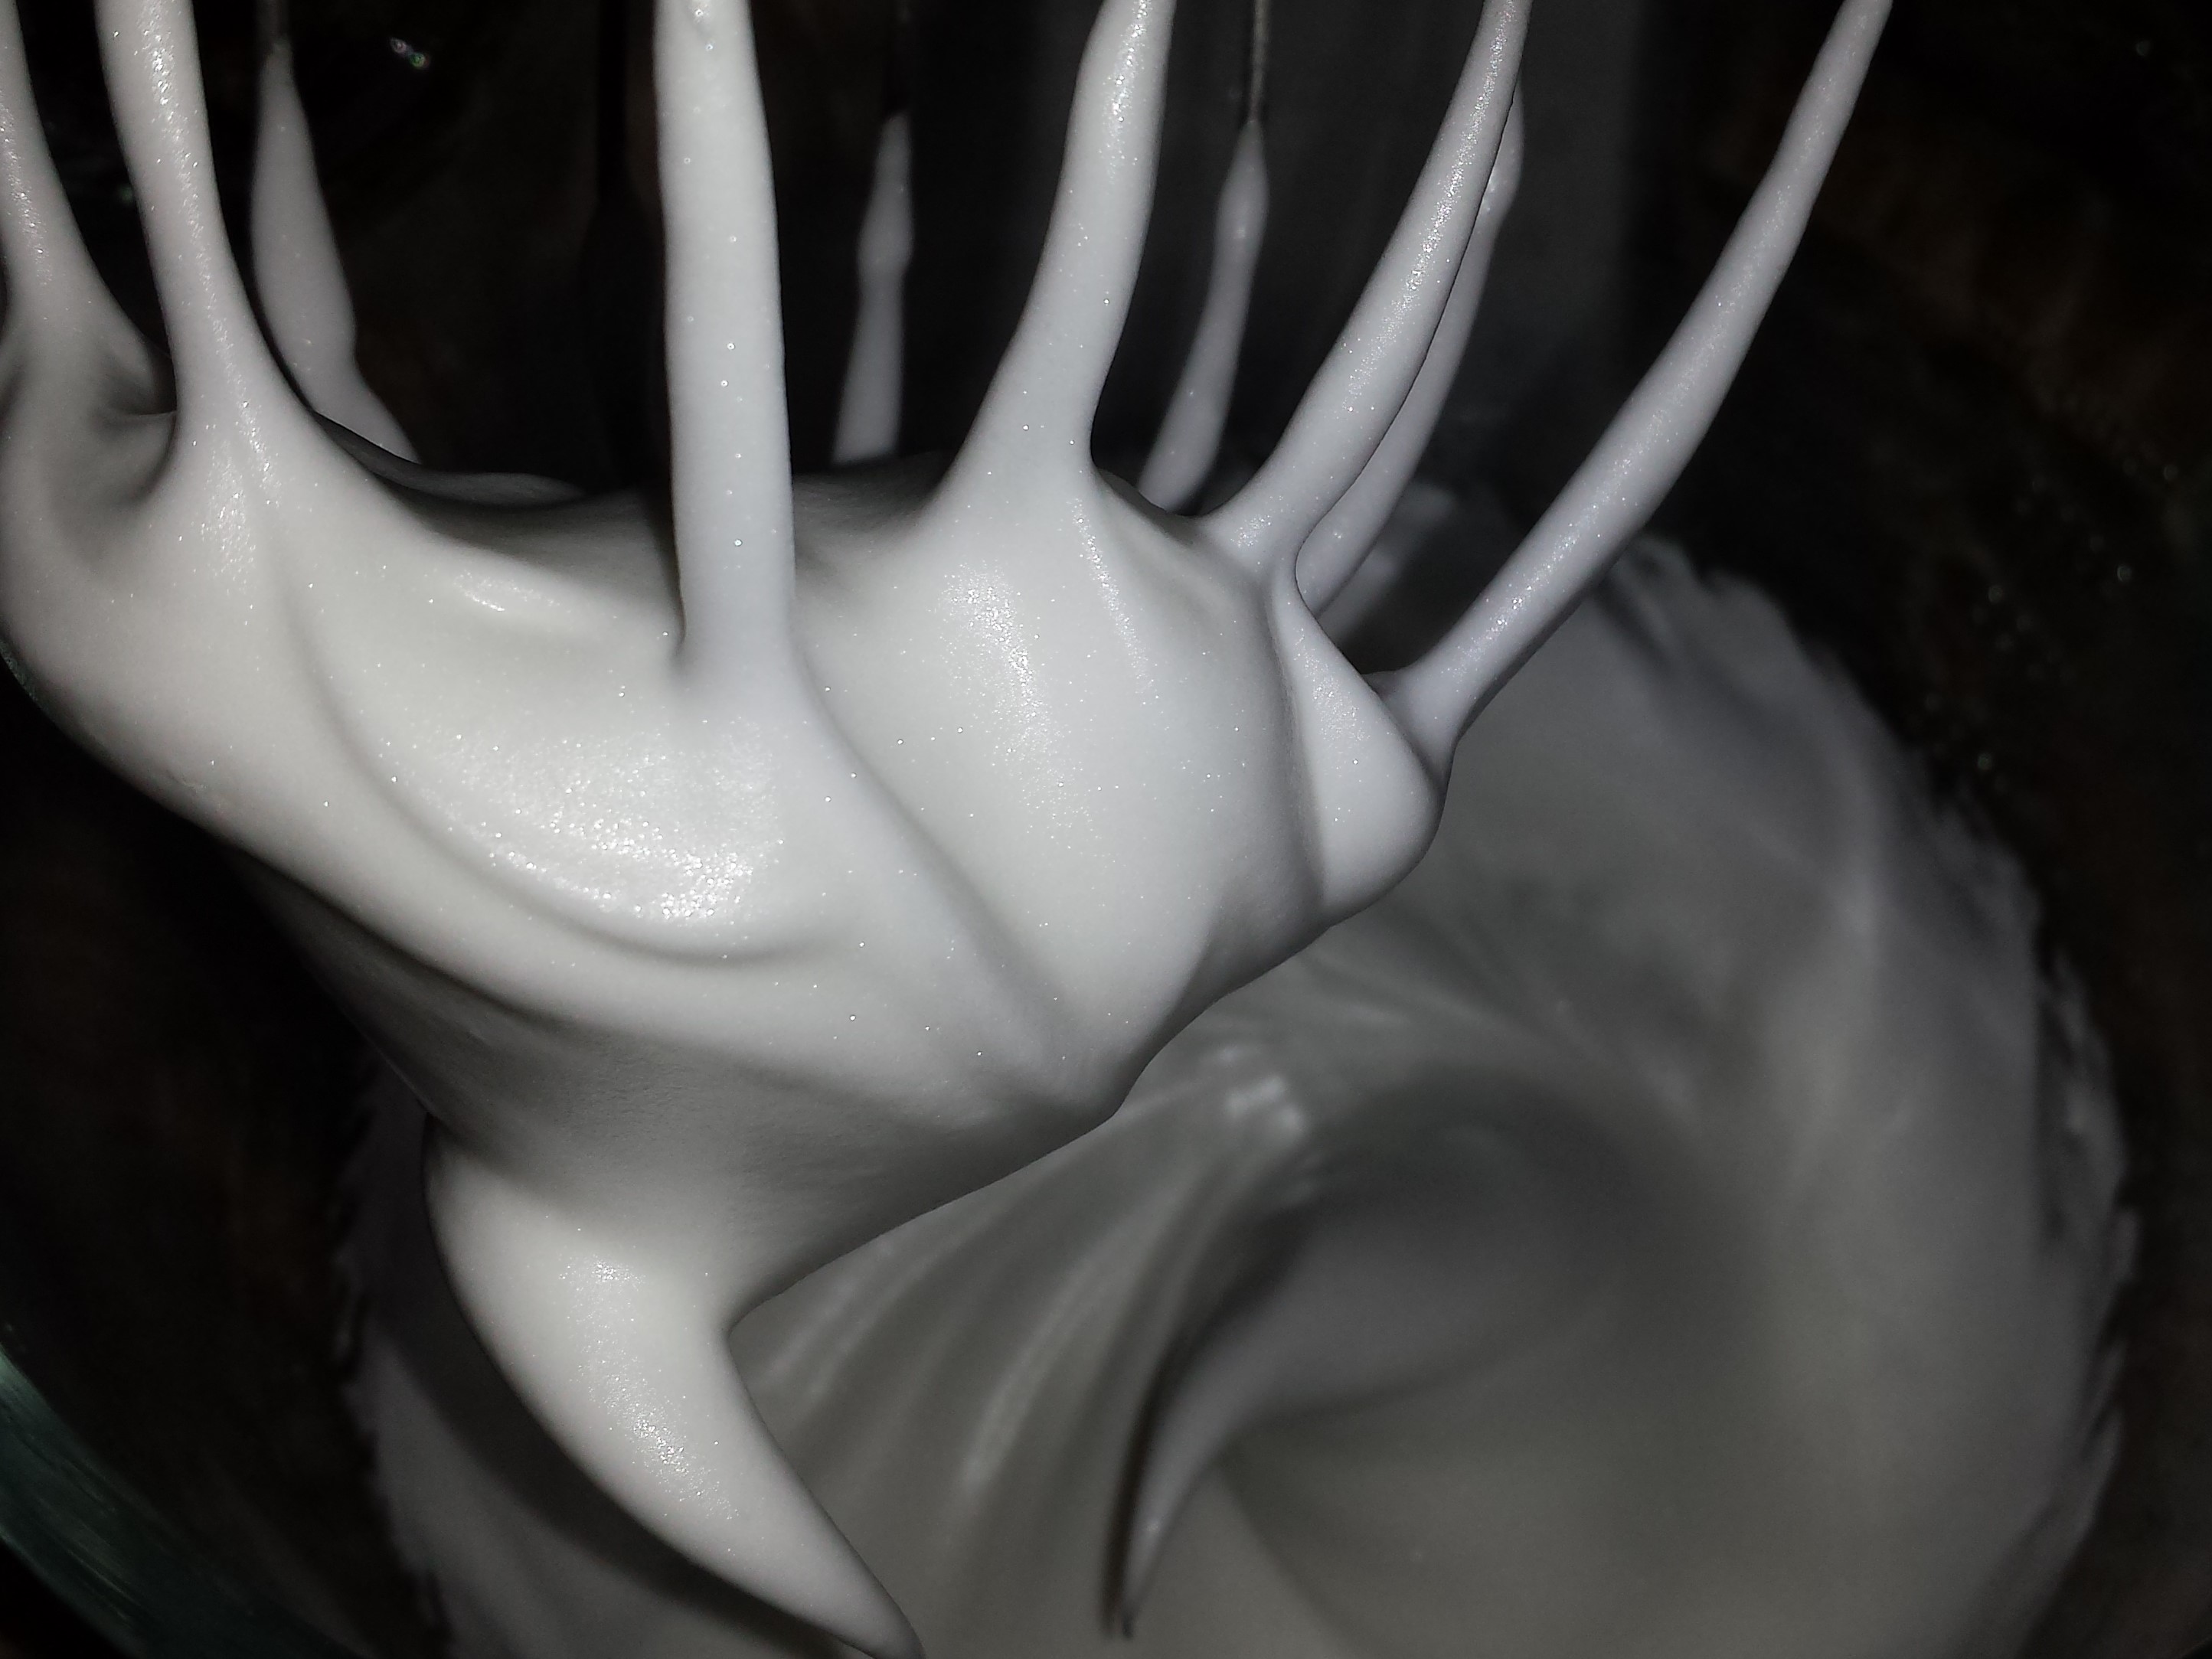
- In another mixing bowl, beat egg whites and salt until foamy.
- Gradually add in 1/4 cup of sugar and continue beating until mix has peaks.
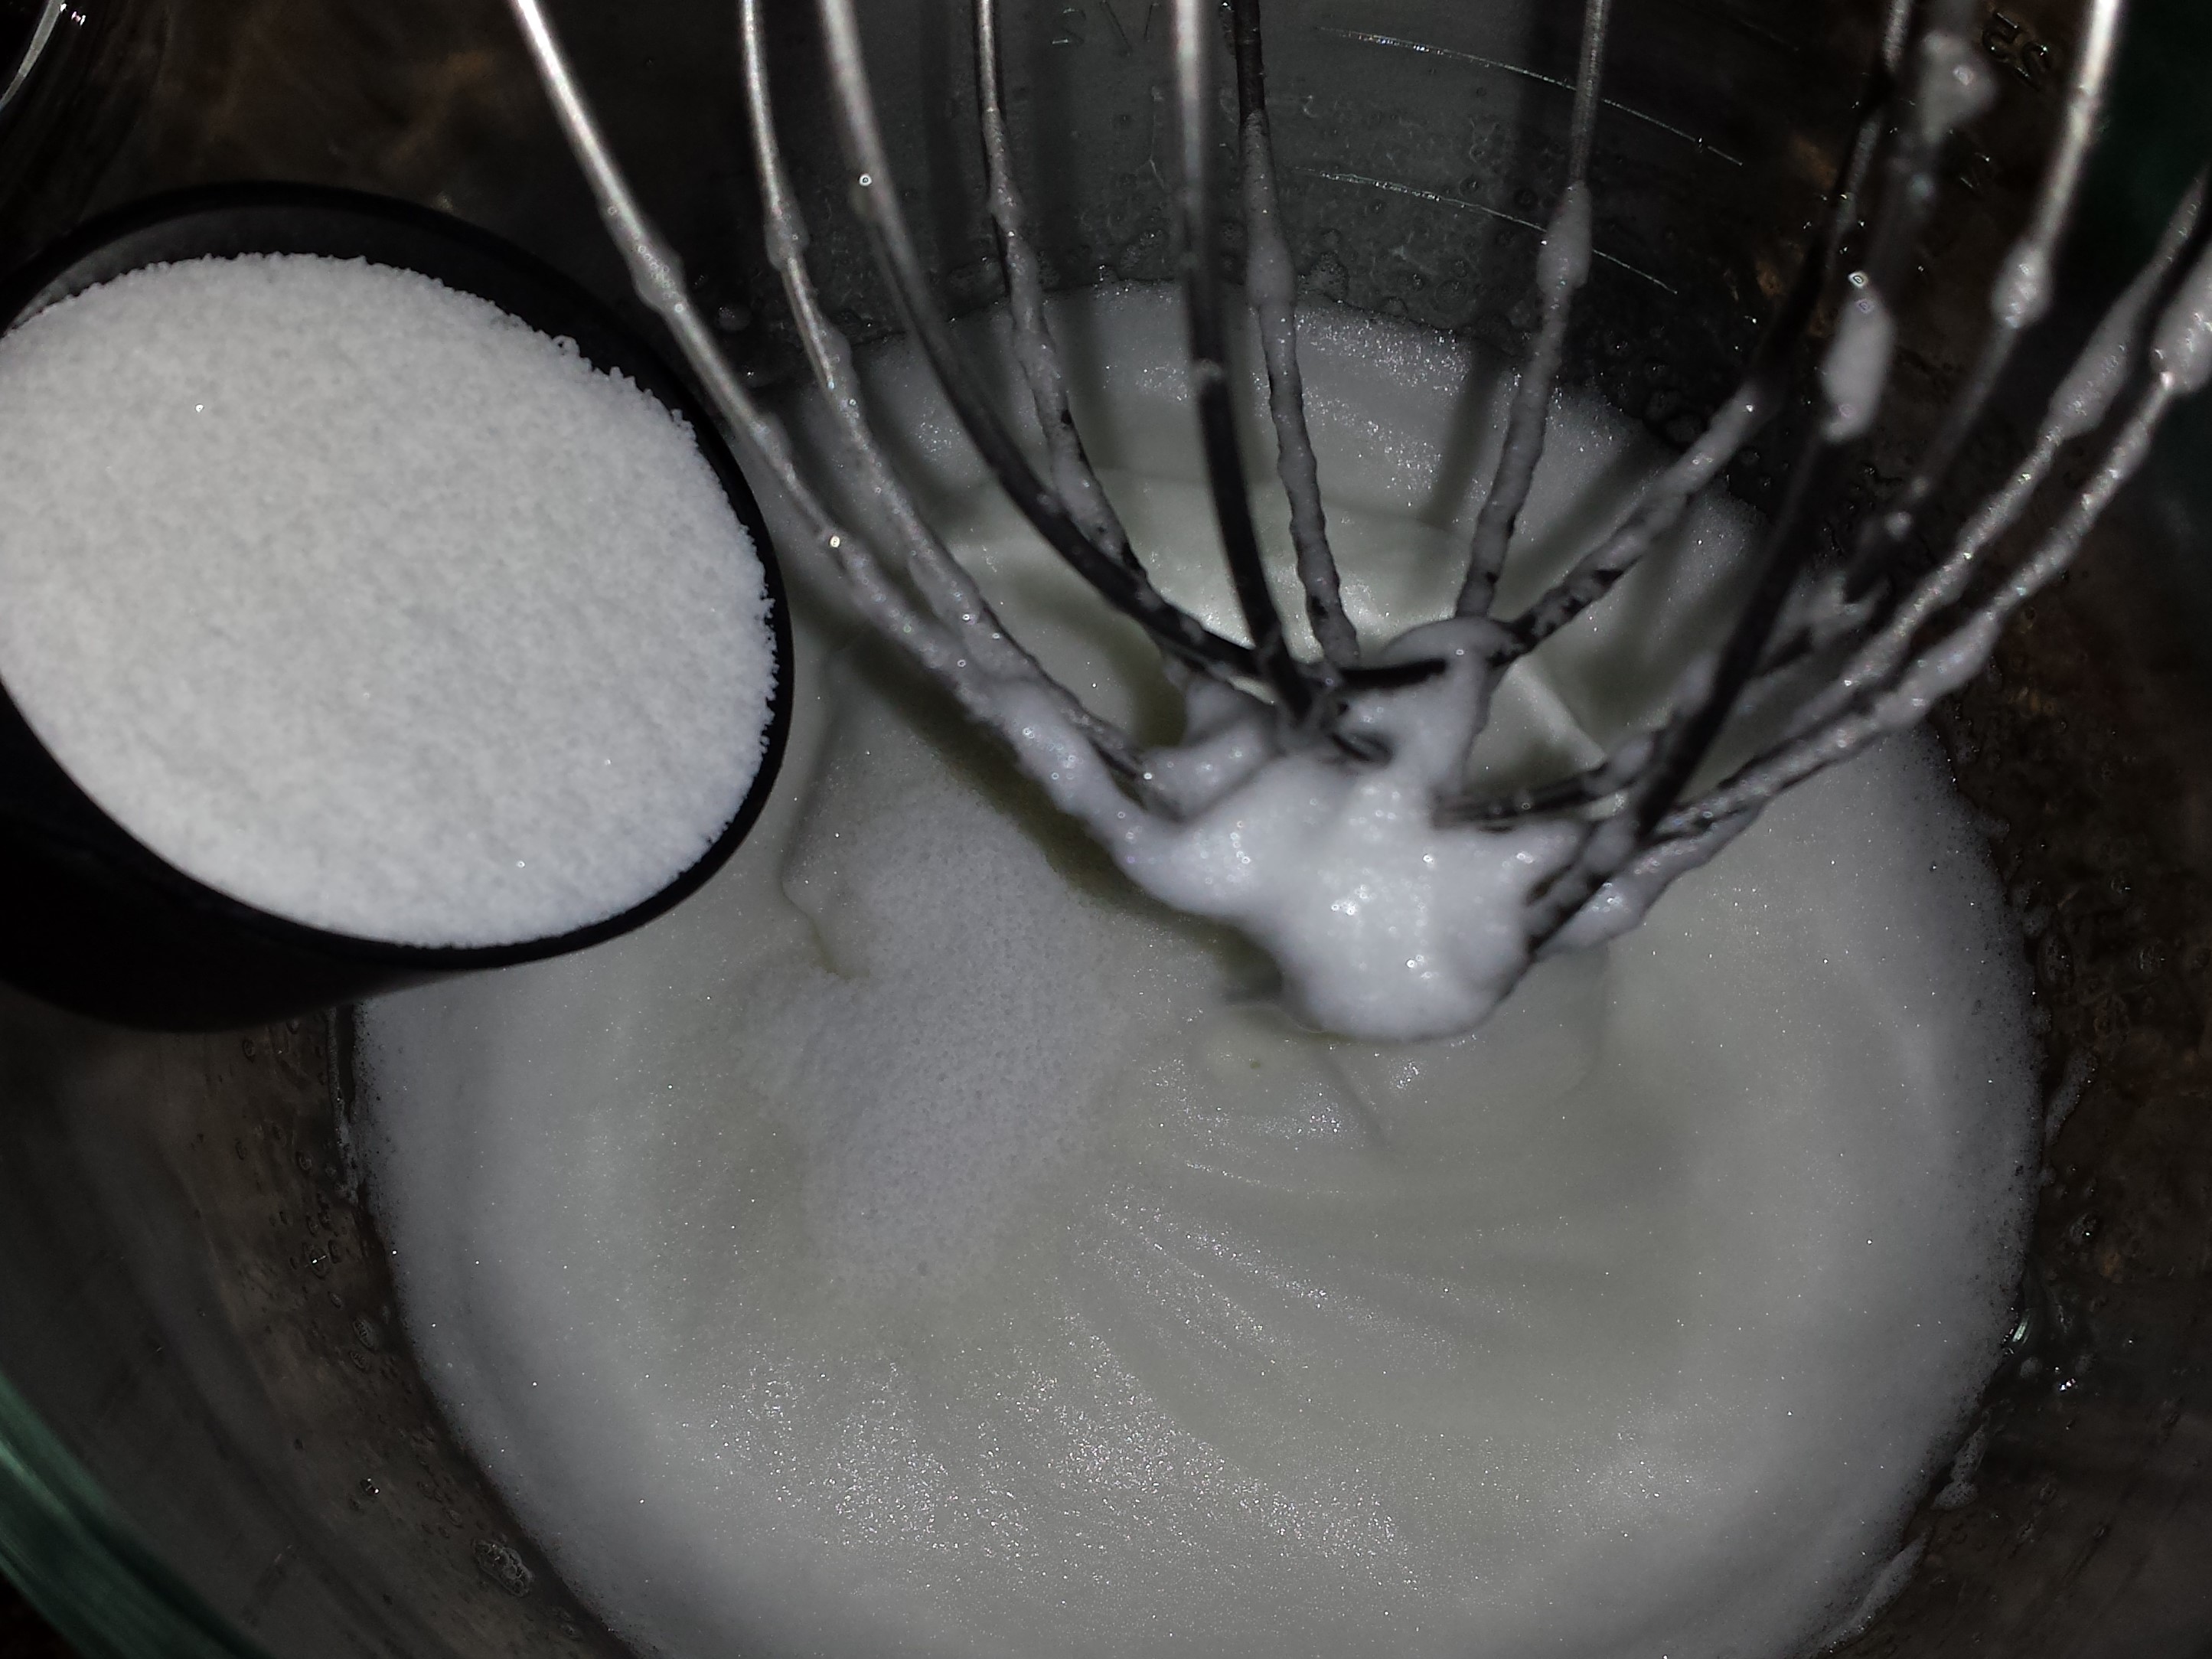
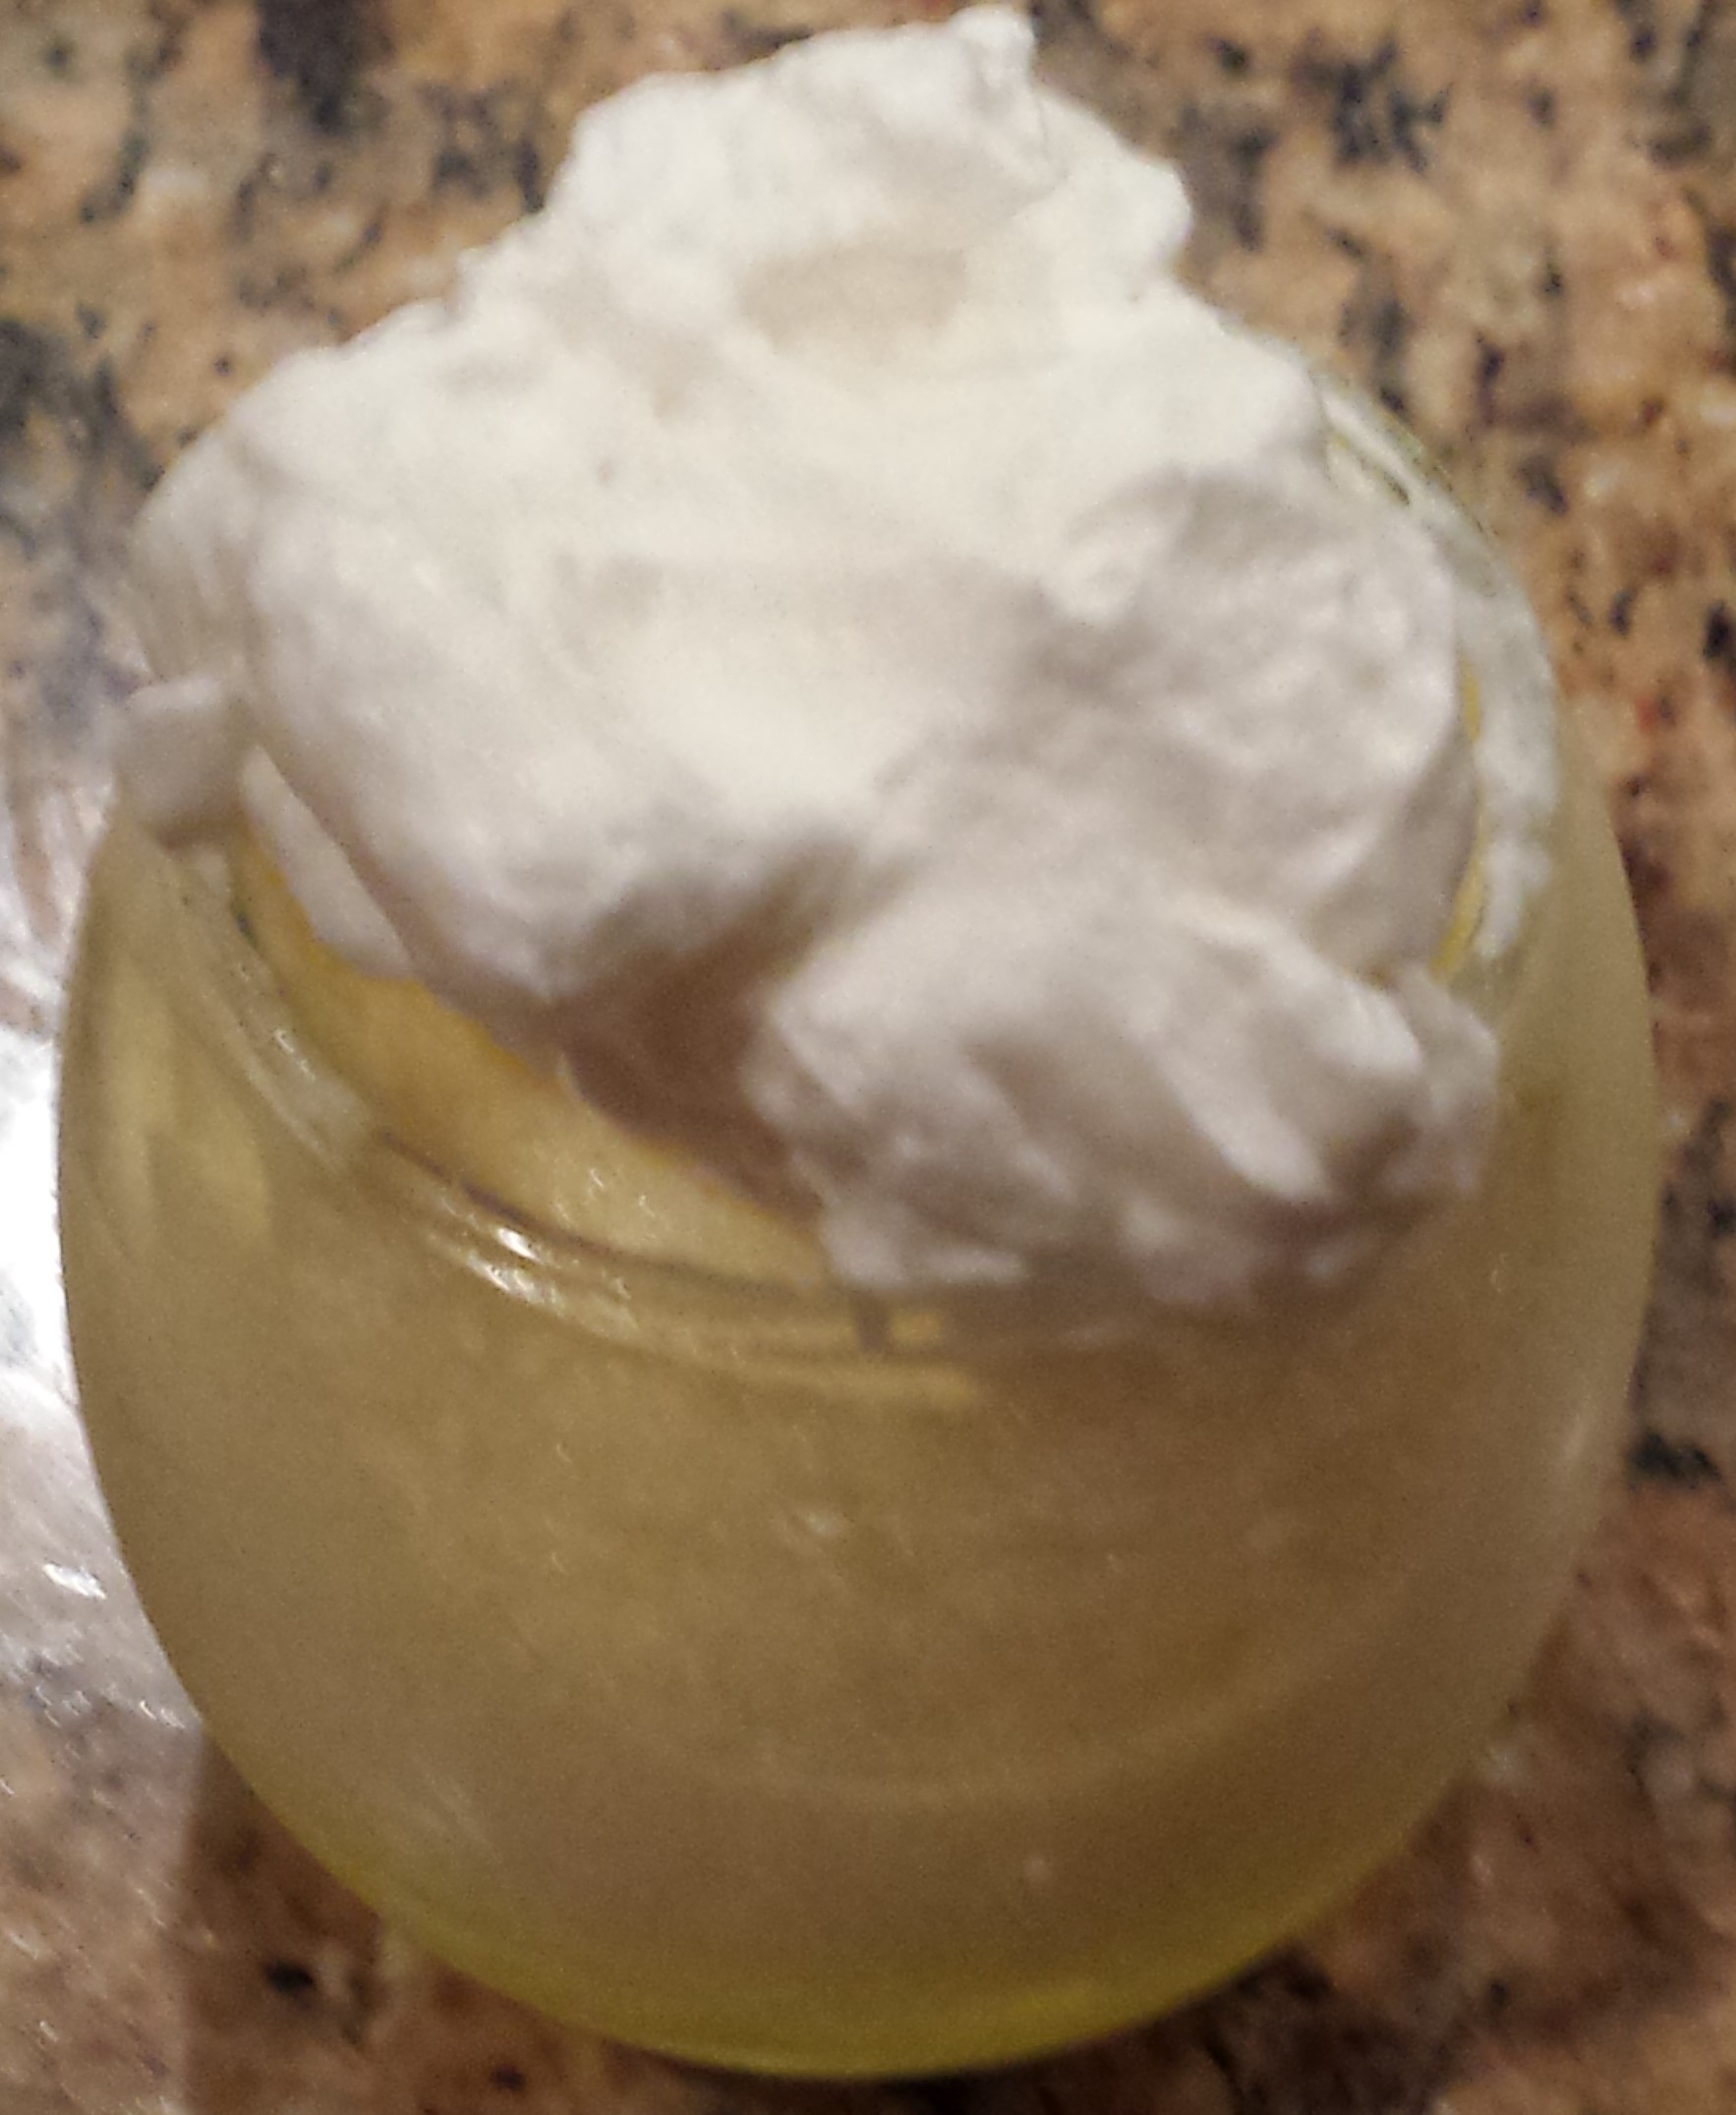
- Remove lemon mix from refrigerator. Add egg whites to the lemon mix and blend well.


- Spoon into dessert dishes and chill until firm, atleast 2 hours.
- Garnish with whipped cream and remaining lemon rind.

Ideas
- Make your own whipped cream. It’s super easy and tastes so much better than any that you can purchase in the store. Simply pour some cream into a bowl and mix at high speed. After about a minute, add some sugar (small amounts at a time) to the mix. Try 2 teaspoons to about 1/2 cup of cream. Once cream begins to whip nicely, taste a small amount and decide if it needs more sugar. Whip to desired consistency.
- This goes great in small containers or slightly larger.
Roasted Vegetable Tarts

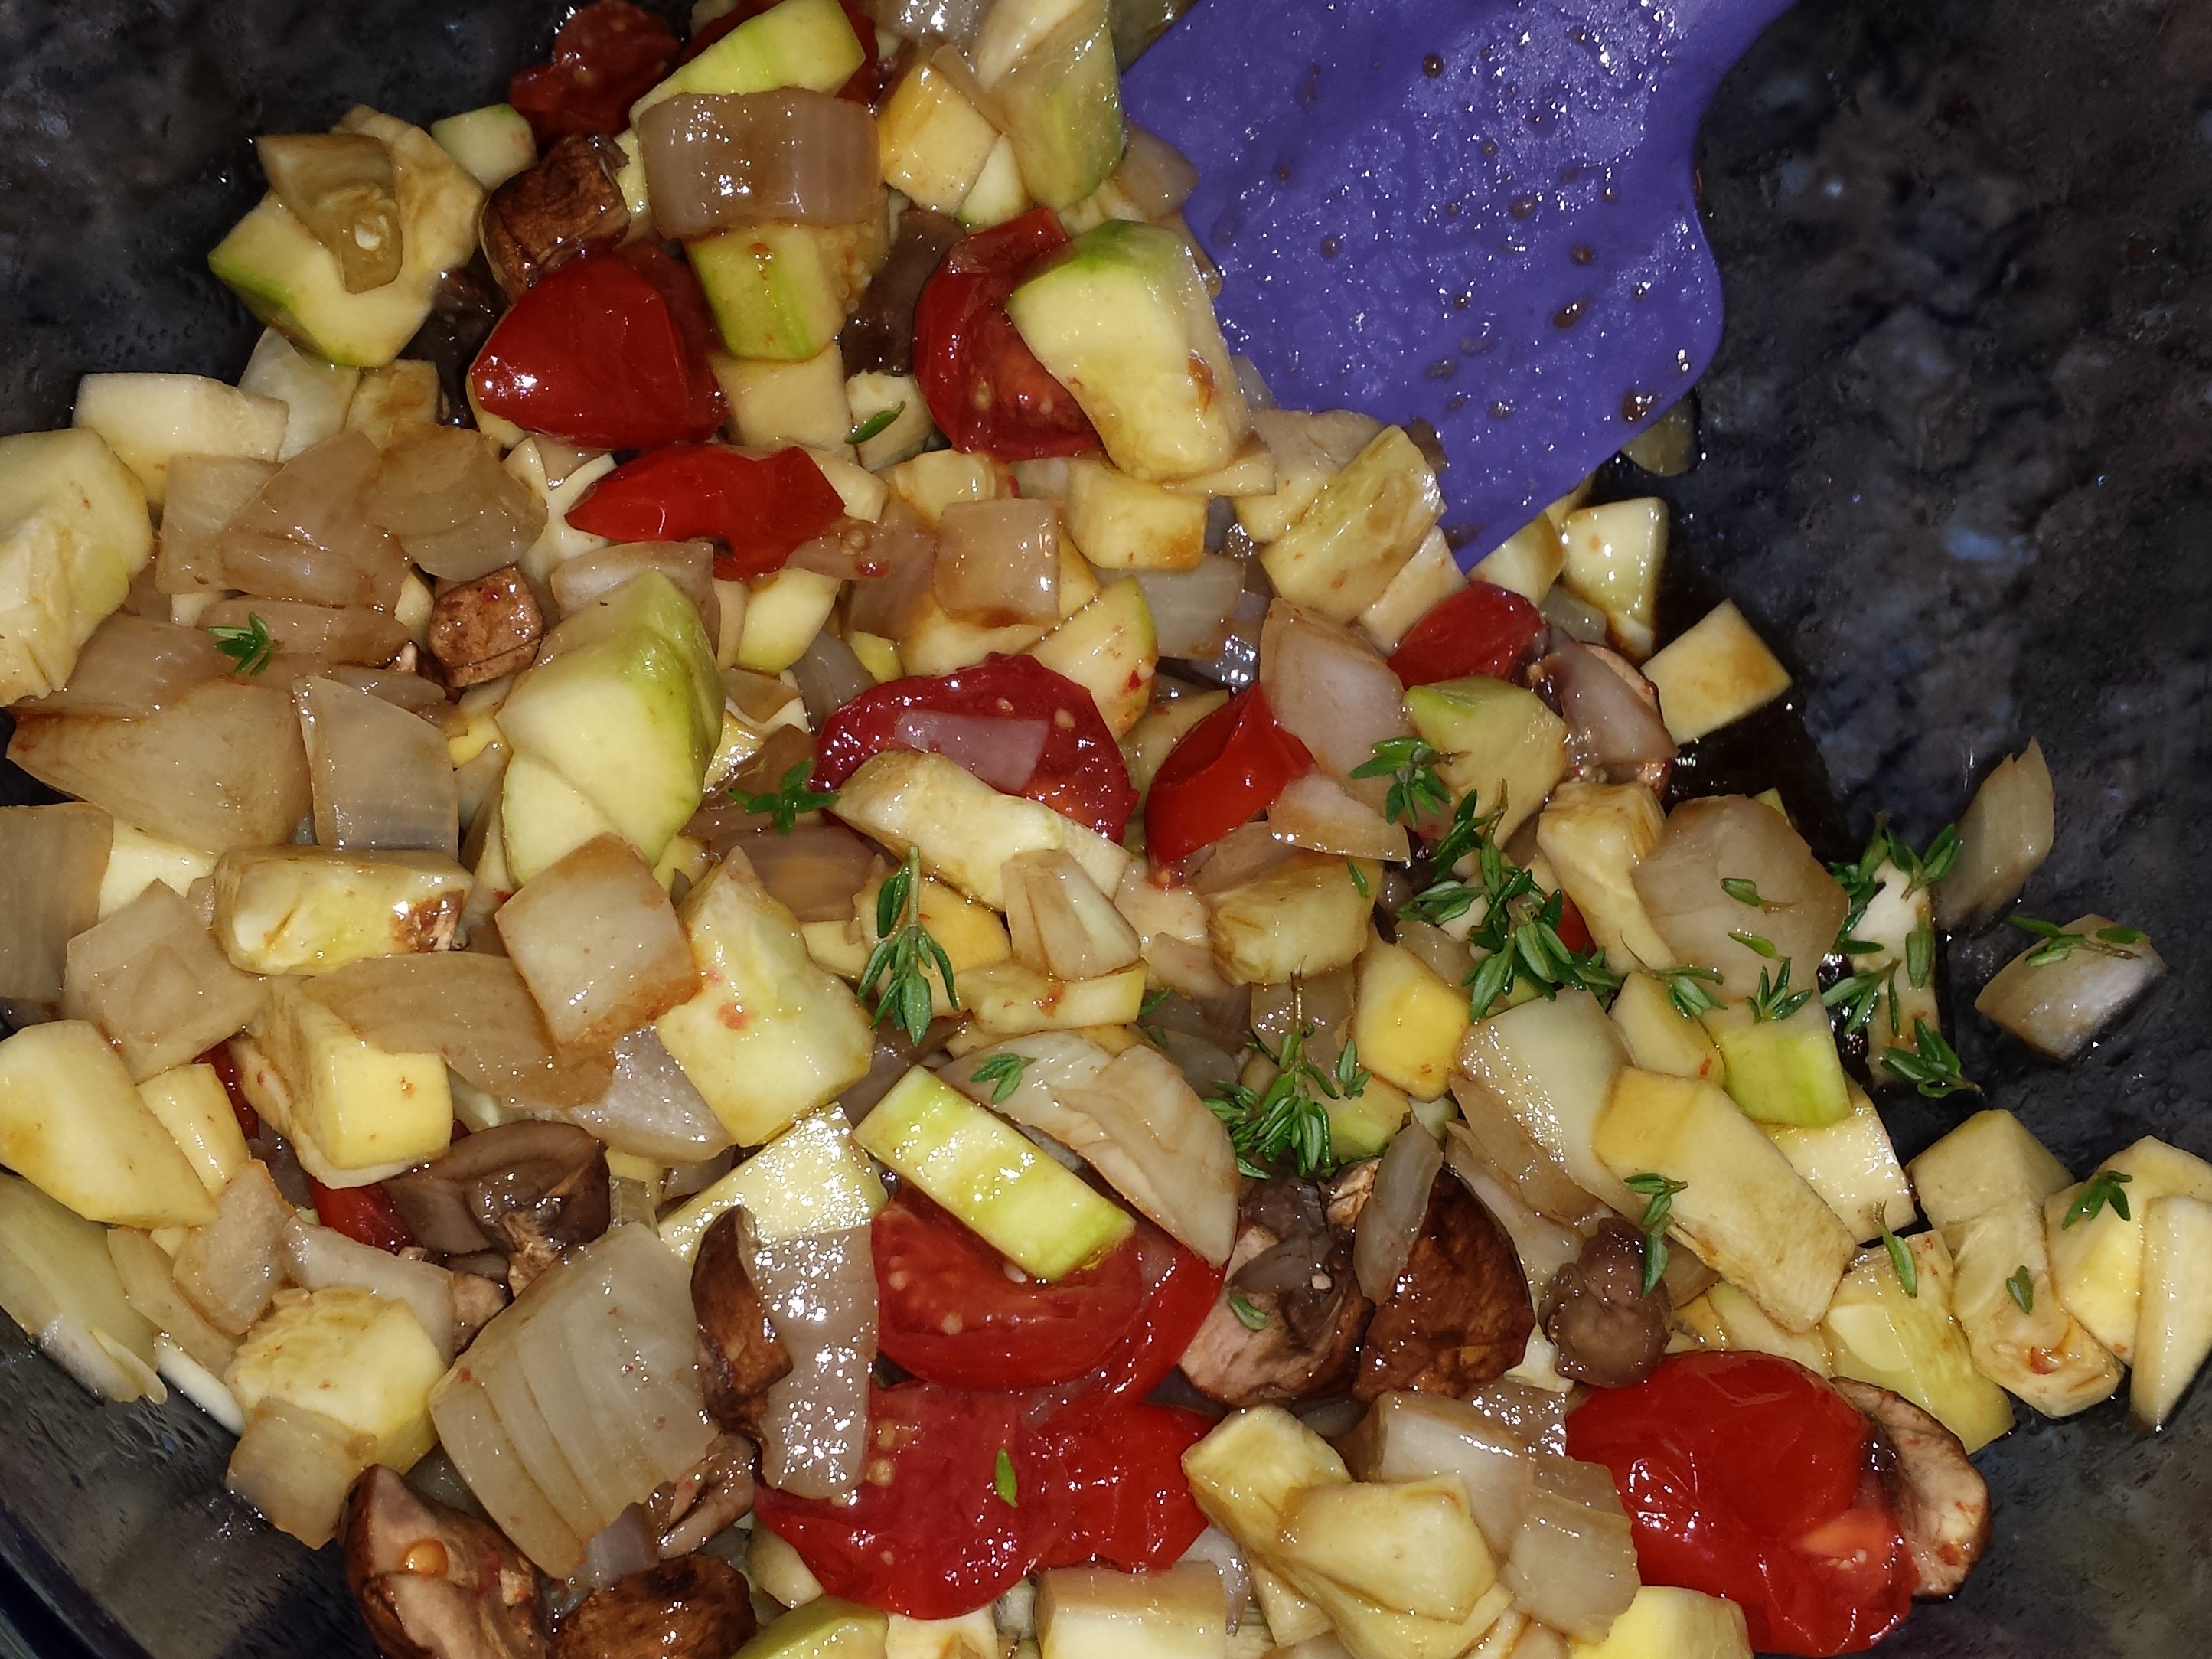
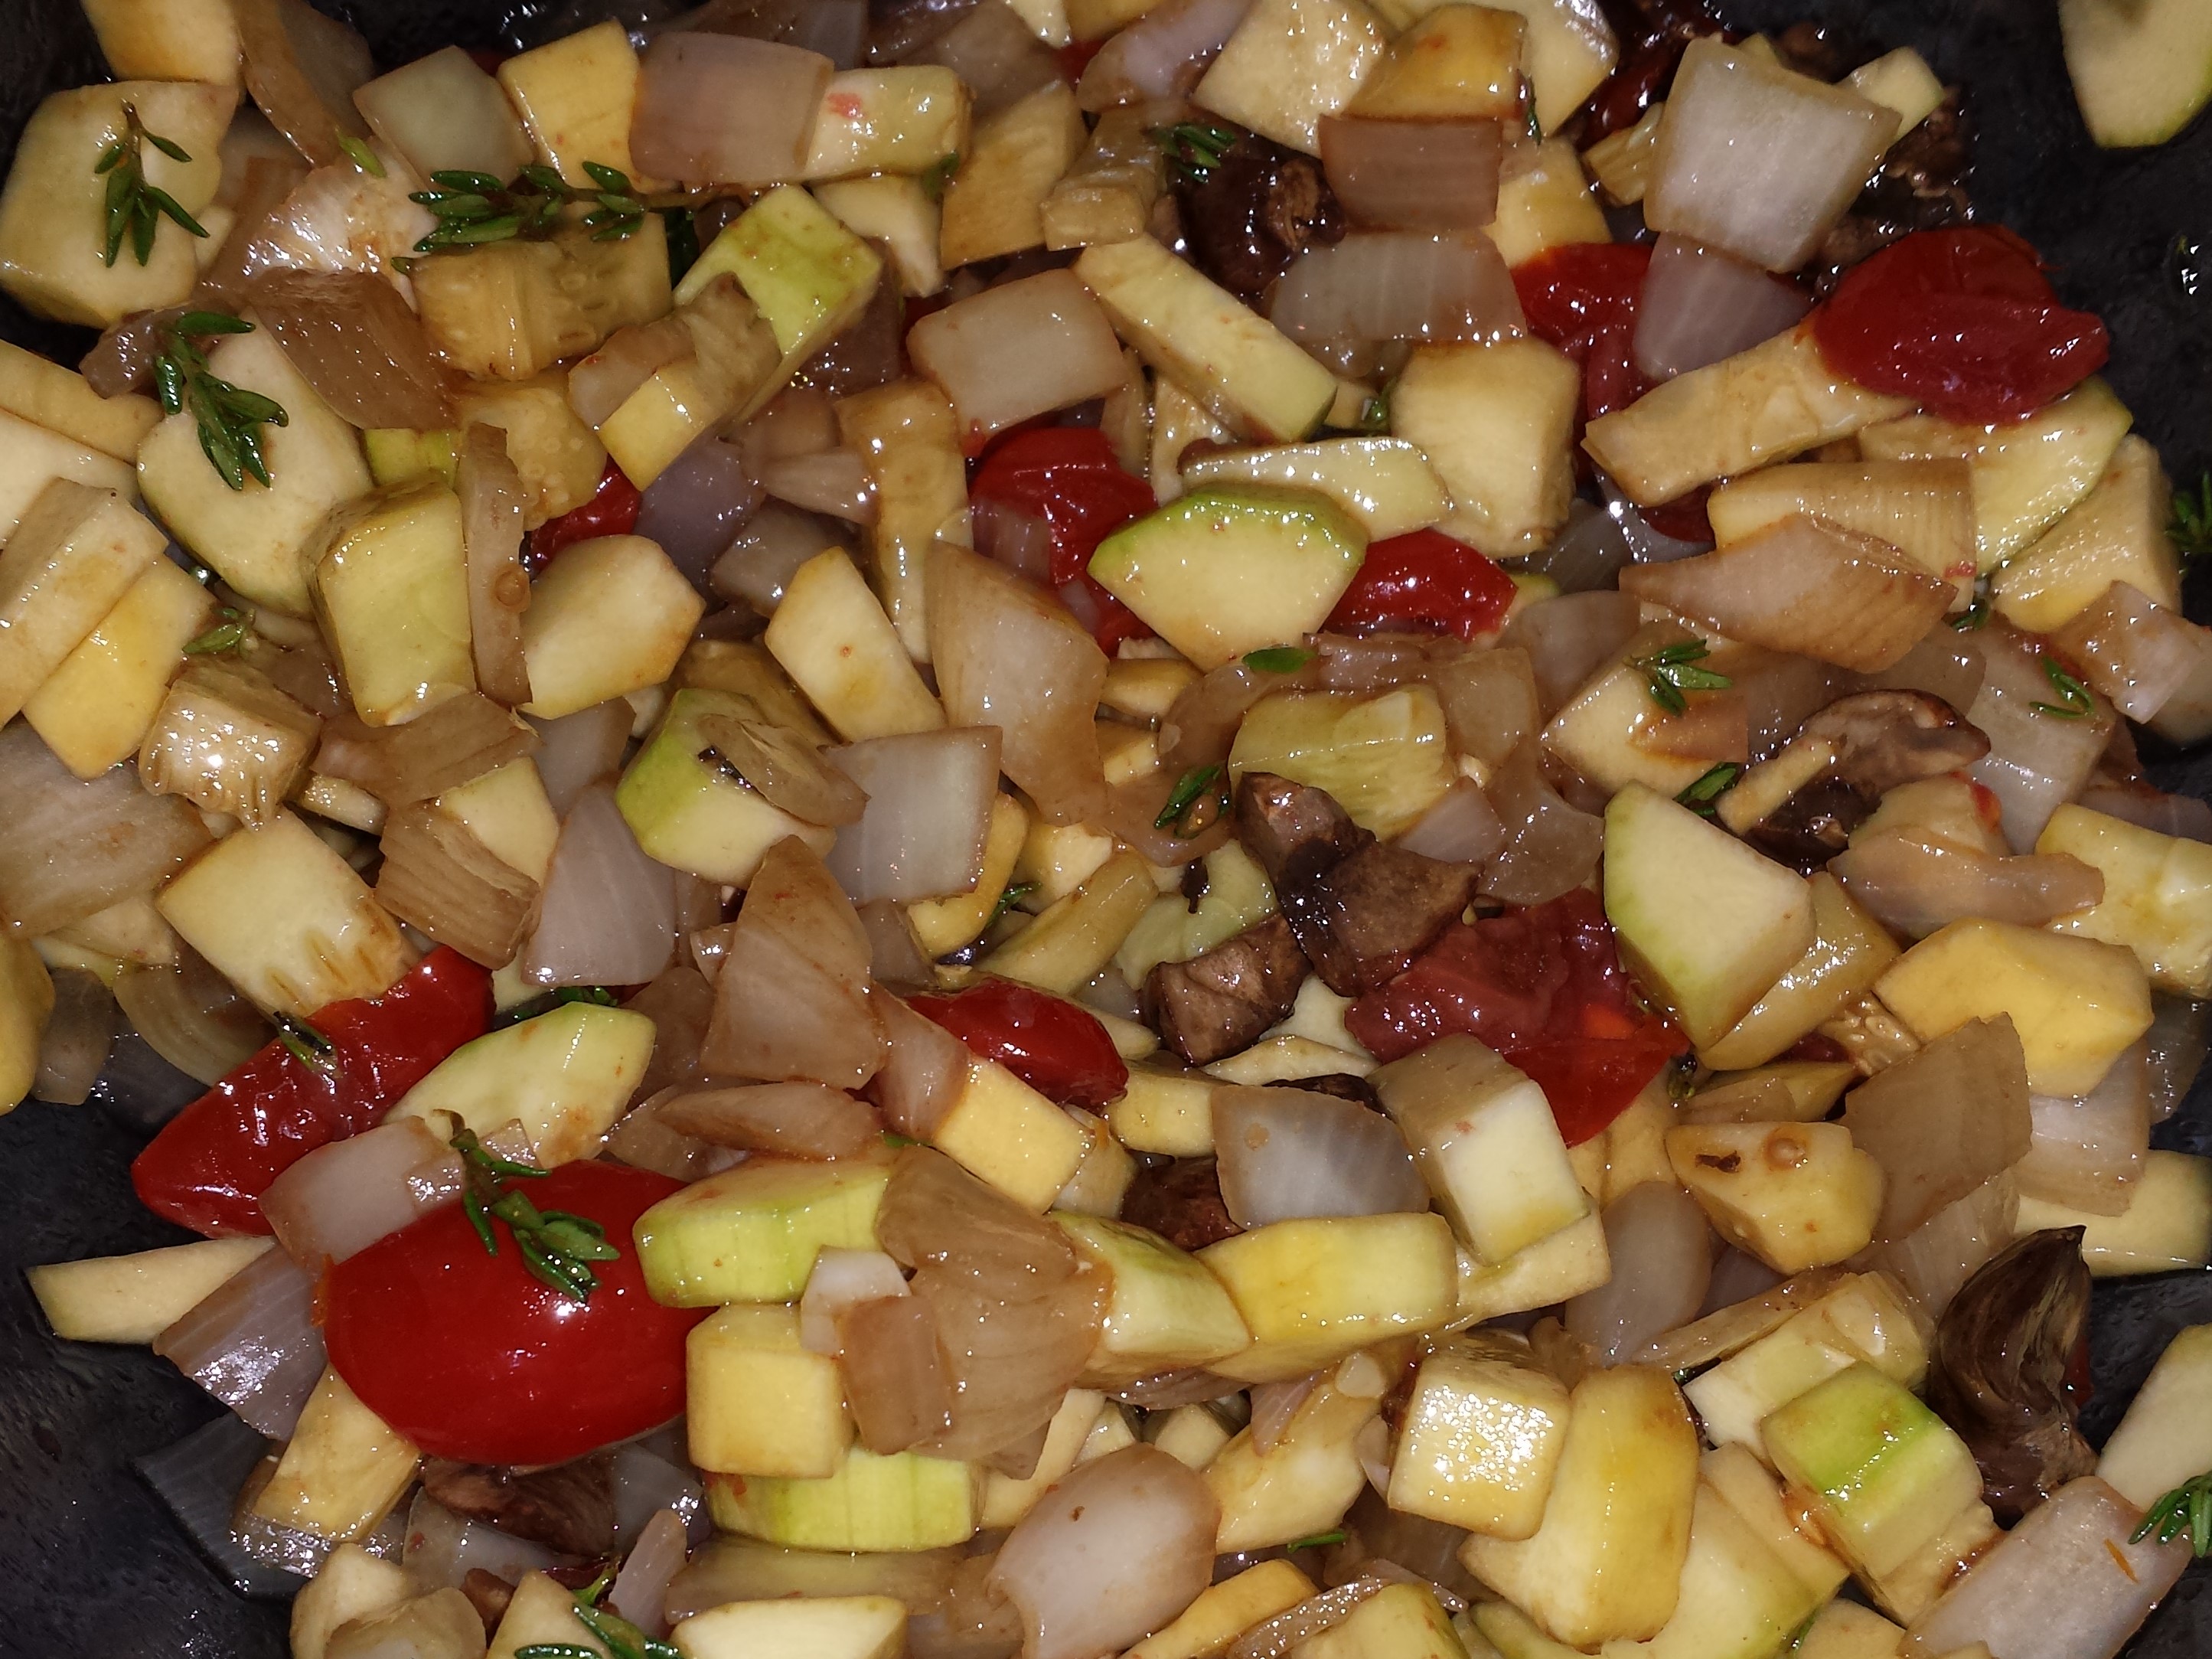
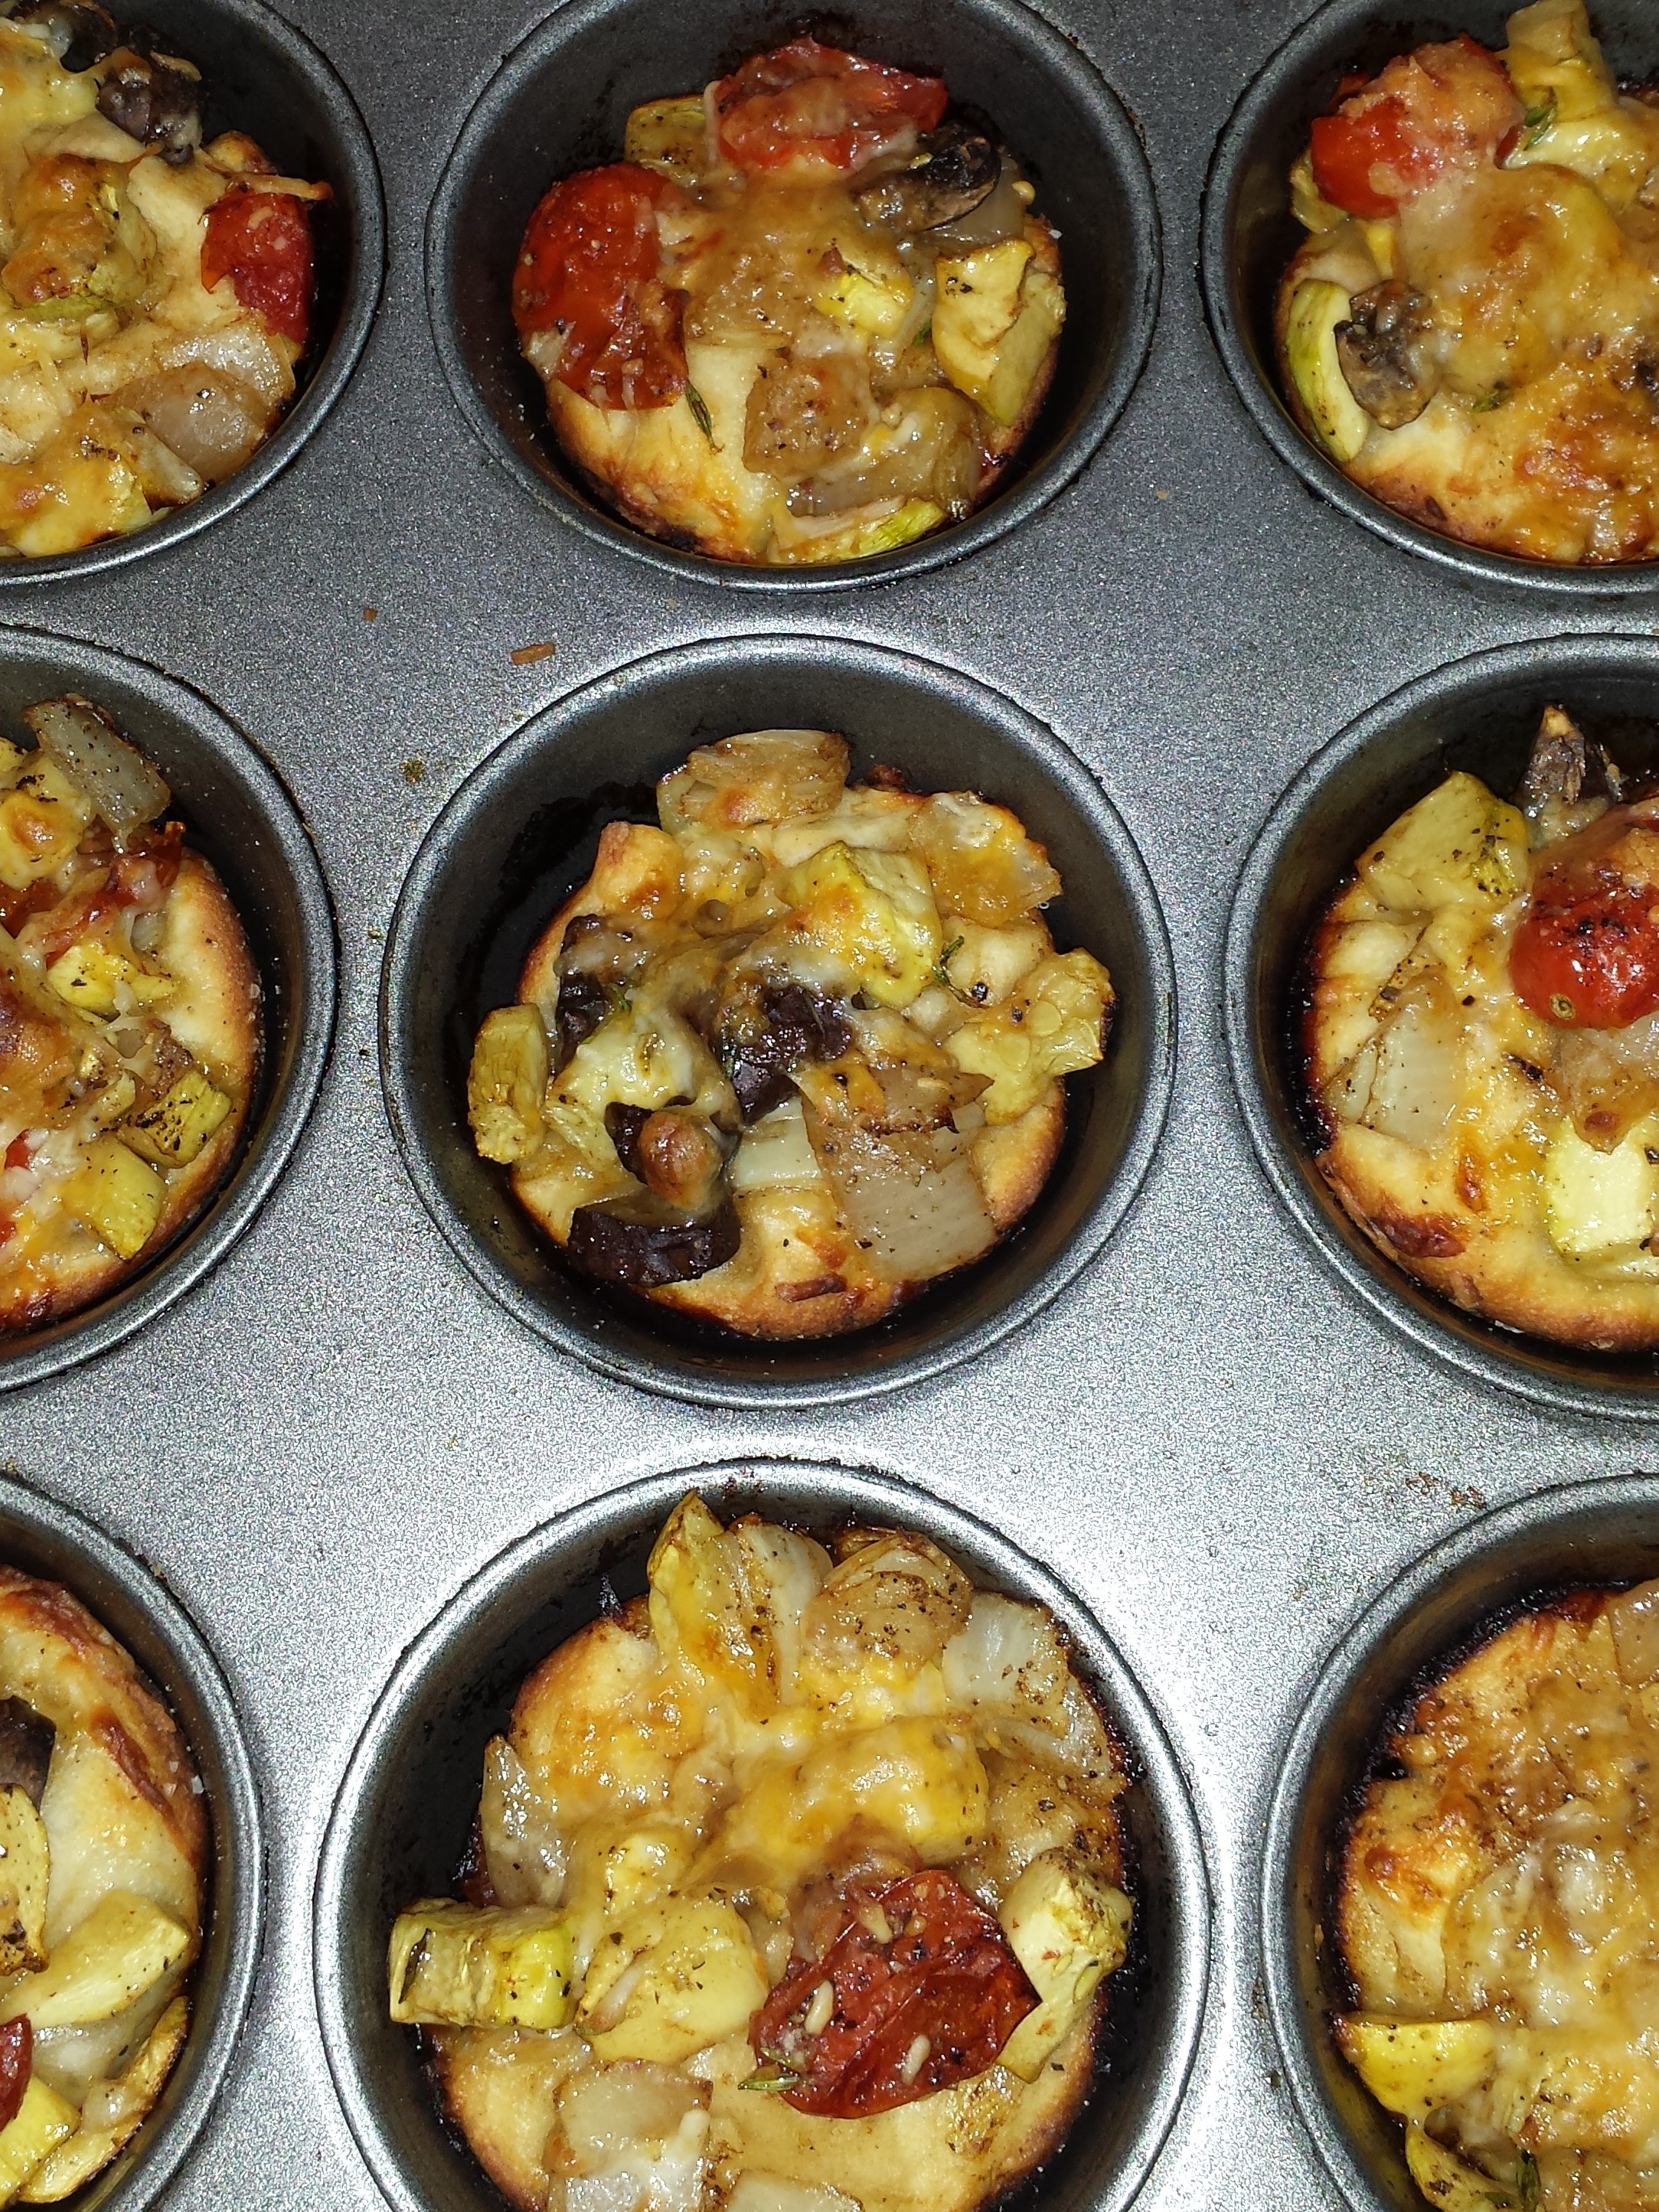
I made these yummy tarts for the first time the other night when having some friends over for dinner. Now, all us women know that many of the guys in our lives would happily pass on the vegetables at dinner. This is a great way to get them to eat them and like it as it combines vegetables with a dinner roll or biscuit. You can use any combination of vegetables when making your tart, but my recommendation is below. Happy eating!
Ingredients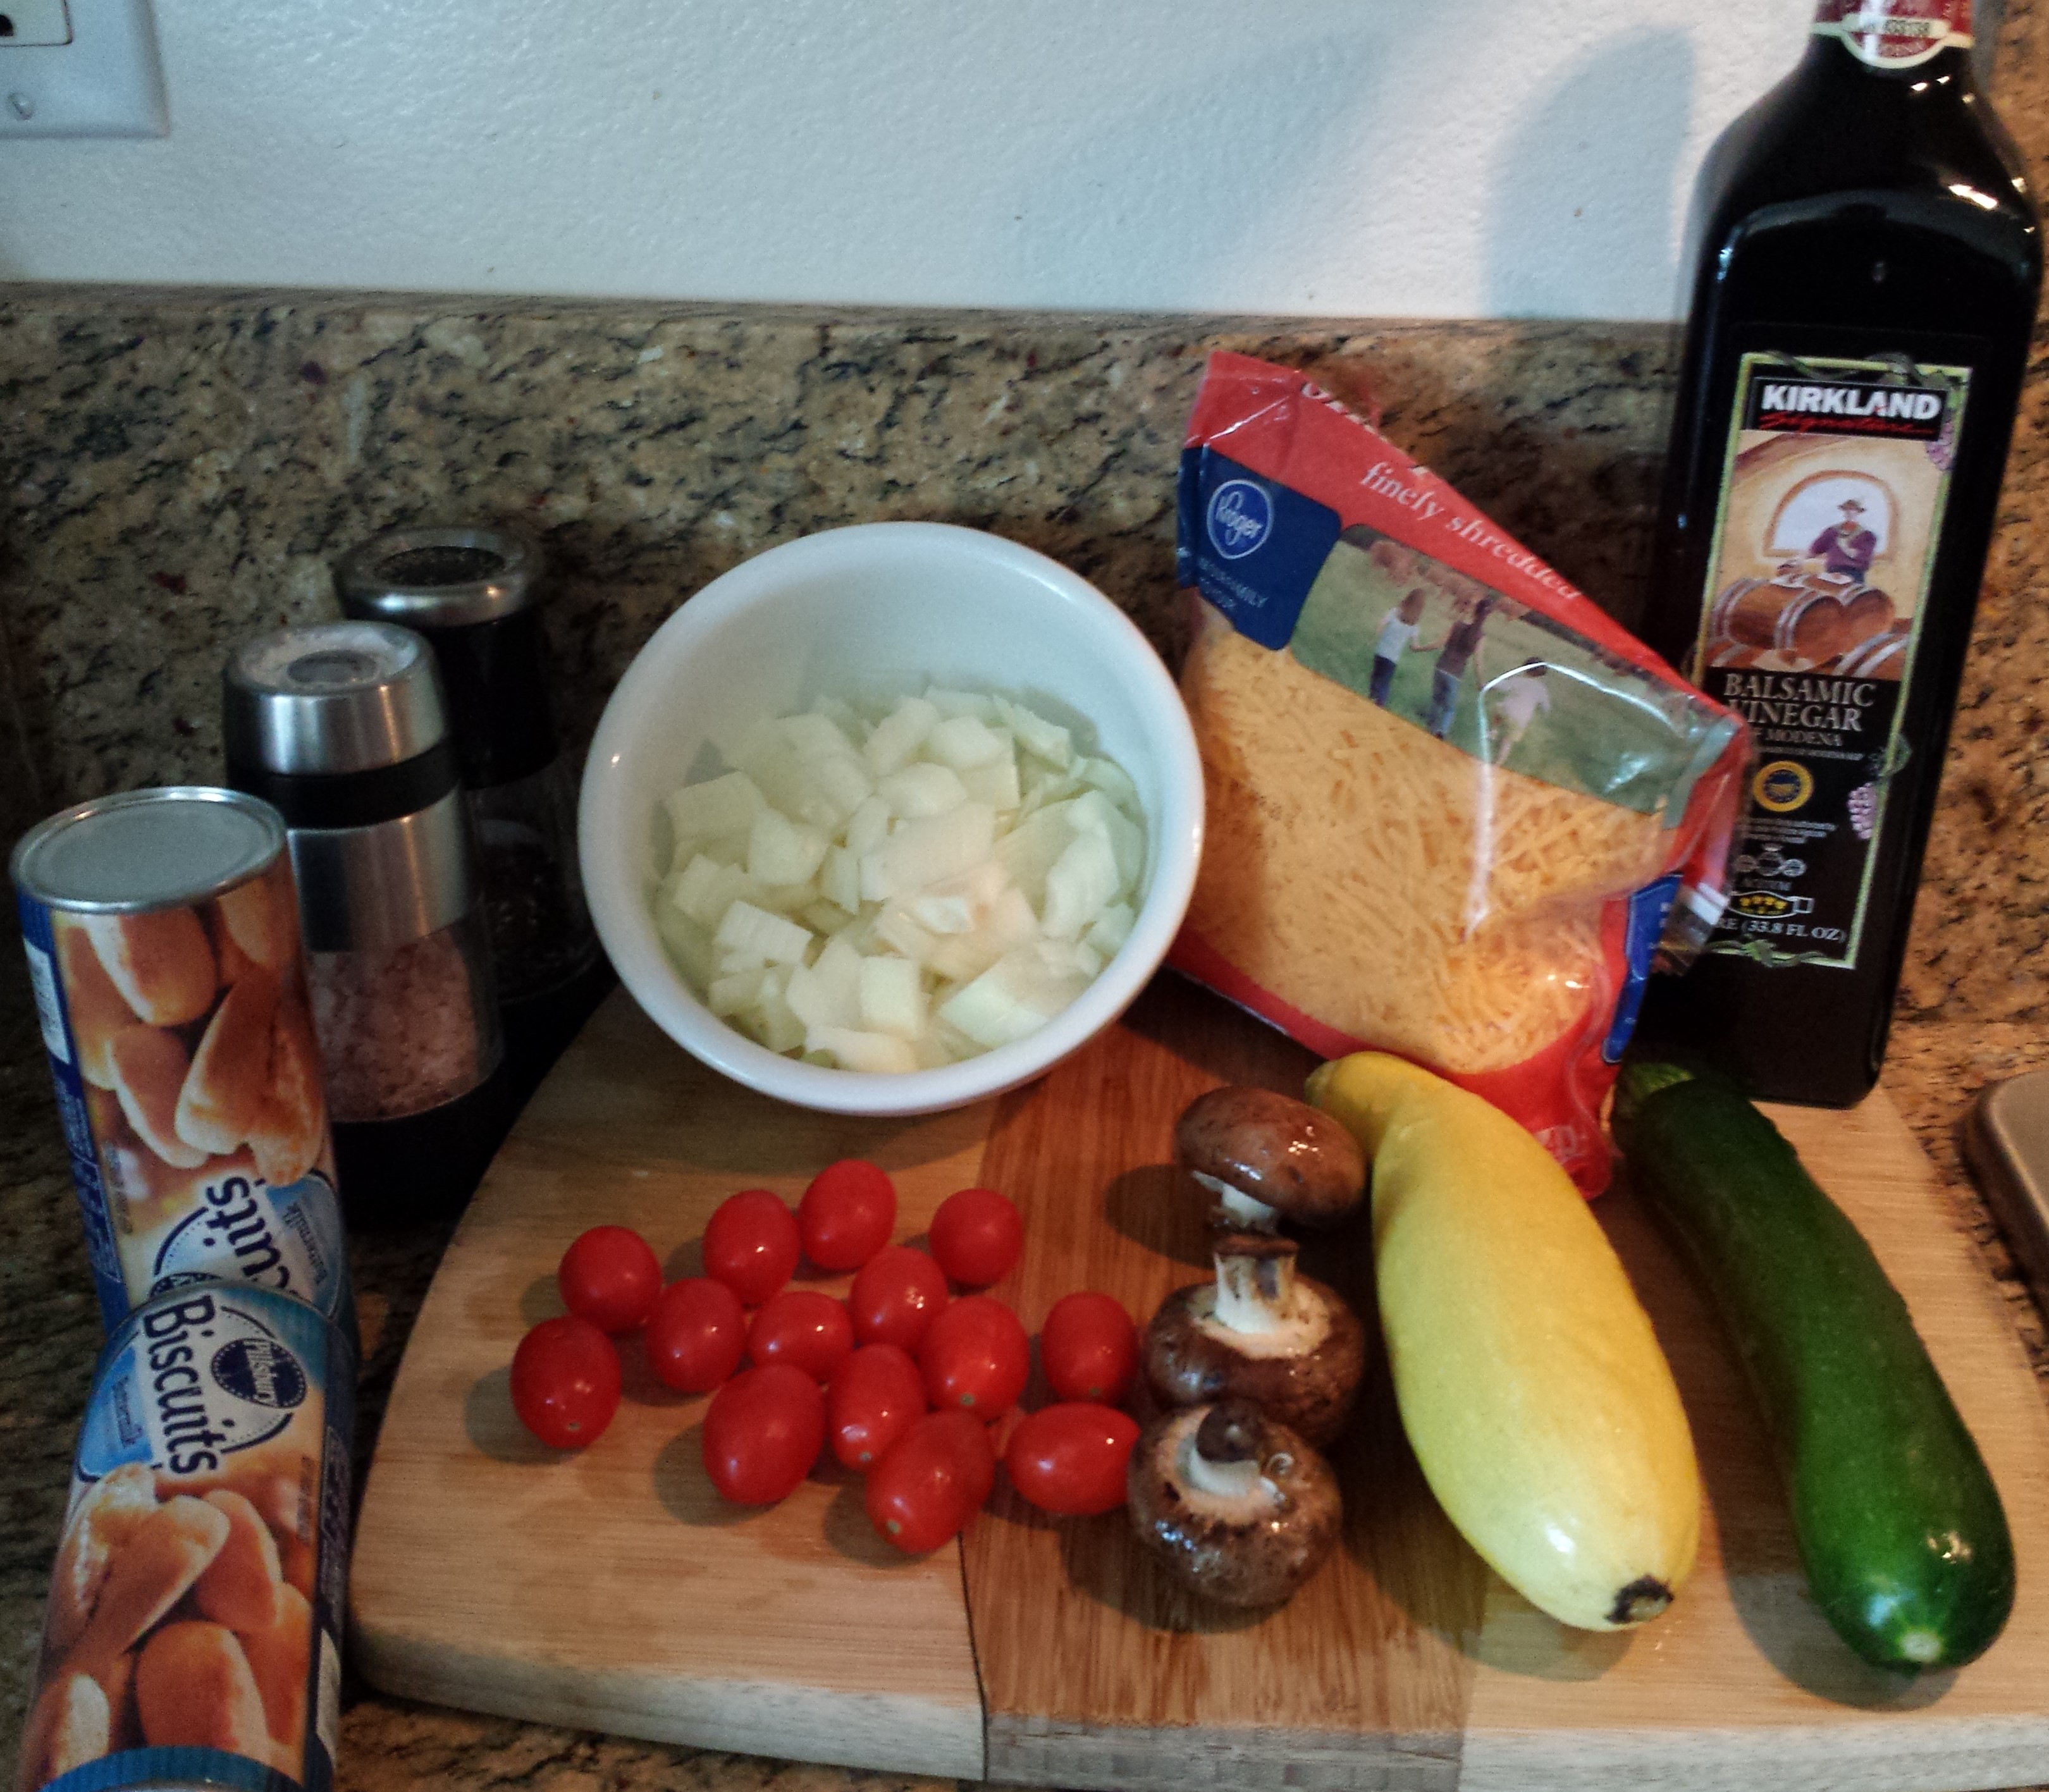
- 1 packages of refrigerator rolls or biscuits
- 1 yellow squash, cut into small pieces
- 1 zucchini, cut into small pieces
- 1 medium sweet onion, coarsely chopped
- 3 medium-large sized mushrooms
- 2 oz shredded cheese
- 1/2 cusp cherry tomatoes, halved
- 3 tsp fresh thyme
- salt and pepper
- 2 T olive oil
- 1 T balsamic vinegar
Instructions
- Dice the vegetables and place into a bowl in the microwave. Cook on high heat for 30 seconds.
- If cooking all at once, cook for 1 minute.
- Remove from microwave and drain any water at the bottom of the bowl.
- Add the thyme, some salt & pepper (to taste), olive oil and balsamic vinegar to the veggies and mix well.
- Using 2 full-size muffin tins, lightly spray with non-stick cooking spray.
- Unroll the refrigerator rolls/bisquits and separate. Bisquits generally have 10. You will cut the thicker bisquits in half to make 12.
- Put into bottom of muffin tins and press down.
- Add a heaping tablespoon of the vegetable mix to each muffin tin.
- Sprinkle with a little extra salt and pepper.
- Add a small amount of shredded cheese to the top of each.
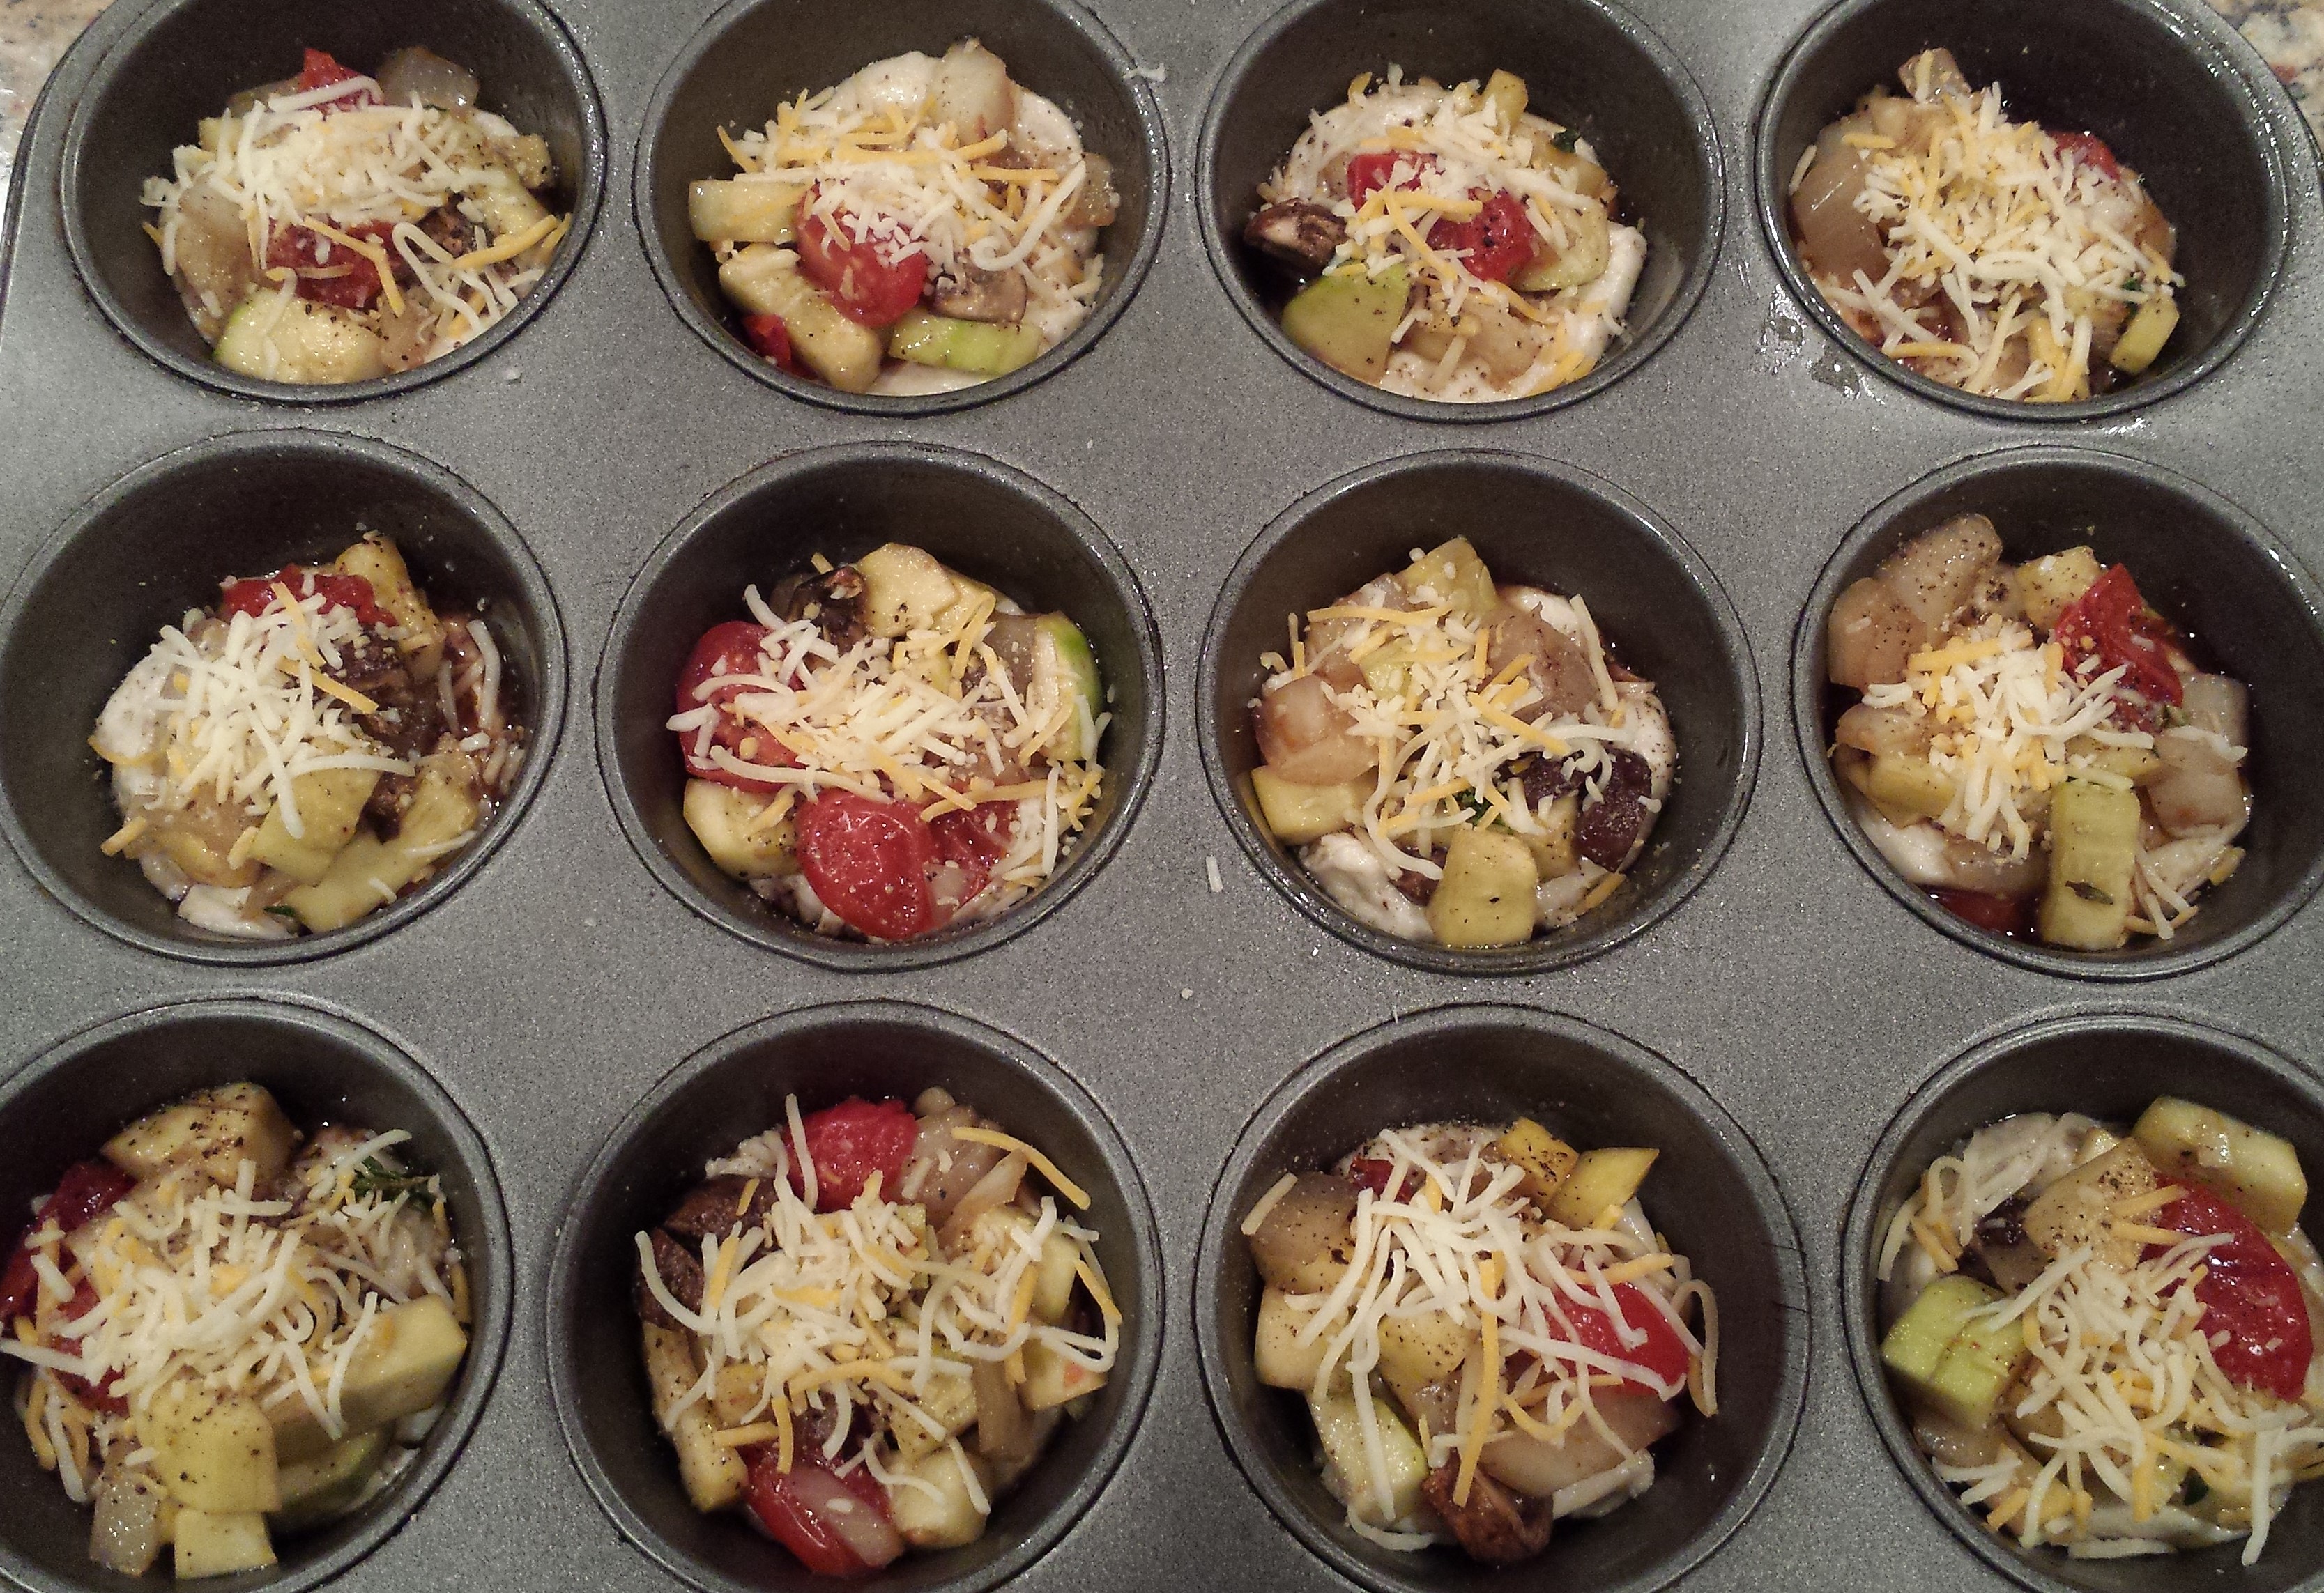
- Bake for 10-12 minutes or until golden brown.
- Cool about 5 minutes before removing from pan.
- Can be served hot or at room temperature.
Ideas
- Other vegetables – this would be great with some diced red or yellow pepper as well.
- Why cut bisquits down? Trust me. A thinner breading at the bottom of the tarts is so much better.
- This also makes a great appetizer.
- You can also prepare the vegetable filling up to one day before using. Dice all the vegetables, heat in microwave, drain excess liquid, refrigerate.
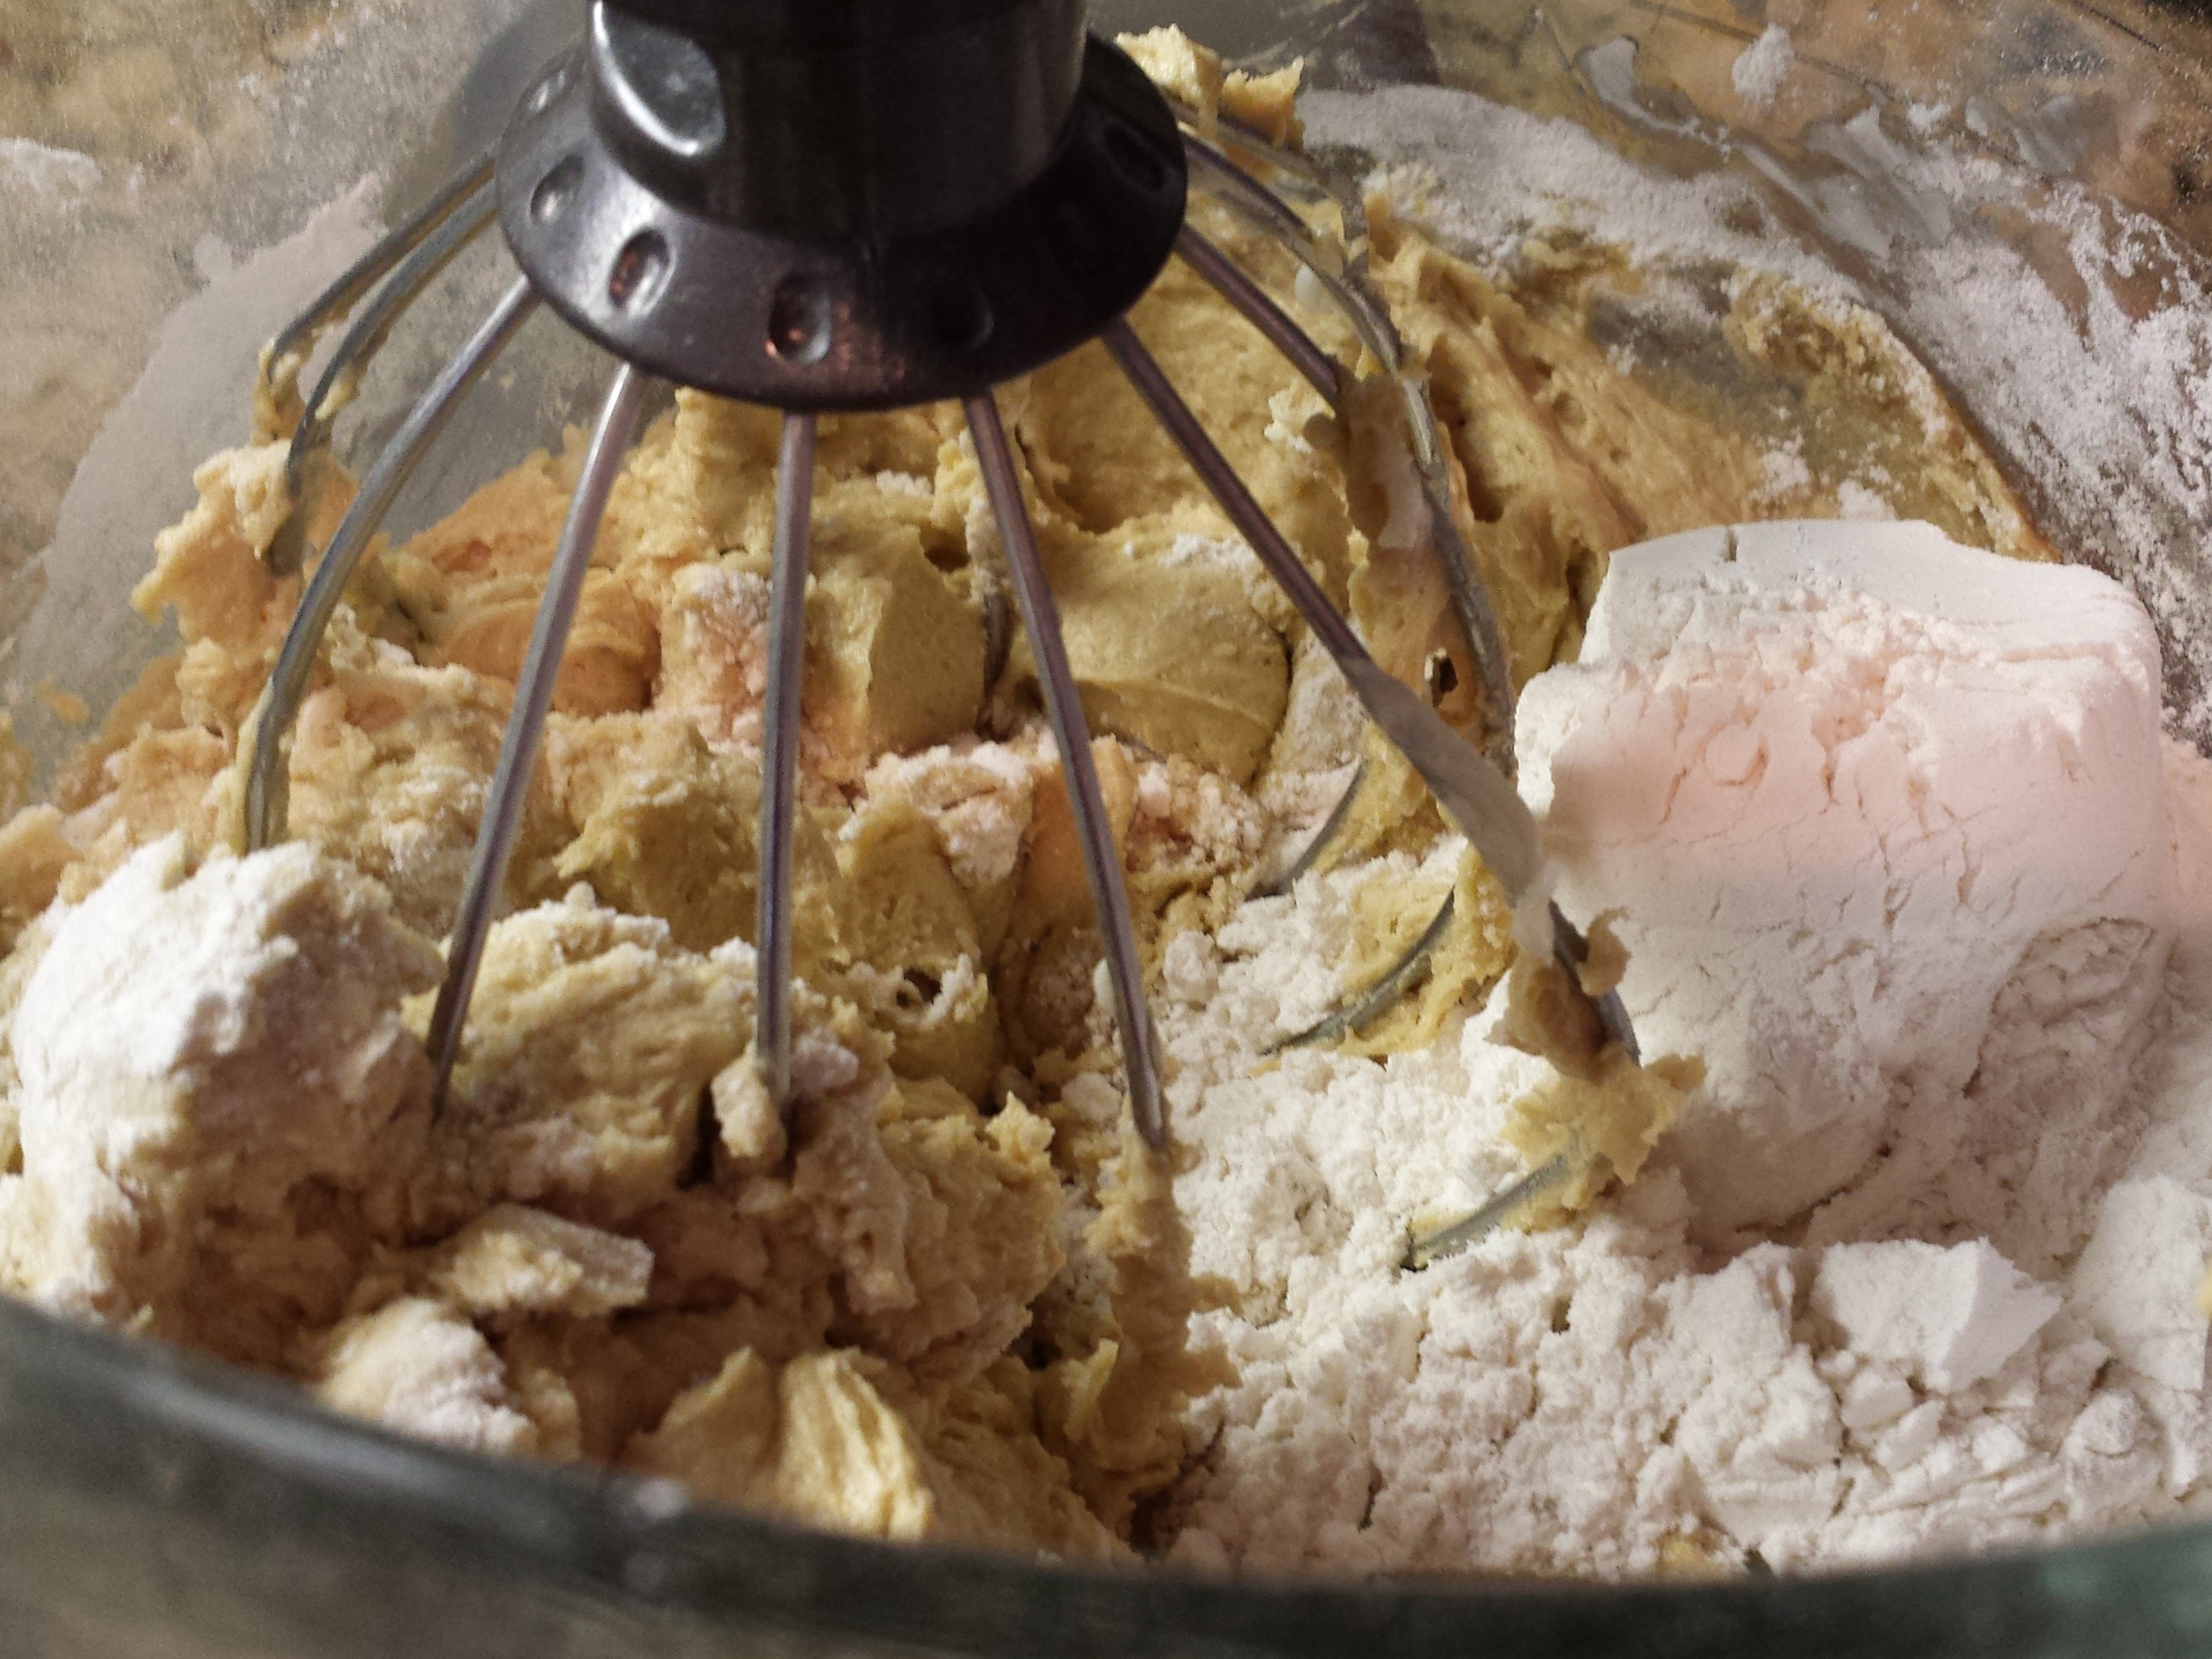
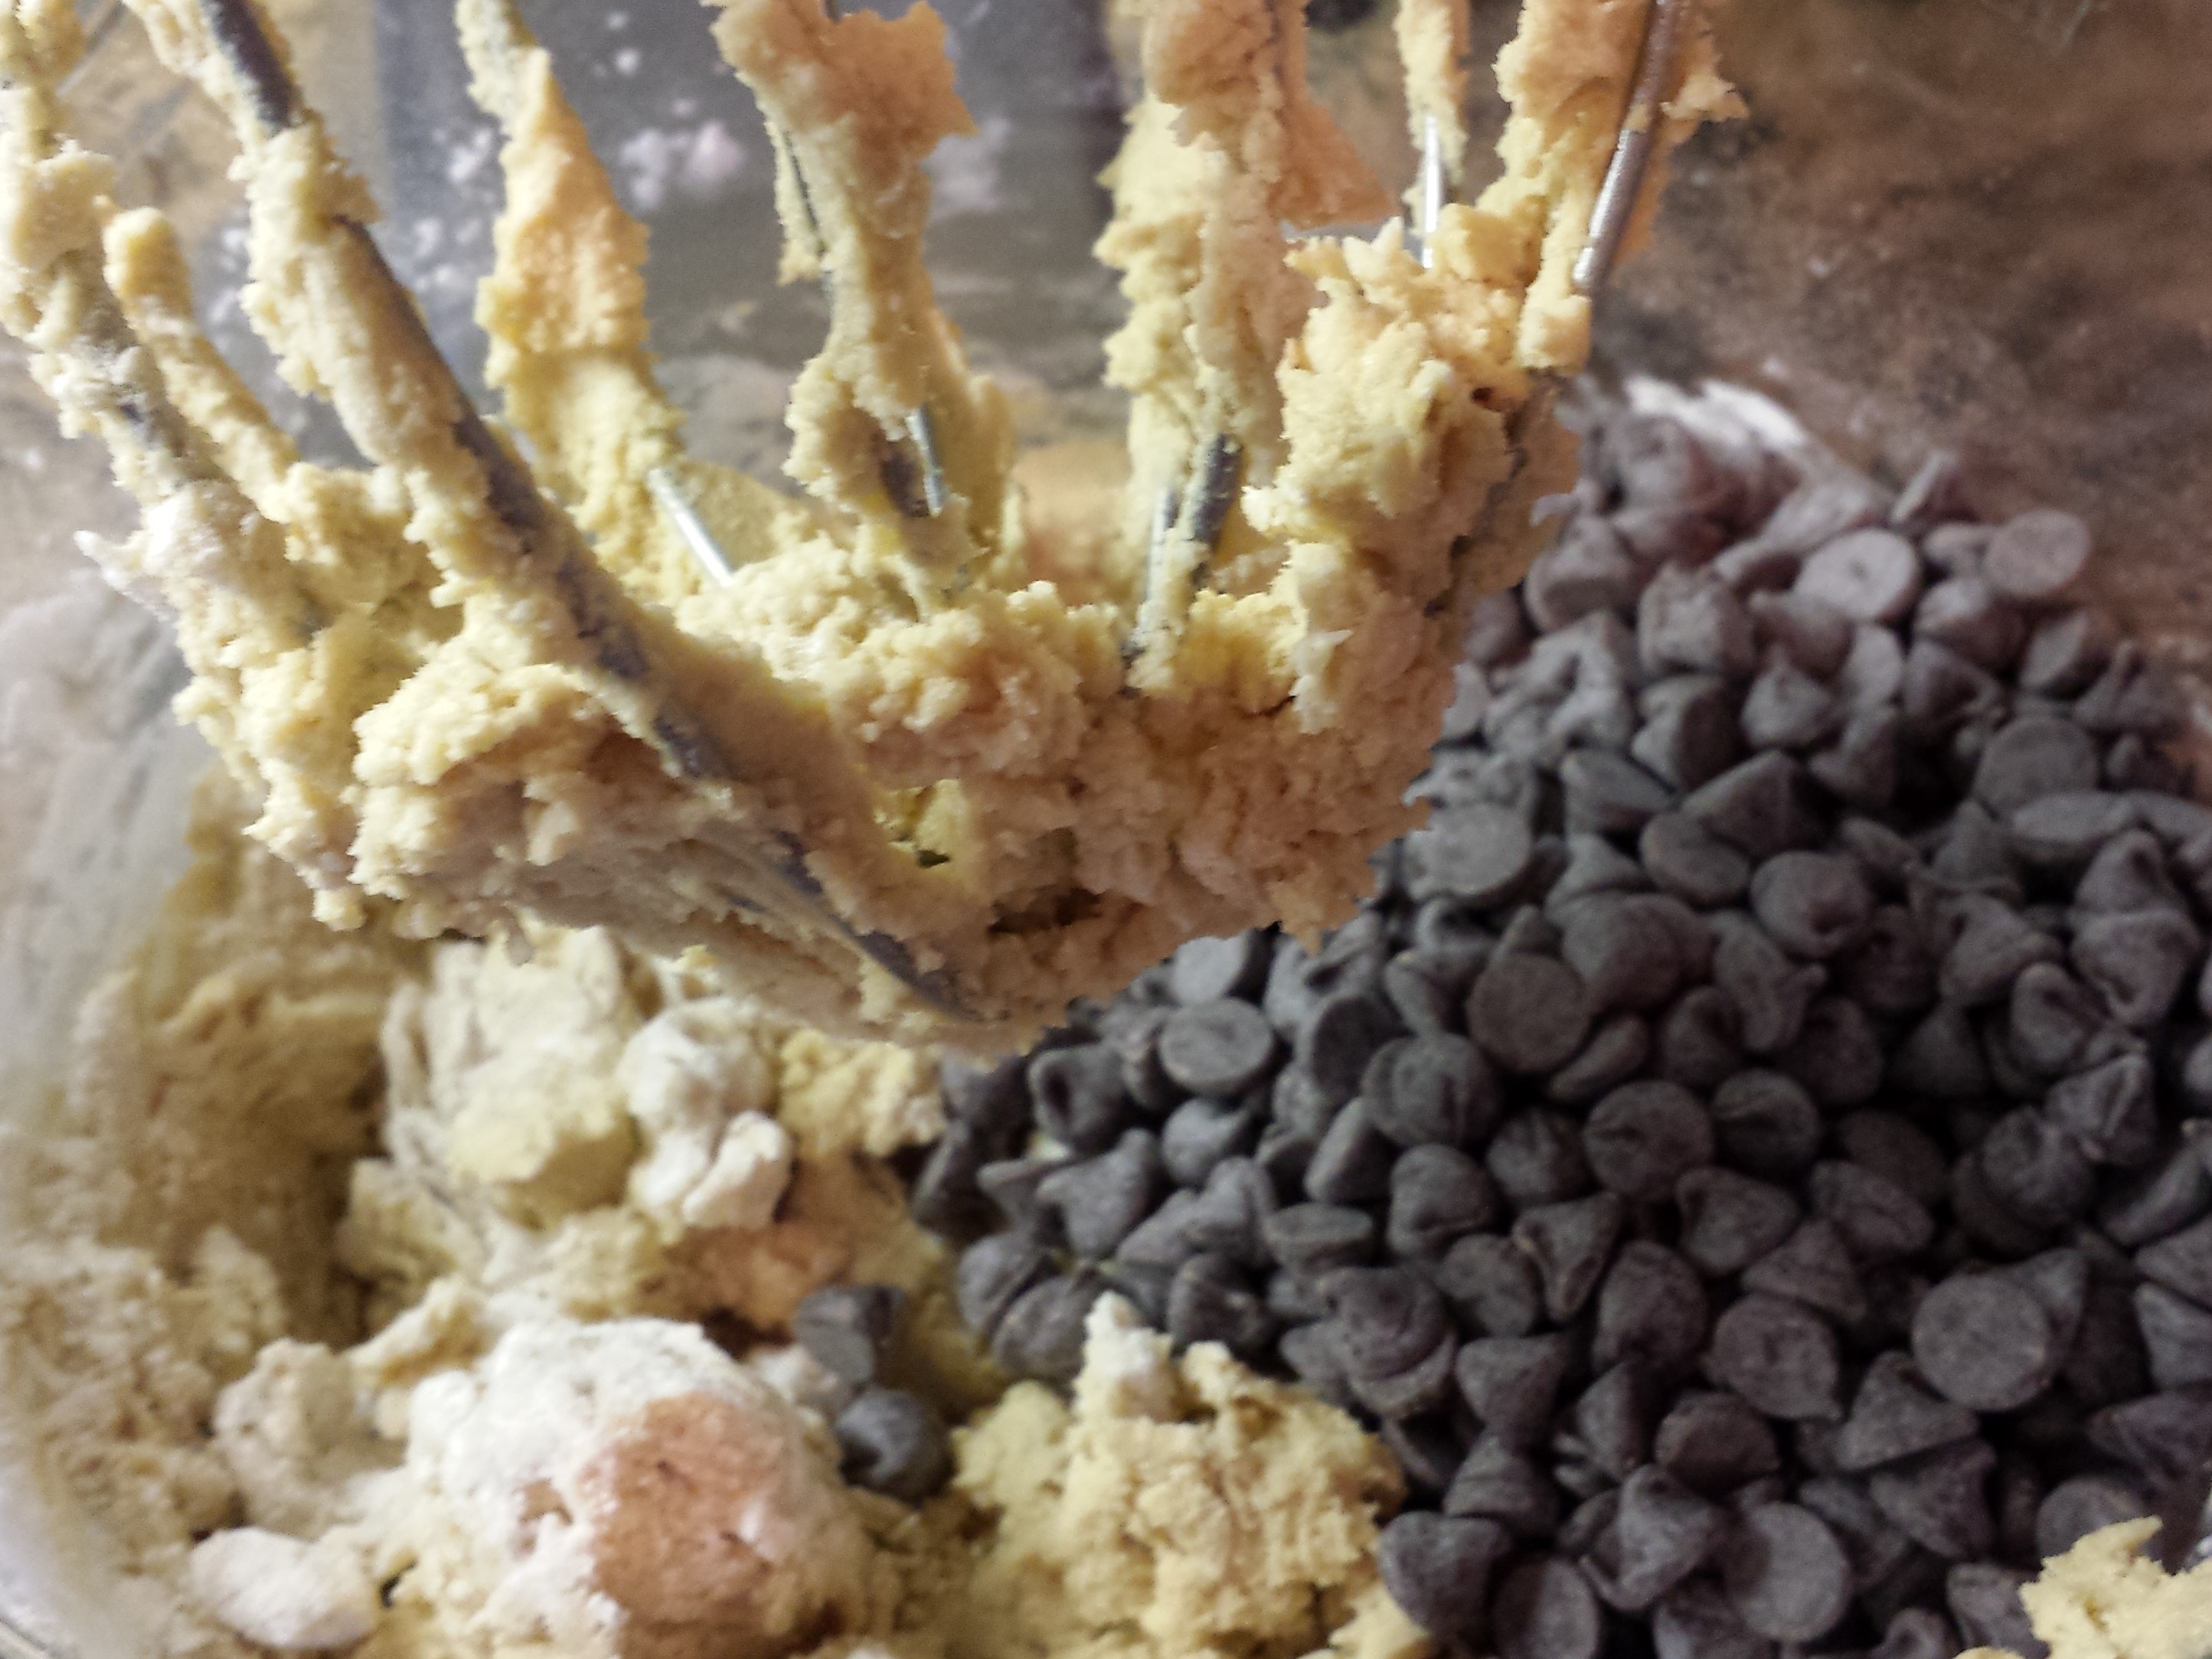
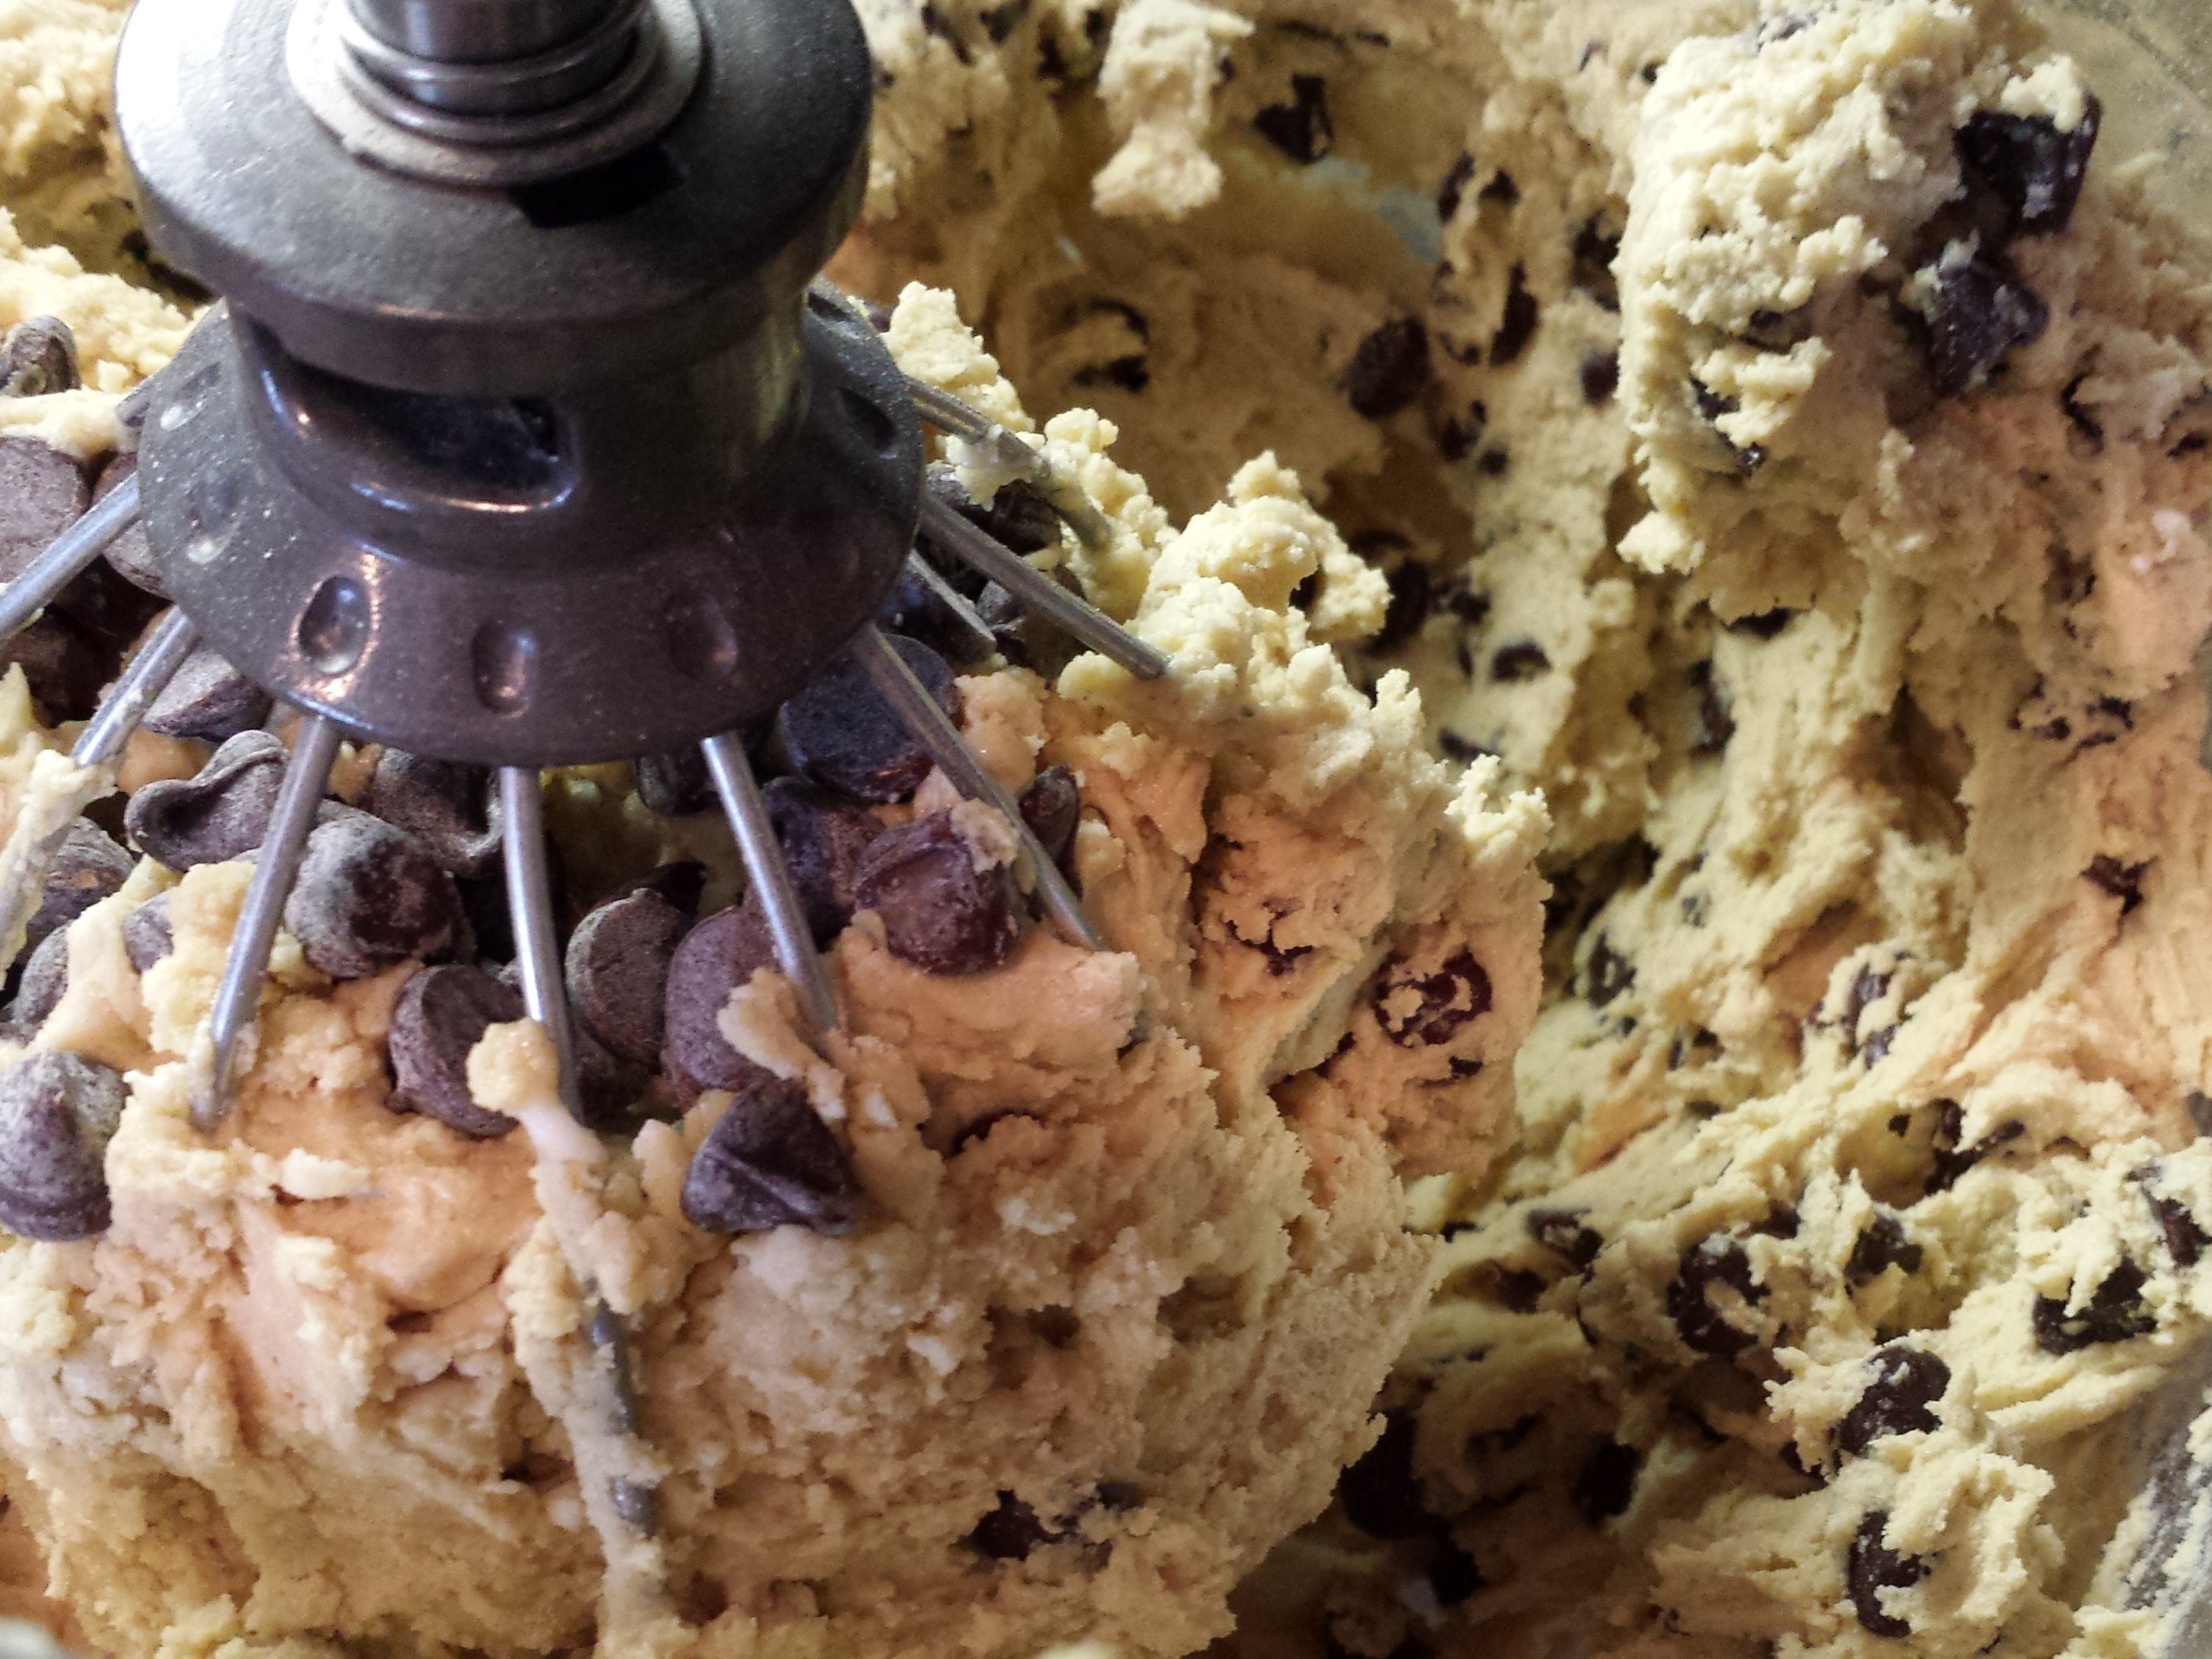
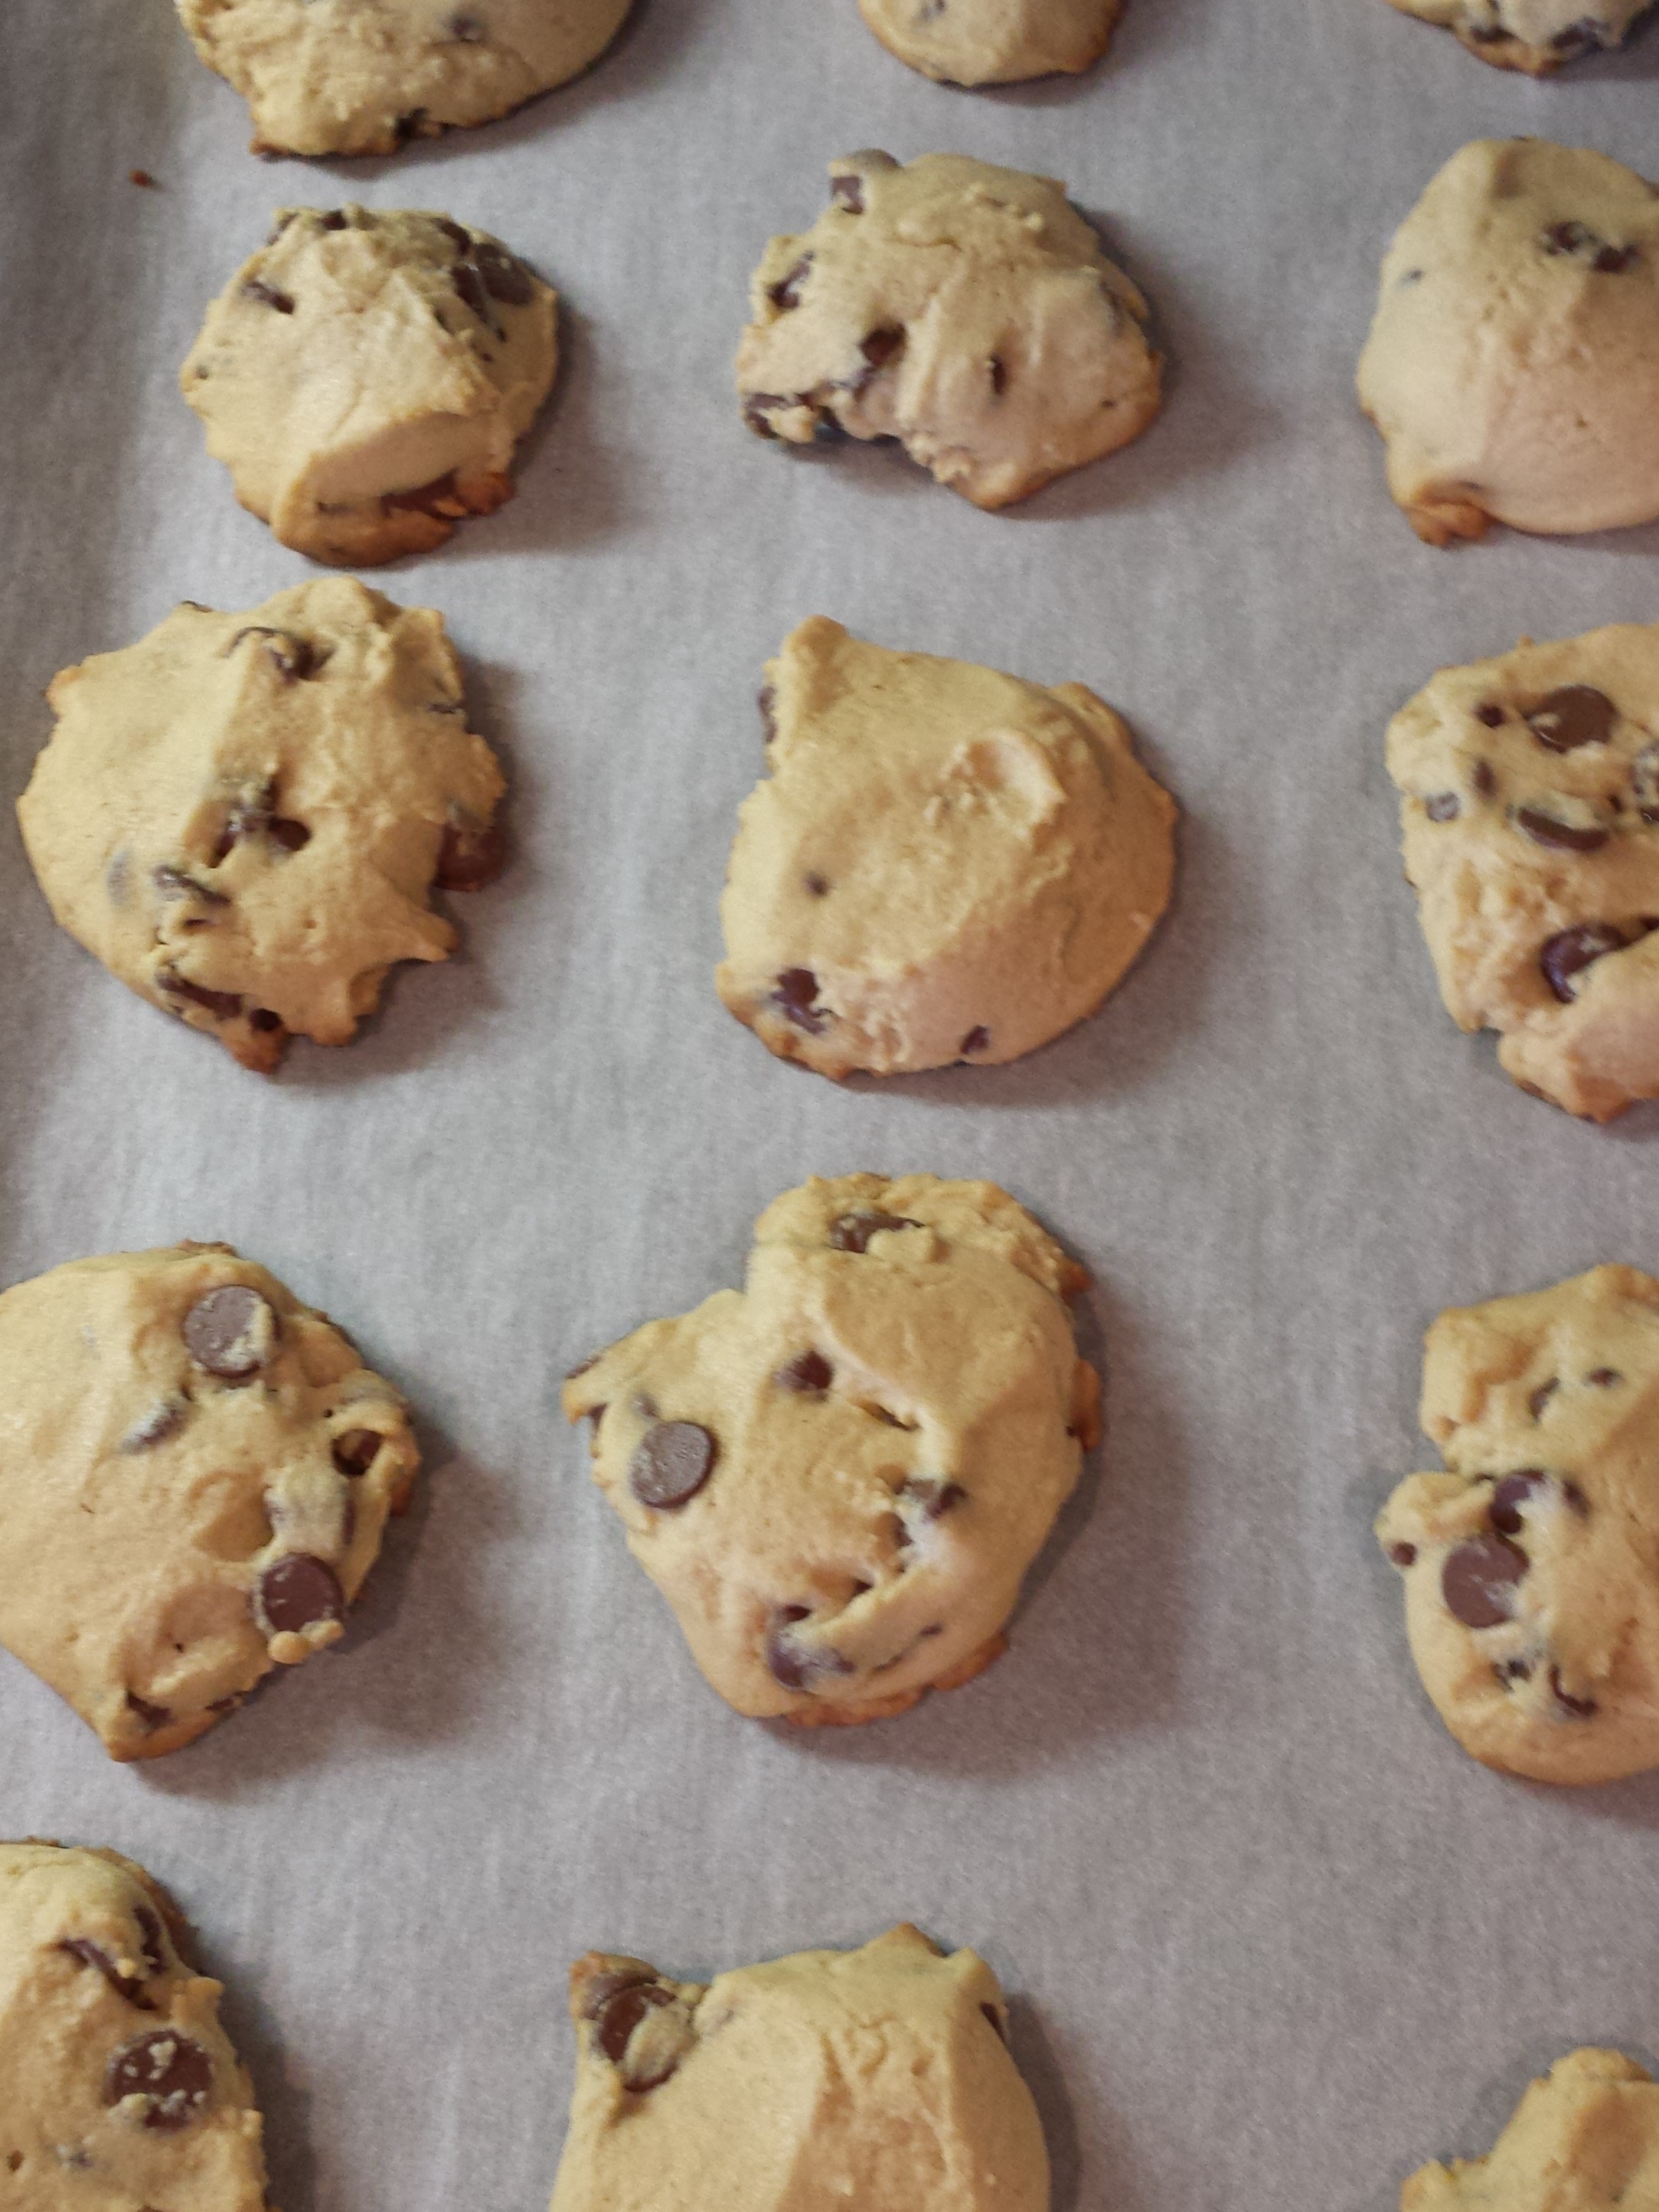
Chocolate Chip Pudding Cookies

This is one of my all time favorite cookies. While there are many varieties of chocolate chip cookies and an abundance of recipes, this one always yields a soft, moise, cake-like cookie. My mother made these when I was growing up. When we made for my great grandmother, we omitted nuts because she didn’t like them. Of course, when we made them just for ourselves, these cookies has 2/3 cup of walnuts added to the recipe below. My husband has the misfortune of being allergic to tree nuts, so I’m back to the no nut version of these. They are delicious either way. Try them, you won’t regret it. As always, happy eating!
Ingredients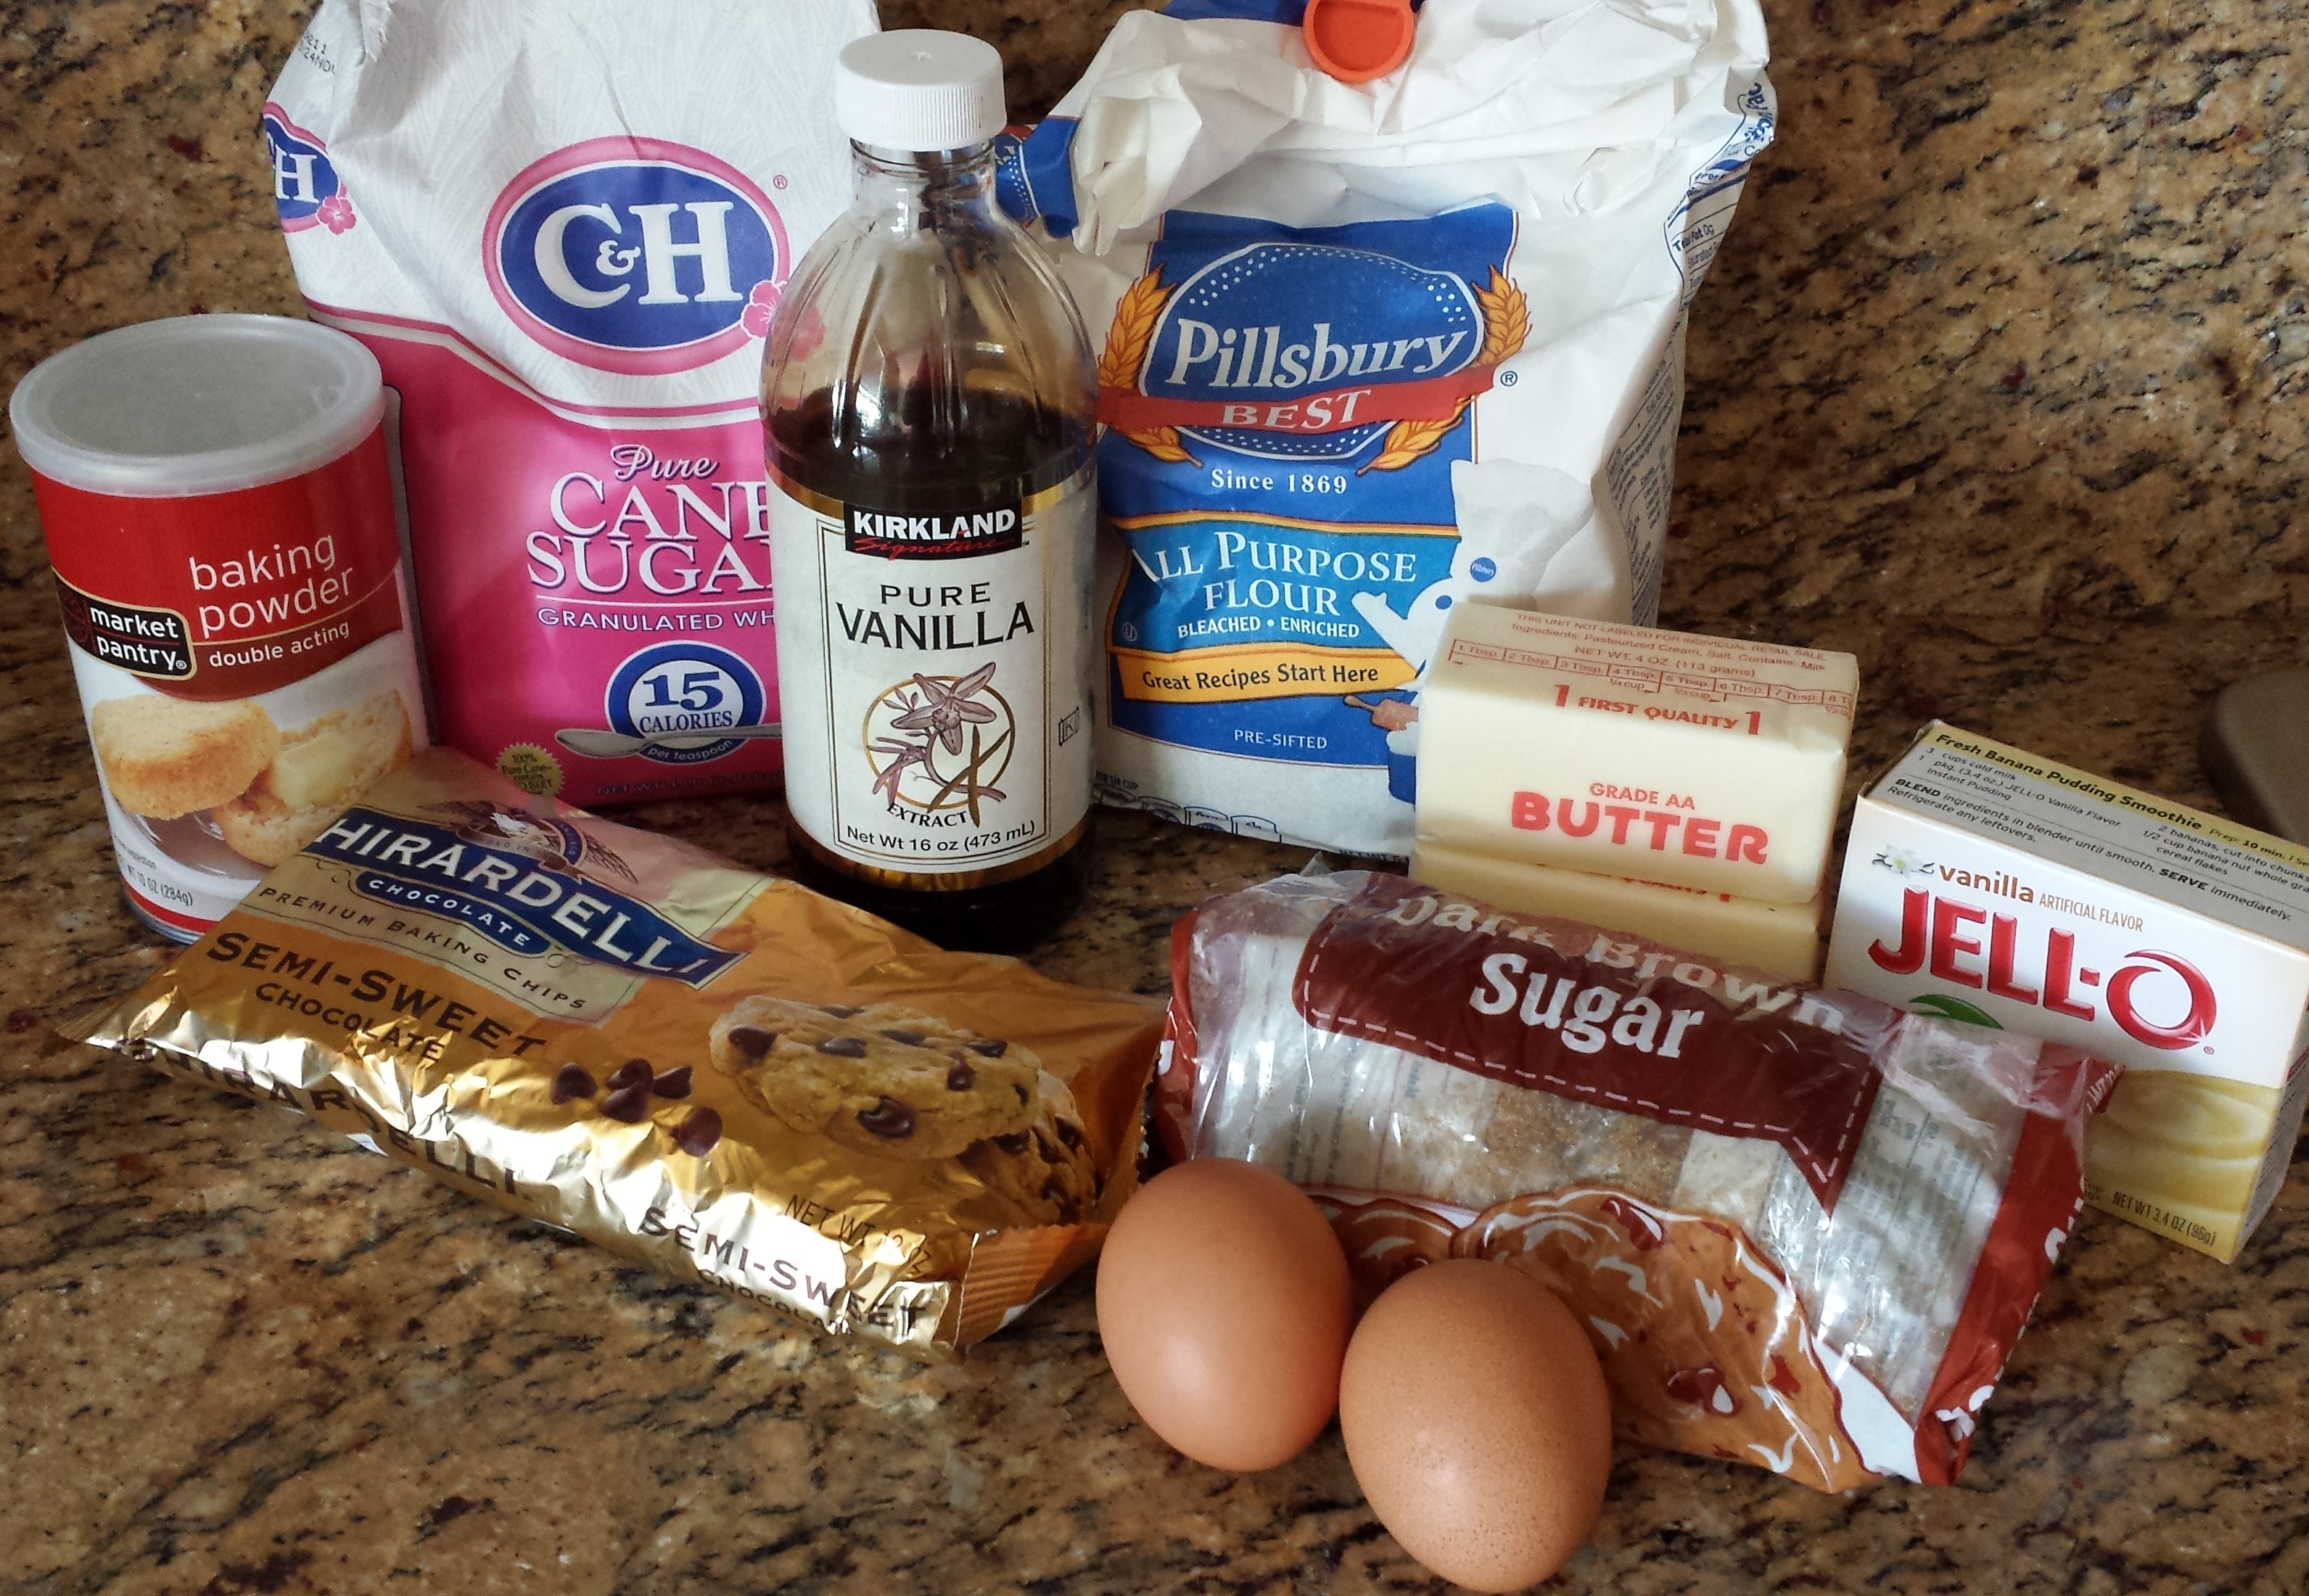
- 2-1/4 cup flour
- 1 tsp baking powder
- 1 cup softened butter
- 1/4 cup sugar
- 3/4 cup brown sugar
- 1 tsp vanilla extract
- 1 package instant vanilla pudding
- 2 eggs
- 12 oz chocolate chips
Instructions
- Heat oven to 375 degrees.
- Soften butter by leaving on counter for at least 30 minutes or by putting in a dish and cook in the microwave on high heat for 30 seconds.
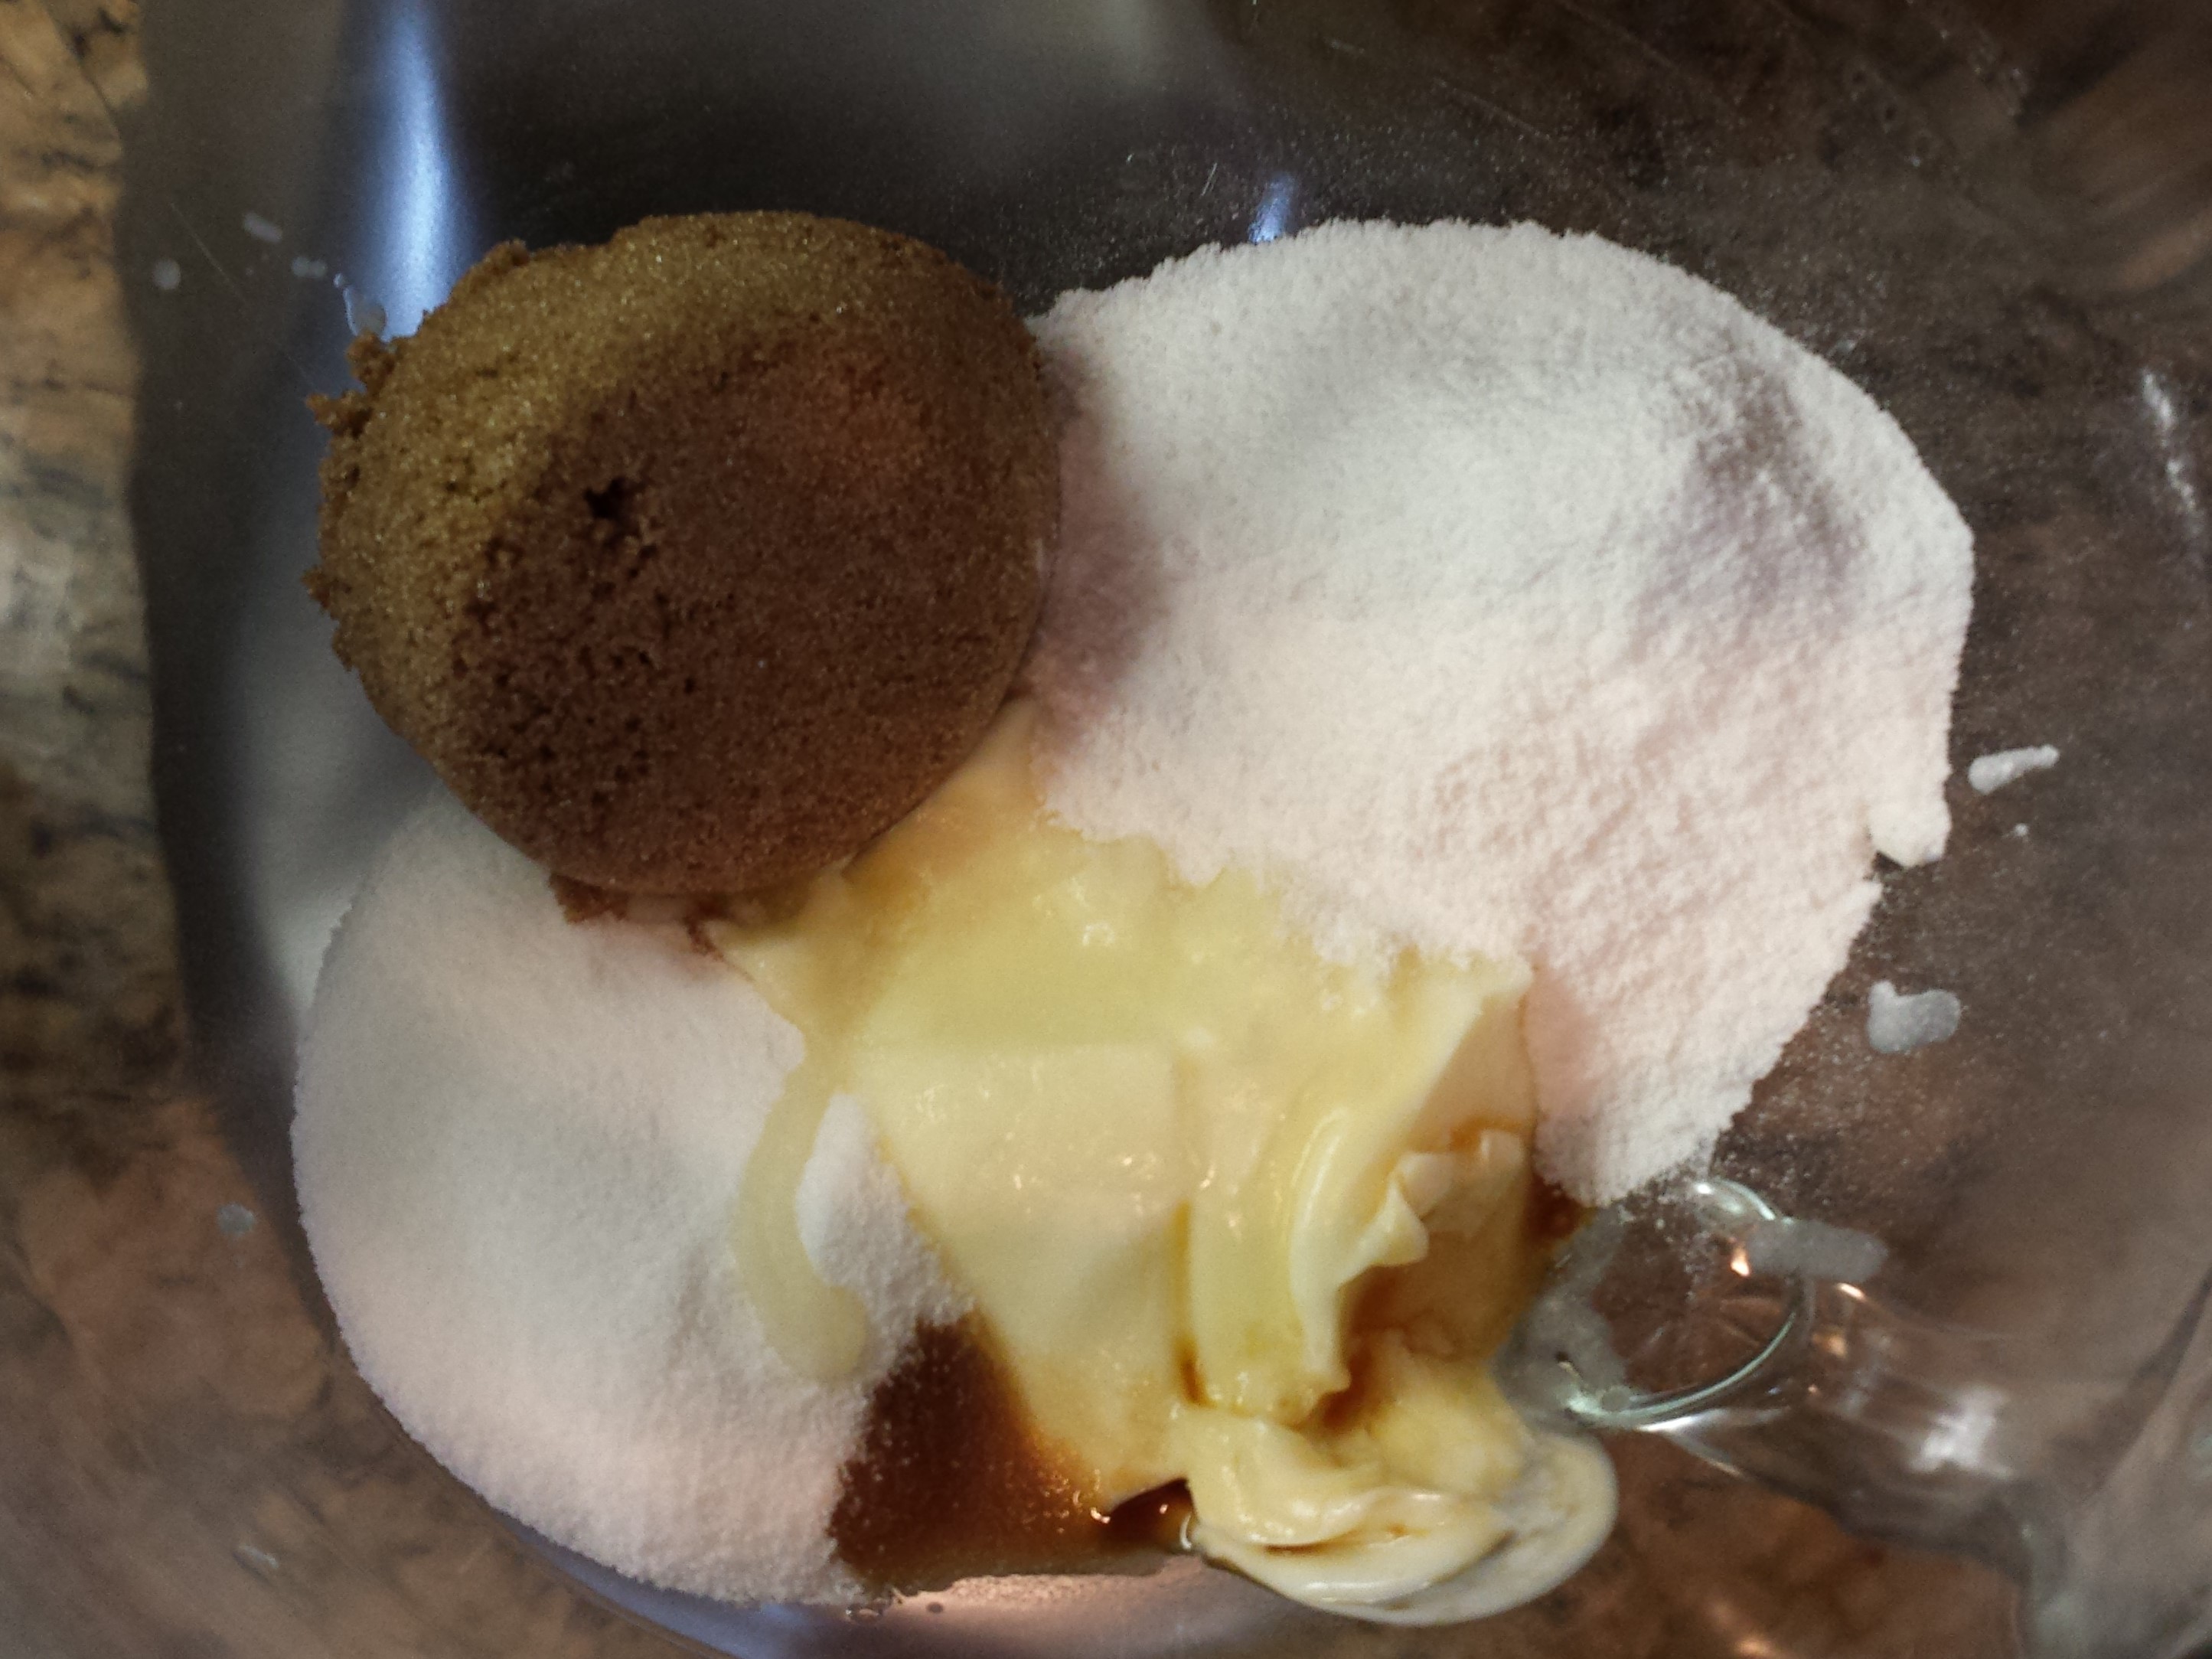
- In a large mixing bowl, combine butter, sugars, vanilla extract and pudding mix.
- Beat until creamy.
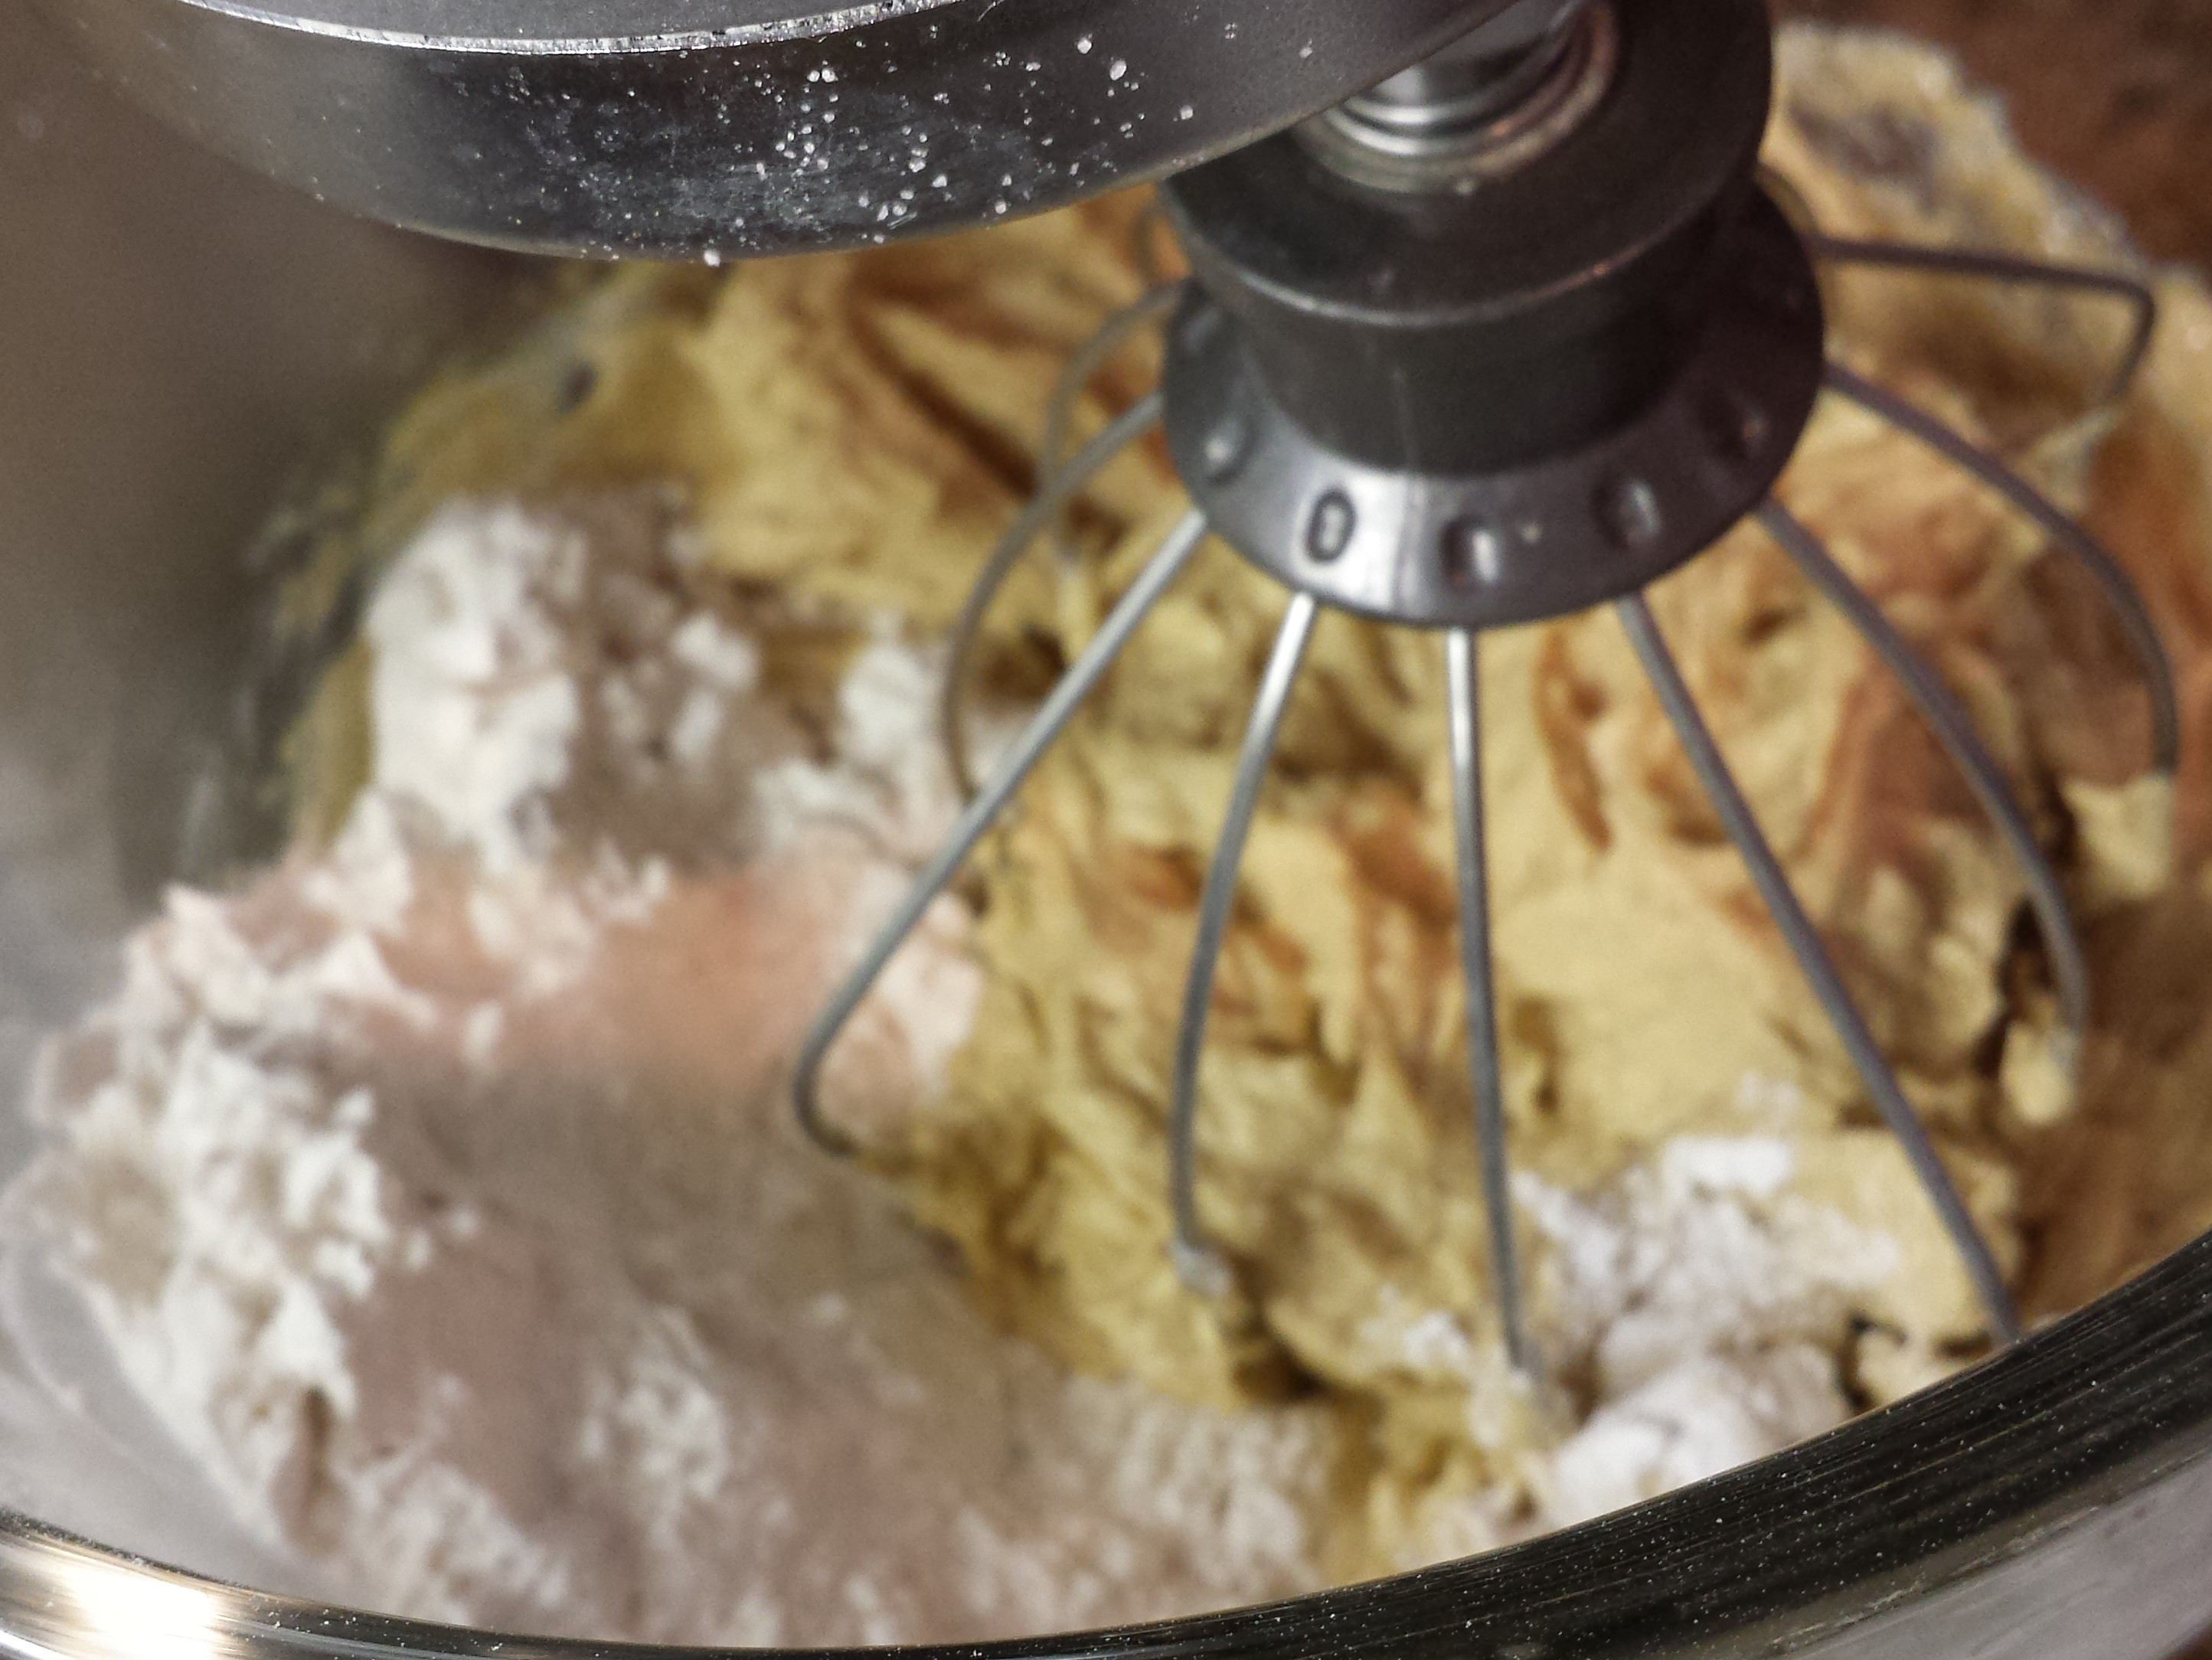
- Add the eggs and beat until mixed.

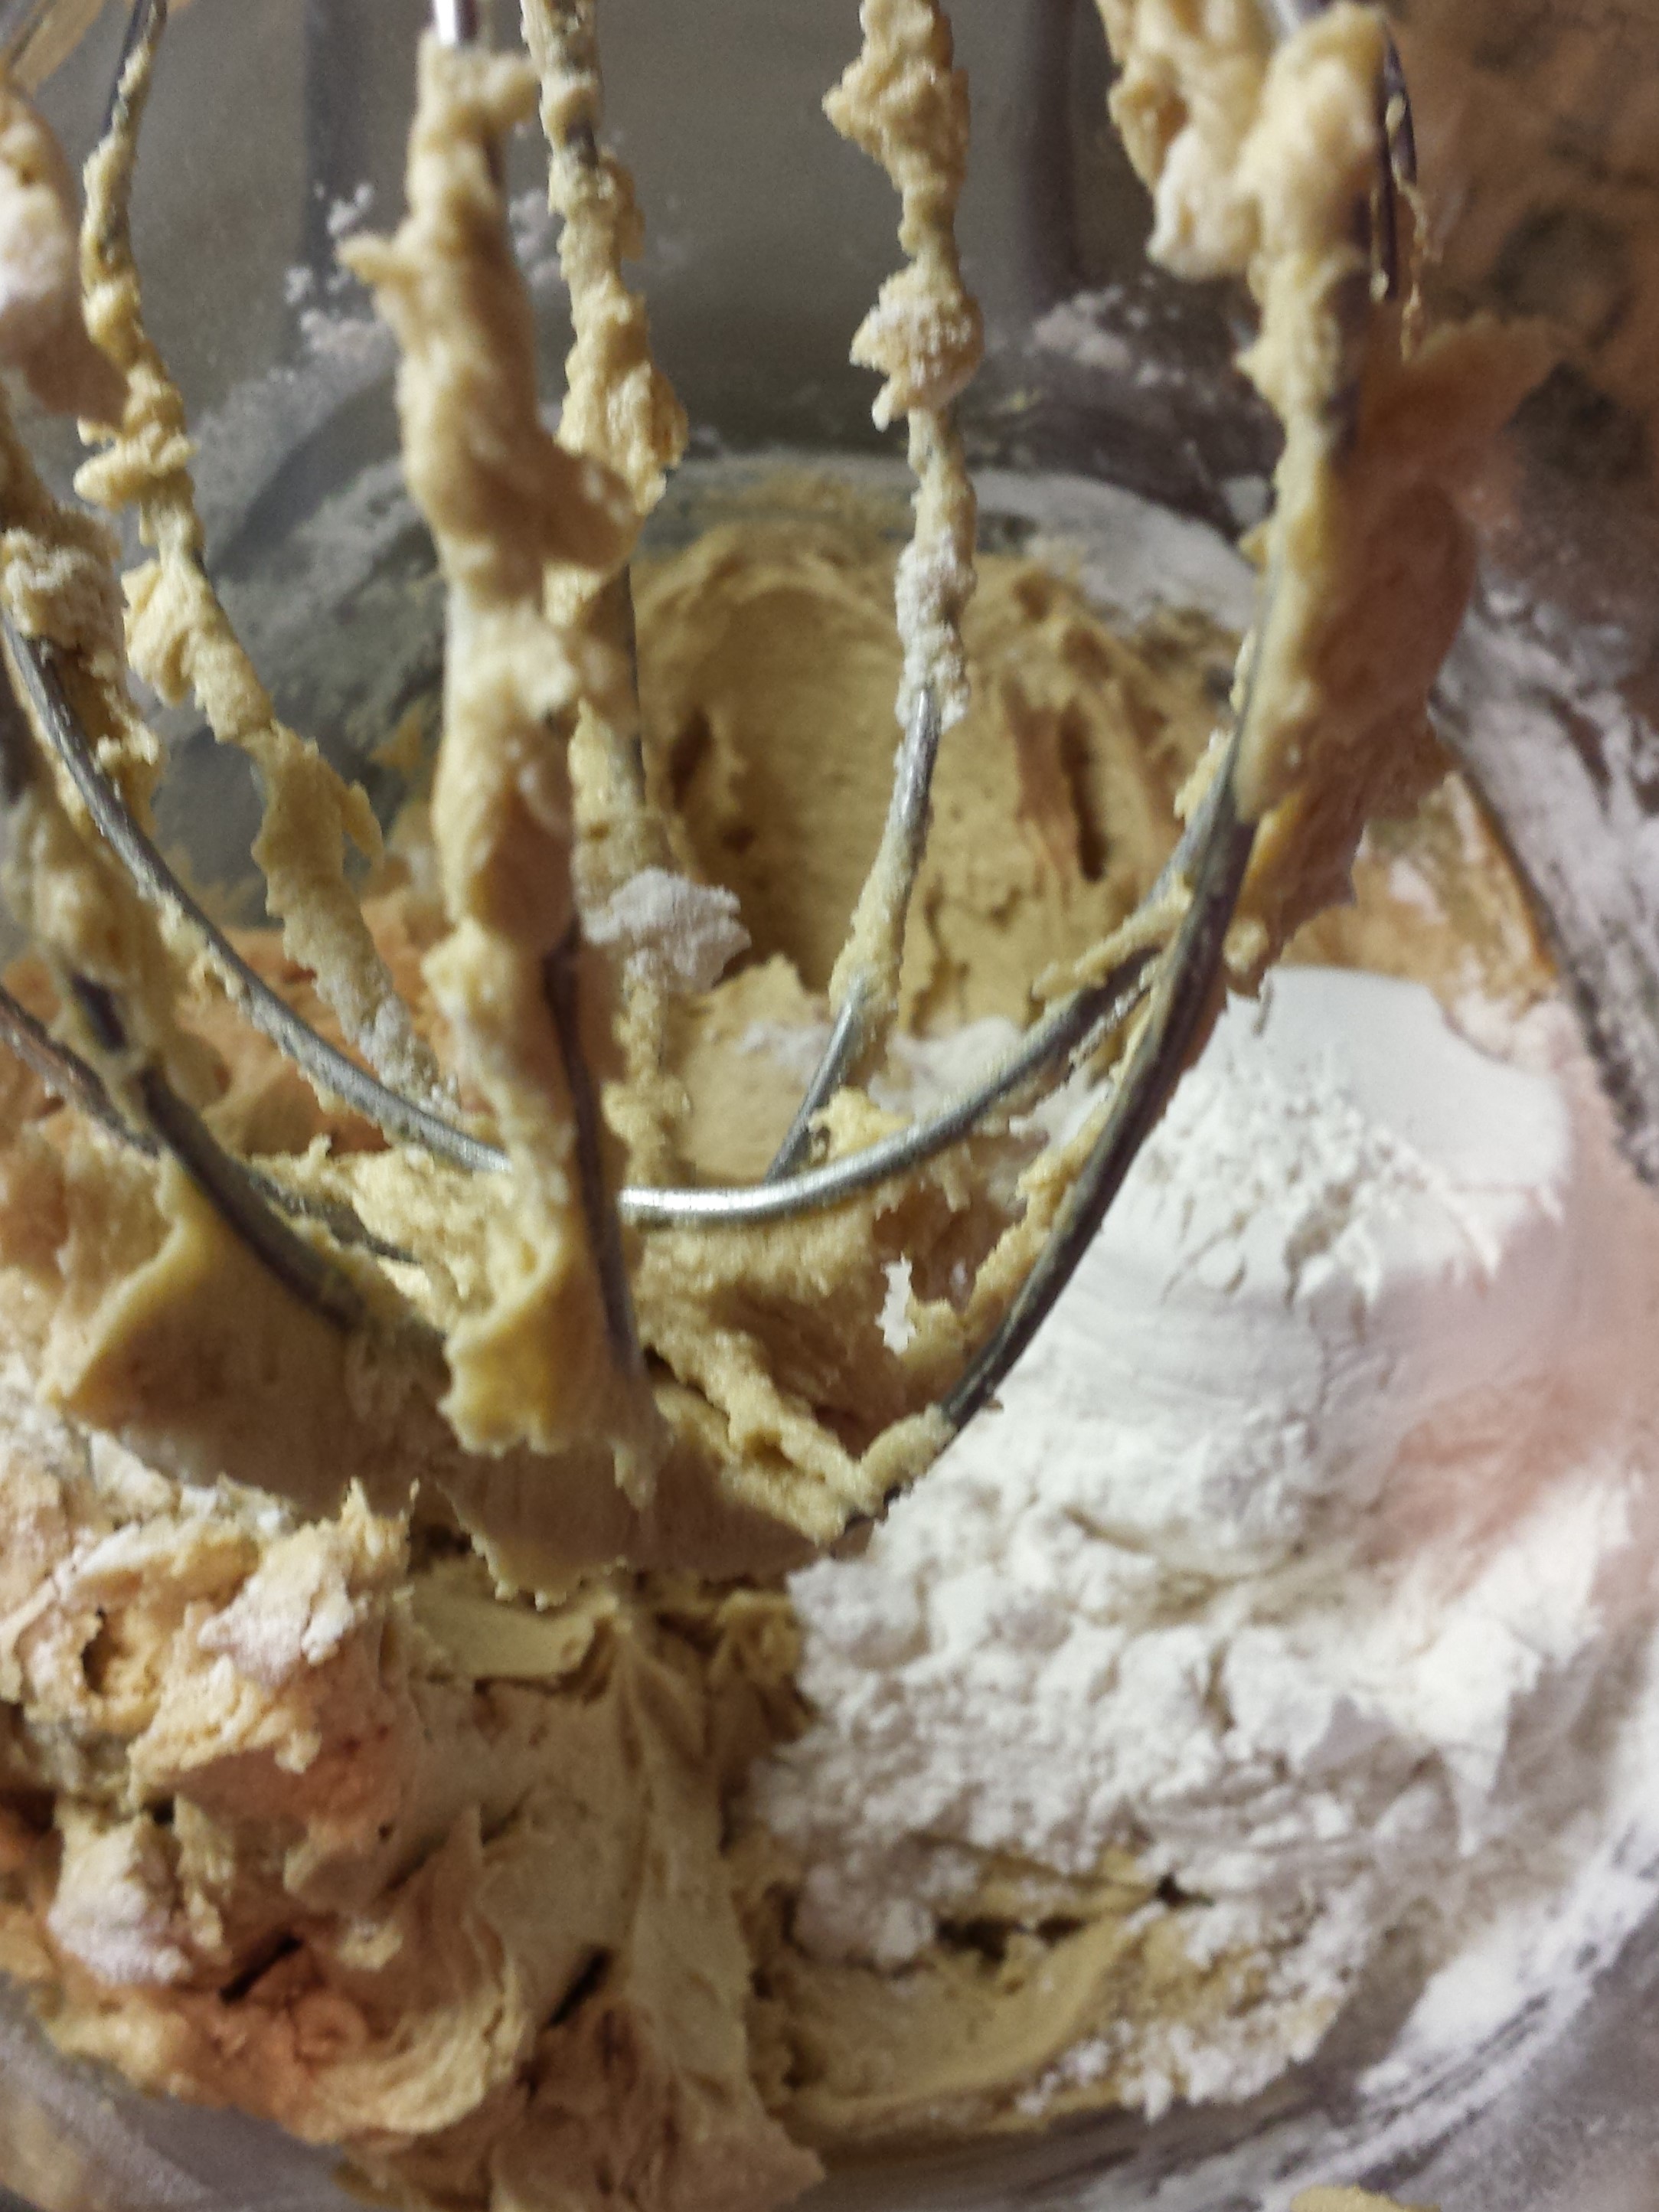
- Gradually add in flour and baking powder.
- Once dry ingredients are fully integrated, add the chocolate chips (and nuts) and mix well.
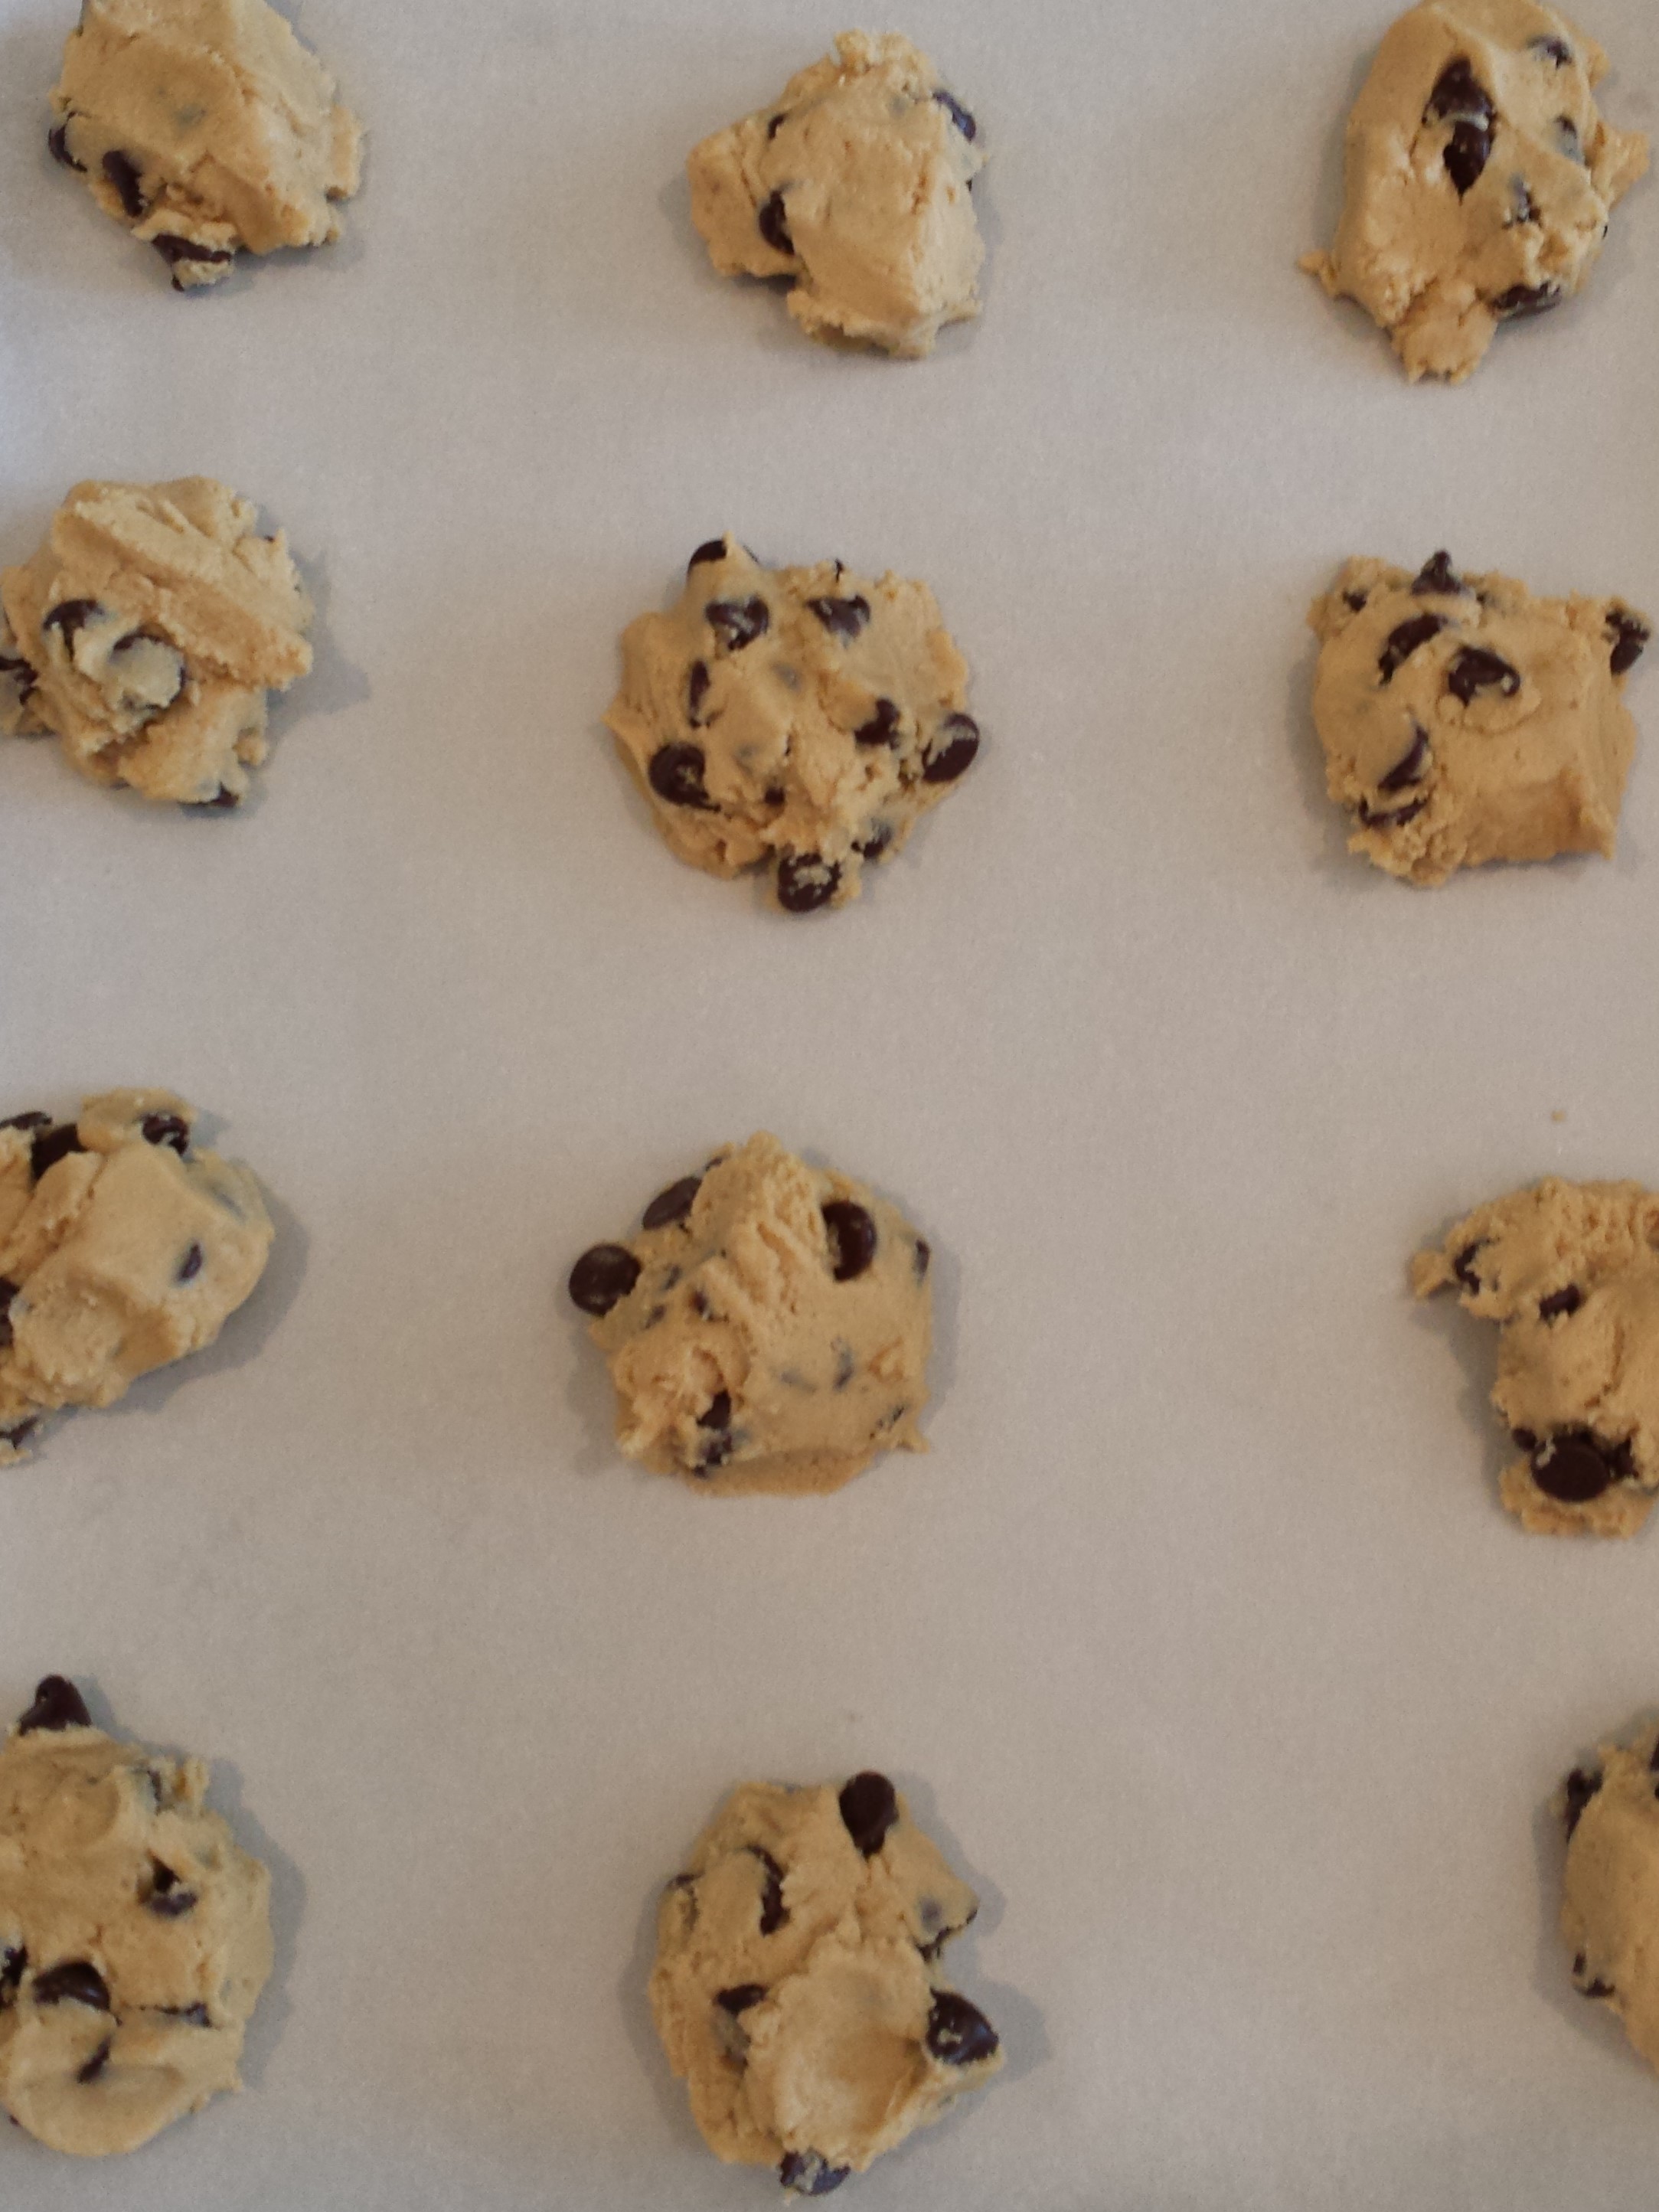
- Place about 1 tablespoon of cookie batter at a time onto a cookie tray. Flatten the “balls” of dough a little with your fingers or back of spoon. This cookie doesn’t spread a lot like some other versions.

- Place in oven and cook 8-10 minutes.
- Remove from oven and let cool about 6 minutes on tray before moving to a rack until fully cooled.

Ideas
- Add nuts – walnuts, pecans, macadamia. Which ever type you prefer. I recommend 1/2 the volume of the chocolate chips. Therefore 12 oz of chocolate chips and 6 oz of nuts.
- Parchment paper – I always use this when making cookies. Why? Cookies are super easy to remove from the cookie tray and cleaning up is a breeze.
- Browning – unlike other chocolate chip cookies you may have made, these do not brown a lot on the top. That is NORMAL. You will see that the bottom of the cookie is nice and brown — then it’s time to remove from the oven. Waiting for the top to brown will give you a cookie that is dry and with a burnt bottom. 😦
- Be prepared for cookie stealing. I had to take the image of the cookies on the wire rack before the last ones were out of the oven. 6+ cookies had already mysteriously disappeared when my back was turned.
