Quick Cream of Asparagus Soup

Ah, asparagus. This is a vegetable I have loved since I was a child even though I couldn’t pronounce it. For most of my childhood, I called this delicious vegetable “fat grass”. Growing up, we grew green asparagus in our yard. Late Spring and early Summer were ideal times for picking. I use the term “picking” lightly in this case as you do not actually pick asparagus, but use a sharp knife to cut the stem as close to the ground as possible. It was always important to pick the asparagus as soon as it was ready until the days started getting too hot. If you missed a stalk, it would grow quite tall, then flower and seed. Once this started happening, the picking was essentially over until the next year. Of course, once the really warm weather was upon us, we’d let all the remaining stalks go to seed so that we’d have another great year of picking to look forward to.

As I have loved asparagus my whole life, I’ve had a difficult time eating it unless it was steamed and with a little salt on it. This is for no other reason than that I felt it was absolutely perfect that way so why cook it any other way. I no longer live in a place where I can have an asparagus patch in my yard and I have to buy it from the grocery store. I still love to steam my asparagus, but nothing is quite like picking it and having it on your dinner table an hour later. So I began looking for other, but still simple, ways to prepare asparagus. Here is my version of “cream” of asparagus soup. It’s simple, tasty and not really creamy, but you’ll love it anyway. Enjoy!

Ingredients 20150726_195312

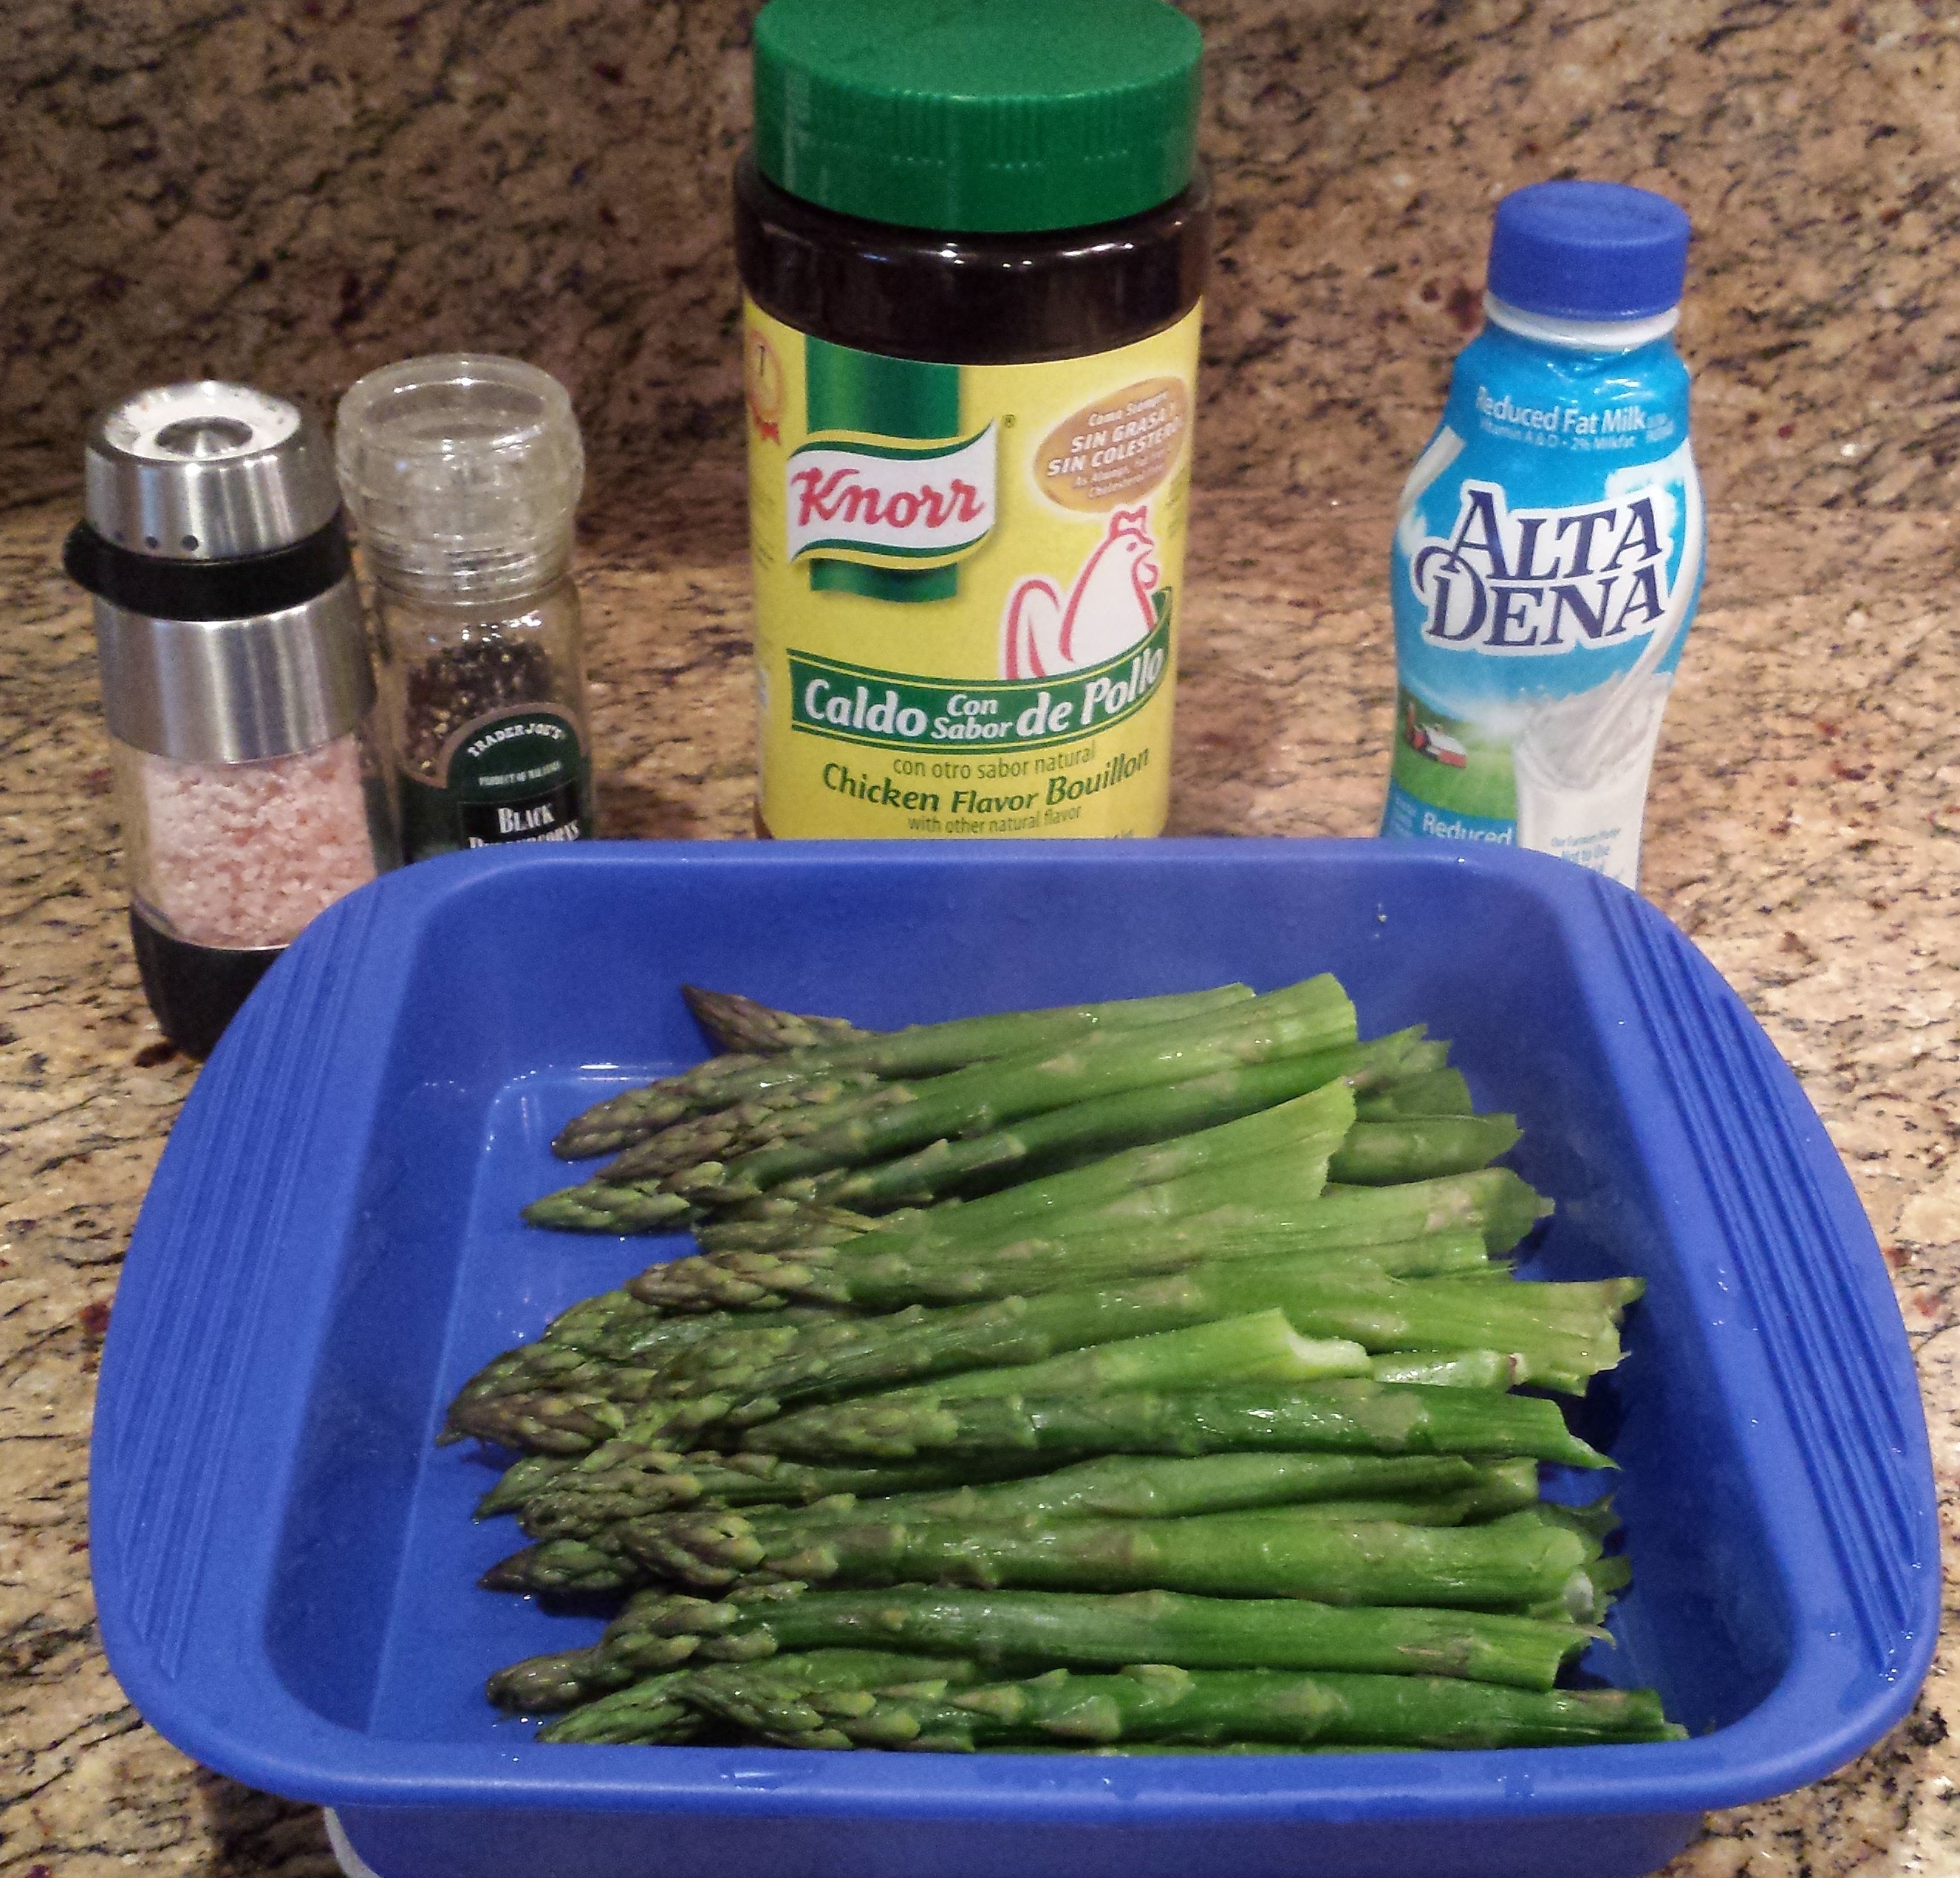
  • 1-1/2 cups of chicken broth
  • 1-1/2 lbs of asparagus
  • 1/2 c 2% milk
  • Salt and pepper

Instructions 

  • Rinse the asparagus.
  • Snap off the “hard” ends of the stalk but holding the middle of the stalk with one hand and the thick end with the other. Bend and the stalk will snap just above the “hard” end. Throw out the “hard” ends.
  • Steam the asparagus until it is softened (could be cut with the side of a fork).
  • Cut the asparagus into about 1-1/2 to 2 inch sections.
  • Put 1 cup of the chopped asparagus aside.
  • In a blender, add the chicken broth and the remaining asparagus.
  • Attach lid and begin to blend, starting at a low speed.

20150726_195942              20150726_200028

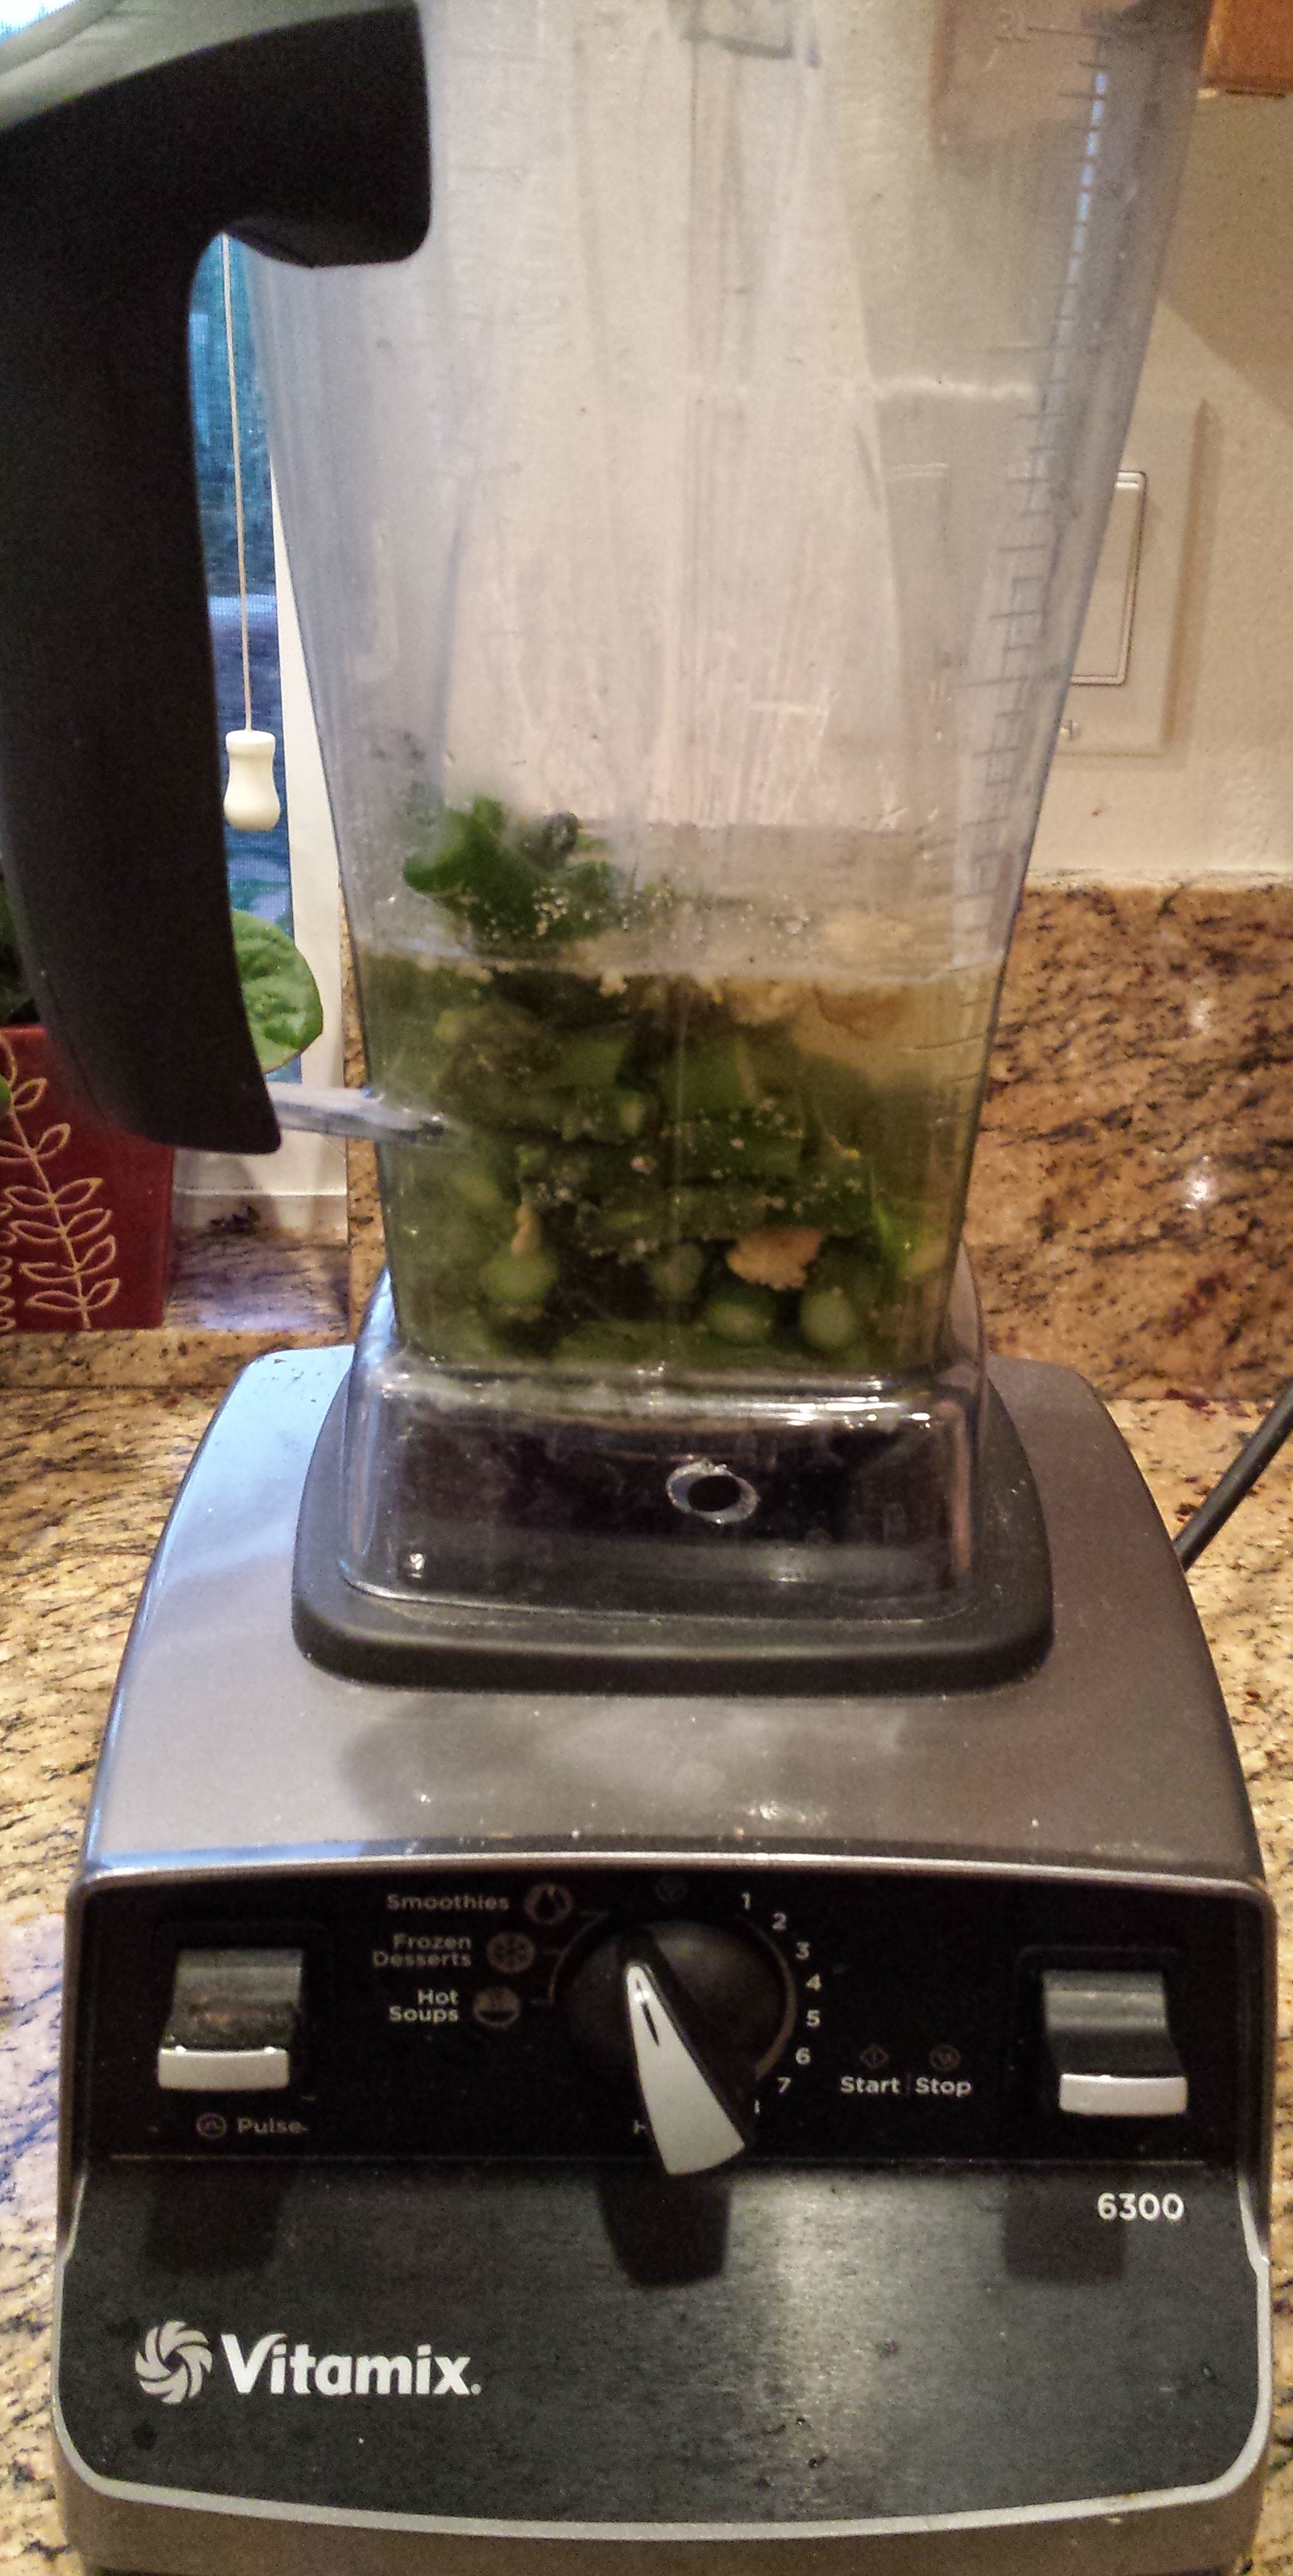
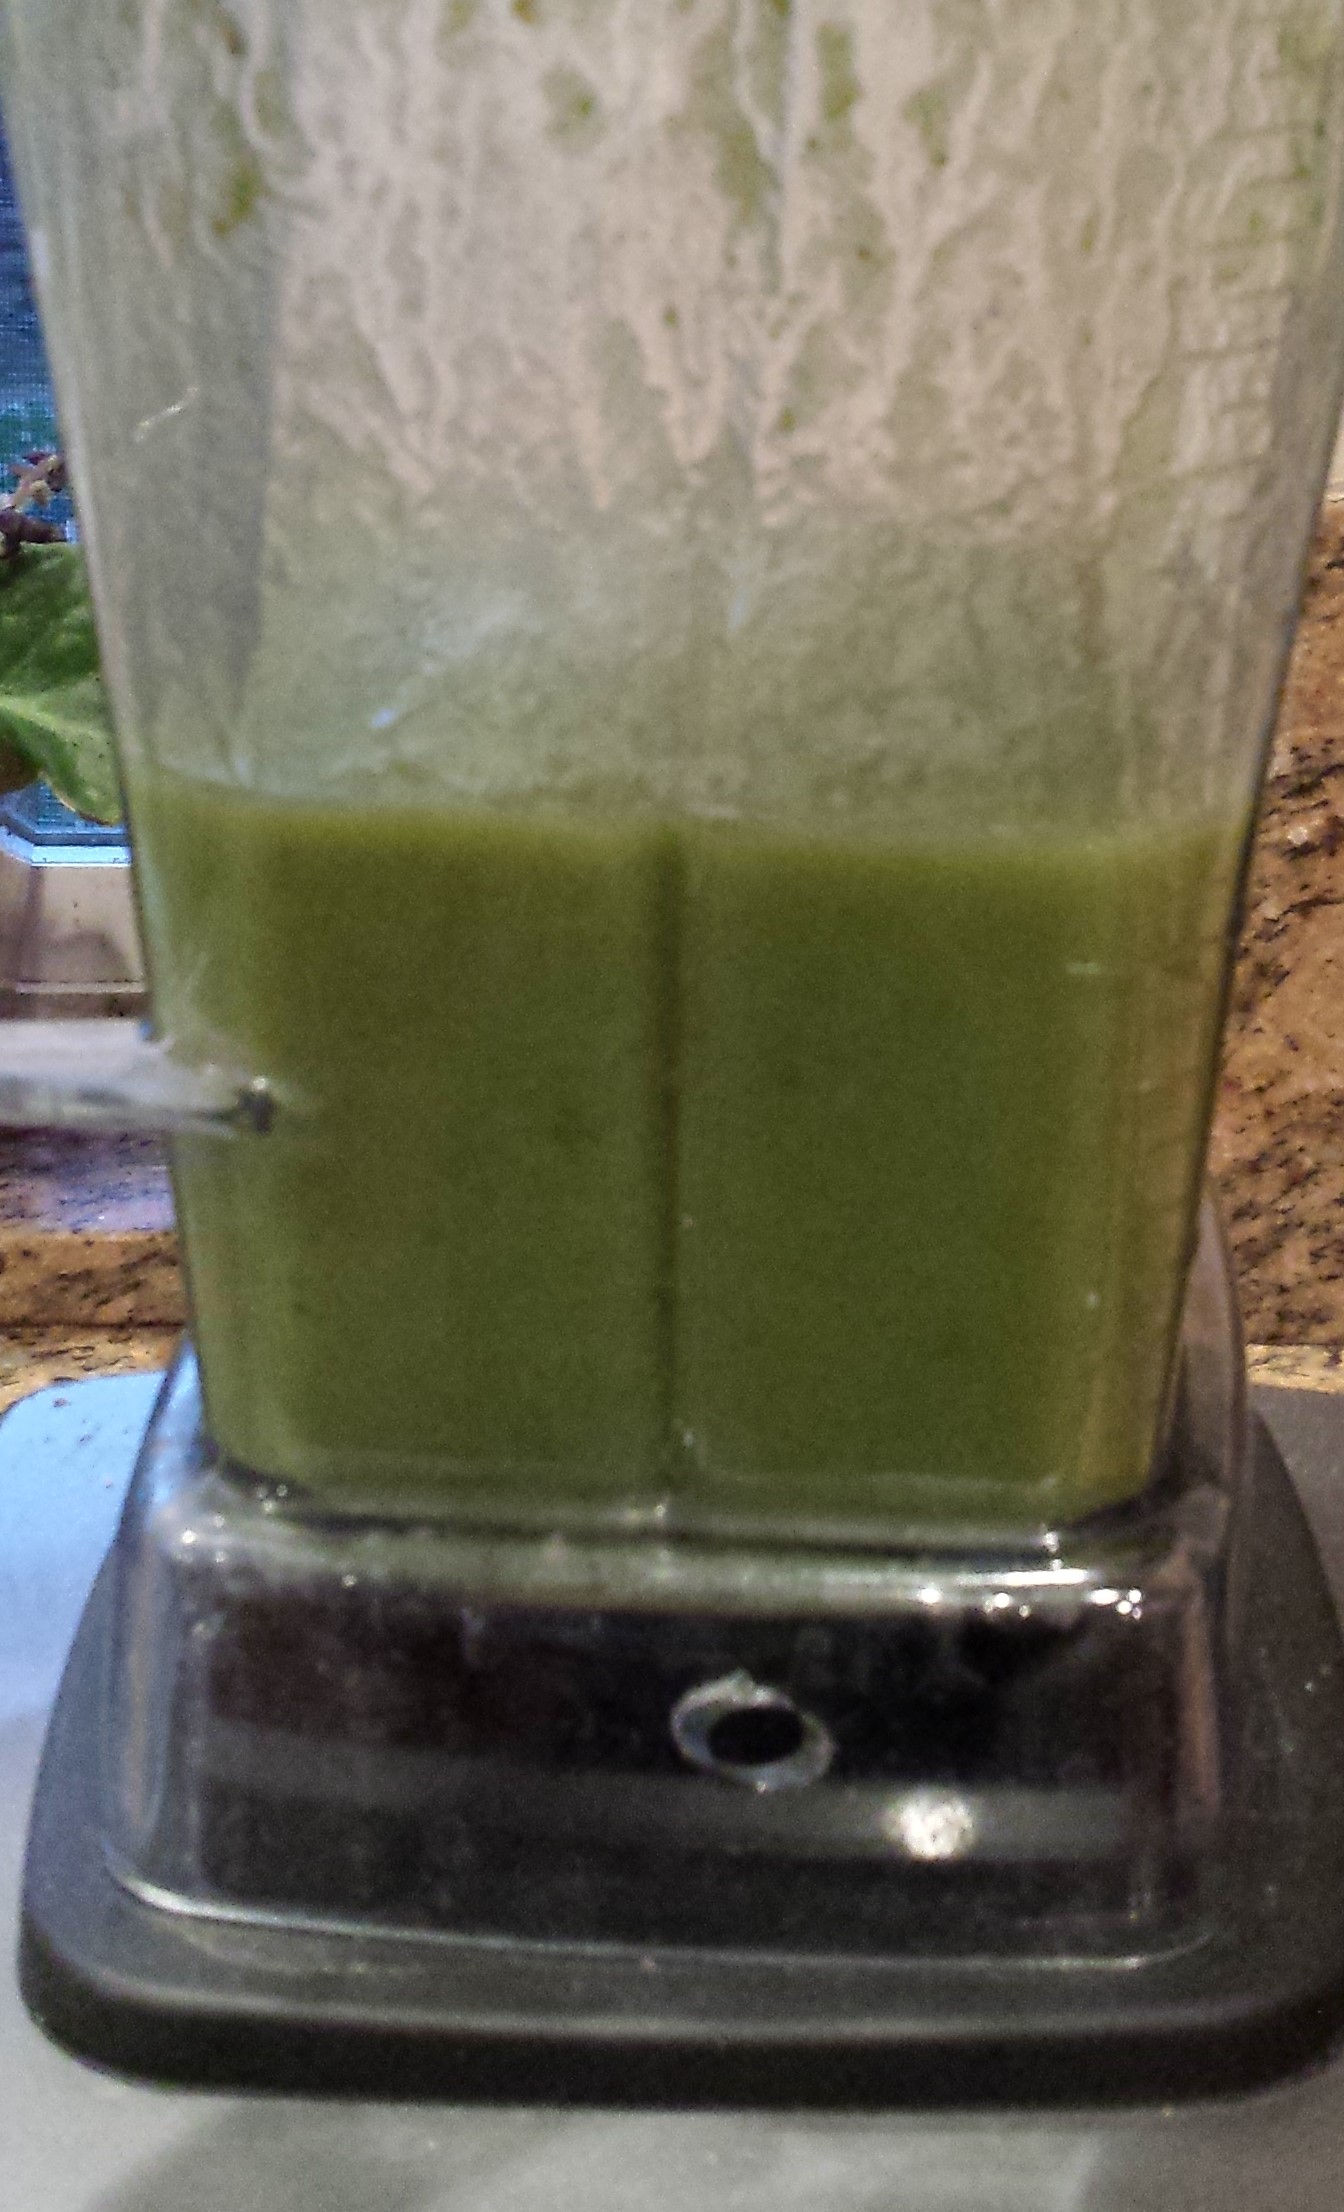
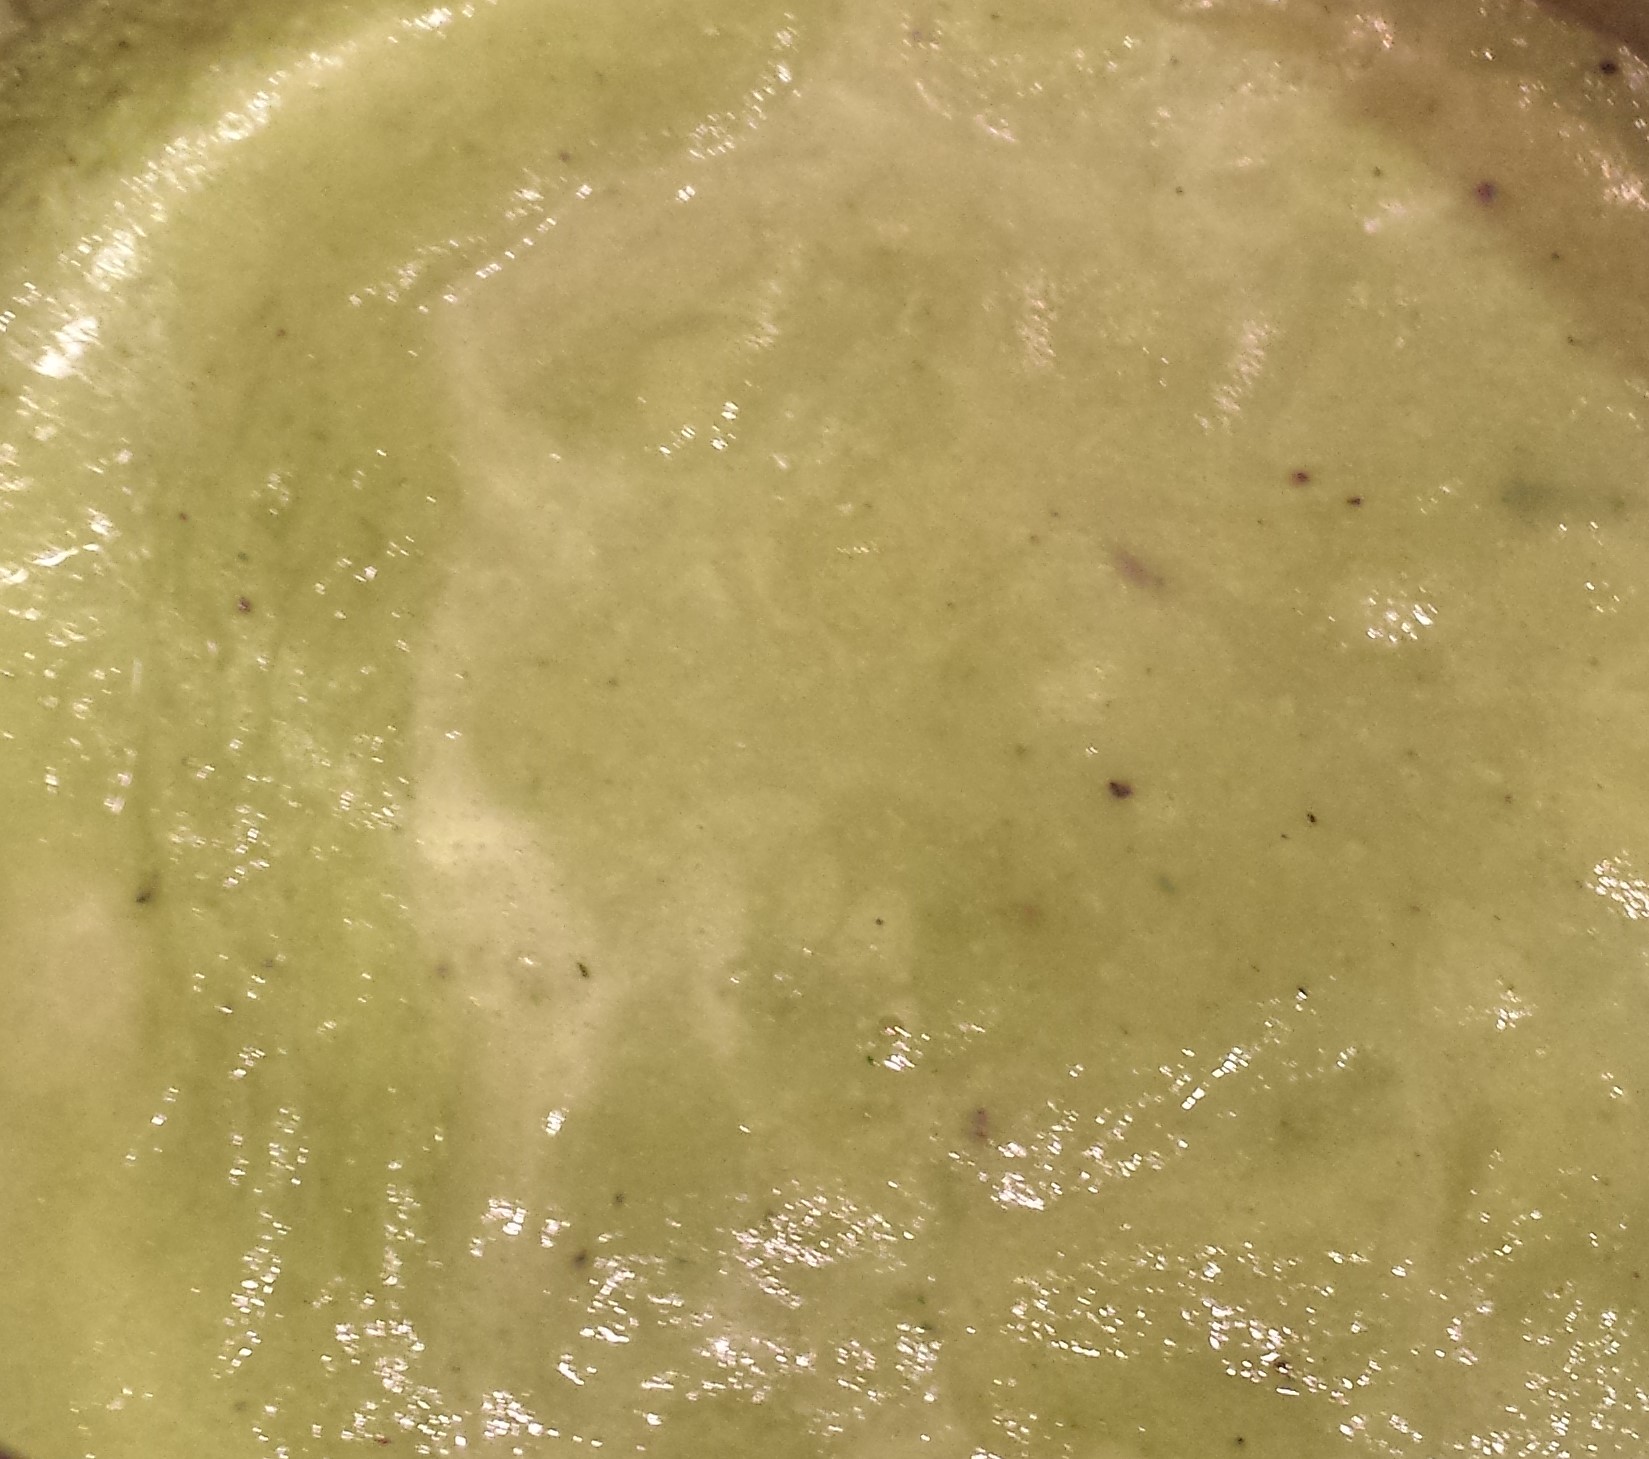
  • Bring up to medium (or high, depending upon your blender) speed and blend until well mixed.
  • Turn off the blender.
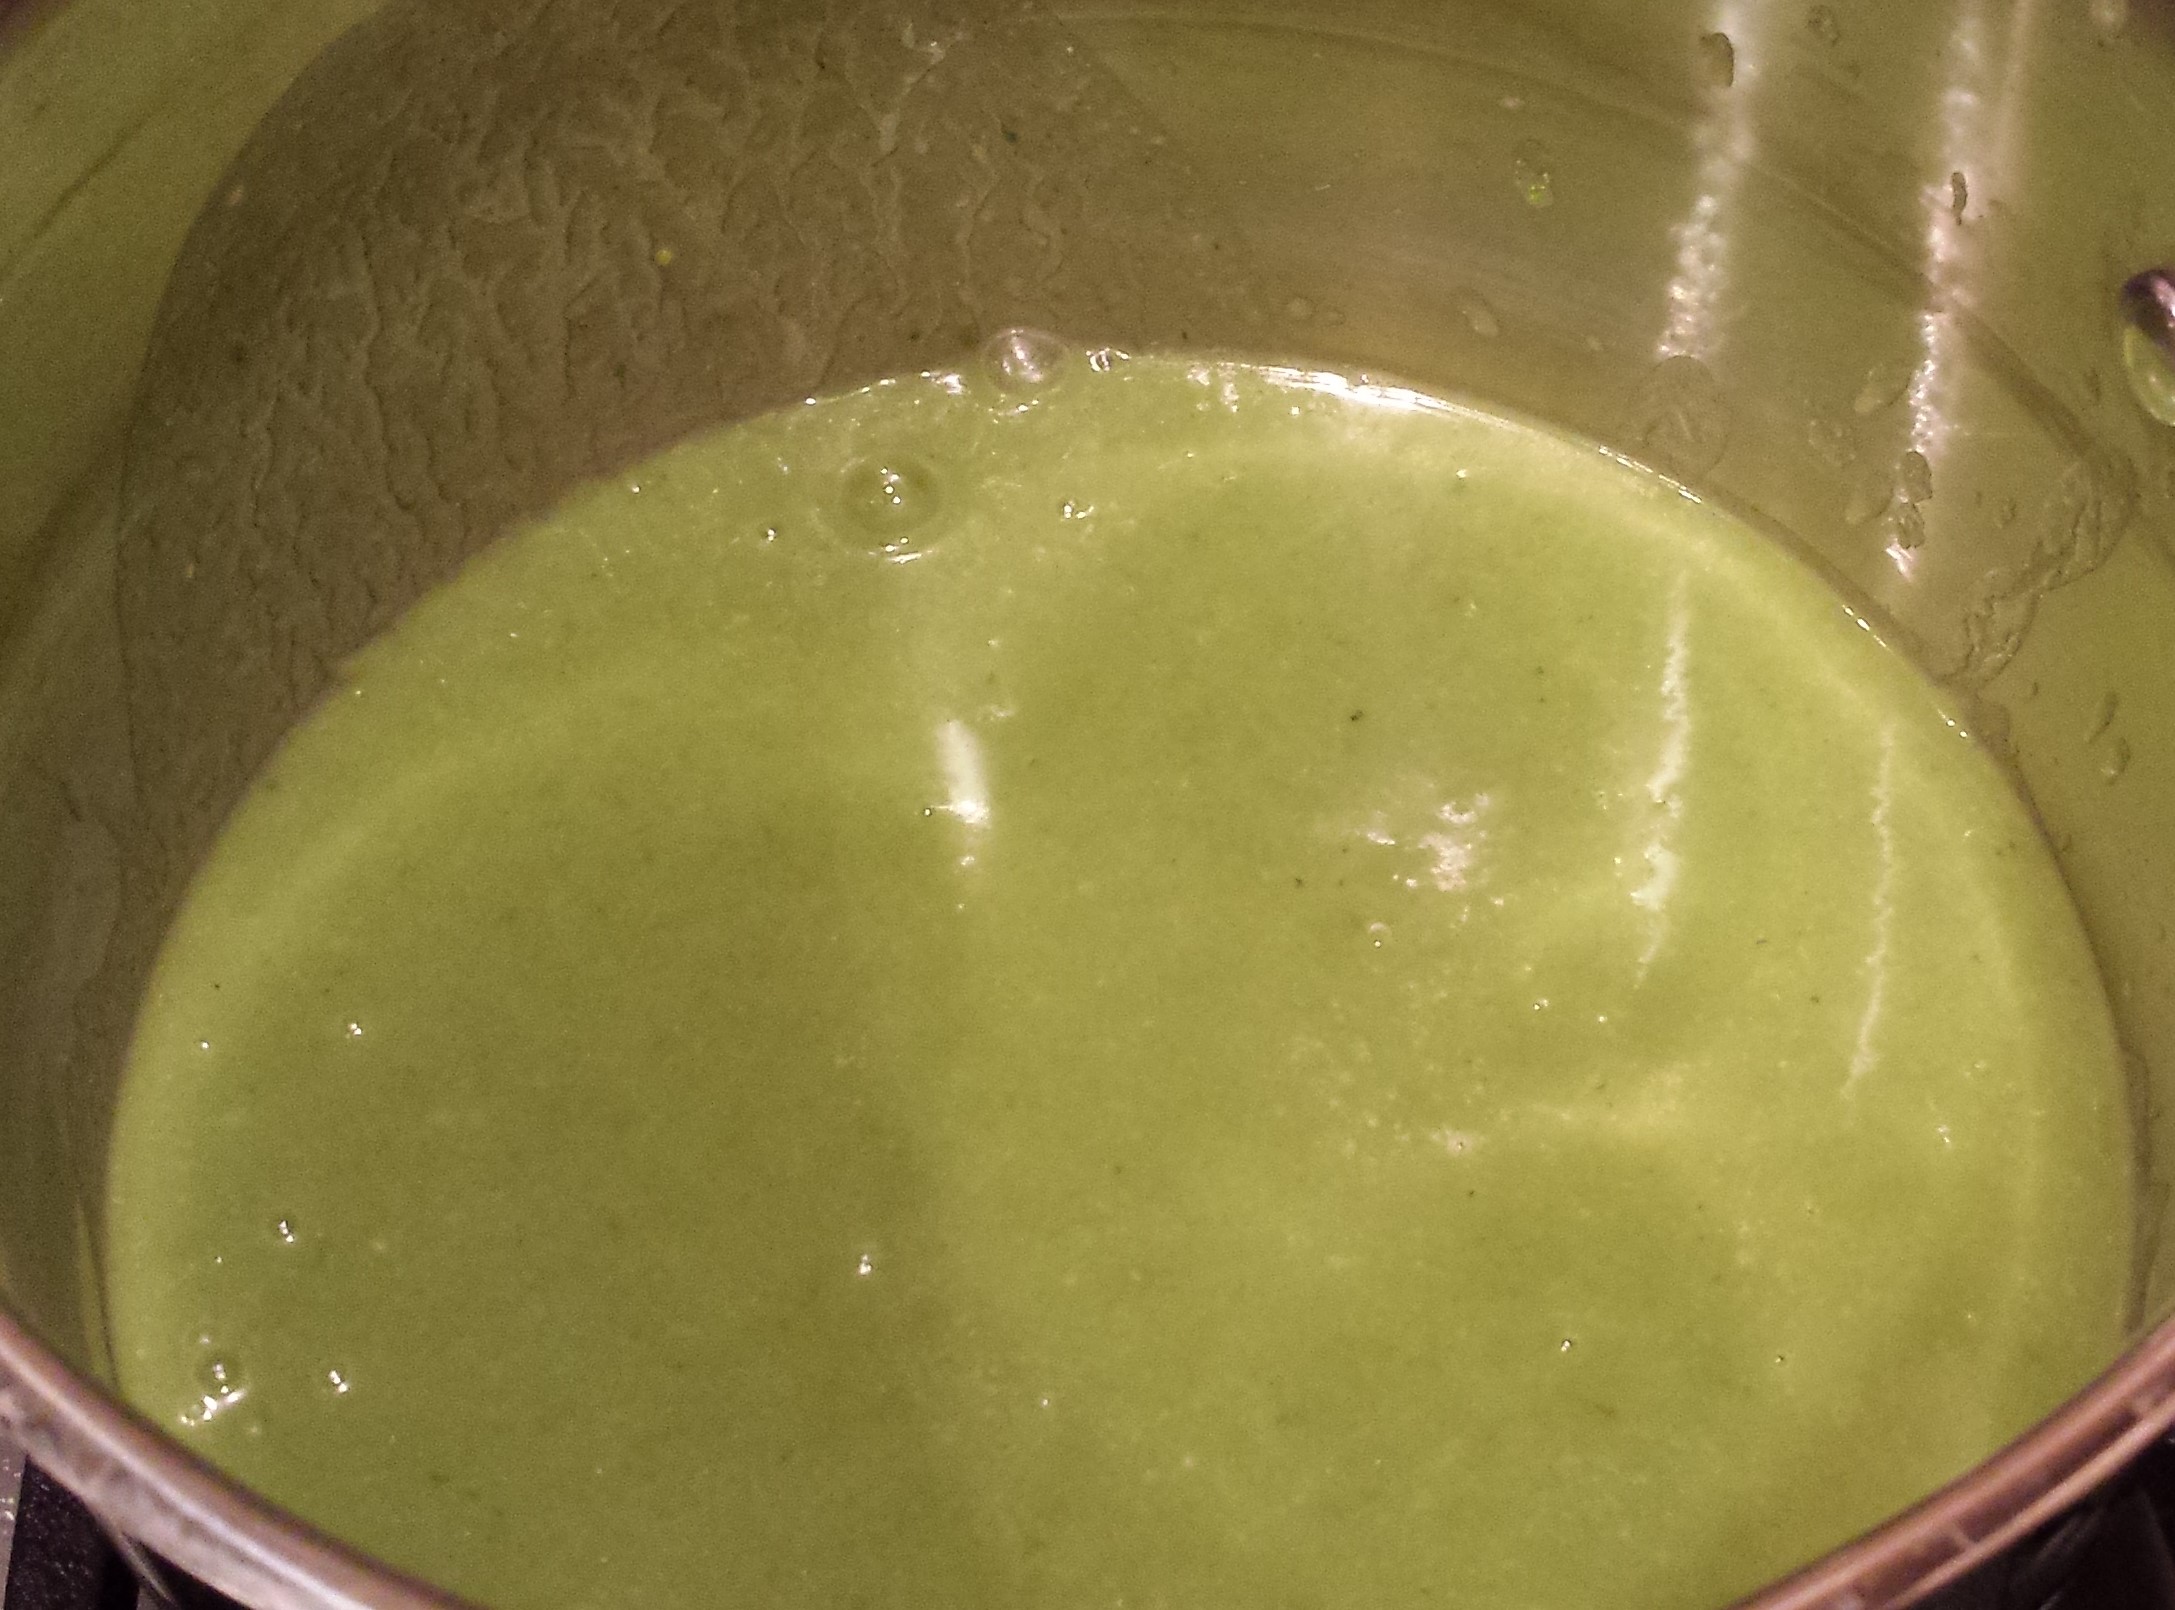
  • Pour soup into a stockpot. Using medium heat, bring the soup to a low boil.
  • Pour in the milk, salt and pepper and the reserved asparagus stalks. Stir well.
  • Return to a low boil and add salt and pepper (per your preference).
  • Turn off the heat.

20150726_200237  20150726_201400  20150726_200331

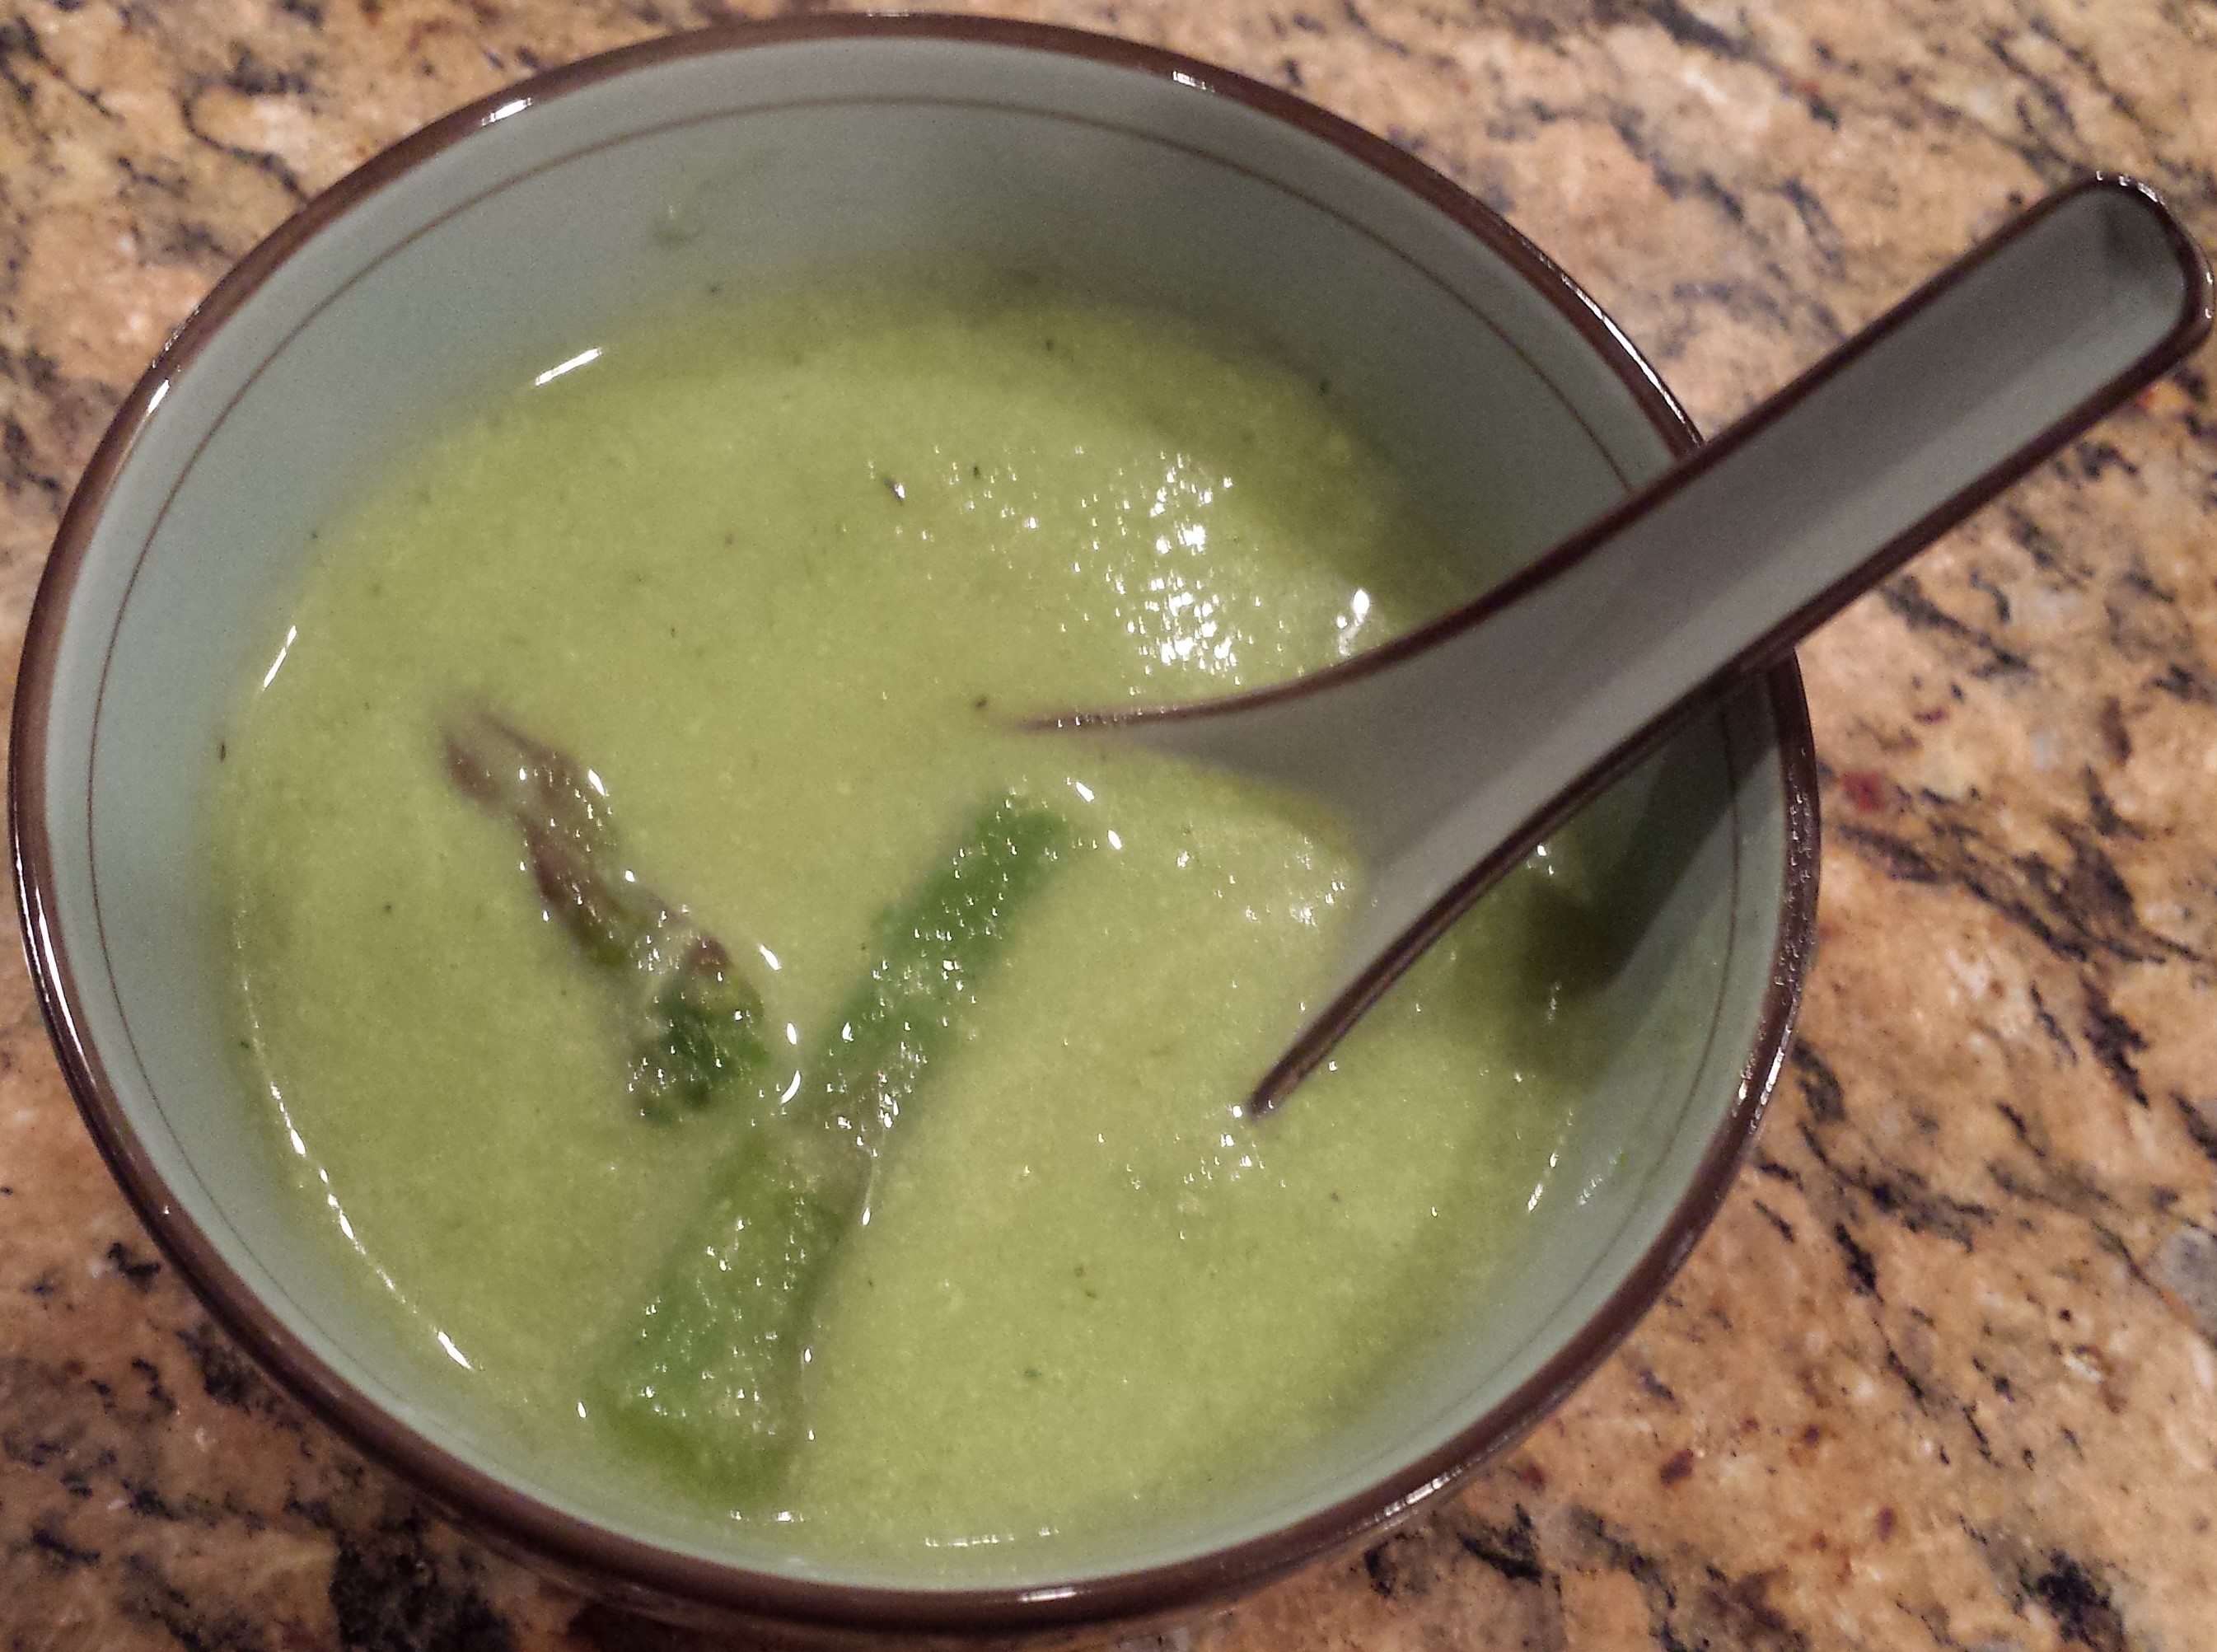
Instructions – Serving

  • In small soup bowls, scoop several of the reserved asparagus sections from the pot and place into the bowls.
  • Ladle soup over the asparagus.
  • Serve.

20150726_201551

Ideas

  • If you are a traditionalist and prefer to use heavy cream, please do so. This would still be 1/2 cup.
  • Breaking off the hard part of the stalk isn’t necessary (to most people). This is why you will often have asparagus at a restaurant and have hard, chewy sections that you basically don’t or can’t eat. You can leave them on if you want, but I wouldn’t recommend it.
  • In lieu of extra salt at the end, use a little more of the chicken bouillon seasoning powder.
  • Steaming – My mother bought me this great vegetable steamer so I can just pop them into the microwave. It works great and shortens prep time considerably.
  • Serve with a nice warm baguette for more of a meal than an opening course.

Go back

Your message has been sent

Warning
Warning

Warning.

Lasagna with Meat and Vegetables

Ah, lasagna. One word that evokes childhood and delicious smells from the kitchen. And also, that rascal, Garfield the cat, always stealing lasagna from his person, Jon. This is one of those relatively simple meals that is always good, but difficult to make outstanding. My husband’s favorite Italian dish is lasagna. After tasting this version of my lasagna, he dubbed it “better than anything he’d ever had in a restaurant” so I figured I had gotten this right and wouldn’t tinker with the recipe anymore. Follow the instructions below and you’ll be the beneficiary of a couple years (OK, while it took a couple of years, I only made lasagna twice a year) of tinkering. Happy cooking and eating.

Ingredients20150923_190305

  • 15 oz of ricotta cheese
  • 1-1/4 cups parmesan reggiano cheese
  • 1/3 cup minced fresh basil
  • 1/4 cup minced fresh parsley
  • 1 large egg
  • 1/2 tsp salt
  • 1/2 tsp pepper
  • 1-1/2 jars of spaghetti sauce
  • 1 package of no-boil lasagna noodles
  • 1 pound shredded mozzarella
  • 1 lb of ground beef
  • 2 tsp minced garlic
  • 1/2 T olive oil
  • 8 medium mushrooms
  • 1 small onion, diced
  • Italian spices

Instructions – Getting the Mixes Ready

  • Preheat oven to 375 degrees.
  • Put a medium or large skillet on the stovetop over medium heat. Add the ground beef and brown.
  • Add the garlic after beef has been cooking for about 3-4 minutes. Mix well.
  • Once beef is nicely browned, turn off heat.
  • Add 1 cup of spaghetti sauce to the ground beef and mix well.

20150923_190852  20150923_191609  20150923_192028

  • While the beef is cooking, in separate skillet, add about 1/2 T of olive oil and cook for about 2 minutes over medium heat.
  • Add the onions and cook for another ~3 minutes.
  • Add the mushrooms, 1/2 tsp salt and 1 tsp italian spices and cook until the mushrooms are slightly softened, about another 2-3 minutes. Turn off heat.
  • Add the onion and mushrooms to the beef and mix well.

20150923_191613  20150923_191744  20150923_192207

  • While you are waiting for the beef and vegetables to cook, in a large bowl, mix the ricotta, 1 cup of the parmesan cheese, basil, parsley, egg, salt and pepper until combined well.

20150923_191800  20150923_191850

Instructions – Layering the Lasagna

  • In a 9×13″ baking dish, place 1/4 cup of spaghetti sauce and spread over the bottom.
  • Place 3 lasagna noodles over the sauce.
  • Drop 3 T of the ricotta mixture over the center of each noodle, then spread it so it’s thickness is even.

20150923_192935  20150923_192505  20150923_192603

  • Drop a similar amount of the meat and vegetable mixture over the ricotta mix and spread evenly.
  • Sprinkle 1 cup mozzarella cheese over the top.
  • Spoon about 1-1/2 cups of spaghetti sauce over the cheese.

20150923_192708  20150923_192815  20150923_192910

  • Cover with 3 noodles.
  • Repeat until there are 3 layers of filling/4 layers of noodles.
  • After 4th layer of noodles is placed, spread the remaining sauce (~1-1/4 cups) over the noodles.
  • Sprinkle the remaining mozzarella and parmesan cheeses over the sauce.
  • Sprinkle the top with italian spices.

20150923_192935  20150923_193756  20150923_193806

Instructions – Cooking the Lasagna

  • Lightly spray a piece of tin foil with oil.
  • Place foil over lasagna filled baking dish and place into preheated oven in center rack.
  • Cook for 15 minutes.
  • Remove foil and cook an additional 15 minutes.
  • Let rest for at least 5 minutes after removing from oven before serving.

20150923_193858  20150923_193938  20150923_195545

20150923_202205    20150923_202658

Ideas

  • Ricotta cheese – the whole milk version is the best. Heck, you’re splurging and eating lasagna with all that cheese. Don’t get ricotta that isn’t made from whole milk.
  • Parmesan cheese – you can use regular parmesan, and that’ll be just fine. BUT, if you are a Costco member, I highly recommend you get some Parmigiano Reggiano.
  • Spaghetti sauce – as with so many recipes, the key is to make some things easier or, frankly, you just won’t find the time to cook them. You can make your own tomato sauce, and if you like to do this, by all means, go ahead. As for me (and on a weeknight), I trust Trader Joe’s marinara sauce.
  • Ground beef – choose beef that is at least 85% lean. My preference is 90%. You don’t want to be draining oil from the pan if you don’t have to.

Go back

Your message has been sent

Warning
Warning

Warning.

Simple Homemade Meatloaf

There are so many meatloaf recipes out there and they all have their own special twists that make them a favorite for dinner. This one is a simple meatloaf with lots of flavor and sauce. It’s important to me that my meatloaf not be dry. Moist and flavorful is the key to even having my five year old love to eat this. So, if you’re looking for a meatloaf recipe or just want to make an update to what you currently make, try this recipe. You won’t regret it. Enjoy!

Ingredients – Meatloaf20150726_191021

  • 1 lb hamburg
  • 1 egg
  • 1 medium onion, diced
  • 1/4 cup breadcrumbs
  • 1/4 cup sauce
  • 1/2 bell pepper, diced (not used here as my husband and peppers do not get along)
  • 5-6 fresh mushrooms, sliced
  • salt
  • pepper
  • onion powder
  • celery salt

Ingredients – Sauce

  • 1 medium can tomato sauce
  • 3 T mustard
  • 3 T brown sugar
  • 1/2 can (of the tomato sauce) water

Instructions

  • Heat over to 425 degrees.
  • Mix the sauce ingredients together in a medium bowl.
  • Add the hamburg to a large bowl.
  • Add all other ingredients on top.

20150726_192651  20150726_192759

  • Mix ingredients together by hand until combined well.
  • Transfer meatloaf into an oven safe dish and shape into a “loaf”.

20150726_192856  20150726_193018

20150726_193059  20150726_202226

  • Pour remaining sauce over the meatloaf.
  • Sprinkle additional bread crumbs on top.
  • Place in oven and back for 55 minutes.
  • At 55 minutes, place a handful of fried onions on the top.
  • Cook for 5 additional minutes.

20150726_202251  20150726_203323

  • Remove from oven, wait about 5 minutes before serving.

20150726_203617

Ideas

  • Hamburg – make sure it’s pretty lean. You don’t want a greasy mess at the end, so choose a cut that is at least 85% lean.
  • Hamburg 2 – For even more flavor, it you like pork, get some ground pork and mix it with the hamburg.
  • Gloves – When touching uncooked meat, it’s always good to wear some gloves. Yes, I can wash my hands really well afterwards, but it’s tiresome to try to get meatloaf mix from under your fingernails.  Yuck!
  • Mushrooms – You can use canned mushrooms if that is all you have, they just do not have the same flavor. Also, do not use the whole can or you’ll have mushroom loaf instead of meatloaf.
  • Sauce – My mom always made this with the smaller cans of sauce, and it was delicious. If you do not like a lot of sauce, then by all means, use the smaller can. Then cut the rest of the sauce ingredients in third. i.e., 2 T instead of 3 T.

Go back

Your message has been sent

Warning
Warning

Warning.

Fried Chicken

Fried chicken has always been a favorite meal of mine, but the grease is not something I’m willing to ingest any more. With that in mind, I started looking for better ways of making fried chicken a few years ago. And while many people will bake their “fried” chicken, I’m more of a purist. Clearly the chefs of the world (and many home cooks) have known for decades that getting your meat to soak up “something else” makes it unable to soak up grease when it’s frying, but I didn’t. If you are like I was, there are two main ways to prep your chicken. One is to brine it and the other is to soak it in buttermilk. Now, I love to brine a chicken or turkey but it adds a lot of salt to the chicken; and that’s not what I want to add to my fried chicken, so soaking in buttermilk is the best choice. If you prefer brining, please do so and enjoy. If you are like me, well, keep on reading. And Happy Eating!

Ingredients – Chicken Preparation

  • Buttermilk, enough to cover all the chicken you are preparing
  • Chicken, a mix of breasts, thighs, drumsticks and wings (at least 2 lbs)

Ingredients – Coating20150907_164053

  • Flour, 3 cups
  • Garlic powder, 1 T
  • Onion powder, 1 T
  • Celery salt, 1 tsp
  • Lawry’s Seasoned Salt, 2-1/2 T
  • Ground pepper, 12 cranks
  • Table salt, 1 T
  • Paprika, 1 T

Instructions – The Night Before

  • The night before (or at least 4 hours before cooking), rinse chicken, pat dry with a paper towel and place in glass dish. Pour buttermilk to cover the chicken. Cover and place in the refrigerator.

20150906_204653    20150906_204753

Instructions – Frying The Chicken

  • In a large glass bowl, add 3 cups of flour. Then add all the other “coating” ingredients and mix well. To ensure that you will have a tasty coating to your chicken, take a pinch out and taste it. If you don’t feel that there’s enough flavor, feel free to add other spices to your coating.

20150907_164843  20150907_165143  20150907_165335

  • Set up your coating assembly line: large plate for coated chicken, large bowl with coating mix and chicken in buttermilk.
  • Put on some gloves (if you have them). Grab your first piece of chicken and hold above the buttermilk so that excess buttermilk will drain off.

20150907_165725  20150907_165929  20150907_170002

  • Place chicken in coating mix and make sure to coat evenly over the entire chicken.
  • Then place on large plate.
  • Repeat.

20150907_170014  20150907_171118

  • It’s important to have some separation between chicken pieces on the plate just as it’s important to give your chicken time to dry before adding to the oil.
  • Let chicken dry for at least 5 minutes. While chicken is drying prepare the stovetop for frying.
  • In a cast iron skillet, add a couple of inches of oil (canola or vegetable).

20150907_171332

  • Turn heat to medium high. Heat to 375 degrees or until ready to start frying (get your thumb and index finger wet and then flick a dash of water into the oil. If it sizzles, it’s time to add the chicken.)
  • With tongs, grab chicken and add to the skillet. Keep the pieces apart so they cook more evenly. I usually have only 3 or 4 pieces cooking at a time in my skillet, but it is smaller. Use a splatter cover, if you have one.

20150907_171945  20150907_171956  20150907_172524

  • After about 5 minutes, turn the chicken. Check the chicken again in another 5 minutes. Cook until they are a nice golden brown, or darker (like some of my pieces) if you like them cooked well.

20150907_172539  20150907_173036  20150907_173046

  • Remove from oil, let drain over the skillet, then place in a paper towel lined dish.
  • Repeat until all of the chicken is cooked. Serve and enjoy!

20150907_180658            20150907_181612

Ideas

  • Cast iron skillet – If you don’t have one, that’s OK. Use whatever you have available, but do consider buying one for the future as your food will cook more evenly and quicker.
  • Chicken prep – You can add some pepper and salt to the buttermilk mixture if you’d like. It’s not necessary, but a lot of people prefer to do so.
  • Glass – I always use glass bowls and dishes when working with uncooked chicken. It’s easier to clean and ultimately safer for you and your family.
  • Paprika – There are a lot of different types of paprika on the market. I prefer smoked because I like the depth of flavor, but do you whichever you prefer.
  • Salt – for those with salt issues, leave out the last tablespoon of salt from the recipe.
  • Need a little kick? My family doesn’t like their food very spicy, so I do not add cayenne pepper to my coating. If you do like spicier, feel free to add at least 2 tsp to the coating mix.
  • Serving – Enjoy a nice potato salad and some vegetables with your homemade fried chicken.

Go back

Your message has been sent

Warning
Warning

Warning.

Chicken Piccata

Ah, chicken. It’s one of the most versatile proteins, one of the tastiest, but can also get boring if you’re eating it all the time. Somehow, though, I almost never get bored of having chicken on the dinner table. One way to keep things exciting is to spice up a standard meal with different sauces. This is not just a chicken piccata post, but also a basic chicken preparation recipe for many other recipes that I’ll be posting over time. Of course, I’m posting piccata first because it’s one of my all time favorite sauces. Enjoy!20150725_195039

Ingredients – Chicken Preparation

  • 1.5 – 3 lbs of chicken breast, boneless and skinless
  • 1-2 large eggs, beaten
  • Flavored panko breadcrumbs

Ingredients – Chicken Piccata

  • Olive oil
  • 1/4 cup of diced onion
  • 1 garlic clove, minced20150725_195718
  • 1 cup chicken broth
  • 1/2 large lemon, sliced into 1/4″-thick slices
  • 1/4 cup fresh lemon juice
  • 2 T capers, rinsed
  • 3 T unsalted butter, cut into smaller pieces
  • 2 T minced fresh parsley

Instructions – Chicken Preparation

  • Rinse chicken and dry with paper towels.
  • Place 2 pieces of plastic wrap on a large cutting board.
  • Place chicken on top of plastic wrap.
  • Place 1 piece of plastic wrap over the chicken.
  • Pound the chicken into thin pieces (about 1/8″ thick)
  • Using kitchen shears, cut into small serving size pieces.

20150725_203018  20150725_203159  20150725_203259

  • Set up and “assembly line” on the counter nearby.
    • (1) small bowl with the eggs,
    • (2) plate with a layer of panko bread crumbs
    • (3) empty plate
  • Using a fork or tongs, pick up a piece of chicken, dip it into the eggs, then place it on the bread crumbs.

20150725_202820  20150725_203354

  • Flip chicken over and make sure both sides are well covered in bread crumbs.
  • Place chicken on empty plate.
  • Repeat until all the chicken is breaded. Add more panko to plate (2) as needed.

20150725_203405  20150725_203424  20150725_203705

  • Heat 2 T of olive oil in large frying pan.
  • Add chicken to heated frying pan (keep them separated) and brown on both sides.
  • Drain chicken on paper towel.
  • Repeat – add oil to frying pan and brown additional chicken until all the chicken is cooked.

20150725_204243  20150725_205239

Instructions – Chicken Piccata Sauce

  • Add 2 T of olive oil to medium or large frying pan and heat over medium heat.
  • Add onions and garlic and cook until softened, about 2 minutes.
  • Stir in the chicken broth and lemon slices. Simmer until reduced and slightly thick, about 8 minutes.
  • Add the lemon juice and capers. Turn the eat to low.
  • Add the butter pieces. Cook on low until butter is fully melted. Stir.

20150725_200557  20150725_200828  20150725_201908

  • Remove from heat, stir in the parsley and salt/pepper to taste.

20150725_202538

  • Spoon the sauce over the chicken before serving.

20150725_205515

Ideas

  • If desired, you can use the same pan to make the sauce as you did to cook the chicken. This will add additional flavor to your piccata sauce, but will also add a lot of time as you cannot cook simultaneously.
  • I use powdered chicken bullion, so just make my broth a little stronger in lieu of adding salt at the end.
  • What to serve with this? Mashed potatoes are always great, or you can try something different like I did by using some Spaetzle. Spaetzle is a German potato pasta. You can find this at World Market/Cost Plus or most any store that sells international food. Just add to a pot of salted boiling water and cook until softened.
  • Piccata sauce is so yummy. Be sure to add some to your potatoes or spaetzle too!
  • And don’t forget a vegetable! Mine is served with cauliflower, but whatever you prefer.
  • Panko breadcrumbs – usually I use Italian flavored, but with piccata, lemon peppered is the best.

Go back

Your message has been sent

Warning
Warning

Warning.

Pressure Cooker? Do you have one?

This is not something I planned to do, but I know several people who have been hesitant to get a pressure cooker. This deal on QVC looks quite nice, so check it out if you’re interested. Quite a few recipes that I’ll be posting are made using a pressure cooker.

http://www.qvc.com/CooksEssentials-6-qt.-Round-Digital-Stainless-Steel-Pressure-Cooker.product.K43575.html?sc=TSV&UDC=TSV&MSG=TSV_FORCE

Chicken Enchiladas

I don’t know about you, but the hotter days of Summer feed my cravings for Mexican-style food. One of my favorite and super easy meals to make after work is chicken enchiladas. This recipe takes about 10 minutes to put together and 25-30 minutes to cook. I’ve been making these for about 2 years now. Brought some of the enchilidas you see here in to the office and received fabulous feedback. Give them a try and let me know what you think. Happy eating.

Ingredients20150812_185256

  • 3 cups shredded cooked chicken
  • 3 cups (12 oz) of shredded cheese (Sharp or Mexican)
  • A large can of green enchilada sauce
  • 1 can (4 oz) chopped green chiles
  • 1/2 cup minced fresh cilantro or (a little less than) 1/4 cup of dried
  • Salt
  • Pepper
  • 1 package of soft corn or flour tortillas (your preference)
  • Lime wedges

Instructions

  • Heat the oven to 400 degrees.
  • In a large bowl, add the chicken and shred it.
  • Then add 2 cups of the shredded cheese, 1/2 cup of enchilada sauce, the green chiles, and cilantro.
  • Season with salt and pepper to taste (about 6-10 cranks). Mix well.

20150812_185730  20150812_190105  20150812_190228

20150812_190333

  • Prepare the tortillas: (1) use them right out of the bag or (2) stack them on a microwave-safe plate, cover with plastic wrap and microwave on high about 40-60 seconds. Heating them makes them more pliable. I did not heat them when I made them this time, and they’re fine, but I used flour tortillas.
  • Put a tortilla on the counter, cutting board, or plate. Place 1/3 cup of the chicken mix onto the tortilla. Then spread it down the tortilla as evenly as possible.
  • Tightly roll the tortilla around the filling.

20150812_190553  20150812_190612    20150812_190626  20150812_190655

  • Lay the tortilla seam-side down in a 9″x13″ backing dish that you have lightly coated with vegetable oil spray.
  • Continue until all the filling is used.
  • Lightly spray the enchiladas with vegetable oil spray. Pour the remaining sauce over the enchiladas until they are all coated.
  • Sprinkle the remaining 1 cup of cheese down the center of each enchilada.

20150812_190907  20150812_191454  20150812_191548

  • Cover the dish with foil and back 20-25 minutes.
  • Remove the foil and broil for about 5 minutes until they are nicely brown.
  • Serve with lime wedges.

20150812_194958  20150812_195400

Ideas

  • You can cook your own chicken and shred it, but that’s a lot more work than I want to do in the evening. Canned cooked chicken works great and I’ve never had anyone be able to tell the difference.
  • When using flour tortillas, I usually don’t pre-warm them. For corn tortillas, this step should really be done so you don’t tear them.
  • If you do not like your food too spicy, either omit of minimize the 4 oz of green chiles.
  • Number of tortillas to roll? I usually only make 8. If you make more, you can have a second row on top of the first. This is fine, but then I feel they do not all get the enchilada sauce and cheese that I prefer.
  • Broiling – I like to broil on low for about 3 minutes and then switch to high to finish. My husband prefers nicely browned enchiladas and I prefer mine a little more moist. Every oven has different rates of cooking, especially when broiling, so watch closely and rotate as needed.

Go back

Your message has been sent

Warning
Warning

Warning.

Crustless Tomato Pie

This is one of the recipes that people either get super excited about or they think you are completely strange for making it. If the later, get them to taste it and they’ll wonder what they were thinking about. The first time I made a crustless tomato pie was about 20 years ago. I had a small garden, but a profusion of tomatoes. After I had made tomato sauce, piccalilli and too many BLTs to count, I figured I needed to find something new to make. Most tomato pies have two crusts and seem heavy to me. When it’s Summer, I prefer the idea of “lighter” feeling food. If you agree, make this pie. Many years ago, I traded this recipe for a bunch of free grapes from an amazing winery in the Willamette Valley in Oregon. I hope you enjoy it as much as that owner did.

Ingredients

  • 1 cup of breadcrumbs (I prefer flavored ones, Italian is my choice)20150817_185933
  • 2-3 good size tomatoes (about 3 cups), cored and sliced
  • 1 medium onion, finely chopped (I prefer a red onion) – after chopping heat in the microwave on high for about 45 seconds
  • 2 cups of grated cheese (Sharp cheddar or Mexican)
  • 2 large eggs, lightly beaten
  • Salt and freshly ground pepper (to your taste)
  • 3-5 strips of bacon (pork or turkey) – and cut 2-3 slices into bite size pieces

Instructions

  • Preheat over to 325 degrees F. Spray a 9″ pie pan with nonstick cooking spray.
  • In a skillet (or in the microwave on a paper towel), partially cook the bacon, drain on paper towels and set aside.
  • Spread 1/2 cup of the bread crumbs evenly on the bottom of the pie pan.

20150817_191113  20150817_191119

  • Arrange 1/2 of the tomato slices on top of the bread crumbs.
  • Add 1/2 of the chopped onion and the bacon pieces.
  • Put some freshly ground pepper and salt (if desired) over this.
  • Cover with 1 cup of grated cheese.

20150817_191243  20150817_191749  20150817_191806

  • Repeat with a second layer of tomatoes, onions, and cheese.
  • Pour the beaten eggs over the pie and add salt/pepper (if desired)
  • Cover the top of the pie with the remaining 1/2 cup of breadcrumbs.

20150817_191939 20150817_192115 20150817_192211

  • Arrange the remaining 2 bacon strips on the top of the pie.

20150817_192228 20150817_192347

  • Bake for 45 minutes, or until the bacon is crisp.

20150817_201231 20150817_201342

Ideas

  • Don’t forget to pre-heat the onions a little. It makes a huge different in the texture and taste of them in the pie.
  • This is excellent as a main meal or a side dish.
  • For vegetarians, just omit the bacon, but add some additional salt.
  • In my ingredient picture, you saw 3 extra large tomatoes. I only ended up using 2 of these because they were so big.

Go back

Your message has been sent

Warning
Warning

Warning.