Quick and Easy Meatball Subs

I was recently in a car accident (the guy behind me used my car to help him stop at a red light) and didn’t feel much like cooking over the next couple of days. Then I remembered some items I already had in my pantry, freezer and frig; voila, quick and easy meatball subs were born. All I needed was some hot dog buns from the store. What I love most about meatball subs is a flavorful meatball, good sauce and a limited amount of cheese. What I dislike the most is getting a sub that is ridiculously huge that you cannot pick it up and one that has so much cheese you can never be sure if or where the meatballs are. This recipe solves those issues and makes them friendly for kids as well. Enjoy.

Ingredients20160320_191833

  • Frozen meatballs (brand of your choice)
  • Spaghetti sauce (again, use your favorite)
  • Mozzarella cheese
  • Parmesan cheese
  • Hot dog buns

Instructions

  • Heat over to 375 degrees.
  • Heat the meatballs. If you are using the ones I did from Trader Joe’s, place them in a microwave safe dish and heat on high for 4 minutes.
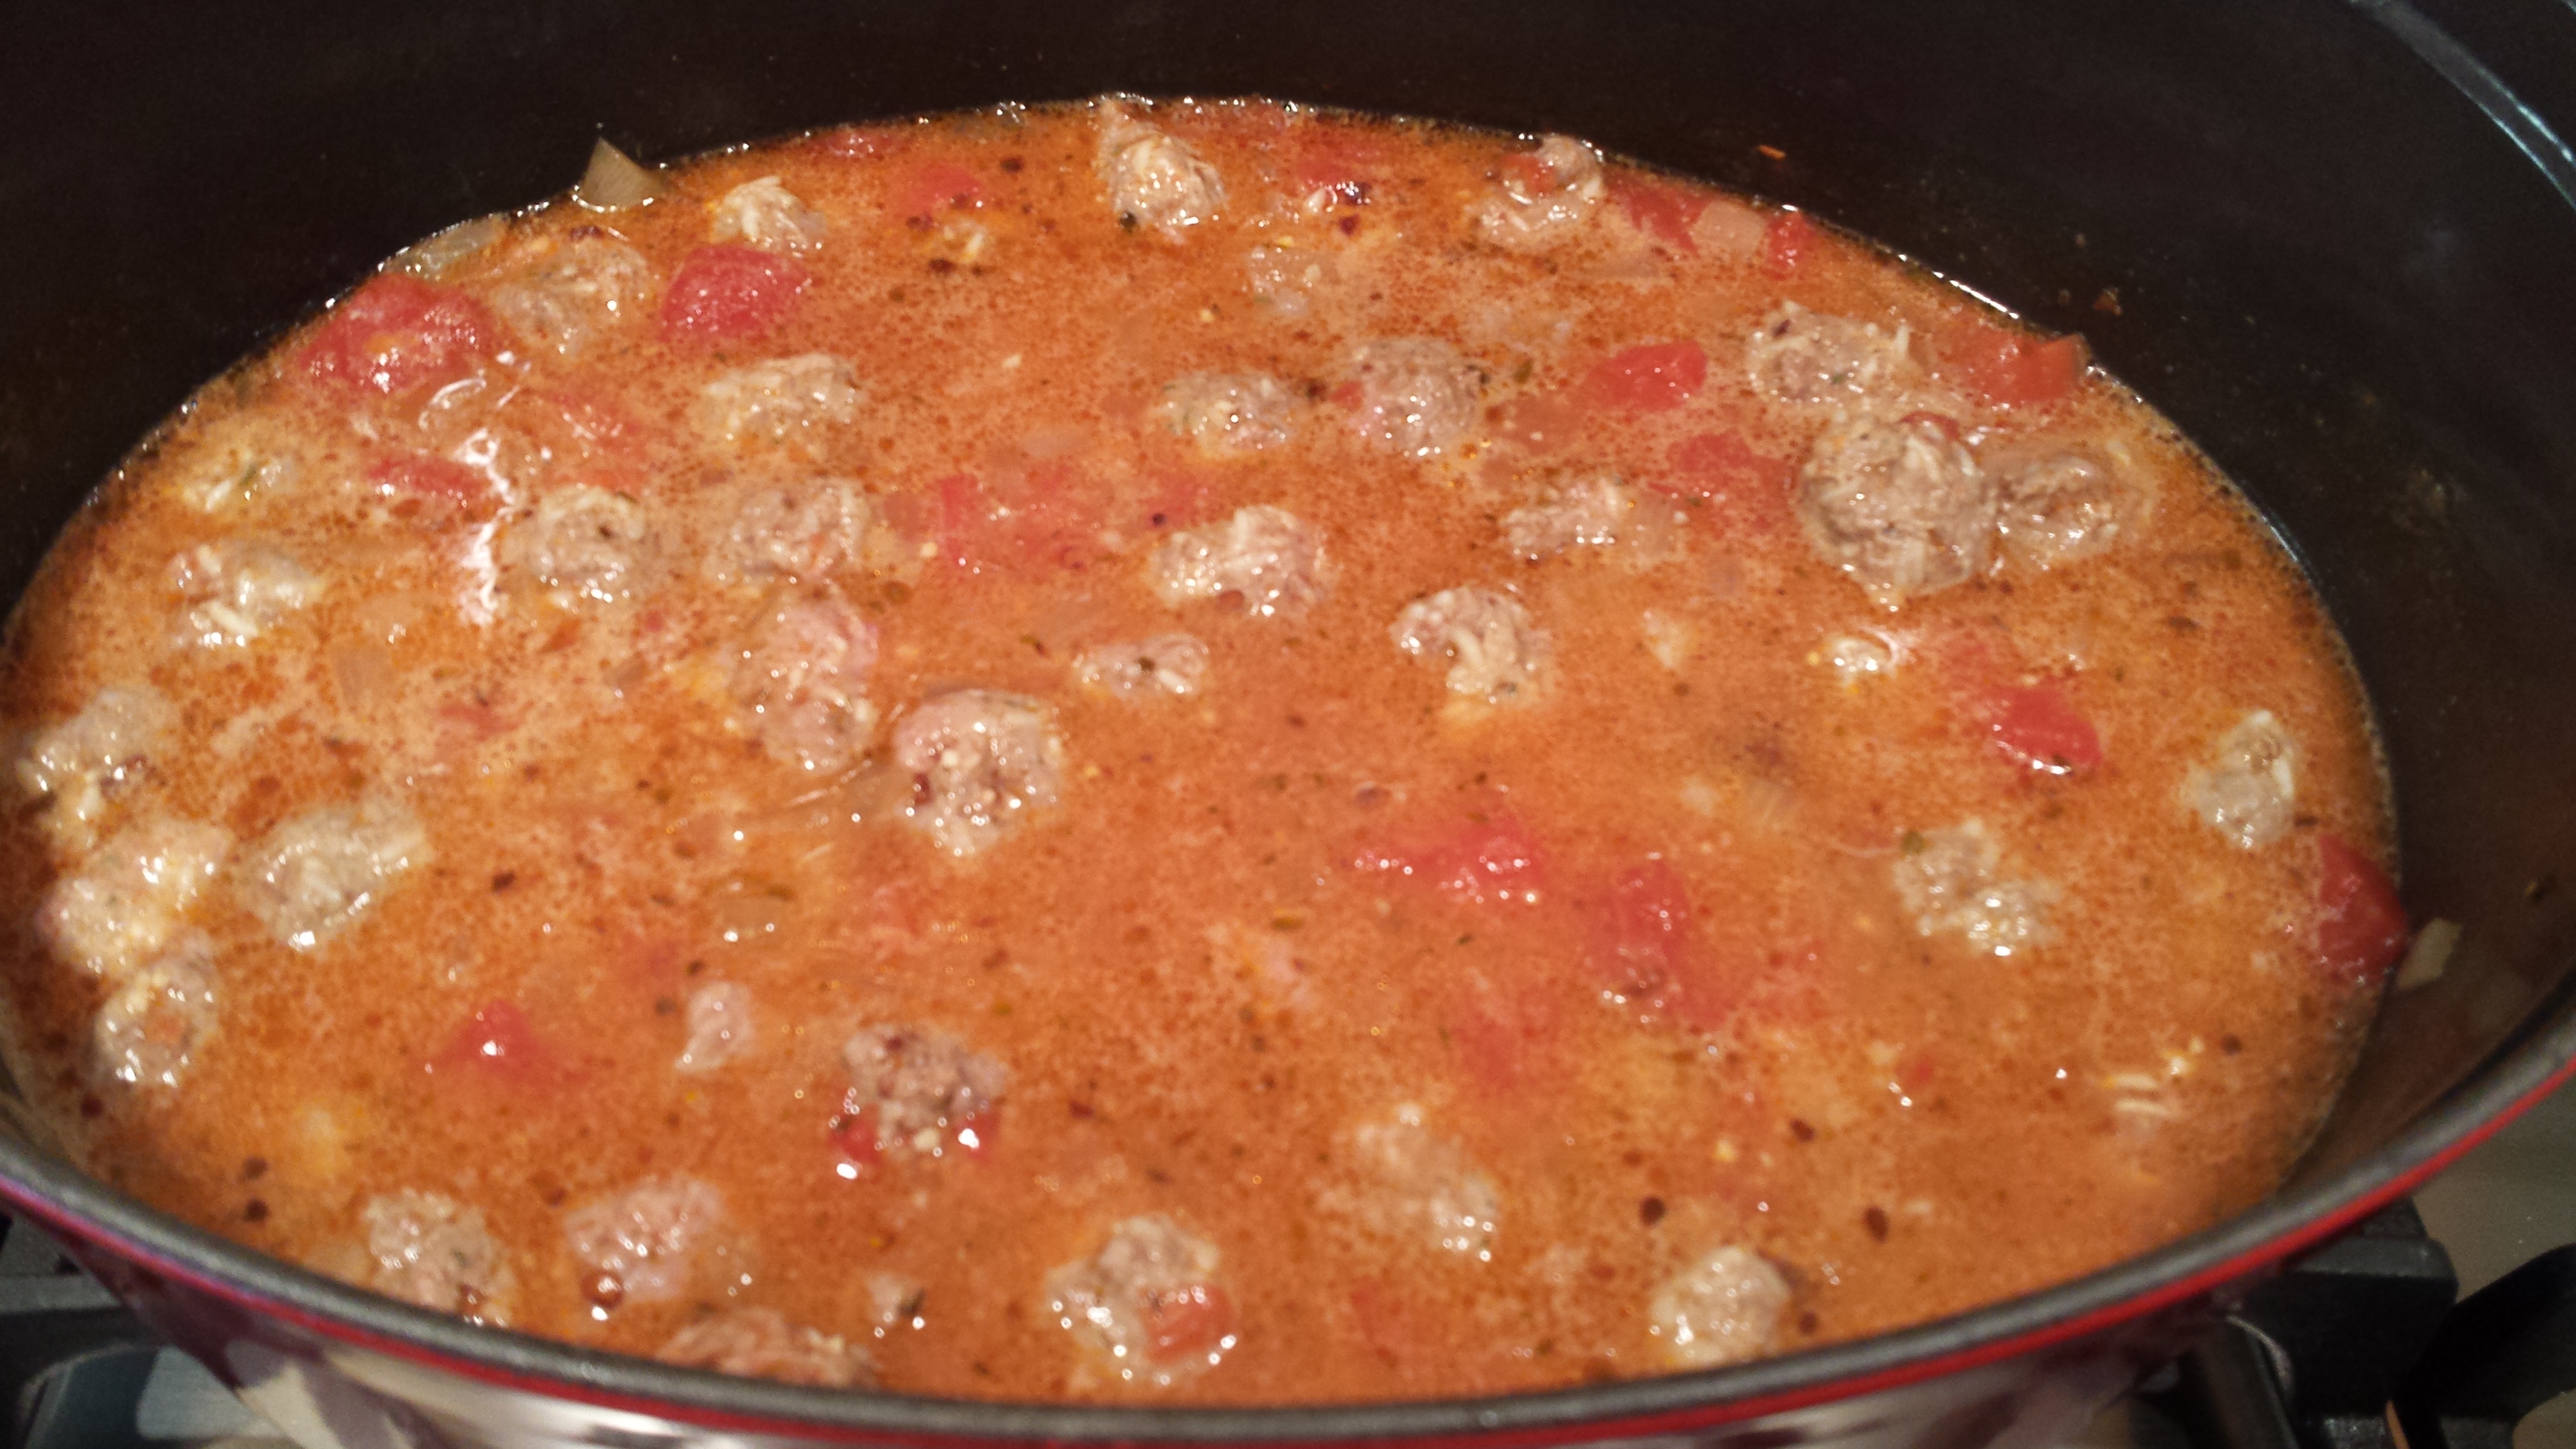
  • While meatballs are cooking, warm up some spaghetti sauce on the oven/stove top.
  • Take the meatballs out of the microwave and cut each one in half.
  • Place foil on a cookie sheet.
  • Put hot dog buns on cookie sheet (I used 4, one for me, one for my 5-year old, and two for my husband, but please make however many you need).
  • With small spoon, put a small amount (drizzle) of sauce in the bottom of the bun.
  • Then place 4 halves of the meatballs down the center. Alternate sides (the cut side against the bread) for a better fit and to keep them from sliding.
  • Add sauce to the top and sides, coating well.
  • Add chunks of mozzarella cheese and some grated parmesan.
  • Place in heated oven for 5 minutes.
  • Change over to broil and watch closely until cheese is nicely melted and buns are browned.

20160320_192530

Ideas

  • Some frozen meatballs are very well flavored, the ones I show from Trader Joe’s are particularly tasty. I highly recommend them.
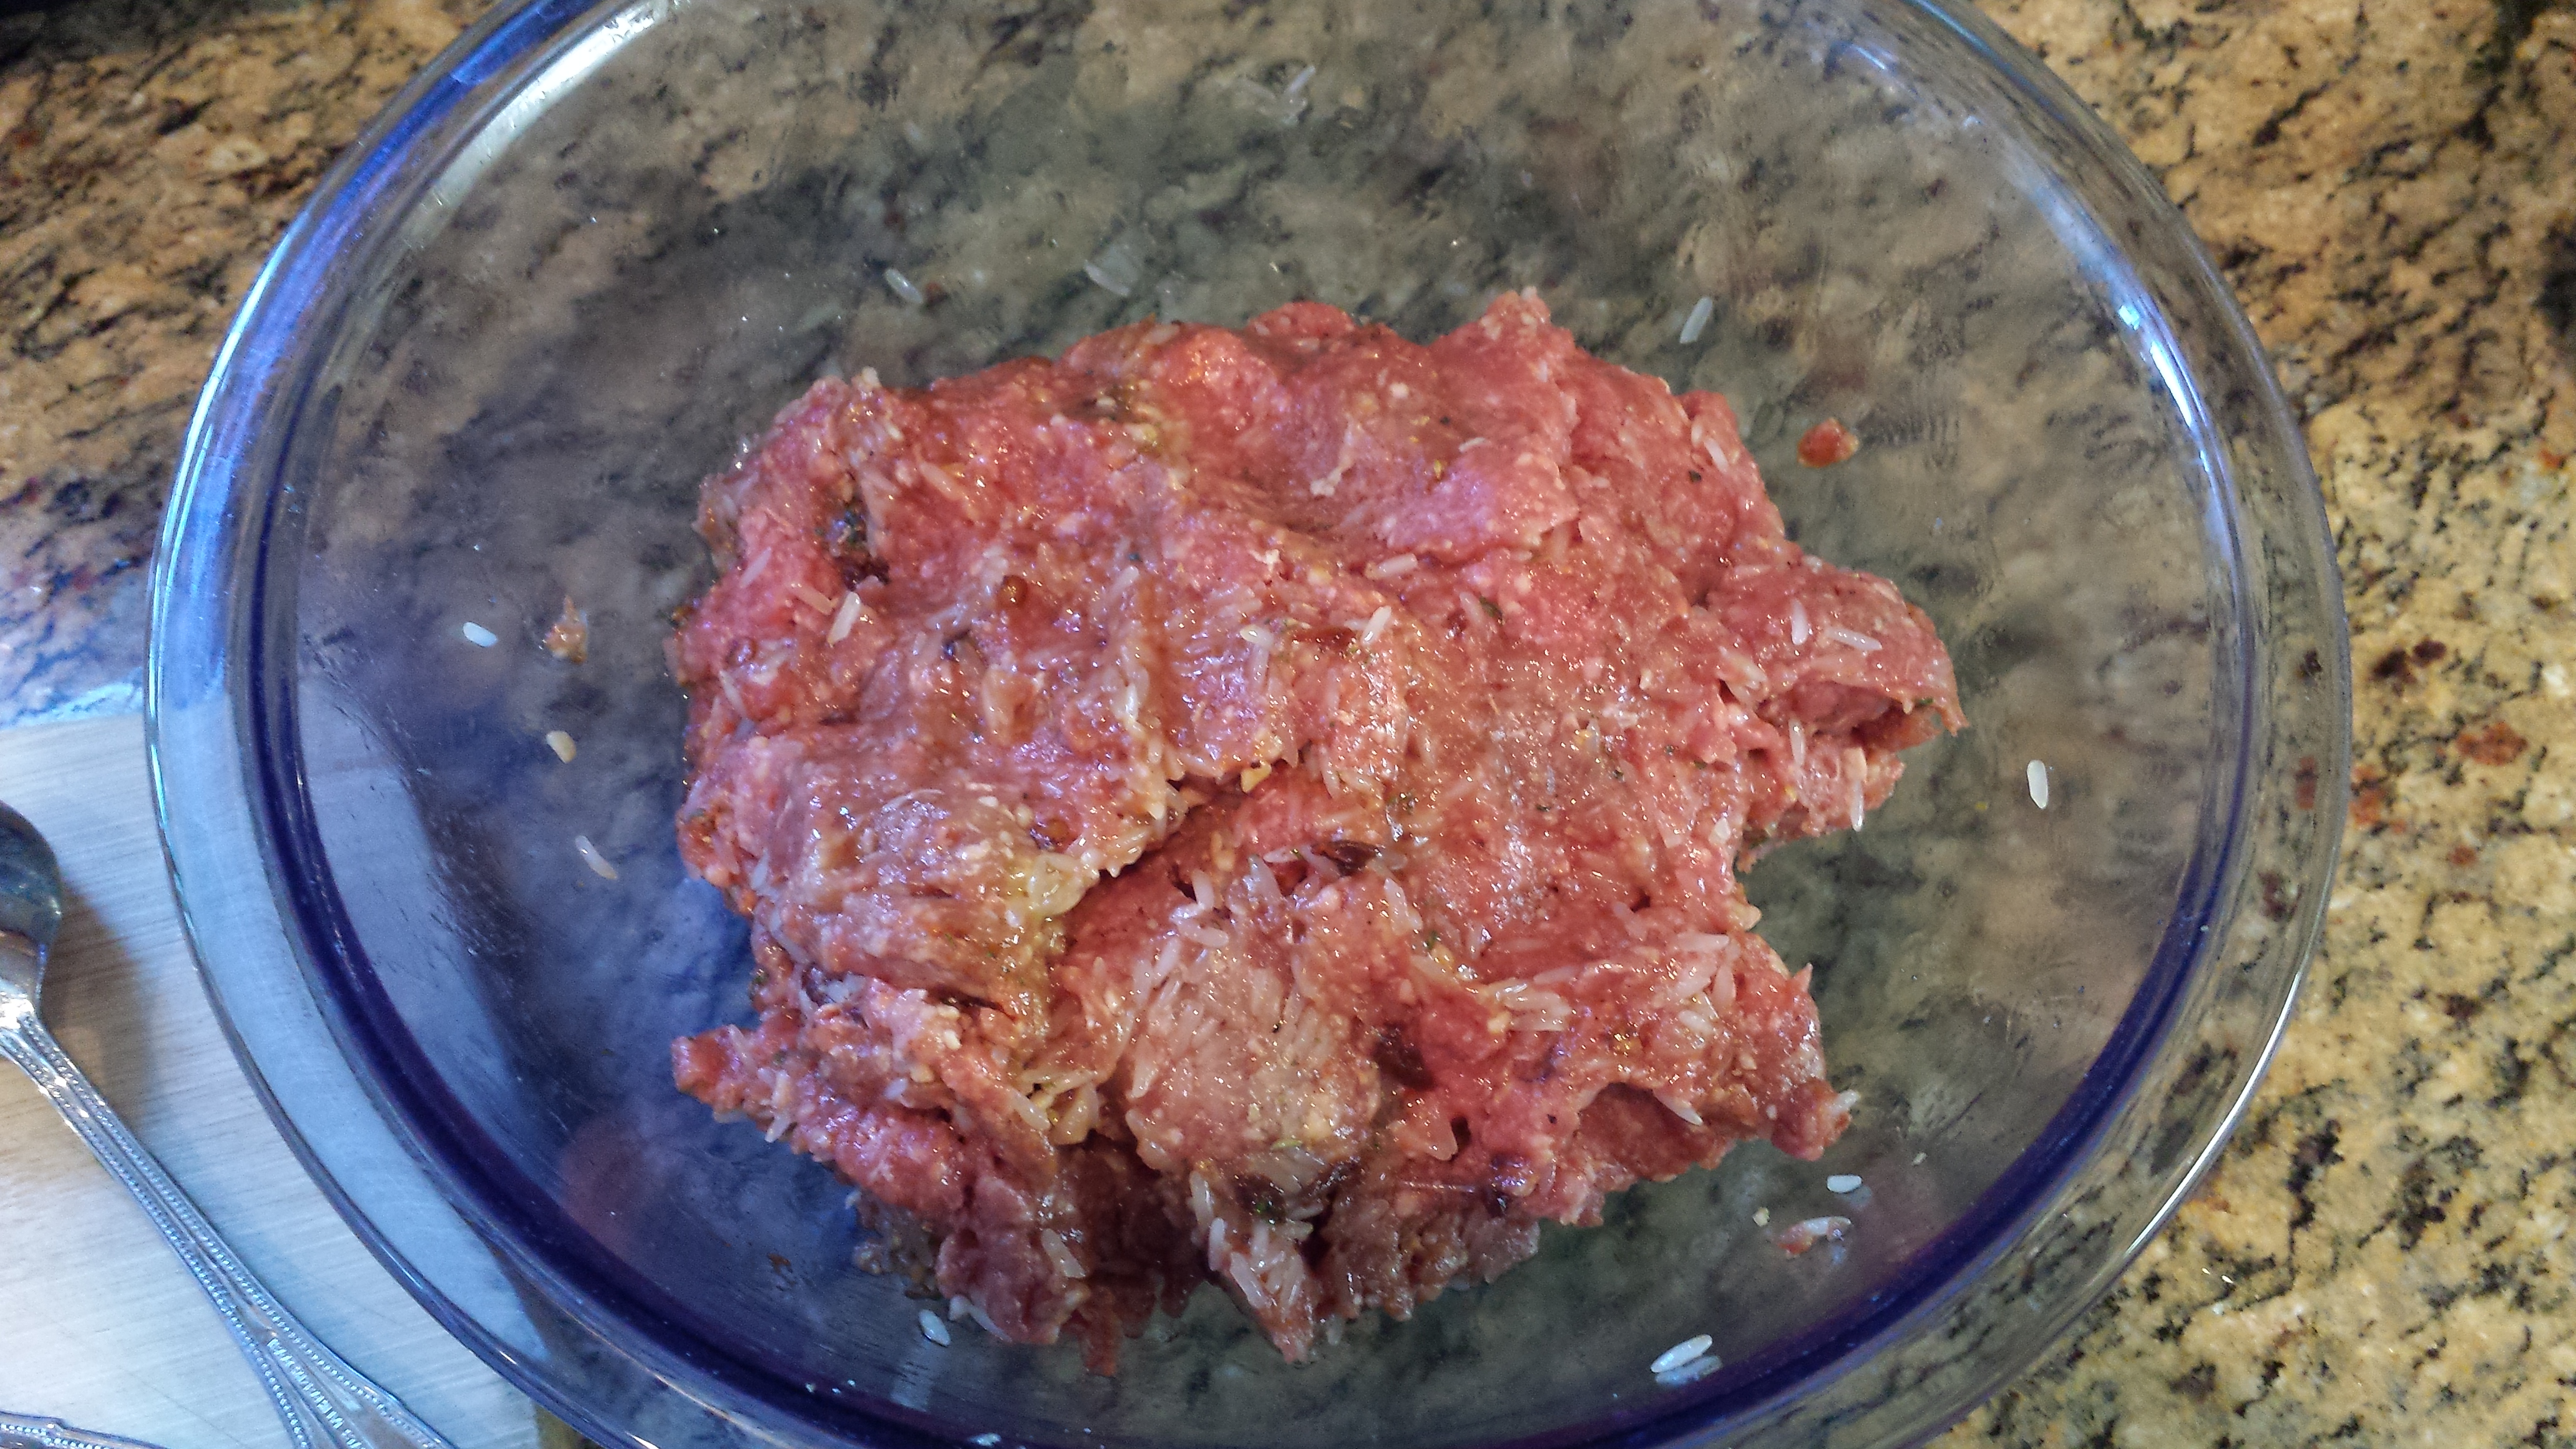
  • Note: this is a “quick and easy” recipe. If you have the time, feel free to make your meatballs from scratch.
  • You can skip the broil part, but it adds a nice touch. Also, browning the roll keeps it from getting soggy.
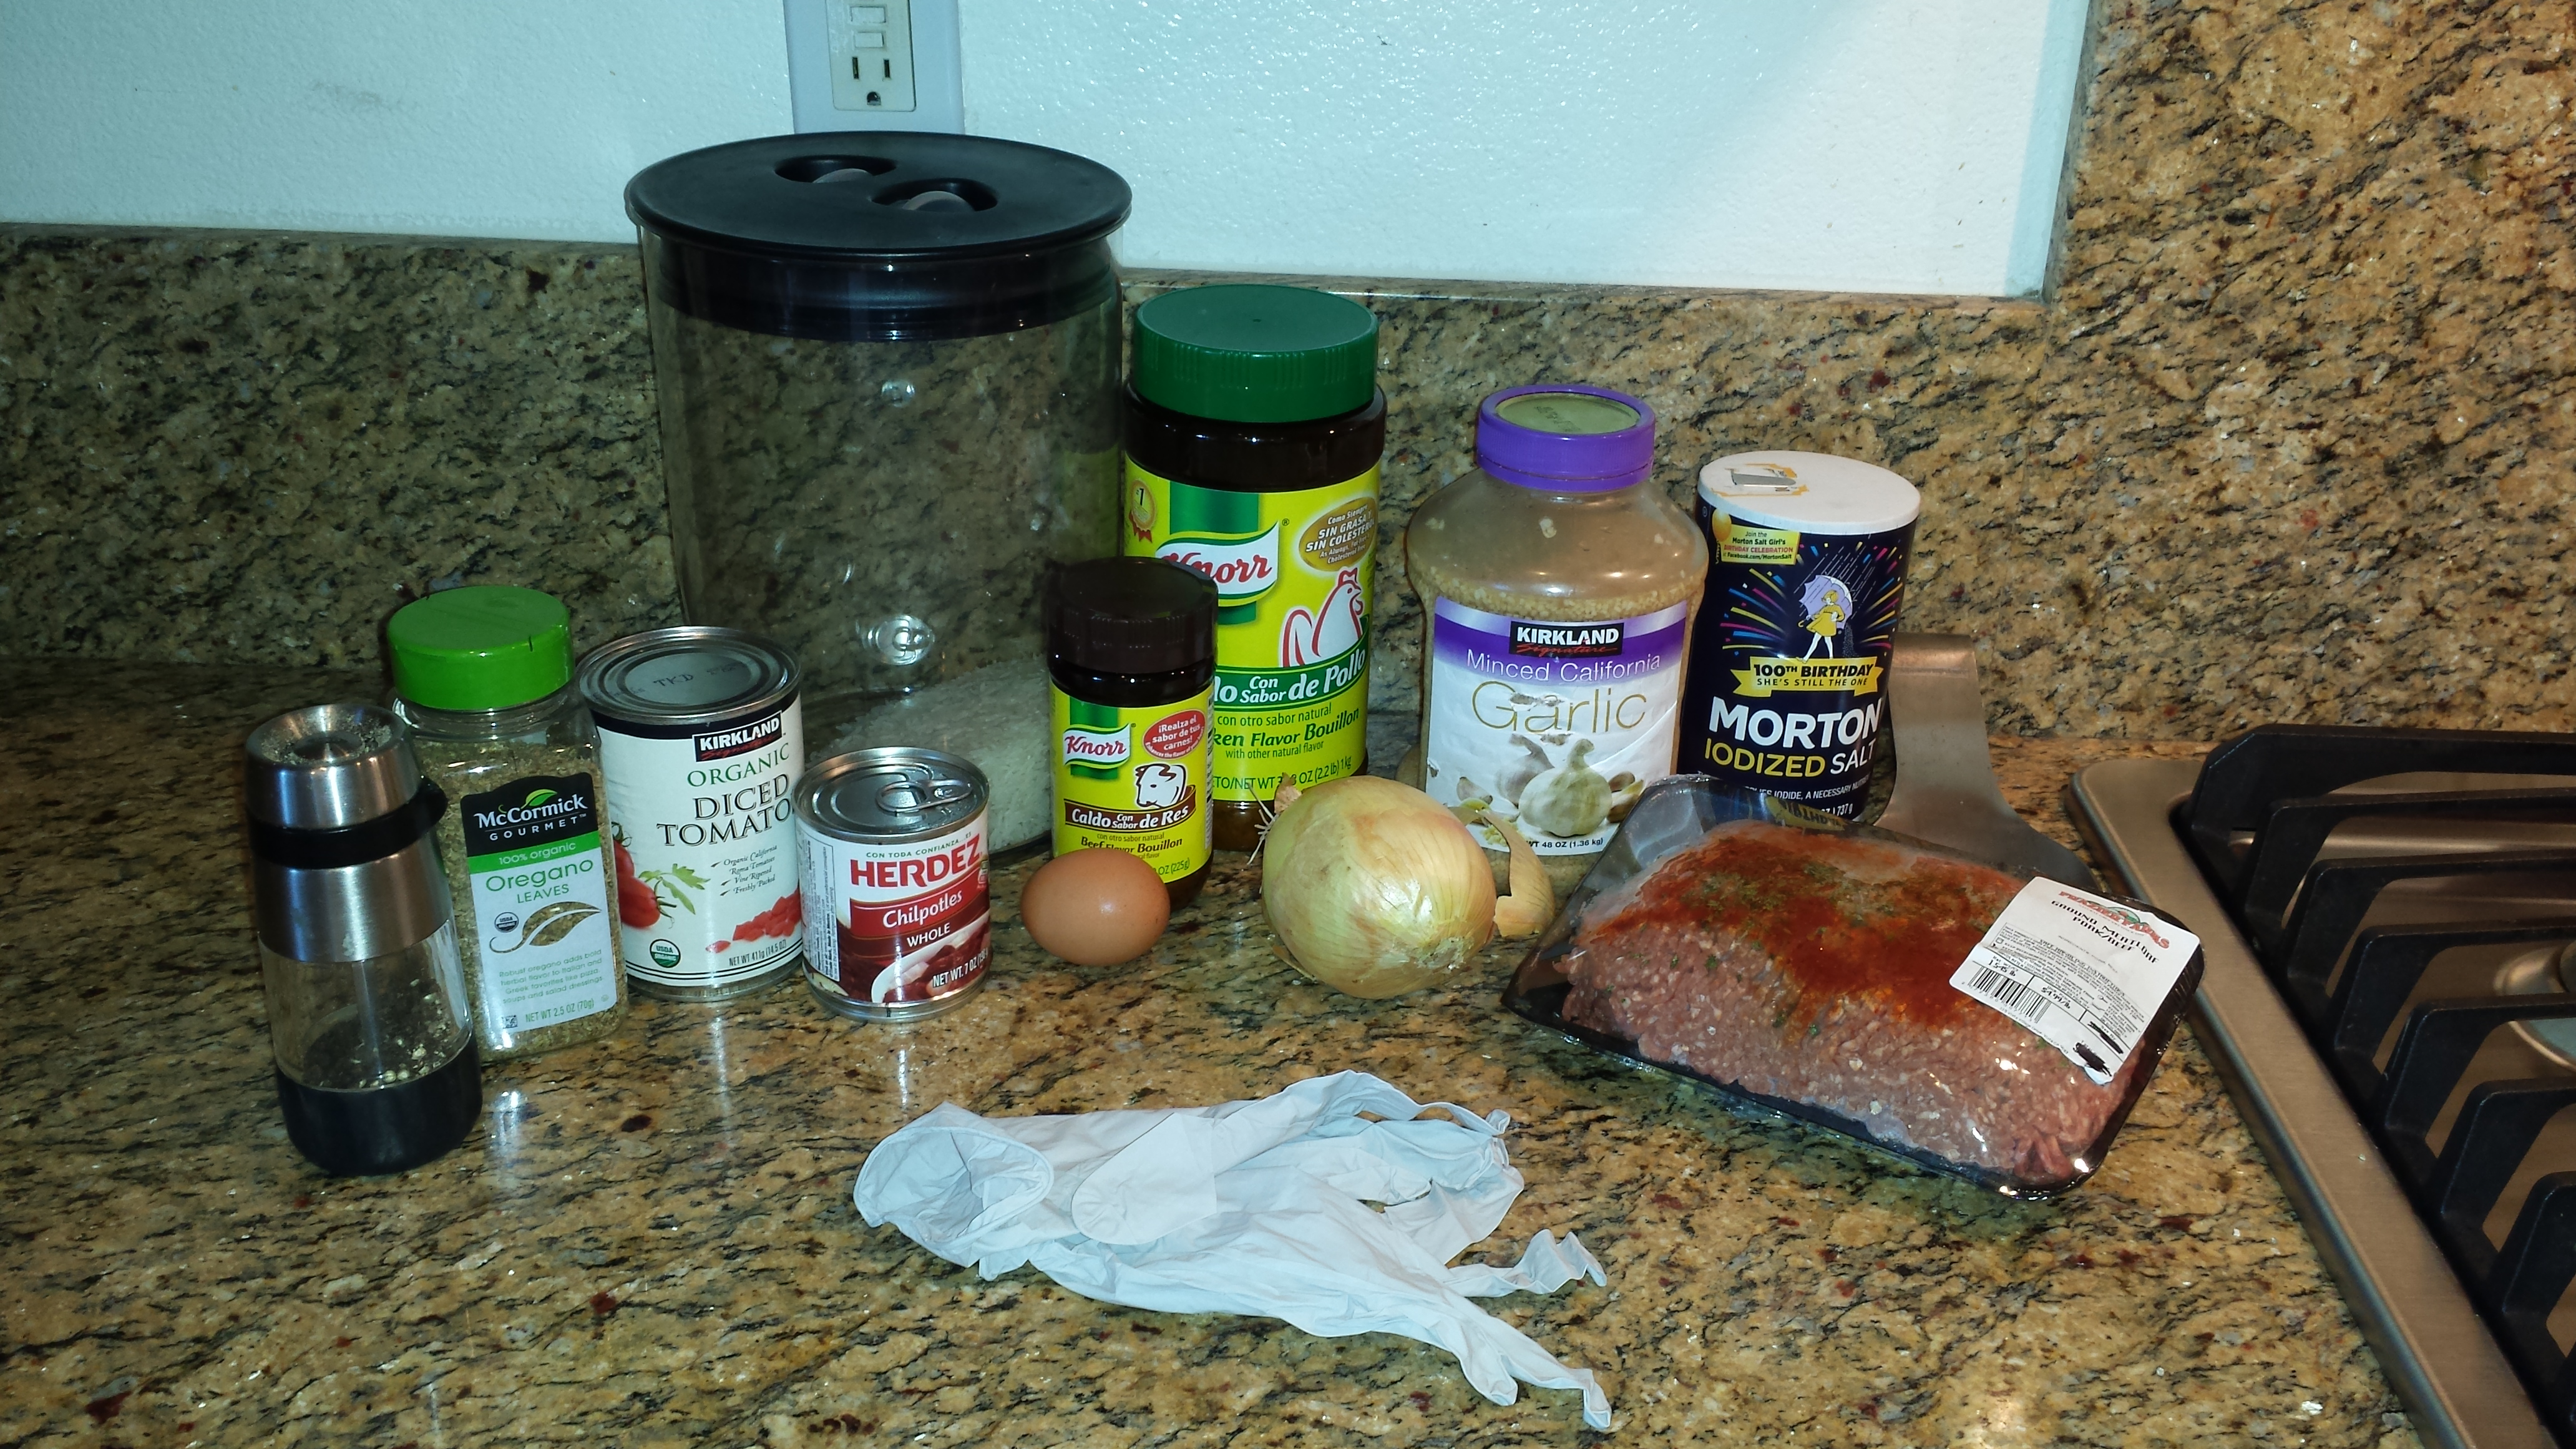
  • You’ll note that some of the ingredients in the image above are empty – I forgot to take the picture first. Sorry about that.

Roasted Vegetable Tarts

I made these yummy tarts for the first time the other night when having some friends over for dinner. Now, all us women know that many of the guys in our lives would happily pass on the vegetables at dinner. This is a great way to get them to eat them and like it as it combines vegetables with a dinner roll or biscuit. You can use any combination of vegetables when making your tart, but my recommendation is below. Happy eating!

Ingredients20151219_124828

  • 1 packages of refrigerator rolls or biscuits
  • 1 yellow squash, cut into small pieces
  • 1 zucchini, cut into small pieces
  • 1 medium sweet onion, coarsely chopped
  • 3 medium-large sized mushrooms
  • 2 oz shredded cheese
  • 1/2 cusp cherry tomatoes, halved
  • 3 tsp fresh thyme
  • salt and pepper
  • 2 T olive oil
  • 1 T balsamic vinegar

Instructions

  • Dice the vegetables and place into a bowl in the microwave. Cook on high heat for 30 seconds.
  • If cooking all at once, cook for 1 minute.
  • Remove from microwave and drain any water at the bottom of the bowl.
  • Add the thyme, some salt & pepper (to taste), olive oil and balsamic vinegar to the veggies and mix well.

20151219_180323  20151219_180505

  • Using 2 full-size muffin tins, lightly spray with non-stick cooking spray.
  • Unroll the refrigerator rolls/bisquits and separate. Bisquits generally have 10. You will cut the thicker bisquits in half to make 12.
  • Put into bottom of muffin tins and press down.
  • Add a heaping tablespoon of the vegetable mix to each muffin tin.
  • Sprinkle with a little extra salt and pepper.
  • Add a small amount of shredded cheese to the top of each.

20151219_183645

  • Bake for 10-12 minutes or until golden brown.
  • Cool about 5 minutes before removing from pan.
  • Can be served hot or at room temperature.

20151219_190534

Ideas

  • Other vegetables – this would be great with some diced red or yellow pepper as well.
  • Why cut bisquits down? Trust me. A thinner breading at the bottom of the tarts is so much better.
  • This also makes a great appetizer.
  • You can also prepare the vegetable filling up to one day before using. Dice all the vegetables, heat in microwave, drain excess liquid, refrigerate.

Go back

Your message has been sent

Warning
Warning

Warning.

Cranberry Relish

Thanksgiving is just two days away and I’m preparing for a big day in the kitchen. There are only a couple of items that I can make ahead and cranberry relish is one of those items. Cranberries… yummy! I think people either really like them or really do not. Assuming you really like them (or why would you be reading my post about cranberry relish), I have a great recipe for you that yields just the right amount of tart and just the right amount of sweet.

But before we get to the recipe, did you grow up eating canned cranberry jelly or did someone in your family make a cranberry sauce or relish? I was lucky enough to have both as my father preferred the jelly and my mom the relish. To this day, I will happily eat both varieties but my favorite is cranberry relish. It’ll probably be your favorite as well. Happy eating!

Ingredients

  • 1 bag (12 oz.) fresh cranber20151124_183907ries
  • 3/4 cup light brown sugar
  • 1/2 cup orange juice
  • 1 tsp ground cinnamon
  • 1/4 tsp salt
  • 1/8 tsp ground pepper
  • 2-4 clementines/mandarin oranges or 1 small orange
  • 1/2 cup coarsely chopped walnuts (optional)

Instructions

  • In a medium-sized saucepan, over medium heat, cook cranberries, brown sugar, orange juice, cinnamon, salt and pepper. Stir occasionally. Cook time approximately 15 minutes or until cranberries pop and mixture thickens.

20151124_184105  20151124_184439

20151124_184520  20151124_184616

  • While cranberries are cooking, cut up the oranges.

20151124_185113  20151124_185509

20151124_190006  20151124_190021

  • Remove from heat and stir in orange pieces and walnuts.
  • Place into container, cover and chill in refrigerator at least 2 hours.
  • Serve.

20151124_190044  20151124_19011020151124_190247

Ideas

  • My version does not have walnuts in it because my husband is allergic. If there are no allergy issues in your family, I highly recommend adding them. Of course, you do not need to stick to walnuts, if you prefer hazelnuts, pecans almonds, pistachios, by all means, add them to your relish.
  • Oranges, clementines, etc. Any of these are fine.
  • Alternative fruits – I used to put pineapple in my cranberry relish and it was amazing, but unfortunately, I developed a pineapple allergy. Stinks to be me, but you can still enjoy. If you do use pineapple, 8 oz should do it. Fresh or canned, but canned is actually better.
  • Spices. My favorite to use is cinnamon but be adventurous. If you like allspice, ginger, nutmeg or cloves, substitute them. Same quantity of 1 tsp.

Go back

Your message has been sent

Warning
Warning

Warning.

Homemade Chicken Pie

This chicken pie has been a favorite of all my friends for years. When I’ve had people over for dinner and asked them if they had a preference for dinner, inevitably, they requested chicken pie. A lucky few have been given the recipe in the past, but not with my special notes on how to perfect this pie. There are many chicken pie recipes available, so why should you try mine? Quite simply, it’s easy to make and loaded with flavor. As always, give it a try as is and modify to your particular preferences the next time. Although, from years of taste testing with dozens of people, this should be pretty close to perfect. Enjoy!

Ingredients

  • 2 pie crusts (homemade or store bought, see Ideas below)20150731_185206
  • 2 T flour
  • 1-1/2 tsp thyme
  • 1/2 c chicken broth
  • 2 T butter
  • 1 tsp salt
  • 1/8 tsp pepper
  • 1/2 c light cream
  • 2 c cubed, cooked chicken (see Ideas below)
  • 1-1/2 c diced, cooked potatoes
  • 1 onion, diced into large chunks
  • 2/3 to 3/4 c frozen peas
  • 1/2 to 2/3 c of sliced carrots

Instructions

  • Heat oven to 425 degrees F.20150731_190049
  • Peel potatoes and cut into bit size pieces. Peel and cut the carrots. Place in medium size pot with water just covering them on the stove. Bring to a boil and cook until softened (your fork can penetrate, but they cannot be easily mashed with your fork against the side of the pot.). This takes about 8-10 minutes.
  • Cut onion into large chunks. Put in a bowl and cook in the microwave for 30-45 seconds. This is enough to partially cook the onions and ensures optimal flavor and done-ness in the pie.20150731_190447
  • In a large bowl
    • Add the chicken and separate into small portions.
    • Add the onions.
    • While potatoes and carrots are cooking, prepare the pie crust and sauce, per the instructions below.
  • Pie crust
    • Homemade – roll out 2/3 of the pastry until it’s 1/8″ thick, Fit into a 9″ pie pan. Roll out the rest and cut into strips.20150731_191736
    • Store bought – remove from refrigerator and let sit on counter for about 5-10 minutes before opening package. Place one crust into pie plate. Lay the second crust on the counter and cut into strips of ~1/2″ wide each.
  • The sauce
    • In a small saucepan (I use my smallest, which is 1.5 qt), melt the butter over low heat.
    • Add the flour, salt, pepper and thyme. Mix well and cook over low heat, stirring often, until smooth and beginning to bubble.
    • Stir in cream and chicken broth.
    • Heat to boiling, stirring constantly so that you do not have lumps. Boil for about 1 minute. The sauce will start to thicken a little.

20150731_190720 20150731_190830 20150731_190918

20150731_190930 20150731_190956

  • Drain the cooked potatoes and carrots. Add to chicken, onions and peas. Mix.
  • Pour the sauce into the large bowl and mix.
  • Pour this mix into the pie plate.

20150731_192255 20150731_192340 20150731_192421

  • Place pie crust strips crisscross fashion to make a lattice-style top.
  • Finish the edges of the pie.

20150731_192519 20150731_192535 20150731_192925

  • Cover the crust with a specialized pie crust edger (like what I use) or with aluminum foil. This will allow for your pie to cook properly, but ensure that you do not have a burnt crust.20150731_192941
    • When using aluminum foil, remember to remove the foil about 12-15 minutes before the pie is done baking.
  • Bake 35-40 minutes, until nicely browned.

20150731_200845  20150731_200911

20150731_201254

Ideas

  • Chicken – There are 2 ways to prepare the chicken. First, you can purchase some boneless, skinless chicken breasts and cook them (in a skillet or in boiling water) and then cut them into bit sized pieces. (Like the pie crust, I have done this many times.) Or you can buy pre-cooked chicken, which is a huge time saver and is super easy to have shredded chicken pieces in your pie. Contrary to my long-thought belief that cooking my own chicken is best, my friends and family have far preferred my pie when it has chicken from a can in it. It saves me a lot of time and effort, and texture-wise, they are definitely right.
  • Potatoes and carrots – put the potatoes in the pot first and the carrots on top.
  • Peas – you can used canned peas if you prefer, but the frozen ones keep their texture better. And if you have them, fresh peas are the best.
  • Pie crust – I’ve made my own pie crust more times than I can remember and that is the ideal choice. That being said, most of us don’t have the time to do this. I normally serve this pie during the week. As a working mother with a small child, I no longer make my own crust except on special occasions. It’s perfectly fine to buy a ready-made, rolled up crust from the refrigerator section of the grocery store. But, buy the brand name crust, not the store bought. For this, I’ve seen a definitive difference in quality, flexibility and smoothness.
  • Chicken broth – if you like your pie a little saltier and are using a powdered chicken broth as I do, use a little more than the recommended amount of powder when making your broth.

Go back

Your message has been sent

Warning
Warning

Warning.

Roasted Butternut Squash Salad

And the winner of last weeks poll was this Roasted Butternut Squash Salad. This is one of those recipes that I saw on Pinterest and thought looked rather yummy. In my usual fashion, I’ve made quite a few changes to it and have taste-tested this on my very willing coworkers. They believe I’ve perfected this and always hope I will bring some leftovers into the office for them.

This salad is excellent as a side dish or even as a main course. My preference is as a side dish with a good serving of protein (chicken breast, pork loin, steak) to go with it. As always, make changes to this to suit your own tastes, but try it my way first just in case I got it right for you too!

20150730_194917

Dressing

  • 4 T apple cider vinegar
  • 4 T extra-virgin olive oil
  • 1 T honey
  • 1 T dijon mustard (or your favorite mustard, just not yellow mustard)
  • 1/4 tsp salt
  • 1/8 tsp pepper

Salad

  • 1 butternut squash (between 1.5-2 lbs) peeled, de-seeded and cubed into 1/2″ pieces (Costco usually has a nice peeled, cut butternut squash you can purchase, but like today, not always)
  • 2 T olive oil
  • 1/2 tsp salt
  • 1/8 tsp pepper
  • Flavored pearled couscous (my favorite is Basil and Herb) – follow cooking directions on the box and add 1 tsp of Lawry’s seasoning salt to it when you add the spice mix
  • 1/2 large sweet onion, diced
  • 5 oz (or as I use, 2 large handfuls) of kale or mixed greens, washed, de-stemmed and finely chopped
  • 1 can (15.5 oz) chickpeas/garbanzo beans, rinsed and drained

Instructions

  • Whisk together all the dressing ingredients in a small bowl and set aside.20150730_203831
  • Preheat oven to 425 degrees F. Toss the cubed squash in a ziplock bag with the olive oil (less is more on the oil – I use less than the 2T above). Spread the squash in a single layer on an aluminum foil covered baking sheet. Sprinkle with salt and pepper. Roast the squash until tender and golden about 20 minutes. Toss halfway through. Cool.20150730_201650
  • Cook the couscous per directions on the box. Remove from heat and cool.
  • Put the onion in a small bowl and cook on high in the microwave for 30 seconds. This is just enough to make the onion a bit “milder” but not too long that the onion will lose its crunch. 20150730_202538
  • Start adding ingredients to a large bowl. My usual order is:
    1. Add onions
    2. Add couscous, mix
    3. Add garbanzo beans, mix
    4. Add kale/greens, mix
    5. Add squash and dressing, mix
20150730_204214
1. Add onions
20150730_204307
2. Add couscous
20150730_204532
3. Add garbanzo beans
20150730_204712
chop up the greens for 4
20150730_205024
4. Add greens
20150730_205049
Mix well
20150730_205355
5. Add butternut squash and dressing

You can serve this now, if you want. I prefer to make this the night before I plan to eat it as I like it cool from the refrigerator. It can keep in the frig up to 2 days.

20150730_205512
Enjoy!

Ideas

  • When picking a butternut squash, choose one just over 2 lbs. Better to have more than less. And really, roasted butternut squash is super delicious (and healthy), so why not have a bit more in your salad?
  • You can use whichever greens you prefer. Kale is recommended, but I love the Power Greens Blend from Costco.
  • Also, if you are missing any of these ingredients, the one I’d miss the least is the greens. Had to make it without then once and the salad was just as delicious, just not as colorful.

Go back

Your message has been sent

Warning
Warning

Warning.

Albondigas Soup (Mexican Meatball Soup)

This simple soup is full of complex flavors to delight any palette. Make it as spicy (hot) as your family prefers, but try my standard recommendation first.

Albondigas Ingredients

Broth Ingredients

  • 1 medium/large onion, finely chopped
  • 14 oz. can of chopped or diced tomatoes
  • 1/2 chipotle chili canned in adobo sauce (1/2 a chili, not 1/2 a can), mashed or finely chopped
  • 28 oz. of chicken broth
  • 28 oz. of beef broth
  • 2 cloves garlic, pressed or diced fine
  • 2 tsp oregano
  • Salt (if needed for flavor)
  • Cilantro

Meatballs

  • 1 lb lean ground beef
  • 1/2 lb ground pork
  • 1/3 cup uncooked rice
  • 1 egg
  • 1 clove garlic, pressed or diced
  • 1/2 chipotle chili (the other half from the broth), mashed or finely chopped
  • 1 T adobo sauce from the chilies
  • 1 tsp oregano
  • 1 T salt
  • Pepper

Other

  • Gloves
  • 1 cup of rice

OnionsDutch OvenStart by heating about 2 T of olive oil in a dutch oven.

Saute the onion until softened and they start to brown a bit (7-8 minutes).

Add the tomatoes and cook another 5-6 minutes. 
Oregano-Garlic-Chili Simmer timeThen add the garlic, the chili and oregano. Stir to distribute about 45 seconds.

Add the broths and reduce heat to simmer. Cover, leaving a small gap at the edge of the pot.

Cook for about 20 minutes. During this time, you will make the meatballs.

Mix together all the meatball ingredients and form small balls (see picture below, right). Think of these as the size you would want on your soup spoon without necessitating splitting them in half to eat. Wear gloves – no one wants uncooked meat residue on their hands.

Meatball Ingredients Ready to make meatballs Meatballs

After the broth has cooked for 20 minutes, drop in the meatballs. Simmer for another 20 minutes and it’s ready to eat.

Ready to simmer with meatballs Adding Meatballs3

Check the meatballs to make sure they are cooked, by cutting one open. 5 minutes before serving toss in about 1/3 of a bunch of cilantro, coarsely chopped with stems. Alternatively, finely chop cilantro and garnish soup (per my picture).

Cook rice (takes about 20 minutes) in rice cooker or on top of stove, per your preference.

cropped-20150714_1948511.jpg

Serving tips

  • Place about 1/2 cup of cooked rice in bowl. Ladle soup over rice. Sprinkle chopped cilantro on the top.

Recipe tips

  • For lesser spice, do not use a smaller amount of the chili or adobo sauce as you will lose flavor. Either add additional broth (chicken and beef) and tomatoes to the overall recipe (and everyone will have a less spicy soup) or have extra warmed up broth (minus the tomatoes) on the side, so people can add to their soup individually.
  • You can use canned beef and chicken broth. I prefer the powdered as it dissolves quickly and is easily scaled up to make more for those who need a less spicy soup.

Go back

Your message has been sent

Warning
Warning

Warning.